Jeff's (SRman) work bench and projects
Posted

Full Member
If only I had both the skill and the patience……………… I've ruined a decoder and a bit of the valve gear just trying to chip an old Bachmann split chassis Class V1 ……………. :oops: :oops: :oops:
'Petermac

Posted

Full Member
Jeff Lynn,
Amateur layabout, Professional Lurker, Thread hijacker extraordinaire
Amateur layabout, Professional Lurker, Thread hijacker extraordinaire
Posted
Full Member


Jeff Lynn,
Amateur layabout, Professional Lurker, Thread hijacker extraordinaire
Amateur layabout, Professional Lurker, Thread hijacker extraordinaire
Posted
Full Member
'Petermac
Posted
Full Member
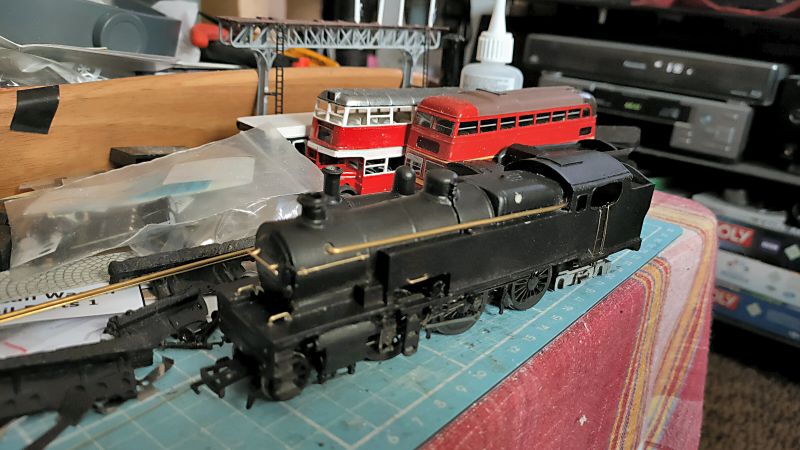
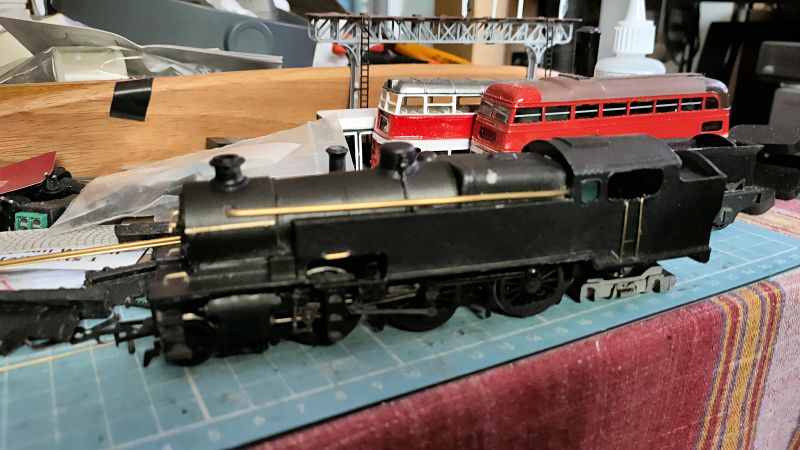
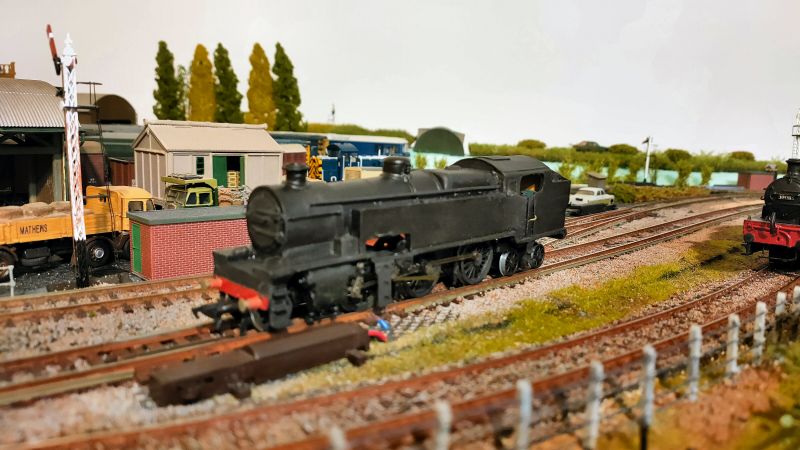
Too black, too clean!That's looking nice and black Jeff. :thumbs

Once I can number it and add crests, I'll weather it down. I found that pristine black locos actually hide some of their detail, particularly the very fine details present on many of the ready to run items that we can buy nowadays from the regular manufacturers.
 Last edit: by SRman
Jeff Lynn,
Amateur layabout, Professional Lurker, Thread hijacker extraordinaire
Amateur layabout, Professional Lurker, Thread hijacker extraordinaire
Posted

Full Member
surely as good a case as could ever be made in favour of green, Malachite, Olive or Brunswick, take your pick. I have my favourite!
Somehow the move to black has always felt symbolic for me, coupled with the general decline in exterior upkeep, warning of the coming end of a great and long era.
Colin
Posted
Full Member
:hmm
Jeff Lynn,
Amateur layabout, Professional Lurker, Thread hijacker extraordinaire
Amateur layabout, Professional Lurker, Thread hijacker extraordinaire
Posted
Full Member
'Petermac
Posted
Full Member
Coincidentally Jeff, Trevor has just posted a "black" colour mix in his "Hints and Tips" thread. An interesting mix of black, white and red.
I tend to use a mix of black, dark grey, and a hint of leather (medium brown), or, for a darker mix, some dark brown. For a metallic effect, a hint of dark steel colour also goes in. That lot is not fully mixed, so the colour can vary a bit as it is applied in a thin wash over the original black finish. A bit of matt varnish can also go into the mix.
The effect can be seen on the S15 I did a while back.


Last edit: by SRman
Jeff Lynn,
Amateur layabout, Professional Lurker, Thread hijacker extraordinaire
Amateur layabout, Professional Lurker, Thread hijacker extraordinaire
Posted
Full Member
It's an interesting point that the decline in presentation and cleanliness echoed the general decline in railways in the UK from the 1950s on.Yes, there were some lovely liveries in days long gone, but that was when they had the labour to keep it clean. Any coloured steam loco soon turned dirty black if not maintained well. In model form, dirty black actually shows up details quite well.
:hmm
If you put it in the context of transport and related infrastructure we almost take for granted today, imagine if your plane turned up at the gate painted in a funereal black with windows, doors etc streaked in accumulated crud, or a taxi or hotel perhaps, would you be at all keen to make your journey, stay? The railways of "days long gone" knew that travel was an experience they had to sell, hence the sharp decor, fittings and presentation. Something important which got lost along the way I'm afraid.
Posted
Full Member
Jeff Lynn,
Amateur layabout, Professional Lurker, Thread hijacker extraordinaire
Amateur layabout, Professional Lurker, Thread hijacker extraordinaire
Posted
Full Member
Resin used to be the "go-to" product for fine detail but modern plastics and moulding methods have led to unbelievably crisp results.
That S15 using your colour mix looks absolutely superb. :thumbs I have the odd "kaput" loco so may try my hand at repainting although from my experiences so far, paint and I don't have a great deal in common………………….. :hmm
'Petermac
Posted
Full Member
Thanks for the compliments on the S15. I was pleased with the result. While I have the techniques down fairly well, sometimes they work better than others.
Last edit: by SRman
Jeff Lynn,
Amateur layabout, Professional Lurker, Thread hijacker extraordinaire
Amateur layabout, Professional Lurker, Thread hijacker extraordinaire
Posted
Full Member
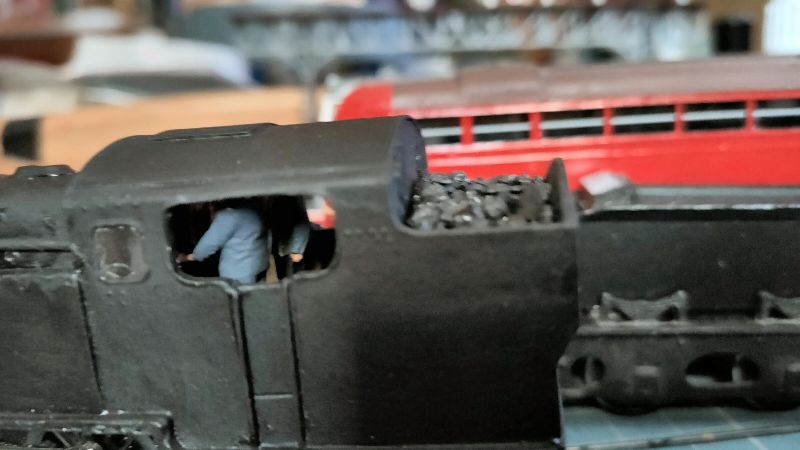
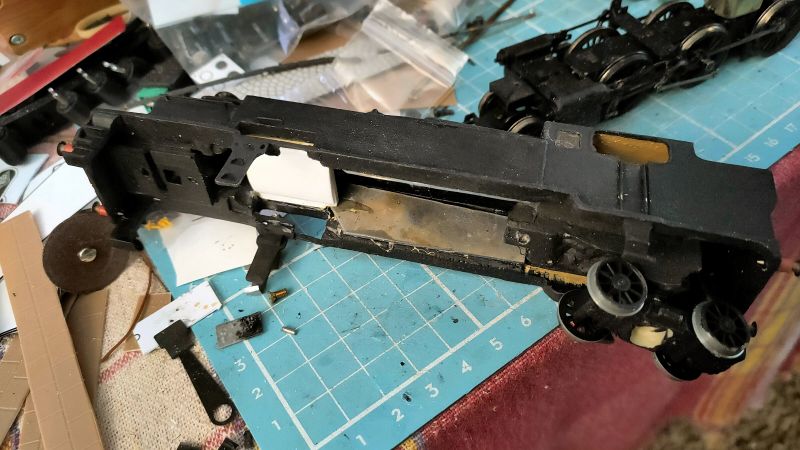
I added some bits of 60 thou plastic to the underside if the boiler where the tank cutouts are: one piece is just flat to bridge the width, and the other was cut narrower and filed to a curve to represent the underside of the boiler. This reduces the amount of daylight showing in the first photo through the cutouts. these are unpainted in the second photo.
Some bits of sheet lead were glued into the insides of the side tanks.
I also had to modify the slot in the underside of the rear bogie to allow more side play. This can be seen as the unpainted cream resin in the second photo.
A quick test on the programming track on DC showed all was well, once I cleaned the stray paint off the wheel treads. The chassis is now ready to be hard-wired for DCC operation. As there is plenty of spare room for a normal decoder (unlike in the original N class, where a small decoder took over the pace previously occupied by the small pcb beside the motor); I'm thinking I'll try a Zimo MX600 decoder and see how that behaves.
Jeff Lynn,
Amateur layabout, Professional Lurker, Thread hijacker extraordinaire
Amateur layabout, Professional Lurker, Thread hijacker extraordinaire
Posted
Full Member
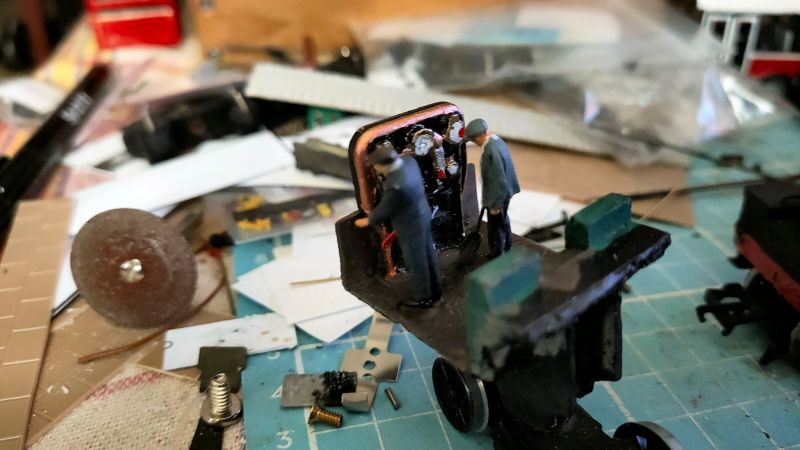
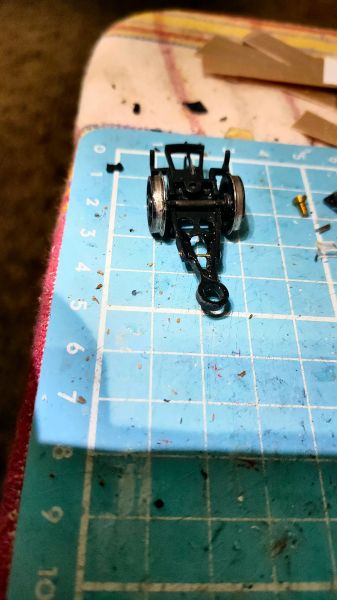
I came up with a solution for shortening the front pony on the W; on tighter curves, the outside wheel would rub on the back of the buffer beam, causing the pony truck to derail. I cut across it and cut away the webbing (weakening it a bit), then dovetailed the cut pieces into each other and strengthened the joint with a piece of handrail wire drilled through the lot, which shortened it by around 2mm. I had to shorten and adjust the spring as well, and trim the chassis and cylinders to give it clearance, but it did successfully run back and forth around my curves in both directions. I also removed some material from the backs of the front steps to give more room for the pony to swing. I won't say it's reliable yet, but it is getting there. The rear bogie also still needs a bit of fettling to get it to stay level and, eventually, to be able to take some weight behind it when the locomotive is used to actually haul trains.
The W has a Zimo MX600 decoder hard-wired in. The mechanism growls a little at present, but I hope that will settle a bit with more running.


Jeff Lynn,
Amateur layabout, Professional Lurker, Thread hijacker extraordinaire
Amateur layabout, Professional Lurker, Thread hijacker extraordinaire
Posted
Full Member
Whatever you gave her, can I have some please ………
'Petermac
Posted
Full Member
All this while SWMBO slept ! :shock: :shock:
Whatever you gave her, can I have some please ………
Jeff Lynn,
Amateur layabout, Professional Lurker, Thread hijacker extraordinaire
Amateur layabout, Professional Lurker, Thread hijacker extraordinaire
Posted
Full Member
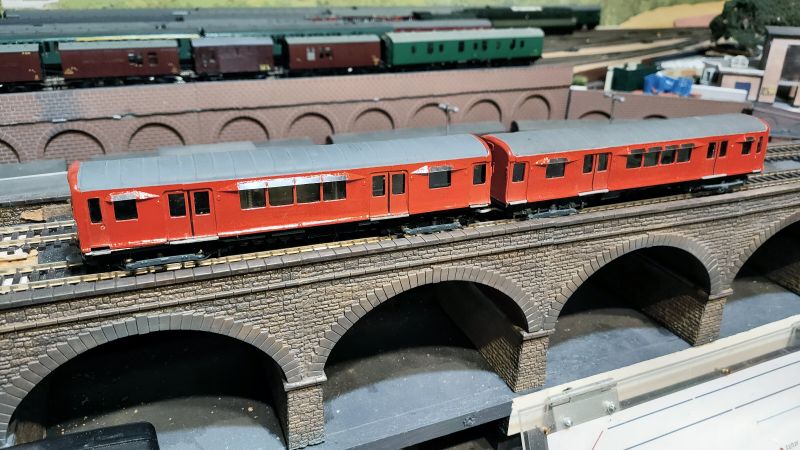
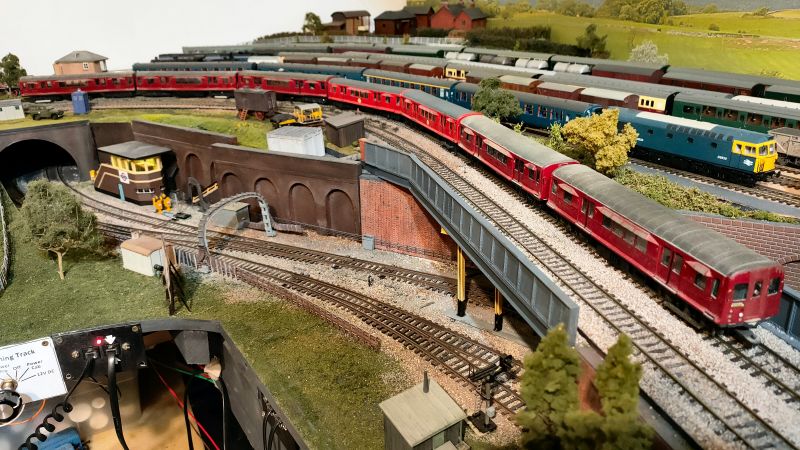
I have been buying components ready for the conversion of the 1959 train, including two coreless SPUD motor bogies from Scale Link, and six pin-point bogies from Metromodels.
Meanwhile, one of the flare-sided cars was already fitted with an older-style SPUD motor bogie, which actually ran very nicely on DC power, so I decided it was worth retaining and fitting for DCC. This would also require extra pickups in the unpowered bogie. I chose to hard-wire a Zimo MX600 decoder. Conversion notes from Metromodels suggest dismantling the SPUD to reach the metal tags that go inside from the pickups to the brushes: I decided I would use a milling tool in the Dremel and grind away the metal where it folds over the inside frame on each side, thus not disturbing the works completely. This left the tags sticking out at the top for the brush feeds, and the outside pickups ready to have the red or black wires soldered directly to them. I also decided to fit a plastic sheet motor bogie mount, for three reasons:
1. to reduce the chances of a short-circuit from the metal contacts on the SPUD touching the original white metal mounting plate;
2. to increase the available free swing of the motor bogie, where the shaped metal mounting had to be ground away to allow for the extra wires; and
3. to lower the ride height by about 1mm.
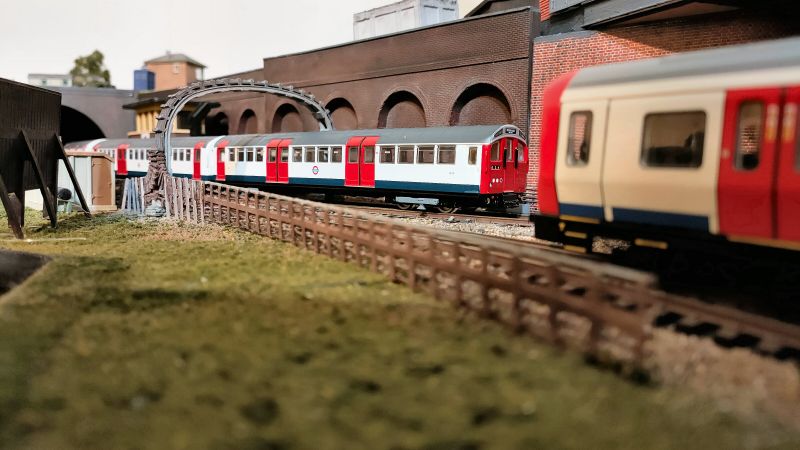
The new pair of cars had arrived nicely built, but without the characteristic glass vents at the tops of the side windows, and painted in a brighter red than the train red on my previous units, with gold London Transport names. I used my previous method of glazing the vents with thin clear plastic mounted on the outside of the wedge-shaped mouldings, then carefully painted around the edges to blend them in. As they were in bus red rather than train red, a scheme that was applied from November 1973 onwards, I removed the gold fleet names and Q Stock numbering and added white "bullseyes" with CO or CP Stock numbering instead. They should also have white numbering, but I couldn't find any suitable numbers in my collection. That will be fixed later.
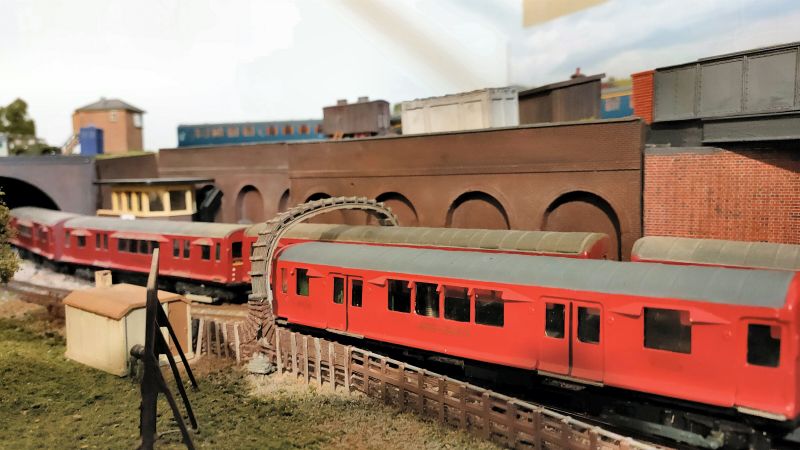


The running in formation with my existing 5-car set is good, although I need to speed match them to complete the tasks to date (the existing models have two Black Beetle motor bogies wired to one decoder in one car). All of these cars need seats added - that's for the future too. I took some short video clips of this stock running on Newton Broadway, posted on YouTube. Another clip with the new Bachmann/EFE train running will follow shortly.
[yt]INK_Sgsdntc[/yt]
Jeff Lynn,
Amateur layabout, Professional Lurker, Thread hijacker extraordinaire
Amateur layabout, Professional Lurker, Thread hijacker extraordinaire
Posted
Full Member
[yt]MZkmp4nBHek[/yt]
Jeff Lynn,
Amateur layabout, Professional Lurker, Thread hijacker extraordinaire
Amateur layabout, Professional Lurker, Thread hijacker extraordinaire
Posted

Full Member
Keep the videos coming!
Cheers,
Claus
www.flickr.com/photos/ellef/
Claus
www.flickr.com/photos/ellef/
1 guest and 0 members have just viewed this.