Brendan's Workbench.
Posted

Full Member
Higher gauge number, thinner the wire.
#26 is 0.0159", 0.404mm. You would need a gauge diameter tool or a micrometer to really tell differences between for example #24, #26 or #28. A ruler (even of the engineering type, mine goes to 1/64ths) doesn't cut it. In my experience you should probably go over-scale a tad anyway.
1" diameter handrail is 0.0132" in 1:87. #28 gauge (0.0126") would be closer. 15 thou' brass or phosphor-bronze rod would also be close (0.015") and slighter over-scale.
Nigel
©Nigel C. Phillips

Posted

Full Member
I'm thinking of creating an underside-adapted version of the crank system from Bachmann's full-domes (when the trucks turn, the cranks make the coupler boxes pivot. It lets them take 18" radius curves despite being full-length) for the coupler boxes on this thing.

Posted
Full Member
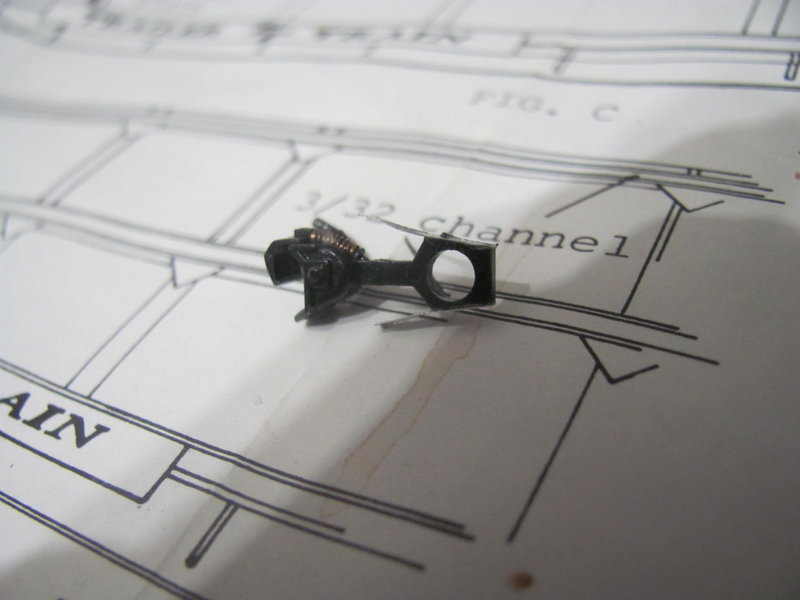
I bought an eight-pair lot of ProtoMax couplers. They're Kadee #5 clones and require the same kind of separate copper centering spring… which I did not want to buy. So I did this instead: glued strips of aluminum to the sides. The trick to doing it is to cut the strips oversize at first, then trim them down after the Krazy Glue has set.
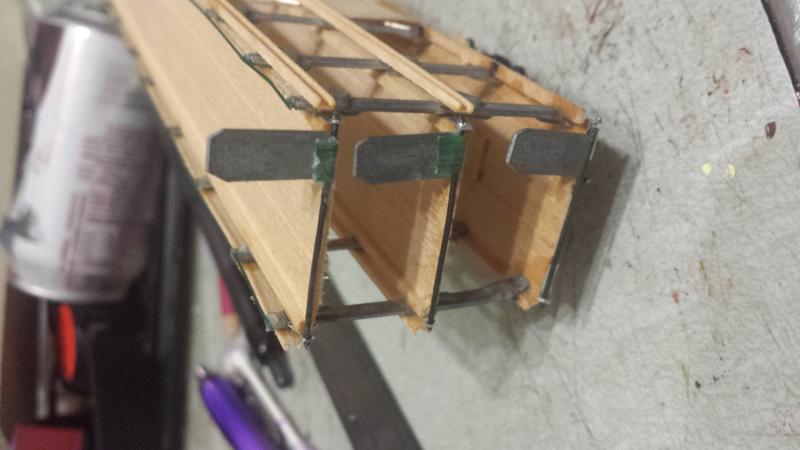
The second is the work begun on one of the shorty full-dome cars:

I cut out the two forward-most seats, and some of the surrounding floor on the right-hand side. This has given a stairwell entry opening so that there's actually a way to get between the floors of the car, and made room for a landing.
Posted

Inactive Member
Cool. :cool:
Max
Port Elderley
Port Elderley
Posted
Full Member
Aluminum is not known for being springy.
Nigel
©Nigel C. Phillips
Posted
Full Member
Nigel, that may be so, but something they do to it (Perhaps the rolling) when making soda cans out of it renders it springy. I installed and tested one coupler fitted with my homemade whiskers, and they work.
Posted
Full Member

The Athearn streamlined passenger cars I got for Christmas were fitted with early (slightly more angular, and from before the gladhands were disguised as brake hoses) Kadee #4 couplers. But just the couplers, no draft gear. I've had little luck finding references for the #4 draft gear boxes, or finding any for sale. It was this that first lead me to experimenting with making whiskers with strips cut from soda cans. In this case, I glued a single strip to the back and then bent it. And it works. As does the replacement trip pin made from a piece of staple.
Posted
Full Member
Ingenious, and cheaper than a #148.
Nigel
©Nigel C. Phillips
Posted
Full Member
Posted
Full Member
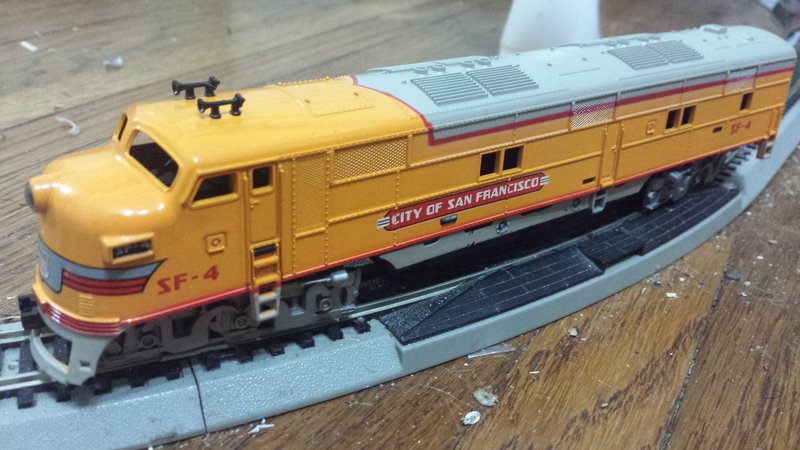
One of them is another loco that I'm working on now, going to improve the detailing and such. A Union Pacific E7, made by Tyco. Needs glazing, separate grabs, interior details, and proper Blomberg sideframes for the trucks. I also want to change that "City of San Francisco" herald to a "City of Portland" one, purely for preference since that was the named streamliner that called at my old hometown of Pocatello.
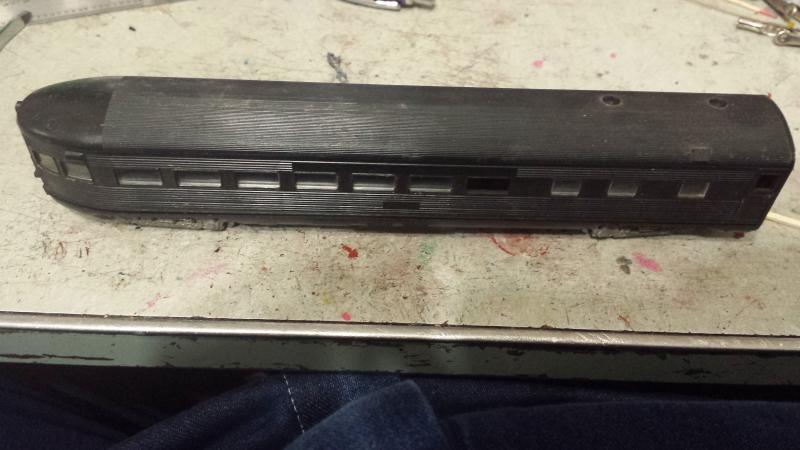
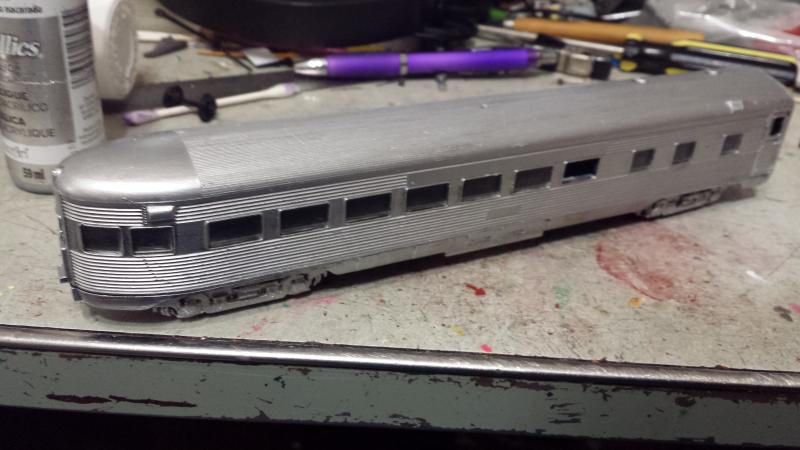
Another is a used, old, undecorated Athearn(?) streamlined observation car. I'm painting it up in silver to look like the bare, shiny stainless steel preferred by the ATSF.
 Last edit: by ZeldaTheSwordsman
Posted
Full Member
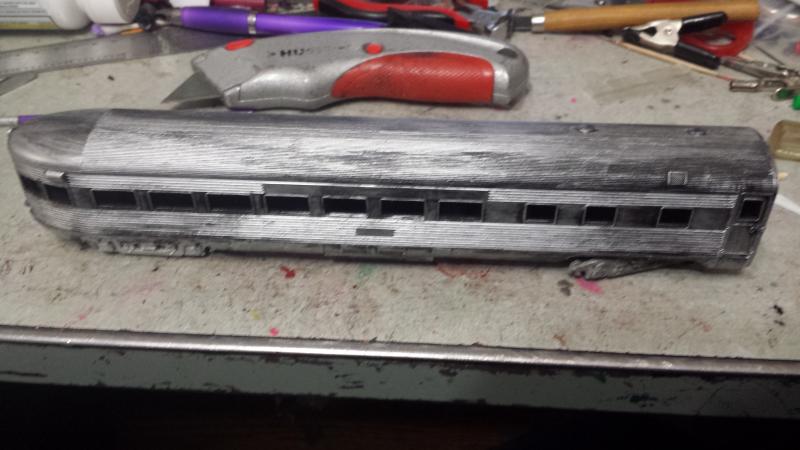
Exterior paint is mostly done.
Posted
Inactive Member
Max
Port Elderley
Port Elderley
Posted
Full Member
Here's an update on the autorack (which has sadly gotten a bit shabby since the last photo due to breaking and having to be largely rebuilt):
I have installed the bridgeplates at one end, mounted such that they can pivot up and down like the real thing.
For those who might not know, autoracks are loaded by grouping them into a block that's backed against an adjustable-height ramp. The bridgeplates are lowered to allow automobiles to move from the loading ramp down the line.
Last edit: by ZeldaTheSwordsman
Posted
Full Member

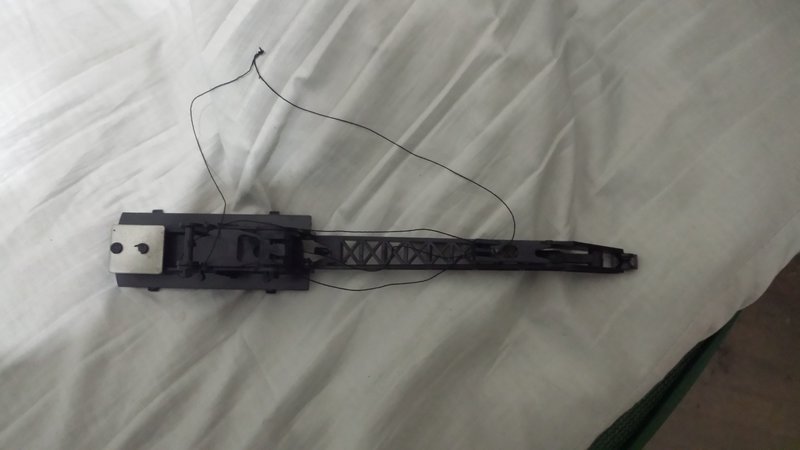
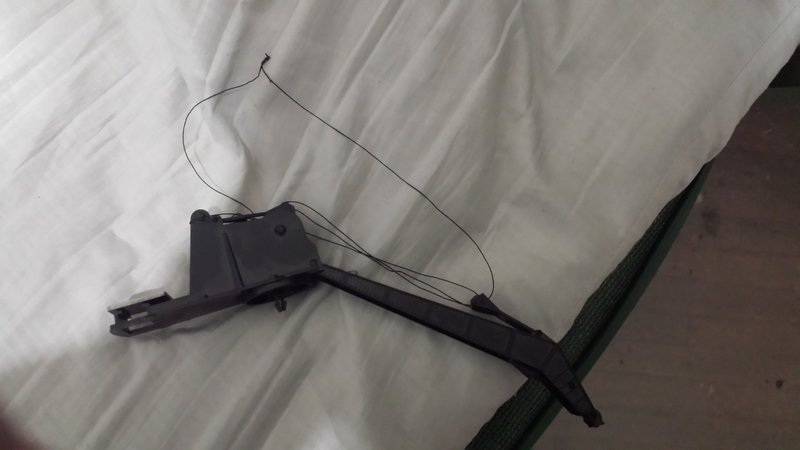
I've begun modifying the coupler boxes so that they can pivot. The sides of the plastic "tails" are cut at an angle to make adding homemade whiskers easy. I'm thinking of constructing mounts for them that are on spring-loaded rods. The idea there is to let them slide forward for extra cornering clearance but draw them back on straightaways to maintain proper distance.
I also got these:

One is for a 4-8-4, the other is for a 4-8-2. I misjudged the size of the 4-8-2 chassis' wheels, thought it was another 4-8-4 and was going to do a Union Pacific FEF-series with it - I even bought a suitable tender. Sigh. But it's not a total loss - it's still a perfectly good chassis, so I guess the Pegasus Bay Railroad will be gaining a Mountain (I had previously intended to use it to make UP 7002 after discovering it wasn't FEF material, but the drivers are too small). That'll let me put an extra tender I have to work.
The 4-8-4 chassis shown in the photo is going to be used for a streamlined 4-8-4, also for my fictitious Pegasus Bay Railroad. I have a poll going that pertains to it here. The 4-8-4 will be liveried the same as my Mantua Pacific, and use the tender I originally built for that loco.
Also in that lot was another set of eight drive wheels that so happen to be 68" in diameter. That brings me to a total of 16 68" drivers, and that means a certain other project can properly begin.
And here are some repaints in progress:

The coach is by Lima. I have painted the bogies silver, and am painting over the Amtrak stripes with silver as part of turning it into a Santa Fe streamlined coach. I have two more like it, but I need to make three more bogies since the other two only have one between them.
The boxcar is by Varney. I'm painting the body robin's egg blue, and the doors (not shown) buttercup yellow. These are the colors of one of the two boxcars in the "Lady Lionel" set that inspired my pink Pacific and the other pastel freight cars shown in this thread.
Posted
Inactive Member
Max
Port Elderley
Port Elderley
Posted
Full Member

I'm now mostly done with the paint on the robin's egg blue boxcar. Most of what's left is the inside of the roof walk holes.
Posted
Full Member
Posted

Full Member
Mike
Pig Hill Yard - a small Inglenook shunting layout for my boys, in 00.
Pig Hill Yard - a small Inglenook shunting layout for my boys, in 00.
Posted
Full Member
Is this a working or static model? Both ends will attach to the drum. From memory (it's been a few years since I built one): There should be 2 sets of rollers, first set at the beginning of the jib around the jib pivot, second set at the end of the jib (the arm). The sequence should be drum-over first roller A-round second roller A-round first roller B-round second roller B-over first roller C-drum. Basically acts like a block and tackle. Could be even more rollers depending on the ratios required. Heavy lifting gear could have 5-6 sets of rollers. Plus there would probably have been a separate cable for the chain and hook. That would be one ended.
Nigel
©Nigel C. Phillips
Posted
Full Member
On Tyco's crane, as far as the mechanism for lifting the jib goes only the winch above the cabin is an actual drum. The other two points are pairs of molded pulleys that the thread has to run through. But your pointer might still be applicable.
1 guest and 0 members have just viewed this.