N Gauge - Marty�s Project � Pentrecourt Halt
Posted
Guest user
Otherwise no views & therefore you won't post. Method in my madness.
No, really, coming on well.
Posted

Full Member

Should have known. Sigh. Alright Mate, just for you :roll:

Posted
Full Member
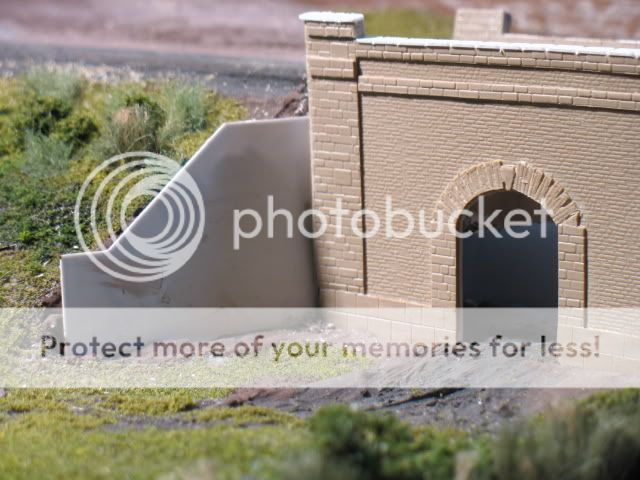
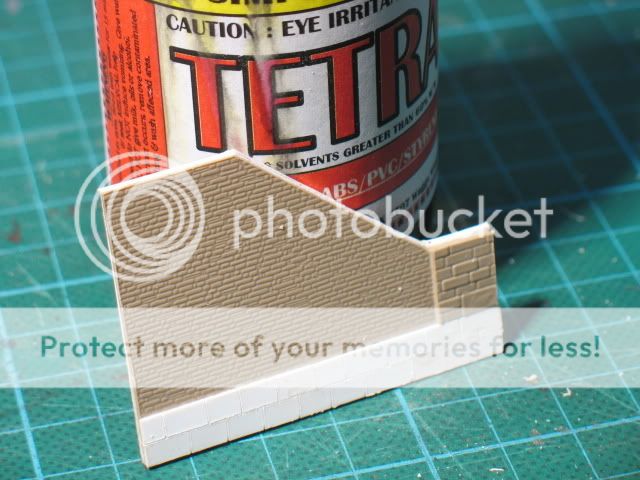
I've got the bridge building crew working hard on the bridge retaining walls at the moment.
I was going to put the first one in like this…
But it just didn't look right and I couldn't find any prototype photos showing the retaining wall at less than 90 deg to the bridge.
So… the excavator was called in, after all if the Rector can do it
A deep breath and…
Didn't take too long…

… and there was a hole :shock:
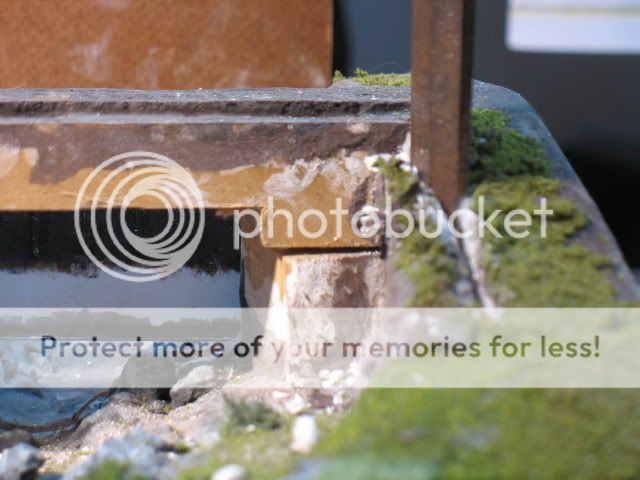
A mix of ground goop made up from polyfiller, Oxide stain for plaster/concrete and a dash of water

… brush it on and the new retaining wall was in place.;-)

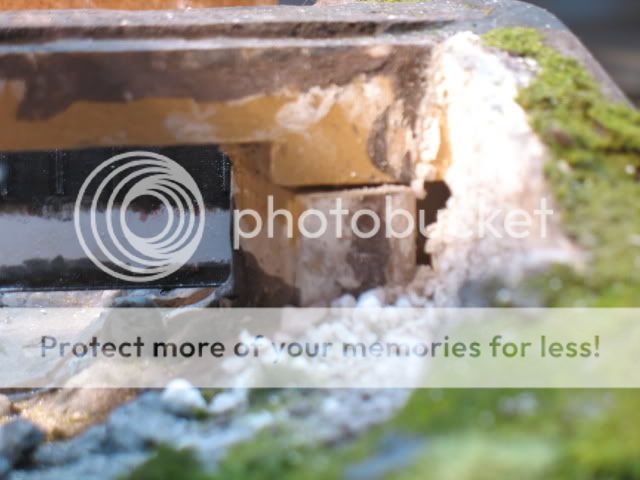
Now for the other side, minor excavations made the curved bank straight and a piece of plasticard dropped in to use as a template.

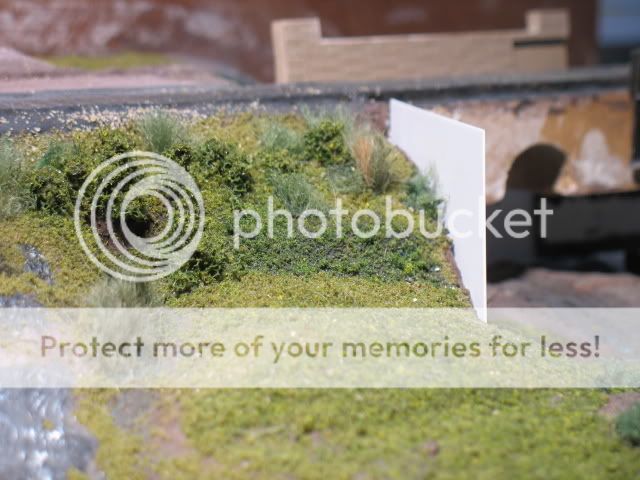
Trim to suit…
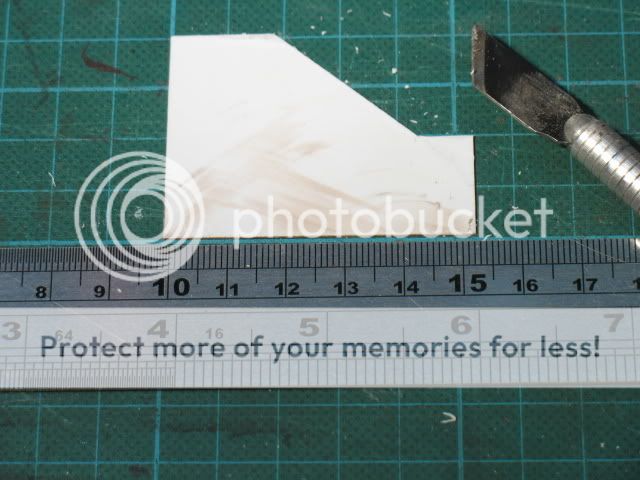
Test fit…
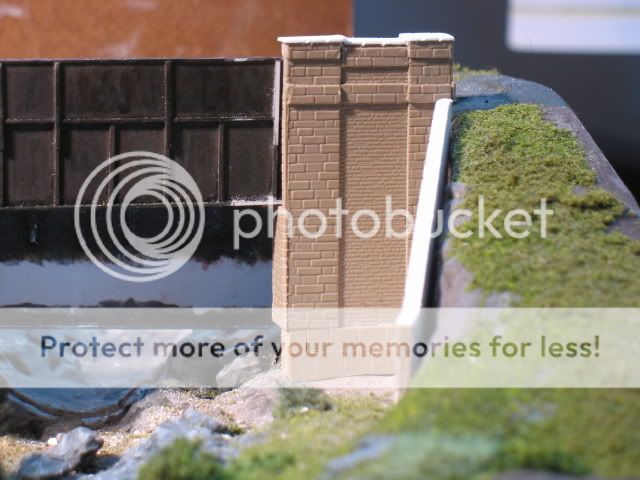
Looks OK to me… The main walls haven't been glued to the roadbed yet.
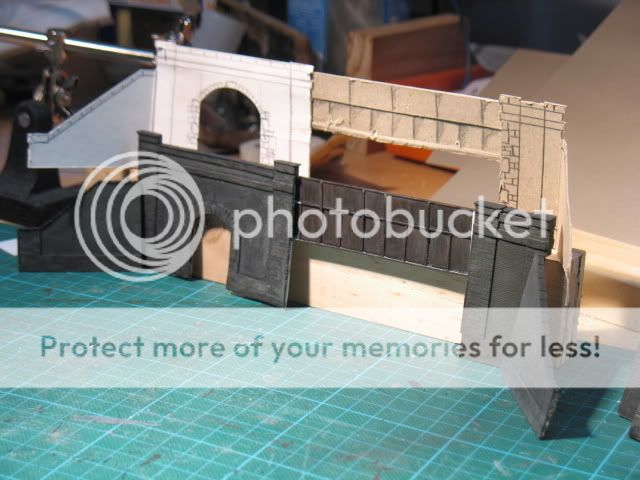
Cut out some of the other bits:
another bit of plain 1mm plasticard for strengthening,
the slaters embossed brick plasticard wall, (spotted the deliberate mistake?)
another bit of 1mm plasticard scribed to represent the foundation blocks and
the slaters embossed large bricks as the front pillar…
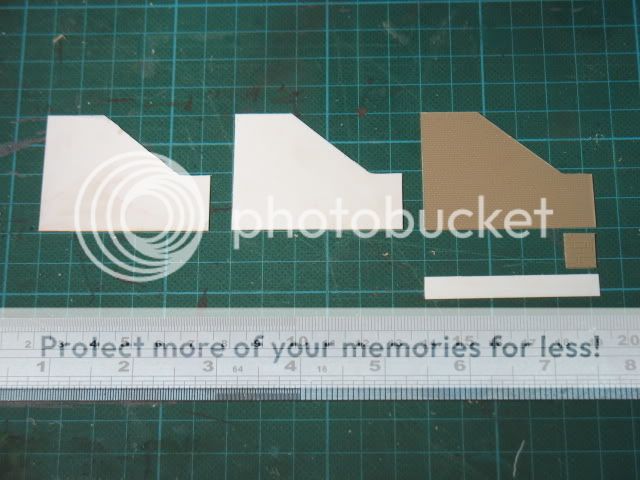
Glue all the bits together…

Capping and edging to be added yet…
and then…. realise that the embossed brickwork is meant to be on the other side :thudsigh
Not a complete disaster, I'll just add brickwork to the other side tonight. My excuse was it was late ;-)
Can't wait to get it glued together and painted.
Onwards…
 Last edit: by Marty
Posted
Guest user
but it is looking good.
:cool:
Posted
Full Member
Posted

Full Member
Phill
Posted
Full Member
Trouble is Phil, if I go any slower I don't feel like I'm making any progress at all

Last edit: by Marty
Posted
Guest user
Coming on well.
Posted

Inactive Member
Ken
'It don't mean a thing if it ain't got that Swing'
Posted
Full Member
I bought a couple of shakers of the Woodland Scenics fine turf, one is burnt grass and the other a mixed grass I think. I use these as the base colours.
The mixed grass is used as the base in the field in the foreground and the burnt grass on the embankment.
From following MikeC and Novices demos I find that the key is not to have a field just the base colour.
I mix the two base colours a little bit, patches here and there, and blend them a bit where the two colours join at the edge of the field, much like real life would.
I use a couple of the Heki darker green scatters which get patched around too, edges of walls, where the fence is going to be, water courses.
Heki also do a really good foliage which I use as the basis for shrubs and tree canopies.
Heki - at the bottom of the page.
The base woodland scenics scatters go over the heki foliage as leaves (I'm using a combination of diluted PVA glue sprayed on or a artists spray glue) and then are highlighted with an alternate colour and/or ground pastels in yellows, mauve, greens, browns.
Grasses are a combination:
- MikeC's sisal twine untwisted, soaked in an appropriate acrylic paint color and then cut and poked into a dob of neat pva, some times not painted to represent dry grasses.
- "furry" dishwashing cloths that you can buy in the supermarket cleaning isle, also soaked in an appropriate acrylic paint color and then cut and poked onto a dob of neat pva.
Occasional dobs of green,brown, grey, acrylic paint washes to suit and dry brushes of lighter neat colors to highlight.
Using a photo of the area you are trying to reproduce as reference is a big help.
It's a bit painstaking but I'm really happy with the results and there is heaps more to go…
Experiment and have fun.
Last edit: by Marty
Posted
Guest user
Also I like the colour of the lighting in your photos. It seems sunny without being too yellow.
Really enjoying seeing the progress.
mike
Posted
Inactive Member
Ken.
'It don't mean a thing if it ain't got that Swing'
Posted

Full Member
You give me renewed hope for my HO scale. If you can do that!!!! I can do it in HO!
Wayne
Posted
Full Member
(Just so you don't think I'm slacking off)
Thanks MikeC, Ken and Wayne for your comments.
MikeC,
An interesting mix of lighting in the room, direct 150 spot, direct overhead fluoro tube and reflected daylight through a nearby window.
The spot, of course, being dominant and I've used the "tungsten" light setting on the Canon Powershot A610 which, I agree, gives a better sunlight shot than the "overhead fluoro" setting.
I'm still playing with the camera settings, maybe one day I might get something right
Ken, glad to help.
Wayne, I've no doubt your layout will be awesome if your scratchbuilding is anything to go by. Looking forward to you getting started.
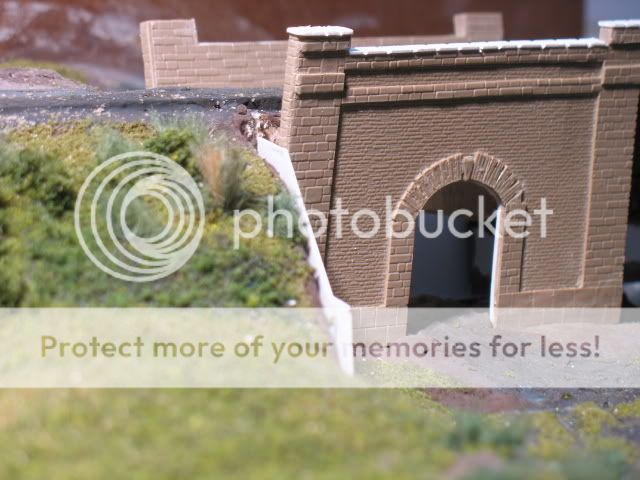
The bridge building crew are working steadily, if slowly, and progress pics below.
Base coat of grey with black wash, pictured in comparison with my original cardboard mockup.
..and a couple of gratuitous photos of the front part of bridge paint and weathering complete (EDIT: apart from the obvious white bits which get a coat of paint later on) and glued into place.
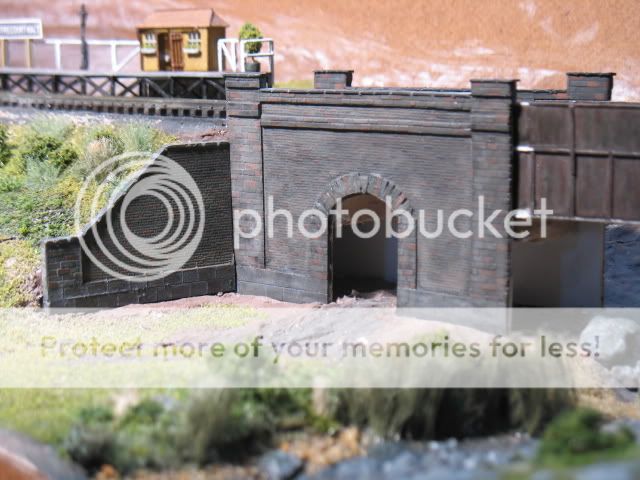

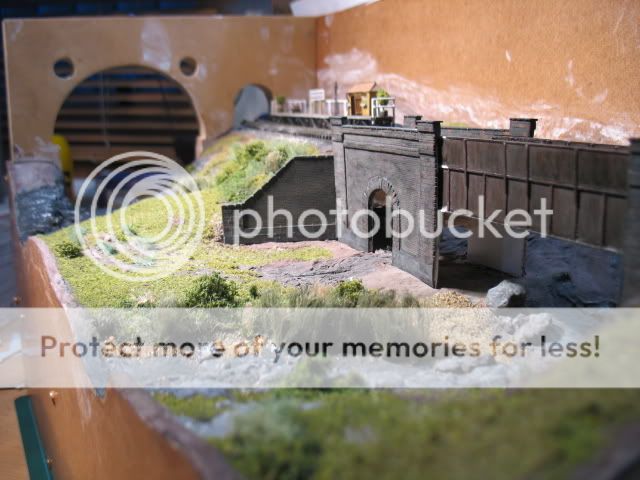
More soon…
Comments and suggestions welcome as always.
cheers
Last edit: by Marty
Posted
Guest user
As a newcomer to the forum it is taking me a while to get round and read all the members threads, but I have really enjoyed reading and also watching your thread and layout grow to a very very high standard.
The best for me is that your drawing at the start is so close to the nearly finished layout.
Posted
Full Member
keeps me out from under T's feet too
Last edit: by Marty
Posted
Guest user
I meant to say diorama not layout, looking forward to seeing the layout or have you a thread on it already.
Posted
Full Member
The layout thread, hidden at the bottom of the members layouts section because of the dedication to the diorama, is here
http://yourmodelrailway.net/view_topic.php?id=362&forum_id=21
cheers
Posted
Guest user
Posted
Guest user
1 guest and 0 members have just viewed this.