Weybourne
Posted

Full Member
Station set on the North Norfolk coast.
These things happen Ron
I hate ballasting points for that reason……bitter experience has taught me to keep throwing the point throughout the drying period to prevent nasties happening
Ps I meant to post earlier to tell you. How much I liked the work you have done on the station:thumbs

Posted

Full Member
Cheers
Ron
Proper Preparation makes for Perfect Performance!!
http://yourmodelrailway.net/view_topic.php?id=13331&forum_id=21
http://yourmodelrailway.net/view_topic.php?id=13331&forum_id=21
Posted

Full Member
Cheers, Pete.
it was already on fire when I got here, honest!
Posted
Full Member
CheersRon
Proper Preparation makes for Perfect Performance!!
http://yourmodelrailway.net/view_topic.php?id=13331&forum_id=21
http://yourmodelrailway.net/view_topic.php?id=13331&forum_id=21
Posted
Full Member
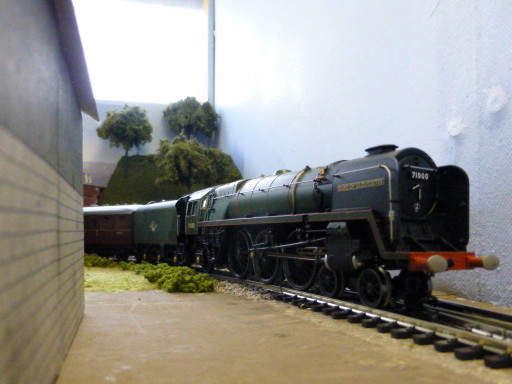
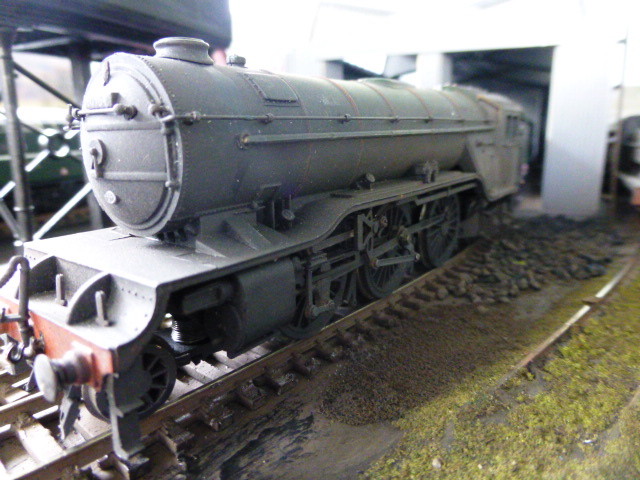
and the 'Duke' is back!!
Cheers Ron
 Last edit: by g0ibi
Proper Preparation makes for Perfect Performance!!
http://yourmodelrailway.net/view_topic.php?id=13331&forum_id=21
http://yourmodelrailway.net/view_topic.php?id=13331&forum_id=21
Posted
Full Member
Cheers
Ron
Proper Preparation makes for Perfect Performance!!
http://yourmodelrailway.net/view_topic.php?id=13331&forum_id=21
http://yourmodelrailway.net/view_topic.php?id=13331&forum_id=21
Posted
Guest user
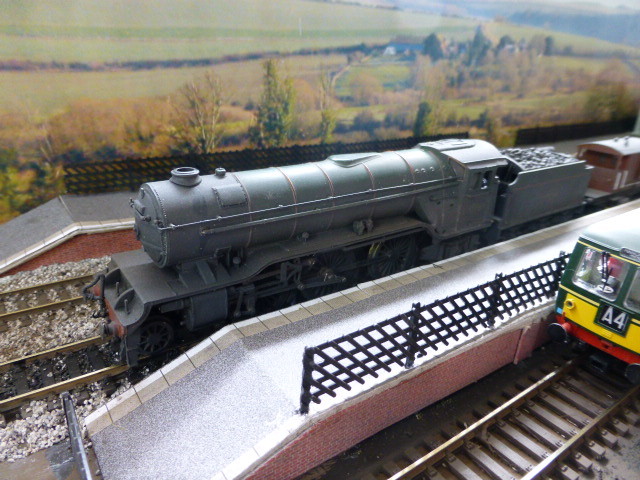
Did the dirty DC visitor come that way or is that a project of your own. It looks very well done. I note you are still teasing me with the DMU as well. Bad man.:lol:
Looking good
What is the latest with the class 08. Has Paul sorted you out with one in a livery of your choosing ?
Cheers
Toto
Posted
Full Member
Sorry about the DMU in the shot!! :):)
Cheers
Ron
Proper Preparation makes for Perfect Performance!!
http://yourmodelrailway.net/view_topic.php?id=13331&forum_id=21
http://yourmodelrailway.net/view_topic.php?id=13331&forum_id=21
Posted
Guest user
The new Heljan 06's. Ain't seen them yet. I take it they're not released yet.
Your project is excellent, maybe another couple of shots……..please.:lol:
I'll forgive you for the sneaky DMU shot:lol: but no more you understand !
I have a couple but they still require decoders yet. That's for later. I would like to see a remake of the class 101 bubble car. There is one at Hattons at the moment but the coffers are empty. I just ordered a class 14 in blue circle cement livery ( weathered ) and a class 16 BR green small yellow panels ( weathered ) they were £75.00 each but well detailed models and the usual standard Heljan bomb proofing:lol:
Keep us up to date with the 08.
Cheers for now
Toto
Posted
Full Member
Proper Preparation makes for Perfect Performance!!
http://yourmodelrailway.net/view_topic.php?id=13331&forum_id=21
http://yourmodelrailway.net/view_topic.php?id=13331&forum_id=21
Posted
Full Member
Cheers
Ron
Proper Preparation makes for Perfect Performance!!
http://yourmodelrailway.net/view_topic.php?id=13331&forum_id=21
http://yourmodelrailway.net/view_topic.php?id=13331&forum_id=21
Posted

Legacy Member
:thumbs;-):cool:
my webcam link 6.19.184.67:8080
Posted
Full Member
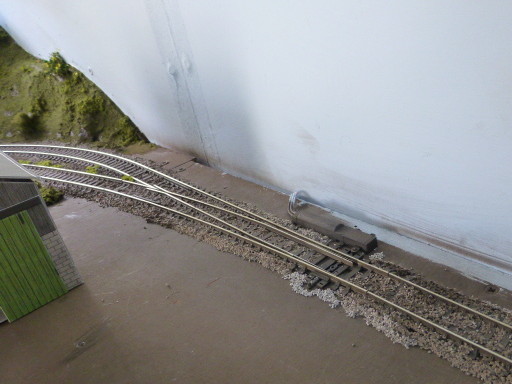
A photo to show how fine they are!!
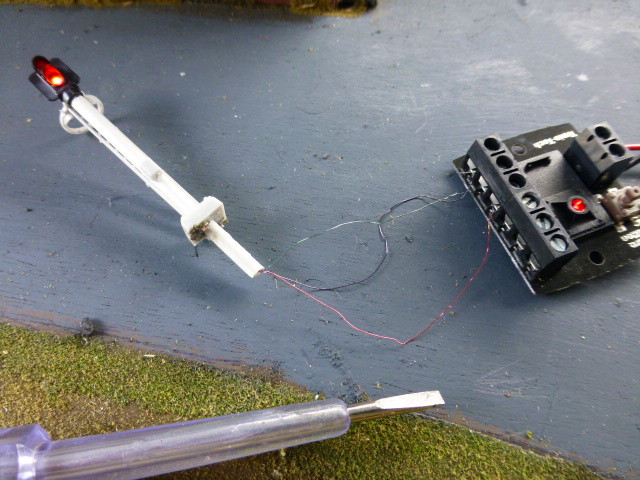
Live and learn!!
Cheers
Ron
Proper Preparation makes for Perfect Performance!!
http://yourmodelrailway.net/view_topic.php?id=13331&forum_id=21
http://yourmodelrailway.net/view_topic.php?id=13331&forum_id=21
Posted
Legacy Member
:thumbs;-):cool:
my webcam link 6.19.184.67:8080
Posted

Full Member
Cheers MIKE
I'm like my avatar - a local ruin!
I'm like my avatar - a local ruin!
Posted
Full Member
Cheers
Ron
Proper Preparation makes for Perfect Performance!!
http://yourmodelrailway.net/view_topic.php?id=13331&forum_id=21
http://yourmodelrailway.net/view_topic.php?id=13331&forum_id=21
Posted
Full Member

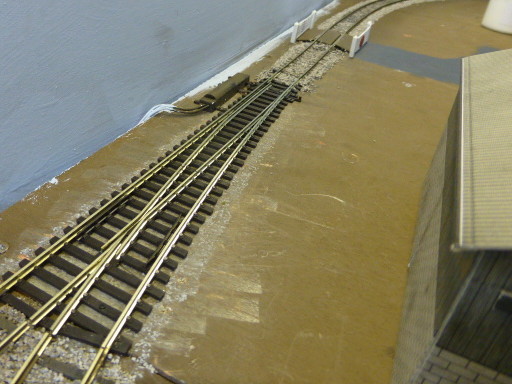
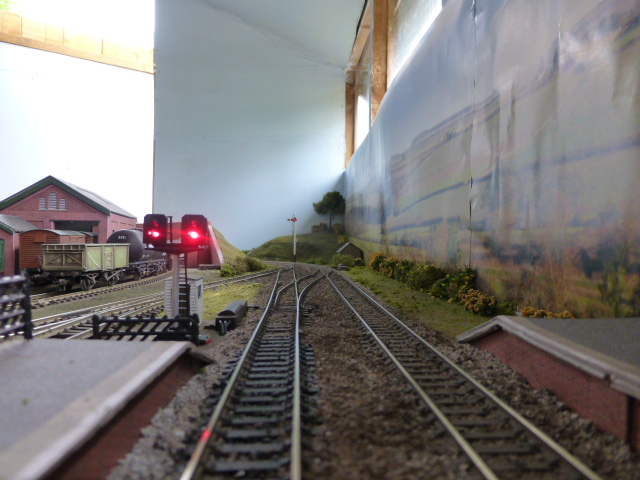
Step 1, filler mixed with black acrylic paint.
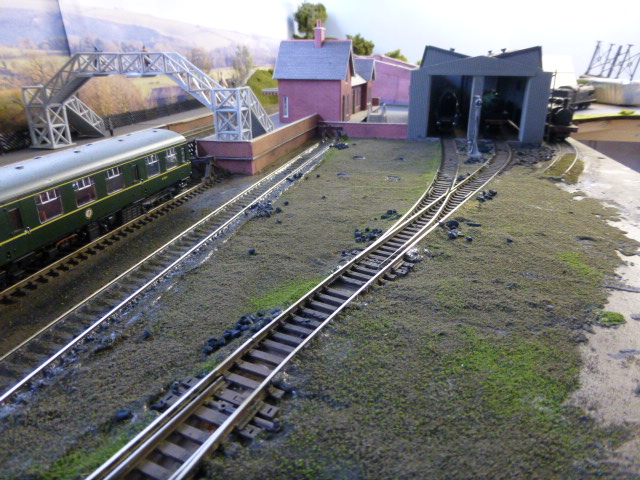
Step 2, scatter earth/grass and coal plus infilling in the track on the left.
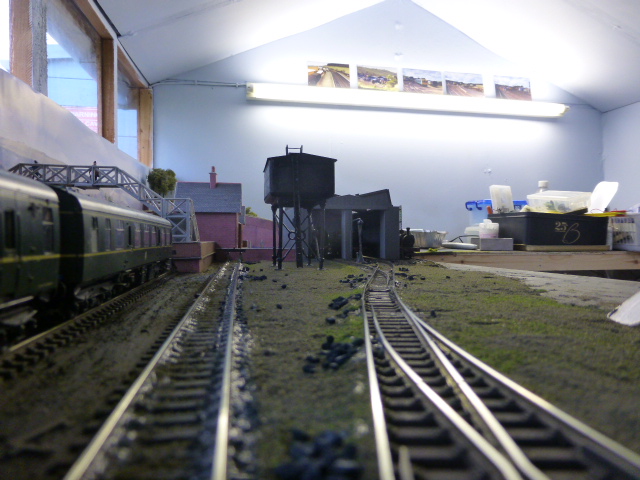
Step 3, hoover up the excess (will do that tomorrow!!)
Still lots of 'clutter' to add!!
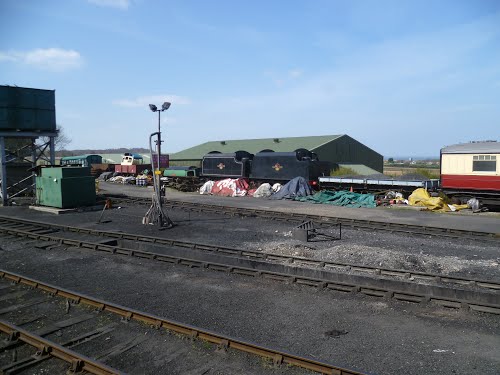
Original loco yard.
Cheers
Ron
Last edit: by g0ibi
Proper Preparation makes for Perfect Performance!!
http://yourmodelrailway.net/view_topic.php?id=13331&forum_id=21
http://yourmodelrailway.net/view_topic.php?id=13331&forum_id=21
Posted
Guest user
Are you using a static grass applicator ? I have a small one ( static grass applicator ) and I'm interested in how you feel it's performed.
Cheers
Toto
Posted
Full Member
Cheers
Ron
Proper Preparation makes for Perfect Performance!!
http://yourmodelrailway.net/view_topic.php?id=13331&forum_id=21
http://yourmodelrailway.net/view_topic.php?id=13331&forum_id=21
Posted
Guest user
What's the issue ? Maybe Gary can cast some enlightenment as I know he made his own and the results speak for themselves.
It's a scary one because you buy or make these things and then take the plunge. It's a messy affair if it doesn't work out but I must say, from what I can see the areas covered look ok.
Keep us in the picture as I am am sure that if there are any pitfalls, then at least 50% of us will hit them. Sorry if you are the guinea pig here.
Cheers
Toto
1 guest and 0 members have just viewed this.