Waddlemarsh
Posted

Site staff
Somewhere SW of London. Somewhen before today
Yes, Peco turnouts etc modified very well.
Ron
NCE DCC ; 00 scale UK outline.
NCE DCC ; 00 scale UK outline.

Posted

Site staff
Ed
Posted
Full Member

Cheers Pete.

Full Member
Ed said
Gosh Rick, can it really be nearly seven years since you packed up Penhayle Bay.
Ed
From “Post #290,225”, 16th May 2024, 1:29 pm
Is that all?
It sometimes seems rather longer than that! I do still have the large stone viaduct. It currently resides in the MRC clubhouse and is used occasionally as a display piece either with my weathering roadshow or just as a piece of modelling work in its own right. The loft contains most of the rolling stock; I sold a few items but almost all is still here and has been added to since. The D600-series "Warships" were produced too late to run on that layout though have all turned wheels on Waddlemarsh albeit very briefly.
There is no chance at present of re-creating the entirety of Penhayle Bay but there may be an option to rebuilt a couple of scenes as run-through dioramas. I have in mind the clay works and Penhayle Bay station and the beach if the option ever becomes available.
I also continue to make selective additions to the Waddlemarsh rolling stock roster. Just this weekend I was at a local show and found a 2-Bil EMU set at a sensible price. It claimed to be new and unopened but the box had definitely been opened more than once. The unit was still wrapped in its tissue inside and appeared to have never been taken out but once I removed it it became apparent that one of the buffer beams had been re-glued at some point, along with one of the fuse boxes hung from the frames. Nothing shows to the viewer but there are glue marks beneath the unit which suggest it might have been a factory repair of transit damage. That would have rendered the item unsaleable by Hornby so it has probably been sitting on a shelf somewhere for the past ten years awaiting purchase by an after-market dealer and that is how it came to me.
At £85 I can't complain. These units often fetch £120+ on the auction sites for used examples. "Brand new in box" ones are quite rare now and can command twice that price. This one is in the BR green with a small yellow warning panel on the ends which is the livery variant I have been chasing on and off for some time having missed out when they were first released. So I came away a happy bunny and the unit is now on the weathering bench being slightly dirtied.
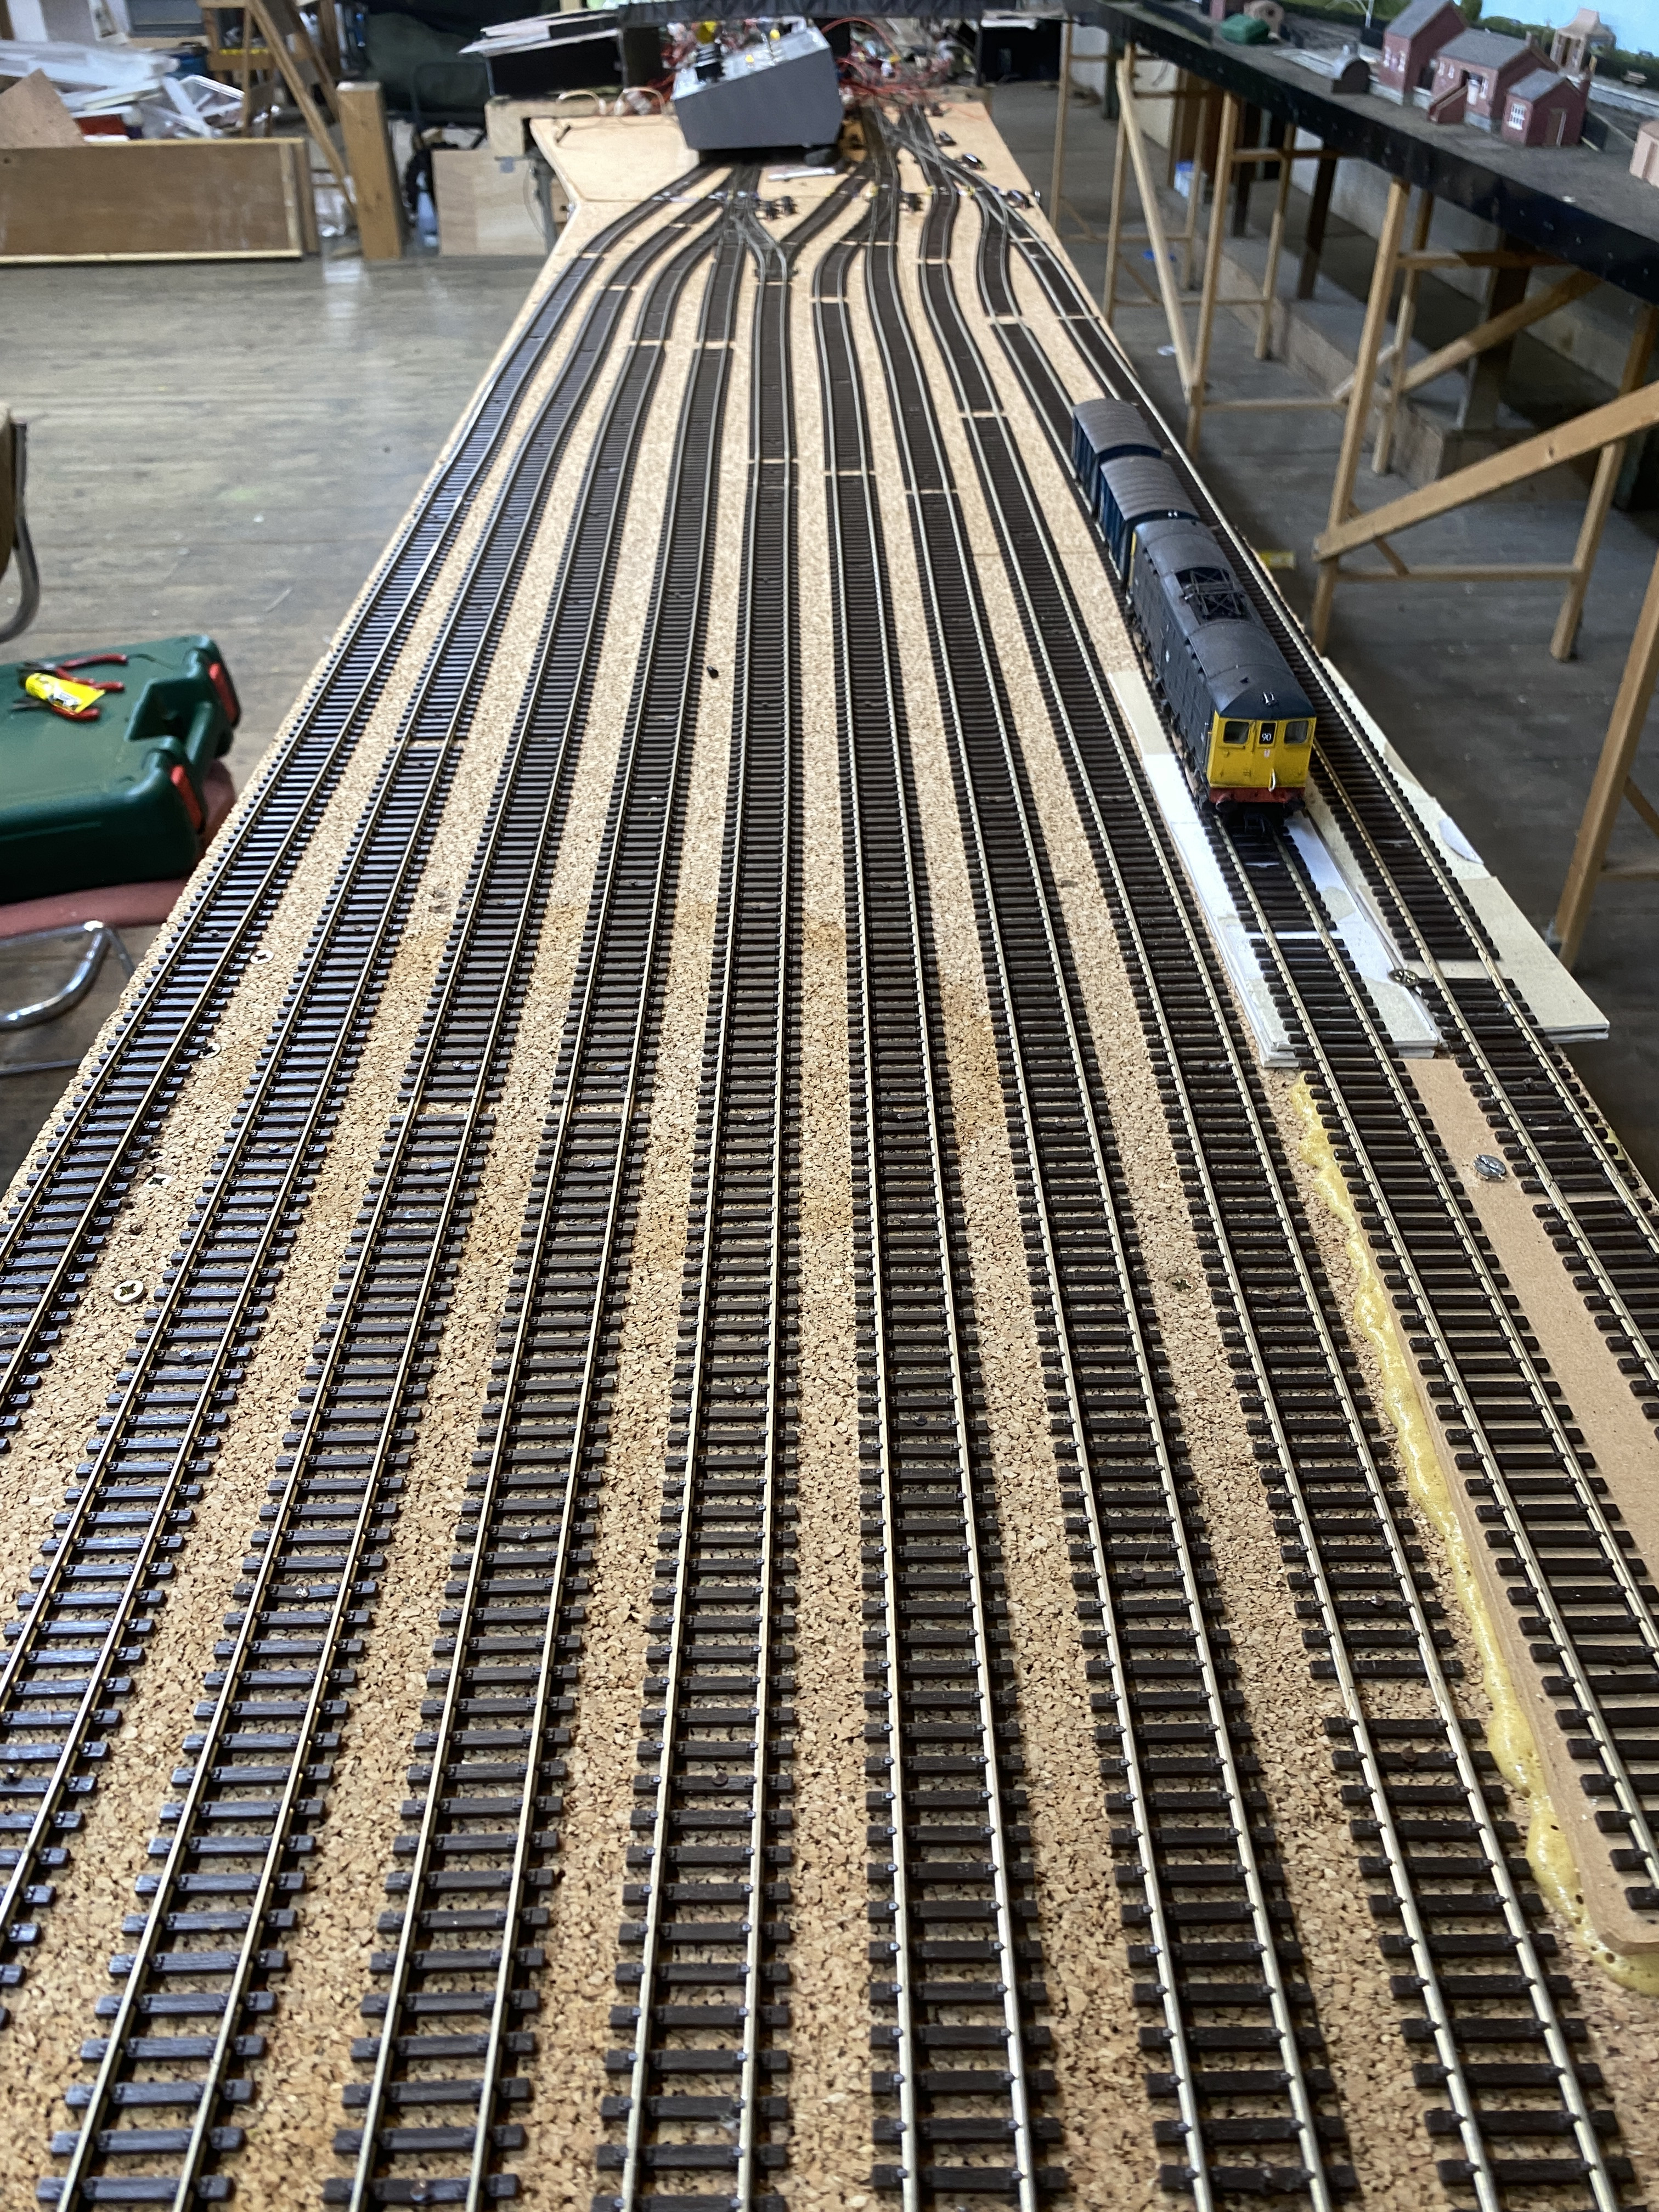
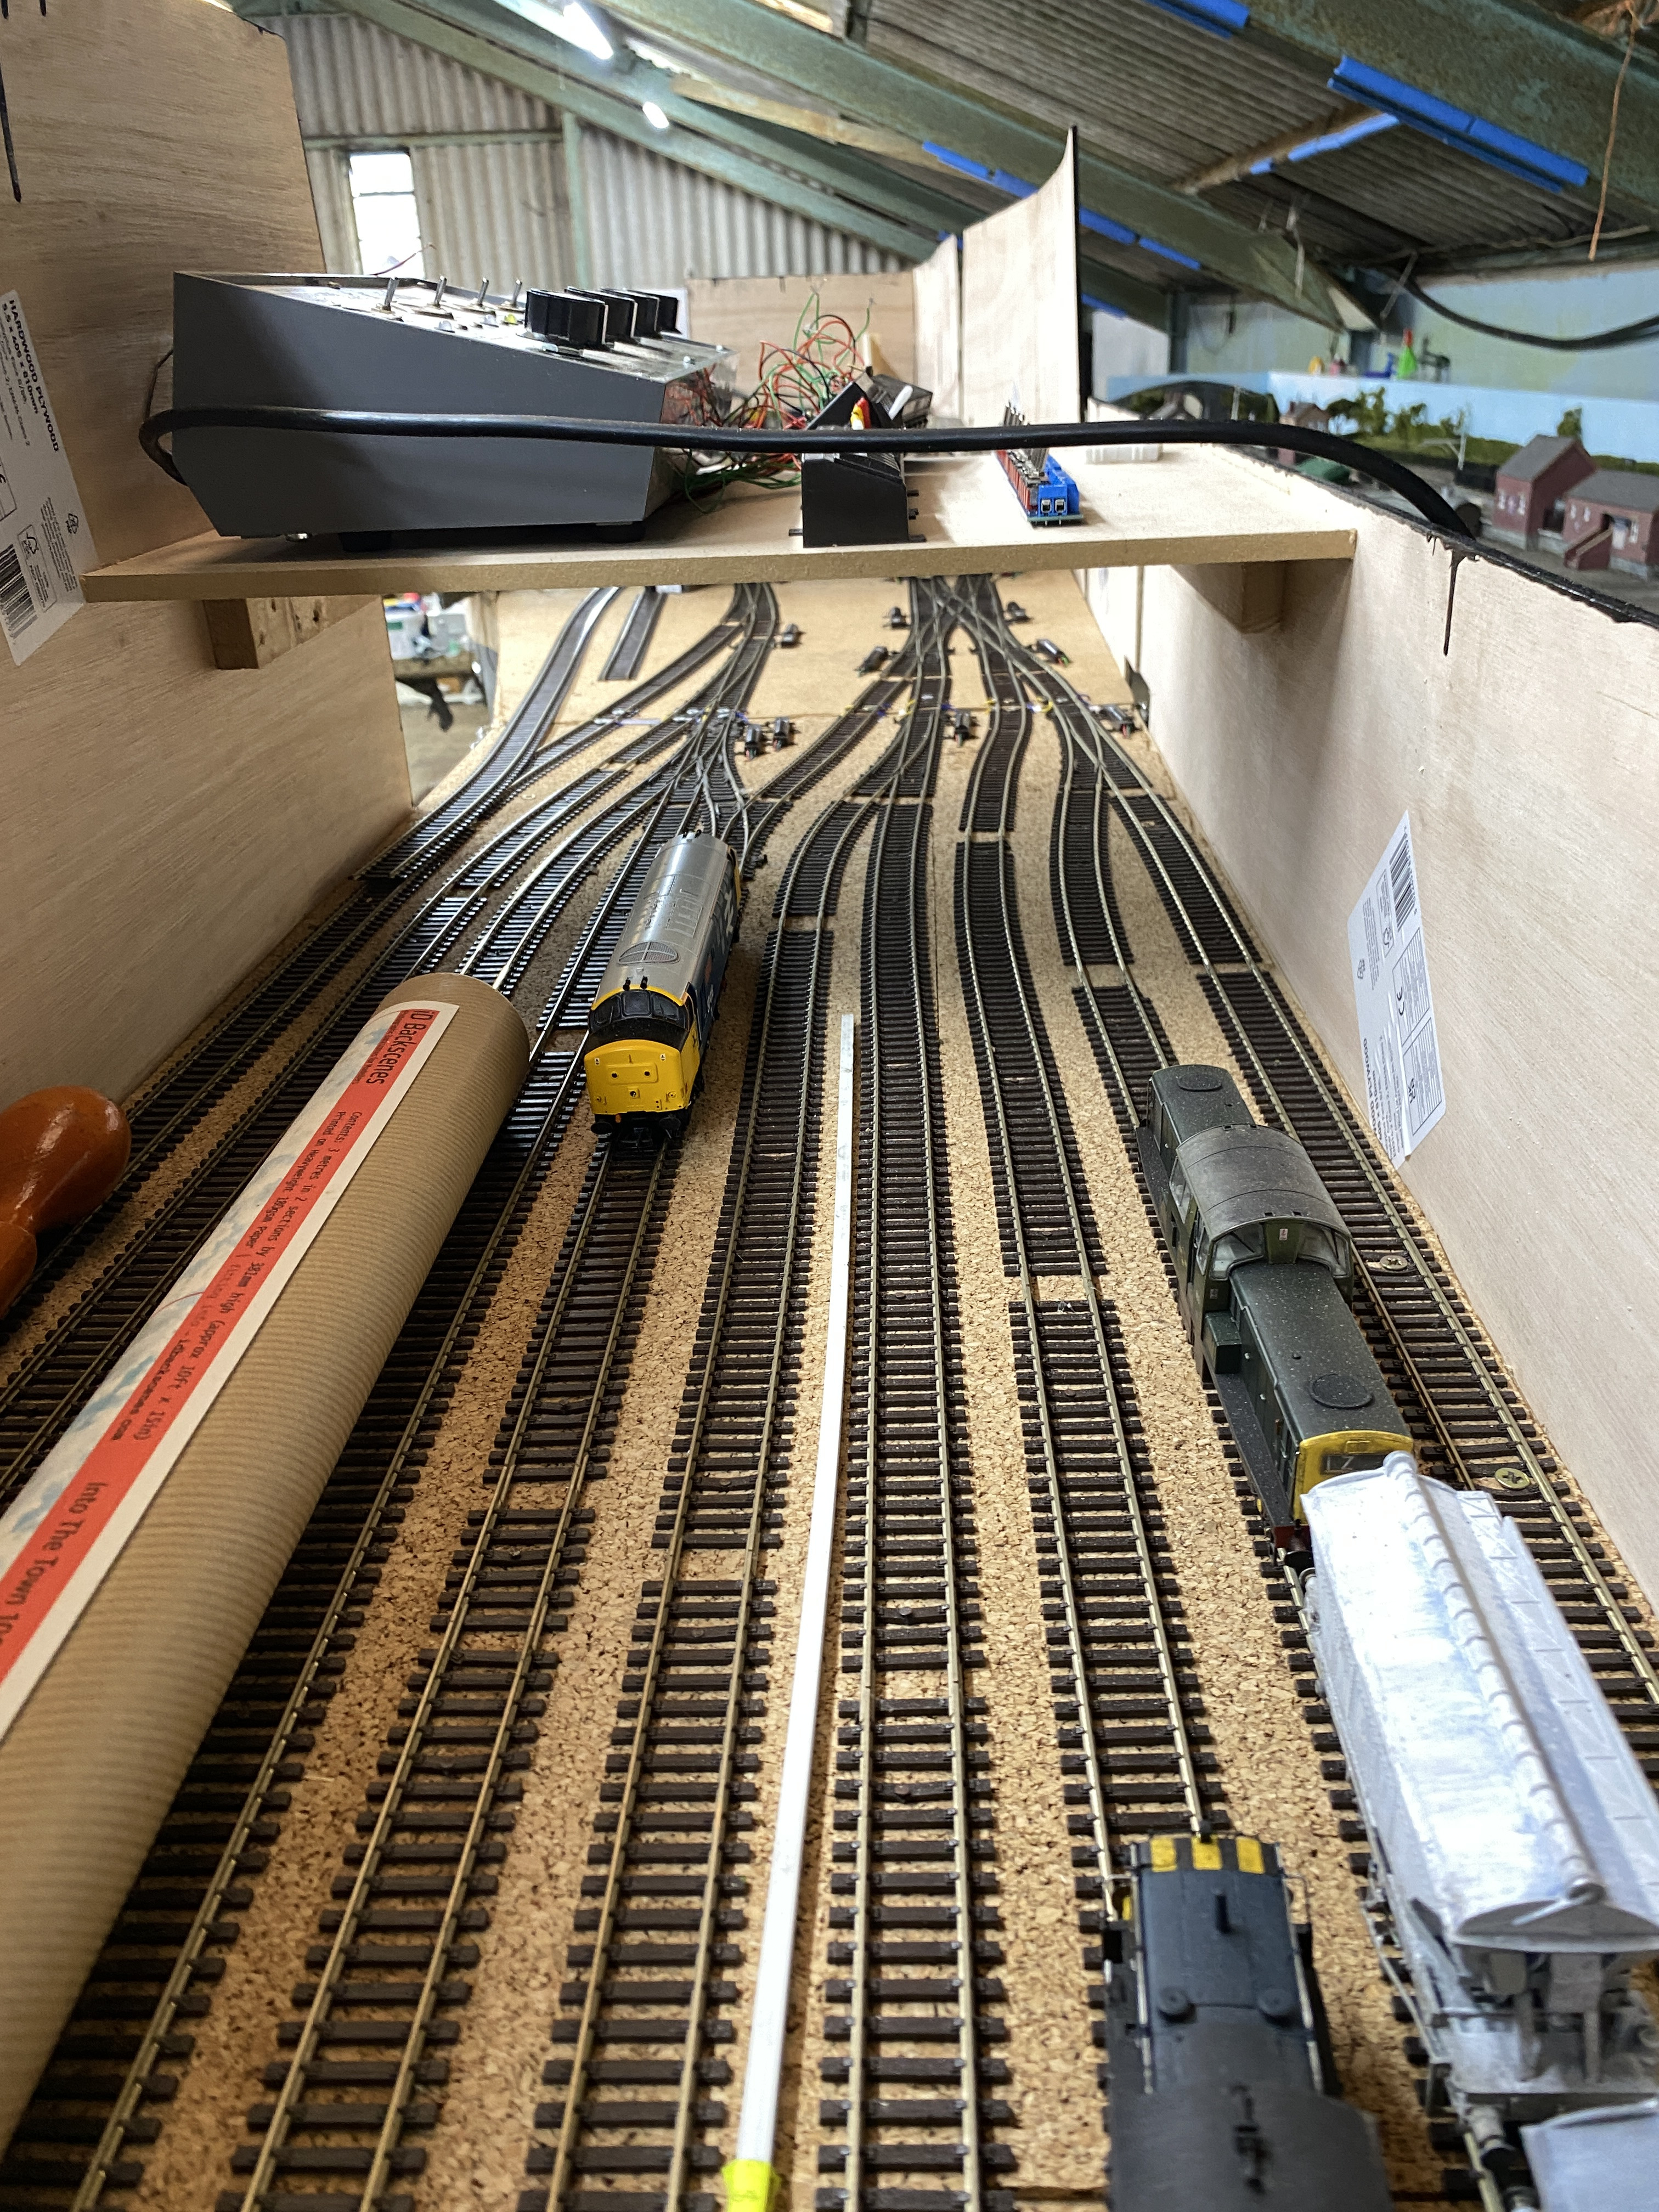
I have the fiddle yard set up and powered so for Wednesday's club night I shall take the new unit along and hope it works! That will also be the time to start fitting the new two-into-four crossover piece which will give more flexible access to and from the yard than was previously the case.
Full Member
Waddlemarsh has been stored in the clubroom of Hayle Railway Modellers gathering dust and a certain amount of mould. When I applied for membership there as we moved down from London I was asked for the dimensions of the layout which I provided. I was assured that space would be available to rebuild the layout end-to-end in a straight run as it would no longer need to negotiate the corner of a room so no longer had to be L-shaped.
That space was never available. I arrived to unload and found I had been allocated a fairly small square space where I could only erect one board if it prevented access by others to their layouts nearby. The fiddle yard has been worked on but nothing else because of the space issue.
The club recently had a change "at the top" with our previous Chairman being replaced. The new leadership adopted a sensible "Club Decision" format from day one rather than the previous "My Club - My Say" approach. The space I had been "promised" never materialised and a recent re-think which was brought about in part by my suggesting I might quit the club altogether did not meet with the agreement of other members whose project areas would be relocated. Under "New Management" a different plan was agreed and approved by the committee. One layout has left the clubroom and another has been moved slightly. That has created the right sort of space - space which was always there but was not the right shape for my needs - and it is that which I was offered today.
It isn't absolutely ideal. I don't have direct access to power nor do I have any workbench area. Power can be bridged from a remote location and I can still use the bench area I had before although it is some distance away now. I do at least get to move away from the leaks in the roof which have affected all my projects stored there; Waddlemarsh, Porthgarrow and the viaduct from Penhayle Bay.
But this afternoon Waddlemarsh was finally relocated to the assigned space on the far side of the clubroom (which "room", if that sounds like not very far, is a former agricultural warehouse of significant size) and placed upon temporary trestles pending the construction of suitable legs. That will need to be done very soon to avoid complaints of "untidiness" but provided I can show work is in progress they'll keep the noise down! After 18 months I can finally get on with something. I did suggest some time ago that Waddlemarsh would be ready to run in 2025; it might still be so but next year will be more realistic. There is much to do and the budget has to be spread over time on a pension. Gone are the days of bulk-buying timber, fasteners, tools, wire and such like. It's going to be a little at a time now but a little wood isn't overly expensive and will start to show that I am actually doing something beyond paying subs and turning up now and again.
I think it is also fair to say that the entire club is relieved at the change of Chairman.
Posted

Full Member
Pleased to hear you'll be resurecting Waddlemarsh - hopefully the damage isn't too severe.
'Petermac
Posted
Full Member
Petermac said
Sounds like there was "trouble at t'mill" Rick. Is the ex Chairman still a member or did he go away with his tail between his legs ?
Pleased to hear you'll be resurecting Waddlemarsh - hopefully the damage isn't too severe.
From “Post #292,115”, 26th April 2025, 3:52 pm
Yes and no Peter. Still a member and still doing some "back-seat driving" because he is that sort of chap. So no, he has not left with a tail between his legs but neither does he have any say in "what goes" in the club room any more. Much to our collective relief. Nice chap - just too directive and trying to achieve more than we were prepared to give in terms of outside activities.
Posted
Full Member
In a clubroom where the thermometer registered 36C I spent the afternoon cutting and shaping wood, drilling holes and building legs. So far for the fiddle yard. One has to start somewhere. Over the coming weeks when time permits I shall build the required legs for the other boards. That will then allow reconnection and levelling. I hope then to be able to provide basic track power for proving runs over the good bits; the damaged areas will have to wait a little longer.
Posted
Full Member
Cheers Pete.
Full Member
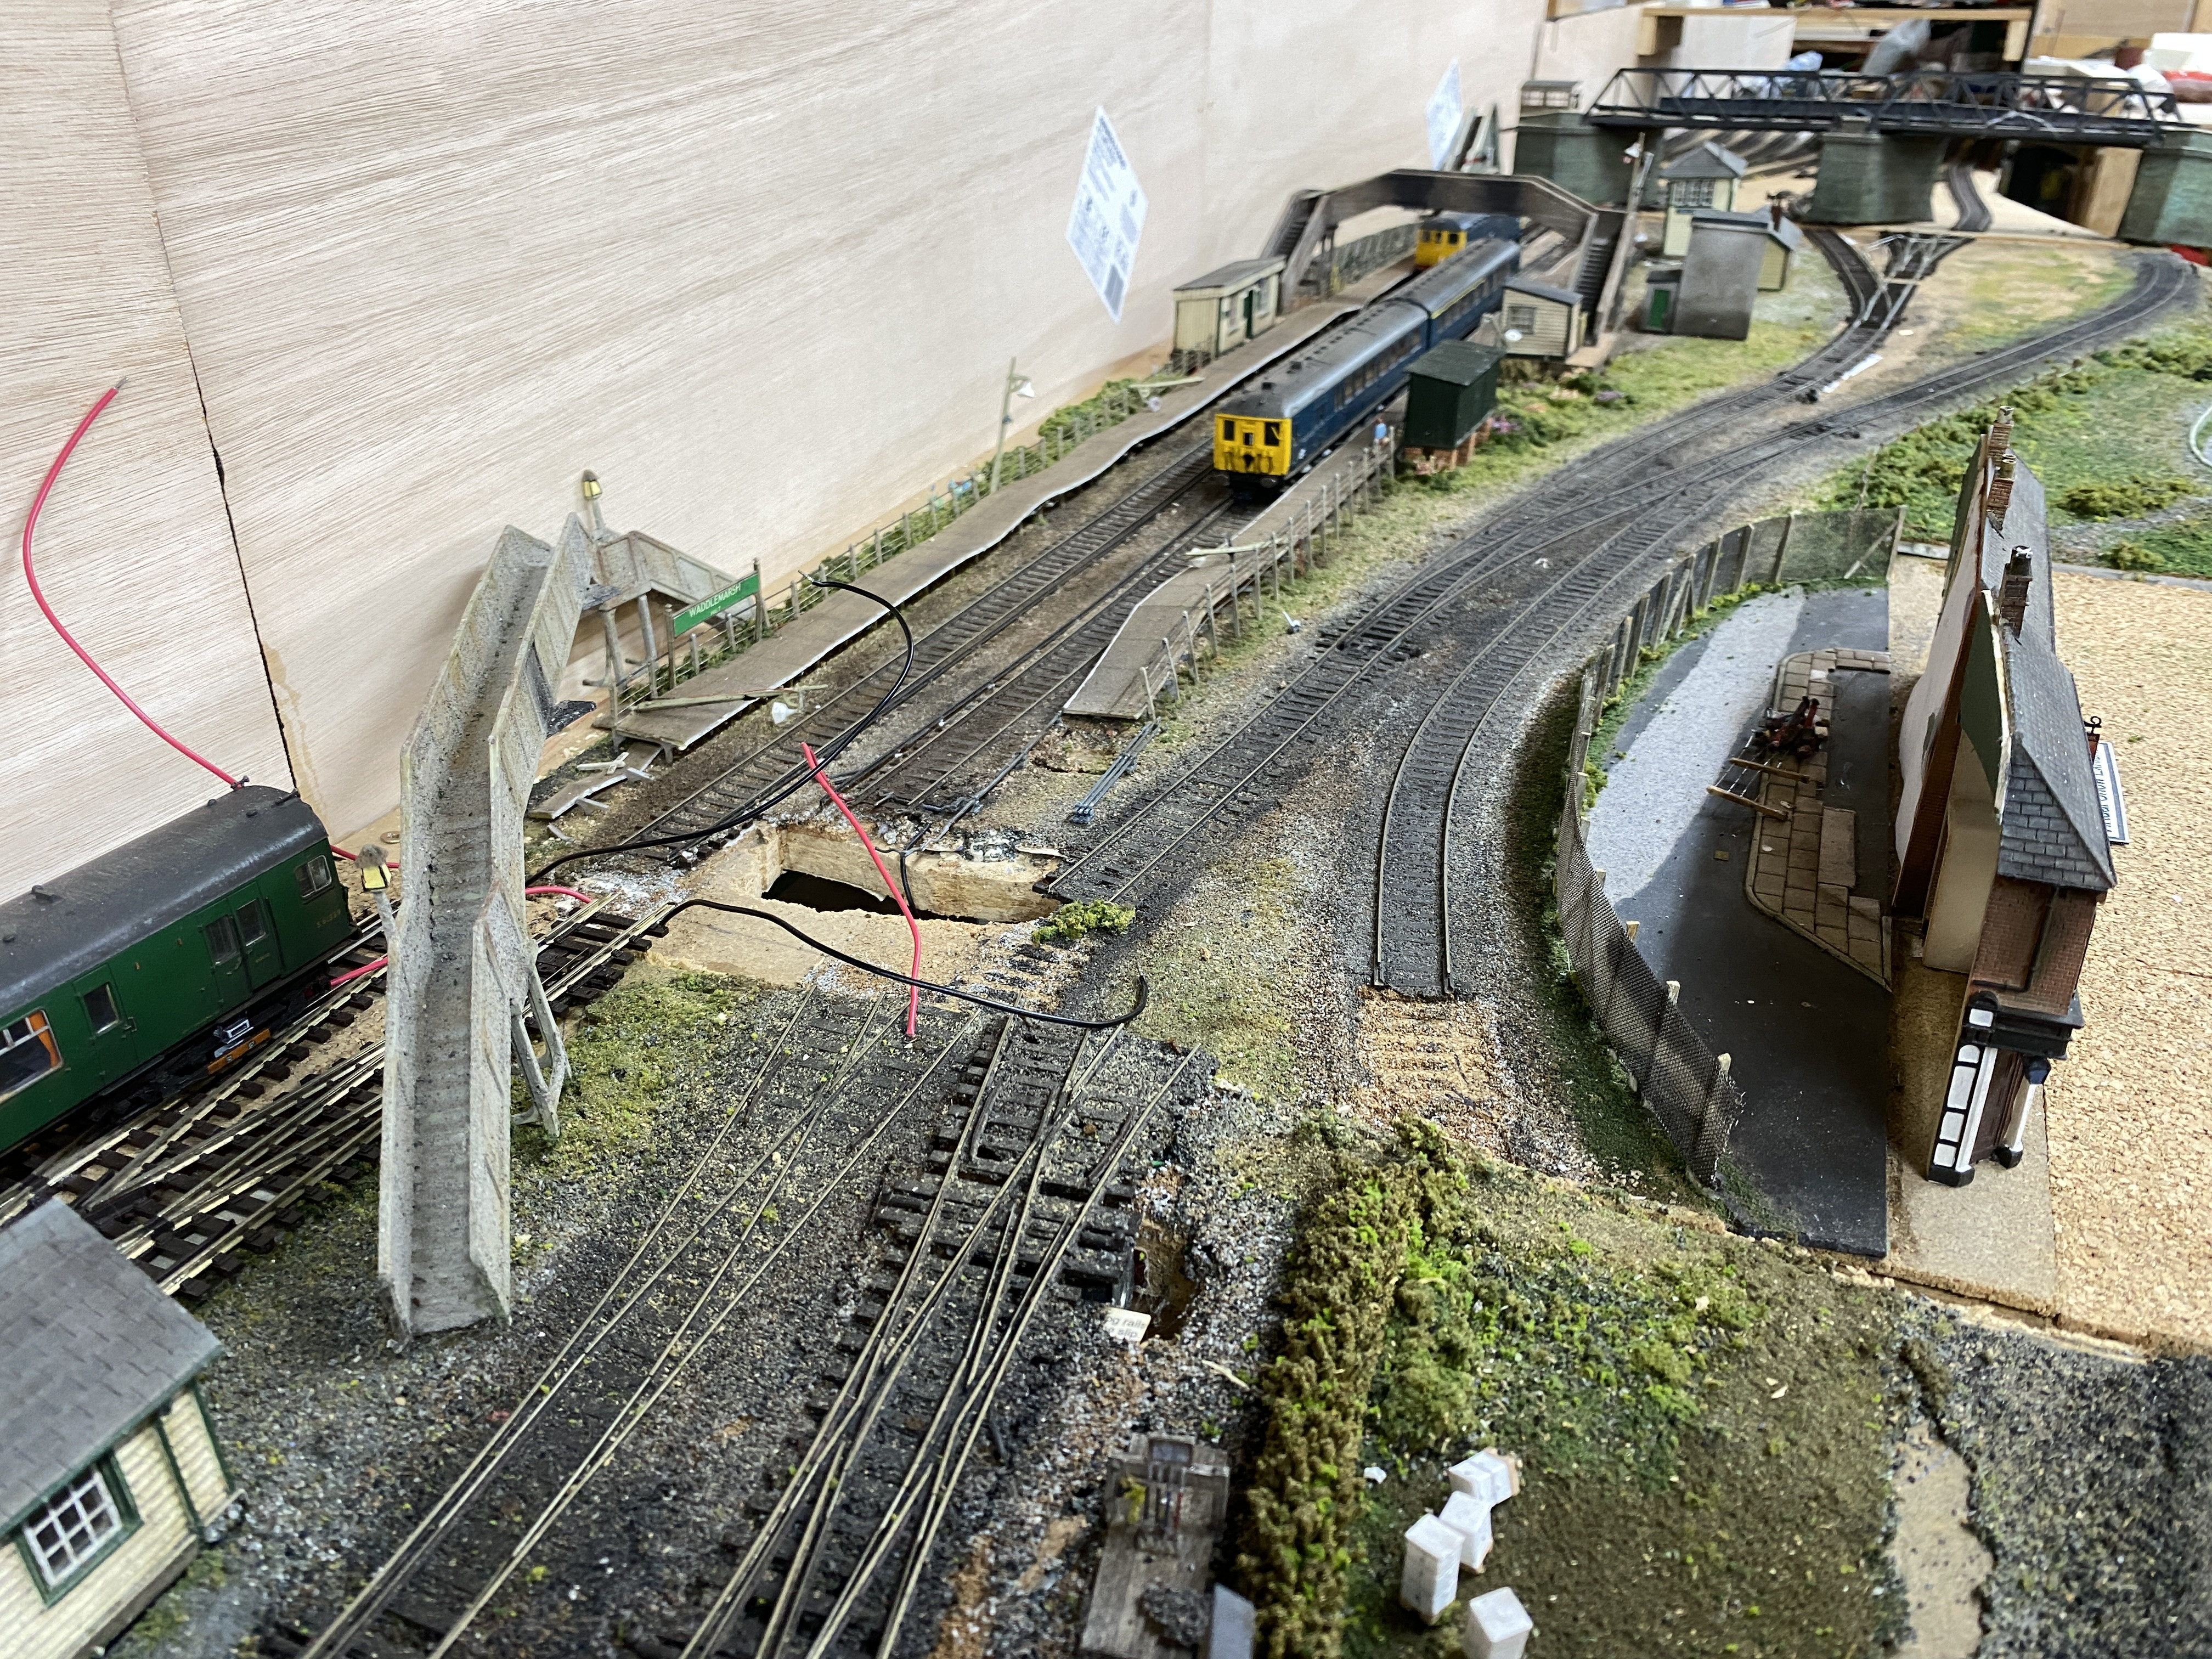
Club policies and politics, funding directed to other projects and many other calls on my time have sidelined the Waddlemarsh renovation
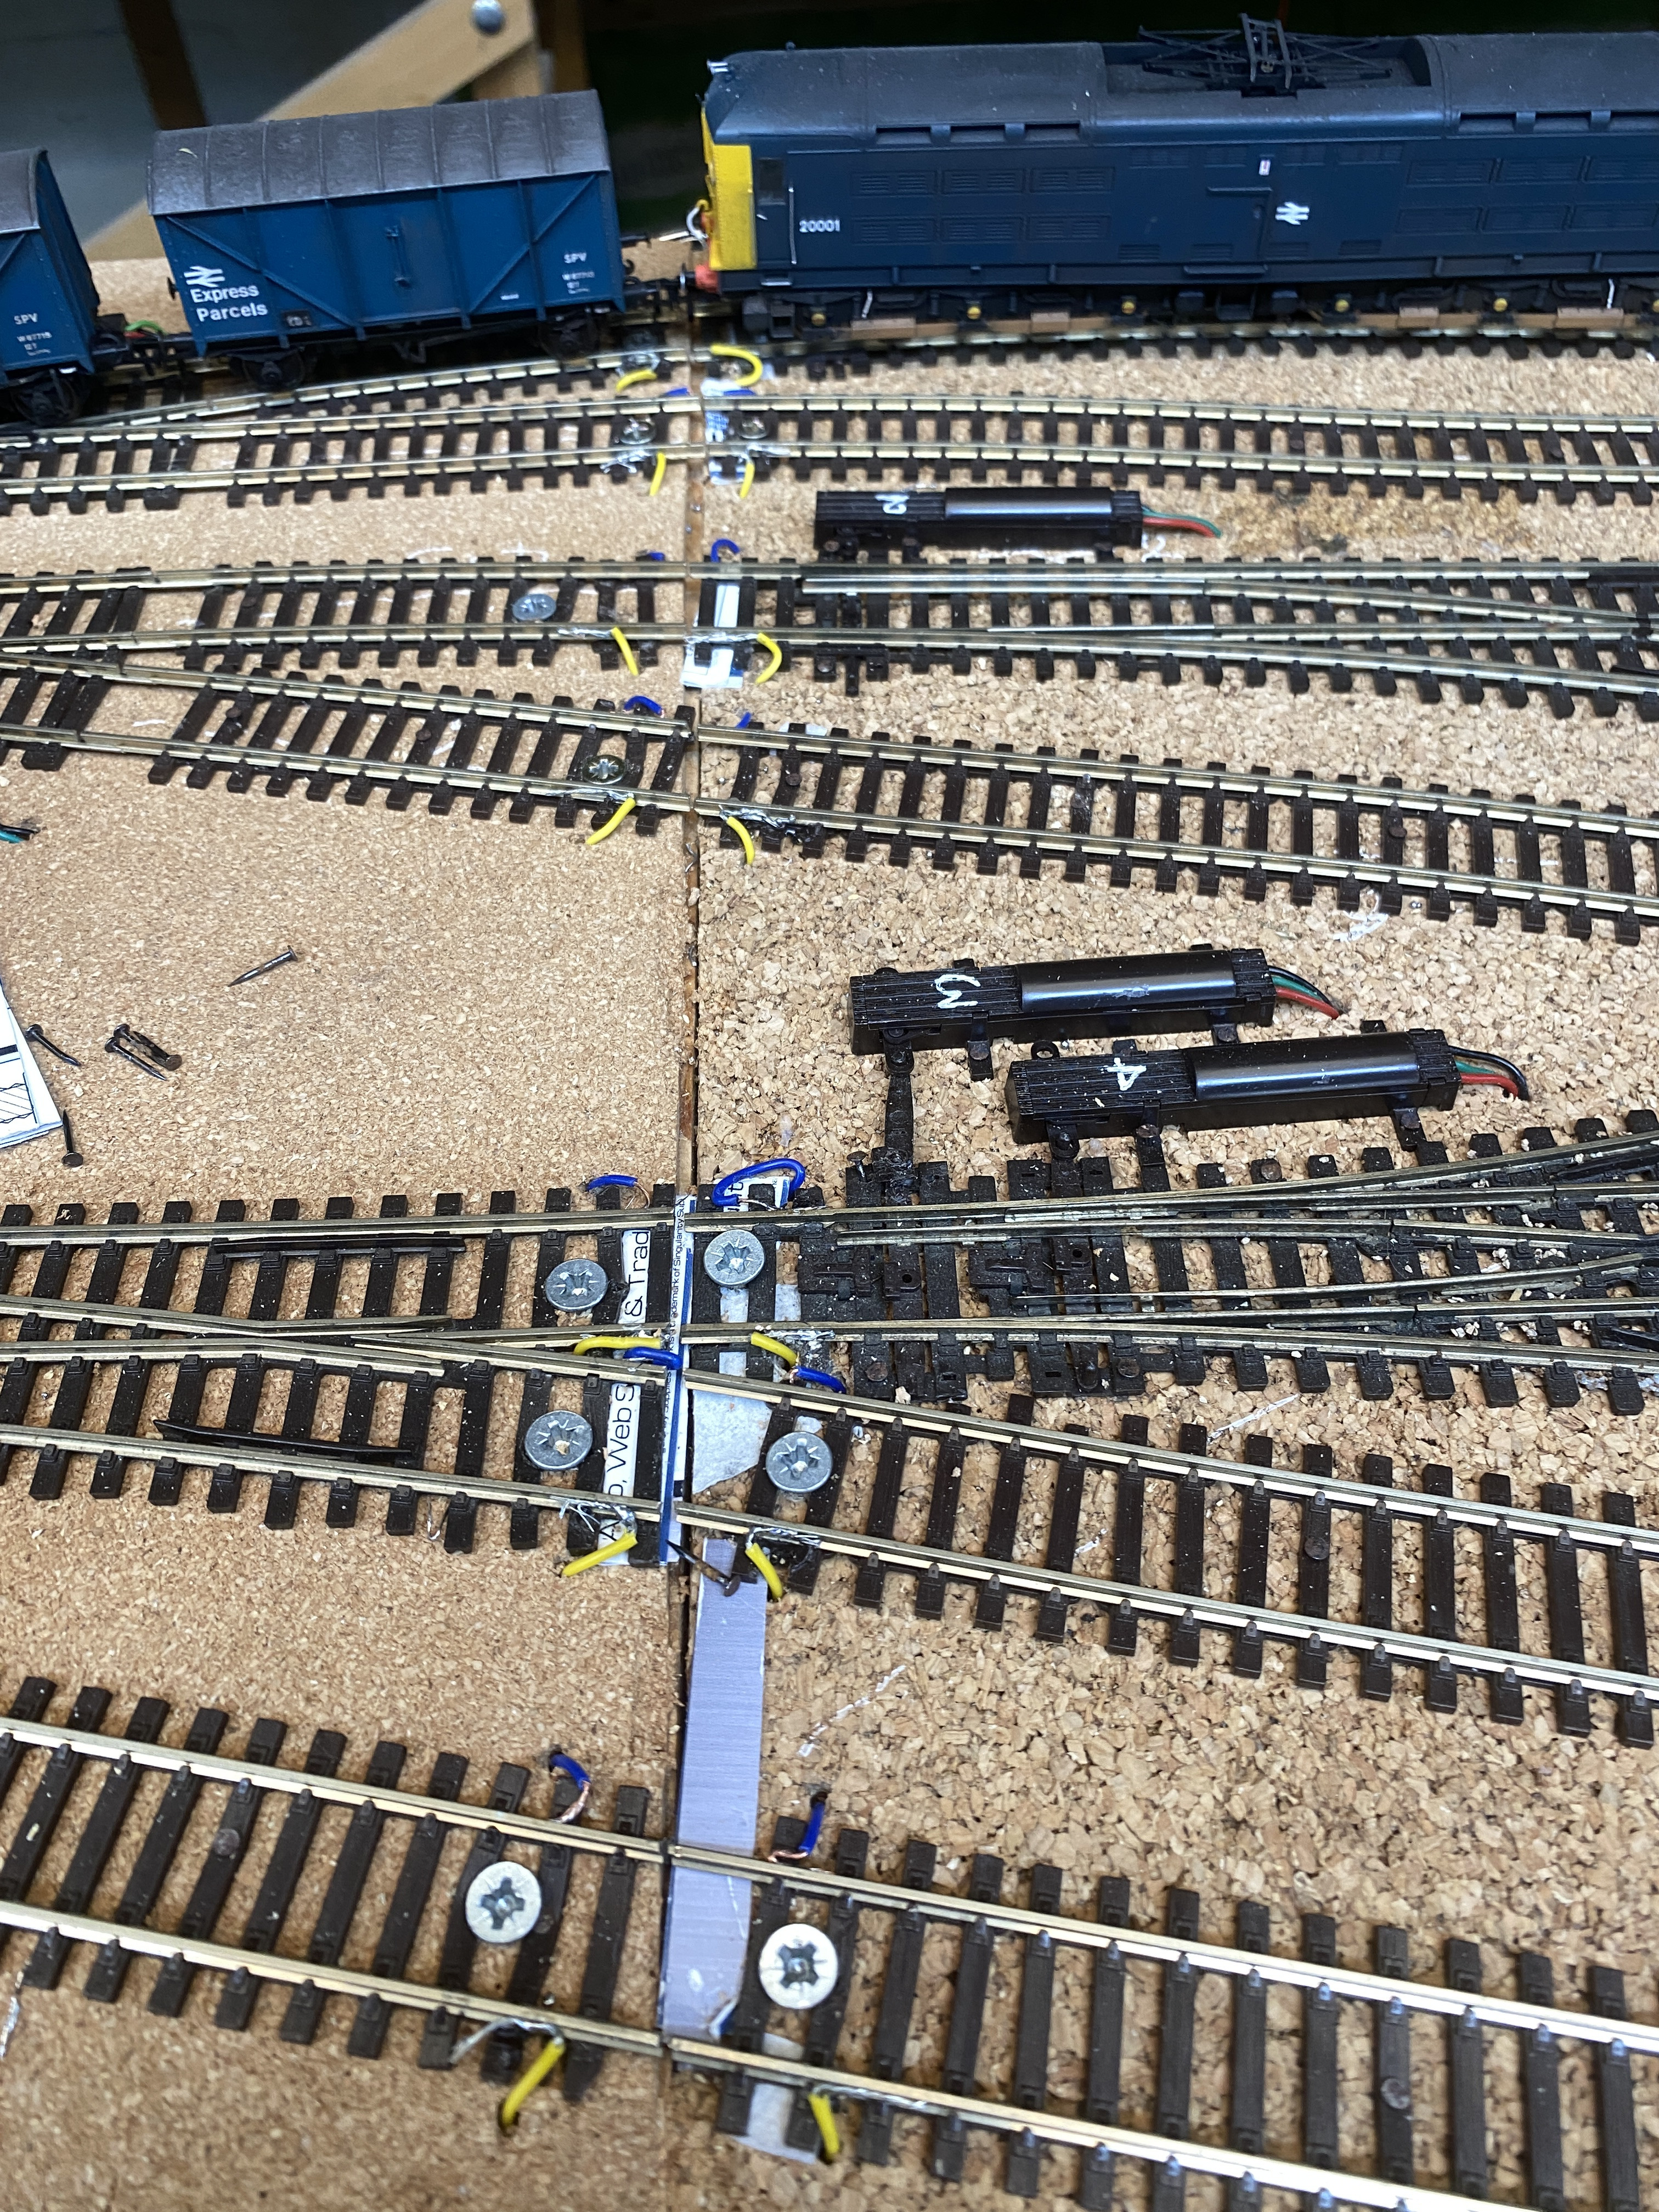
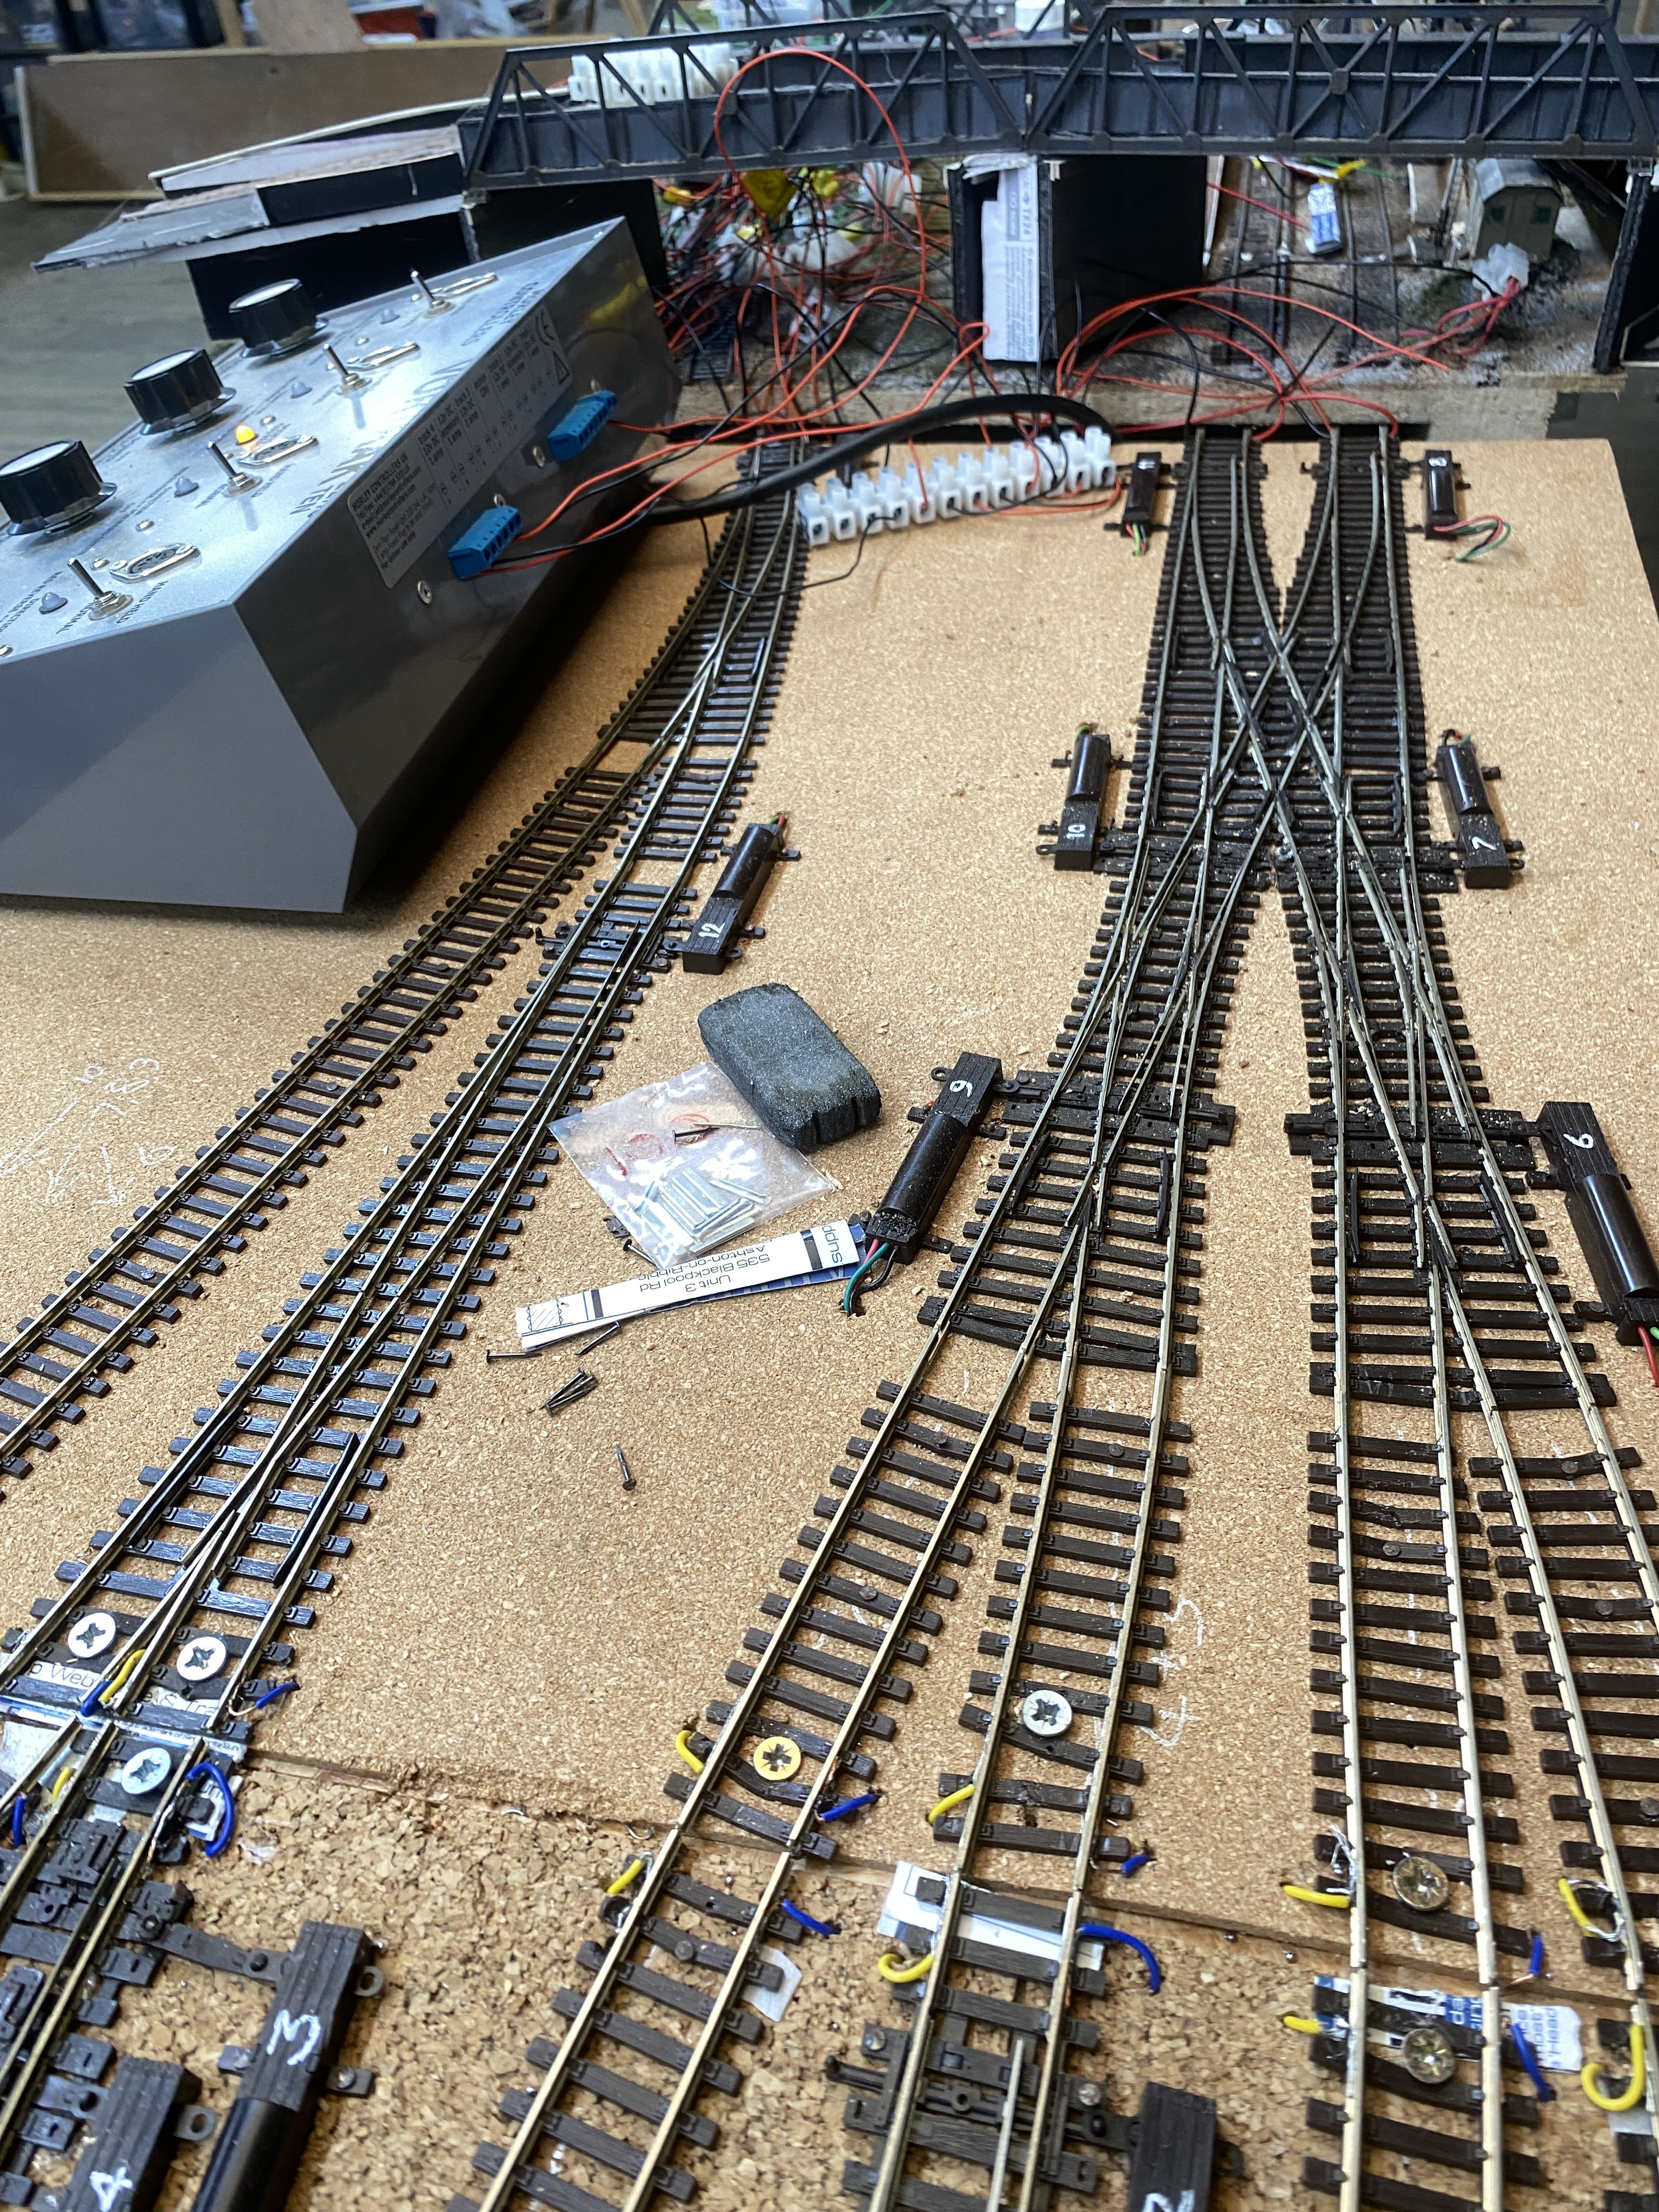
But at the end of this afternoon’s club session the layout was up on its feet, the main fiddle yard had been powered up, plug-in choc-blocks had been wired up to track droppers over the join and I was happy that things were moving - and not moving when isolated - as intended.
A couple of switched IRJ sections are needed to overcome backfeeds through the double-slip but otherwise all is well.
And with some shimming and use of adjustable feet the levels across the joins are within operational tolerance and do not cause derailments.
Posted
Full Member

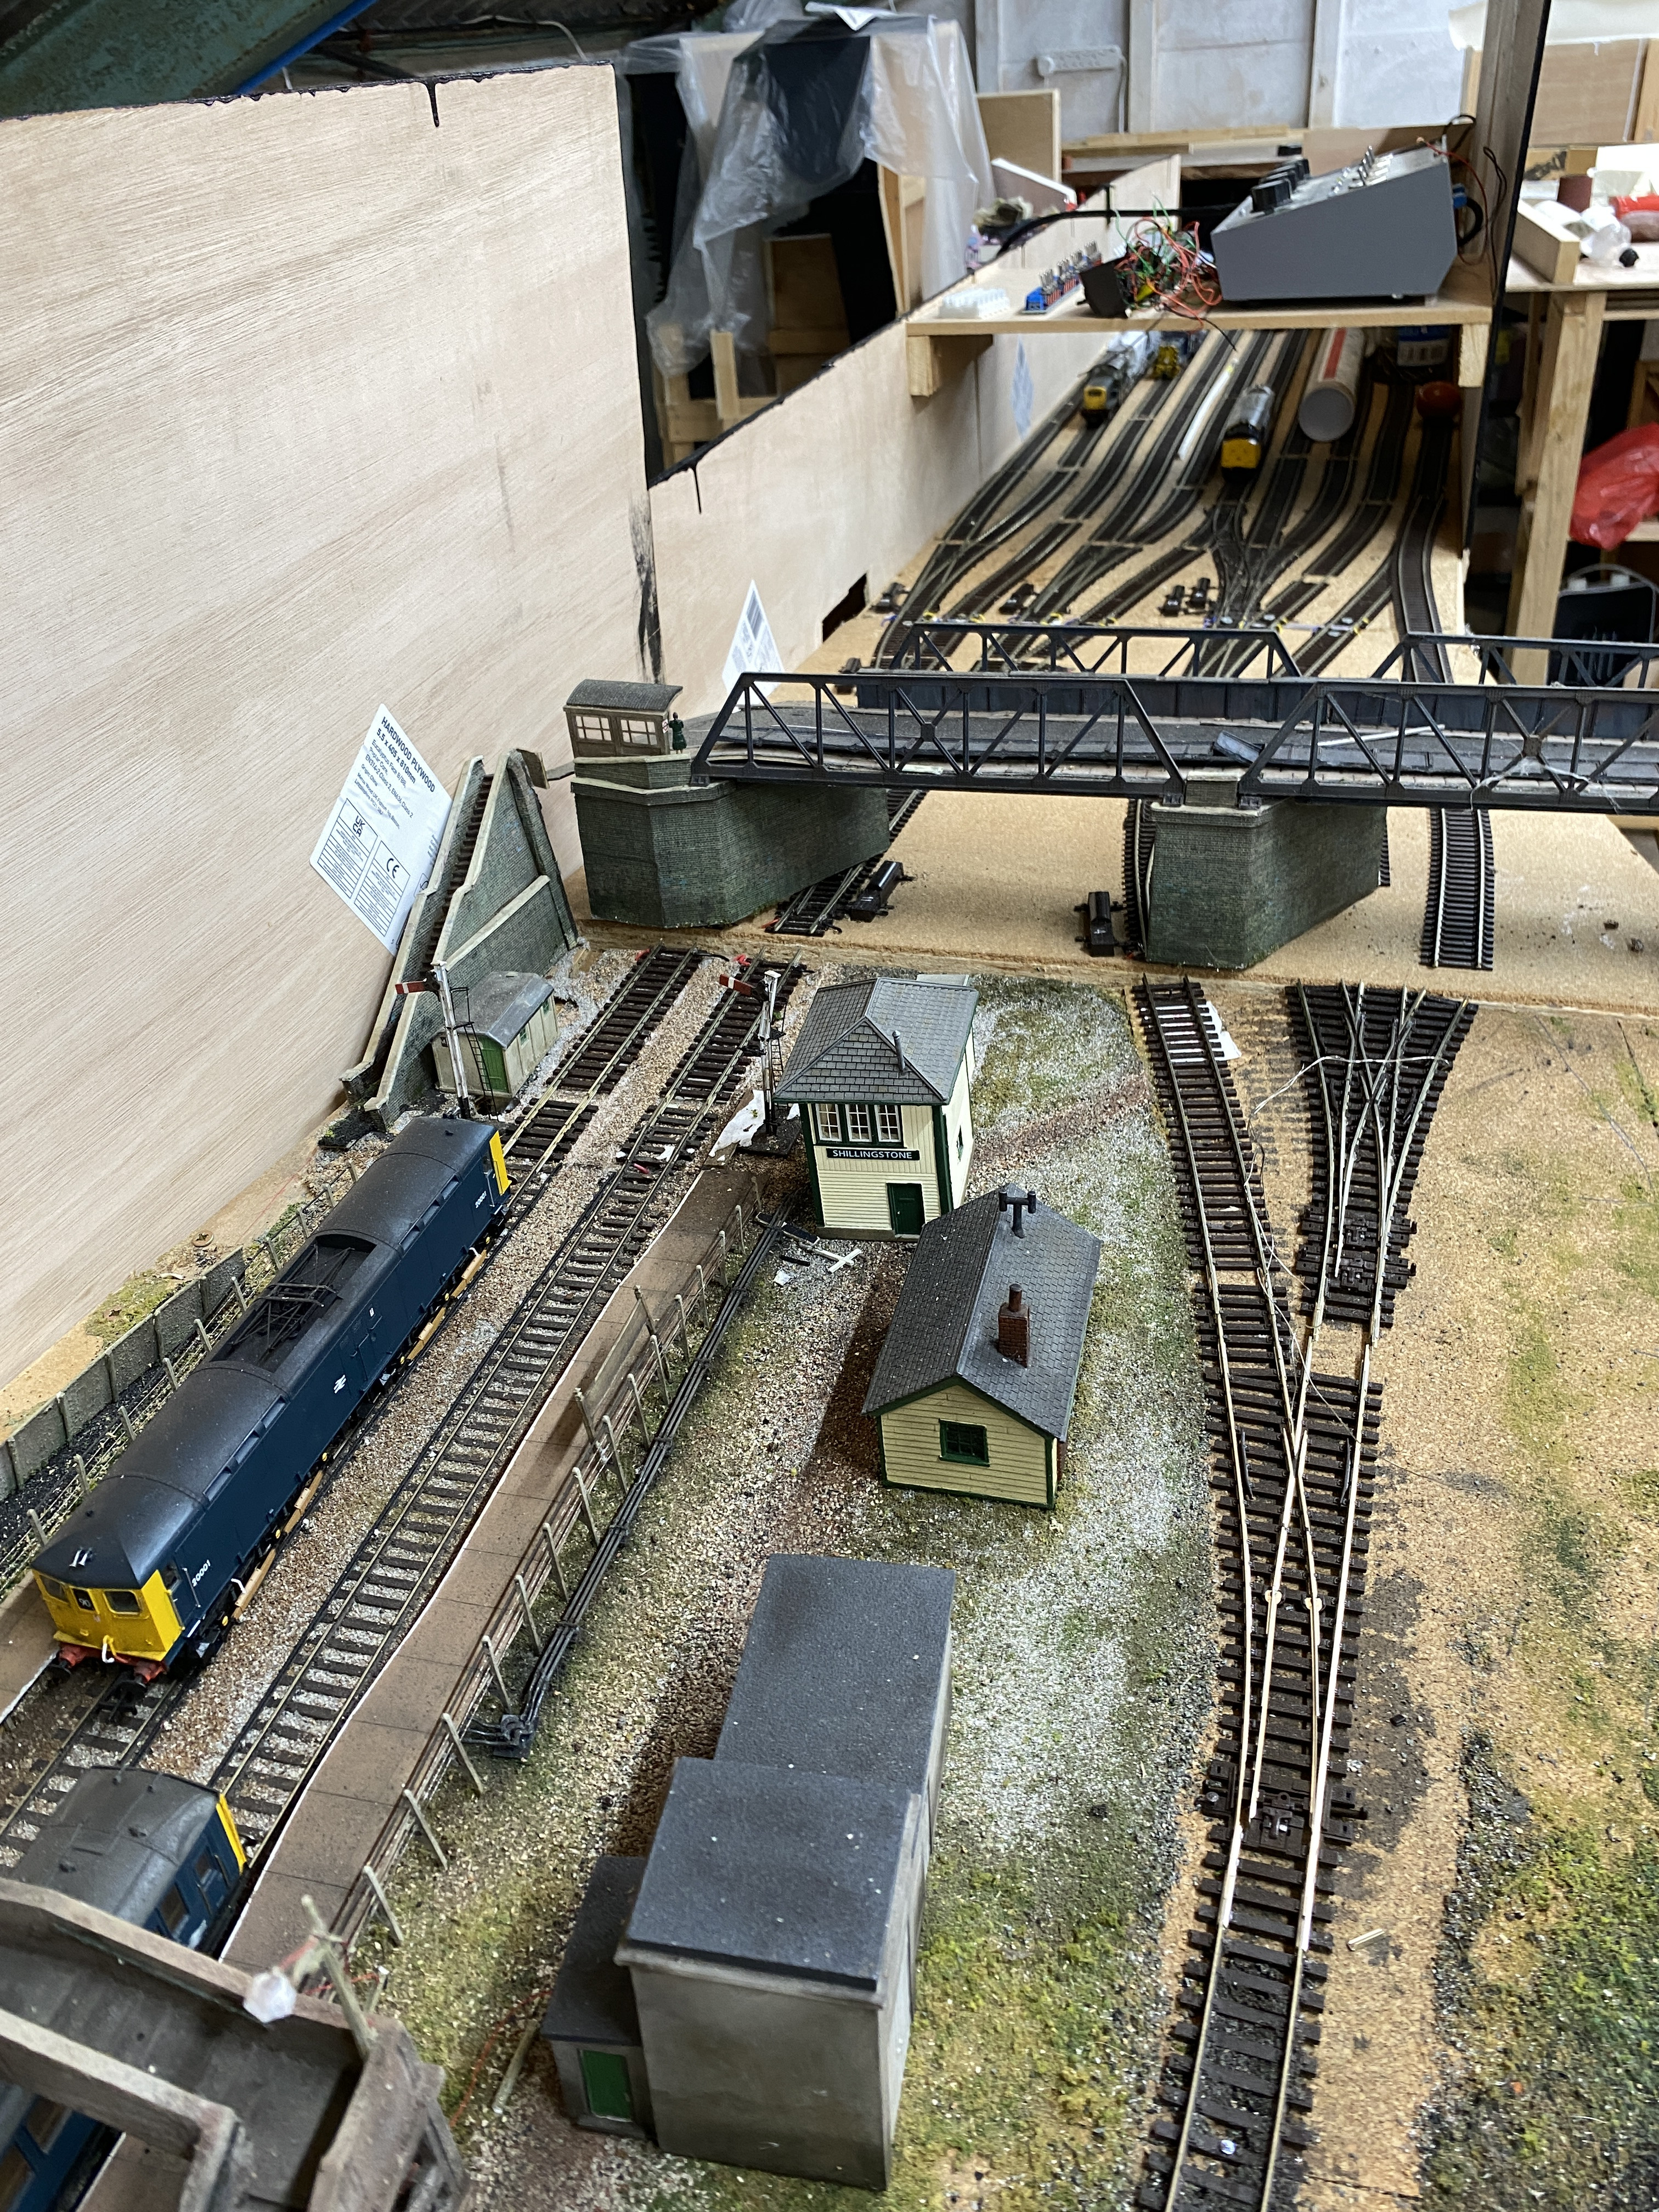
Is that a scissors crossing you have there or a diamond and points ?
'Petermac
Posted
Full Member
Cheers Pete.
Posted
Full Member
John.
Posted
Full Member
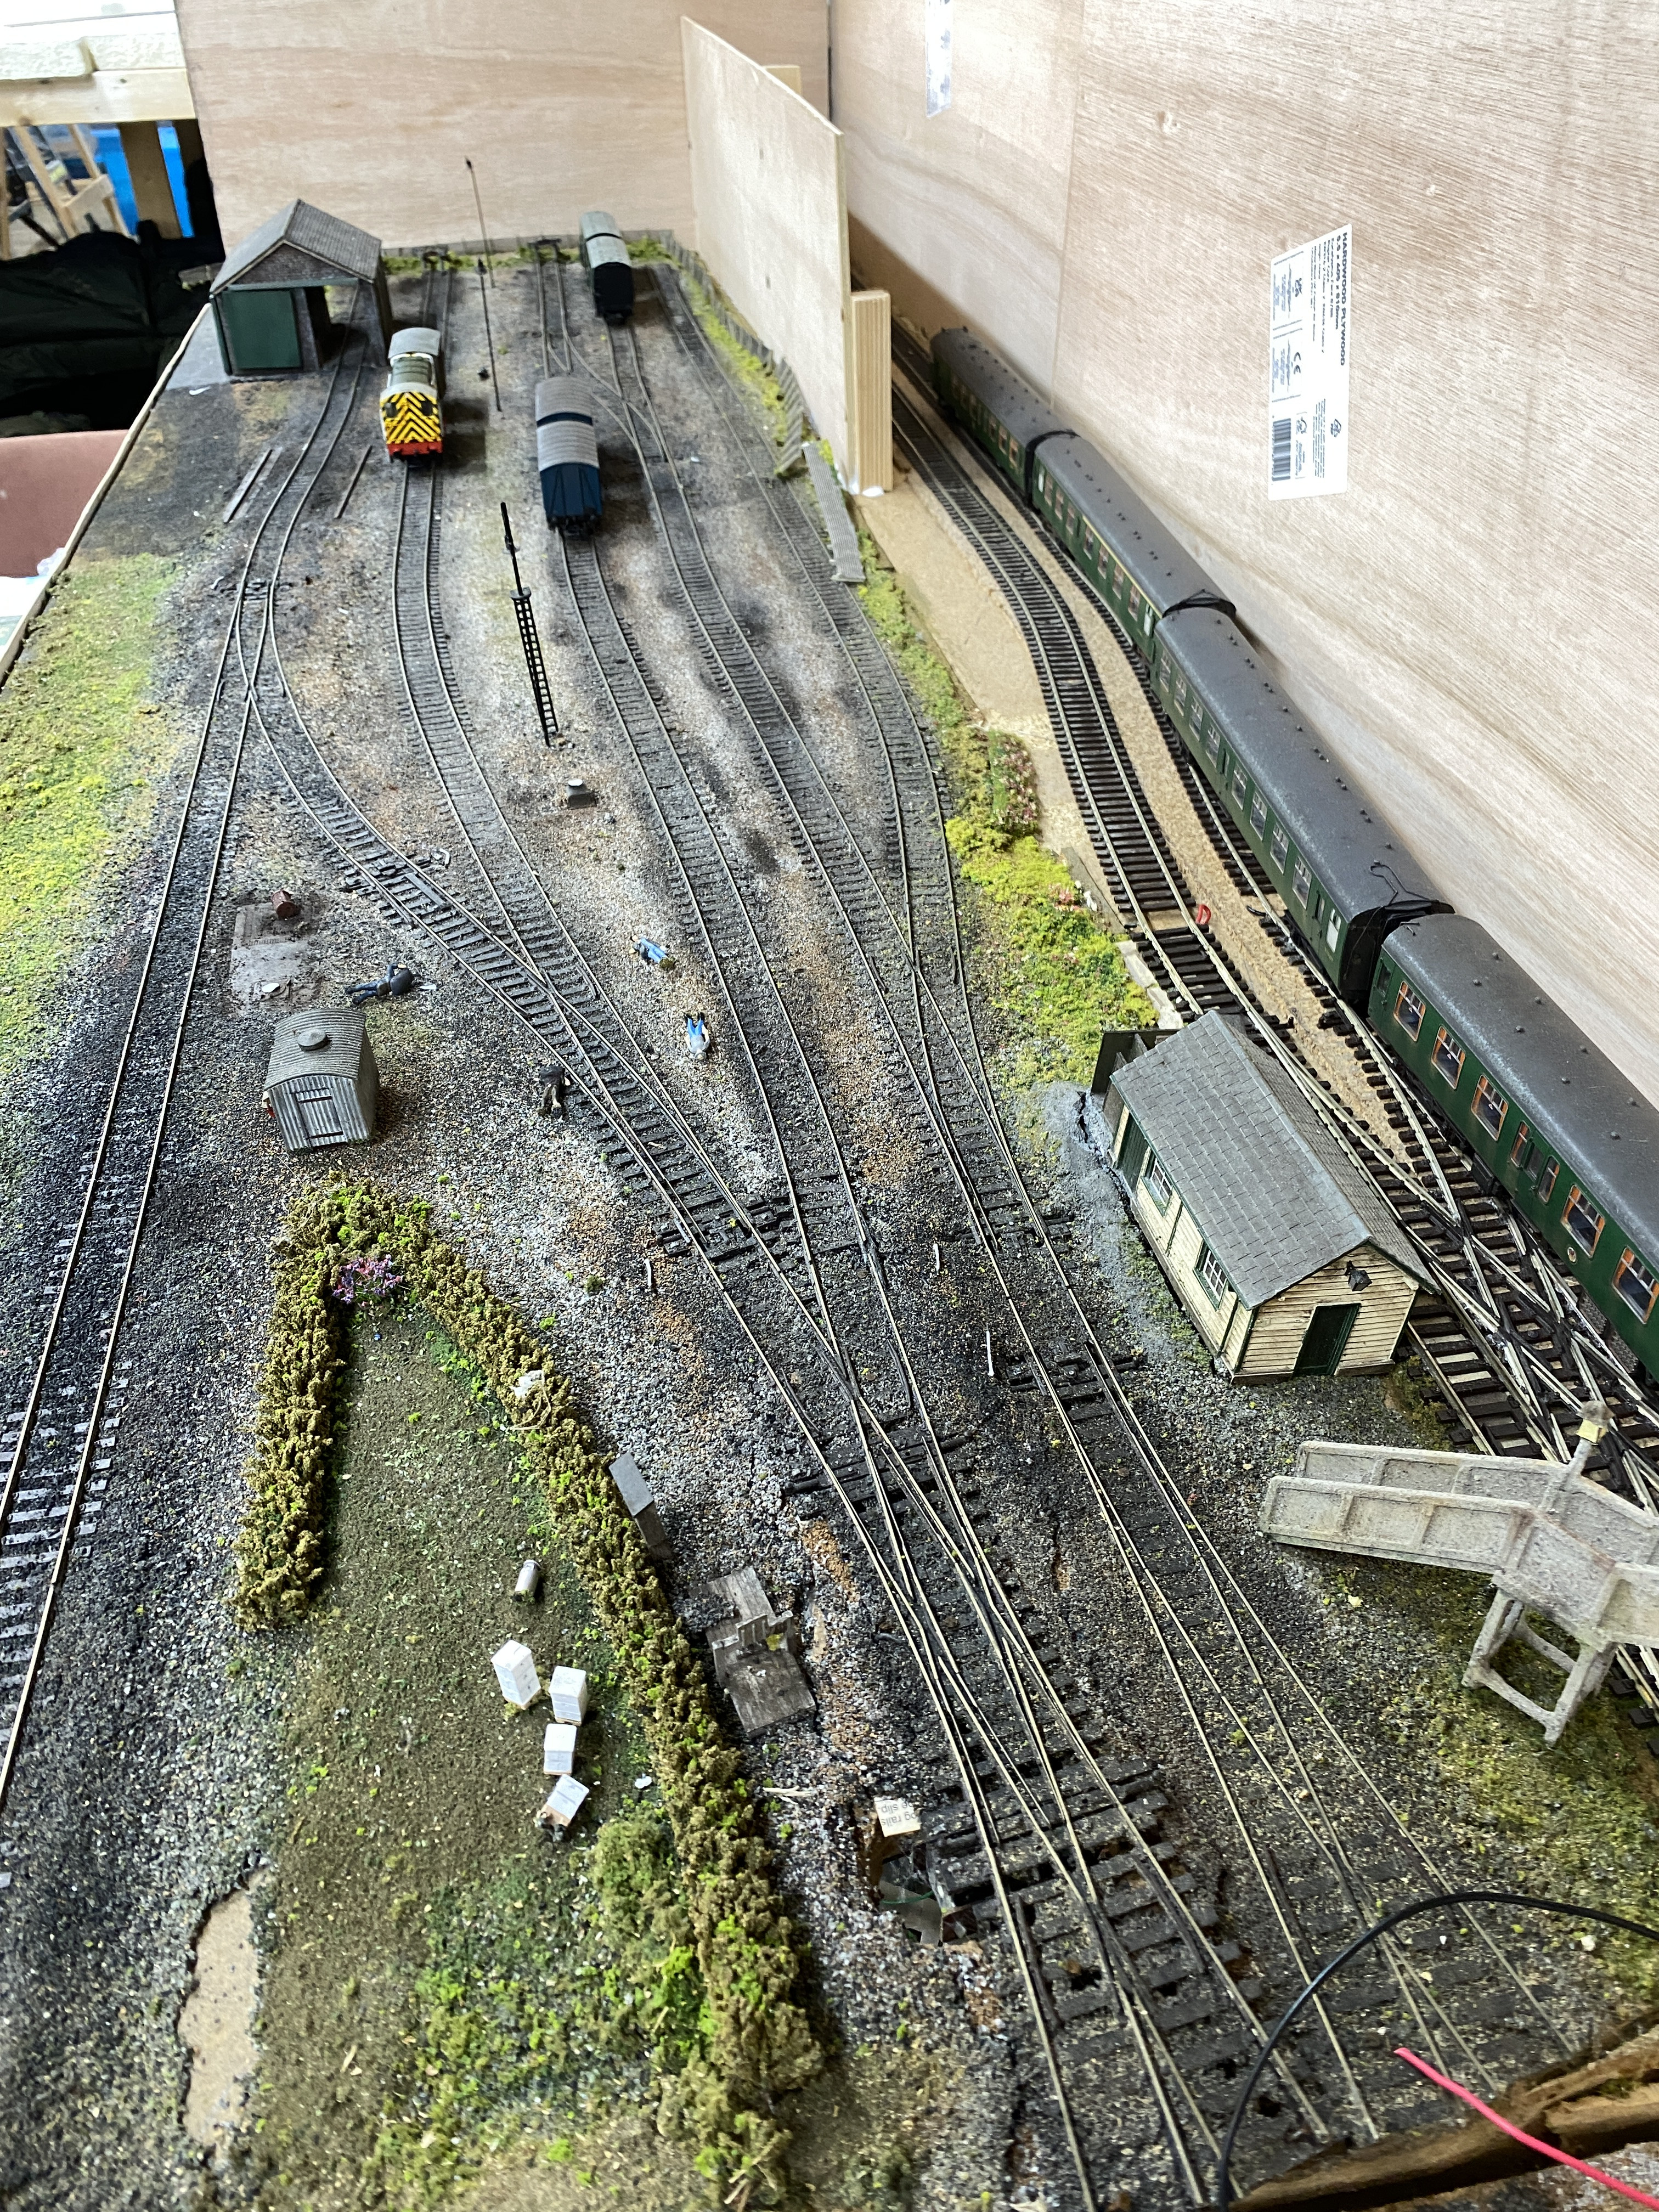
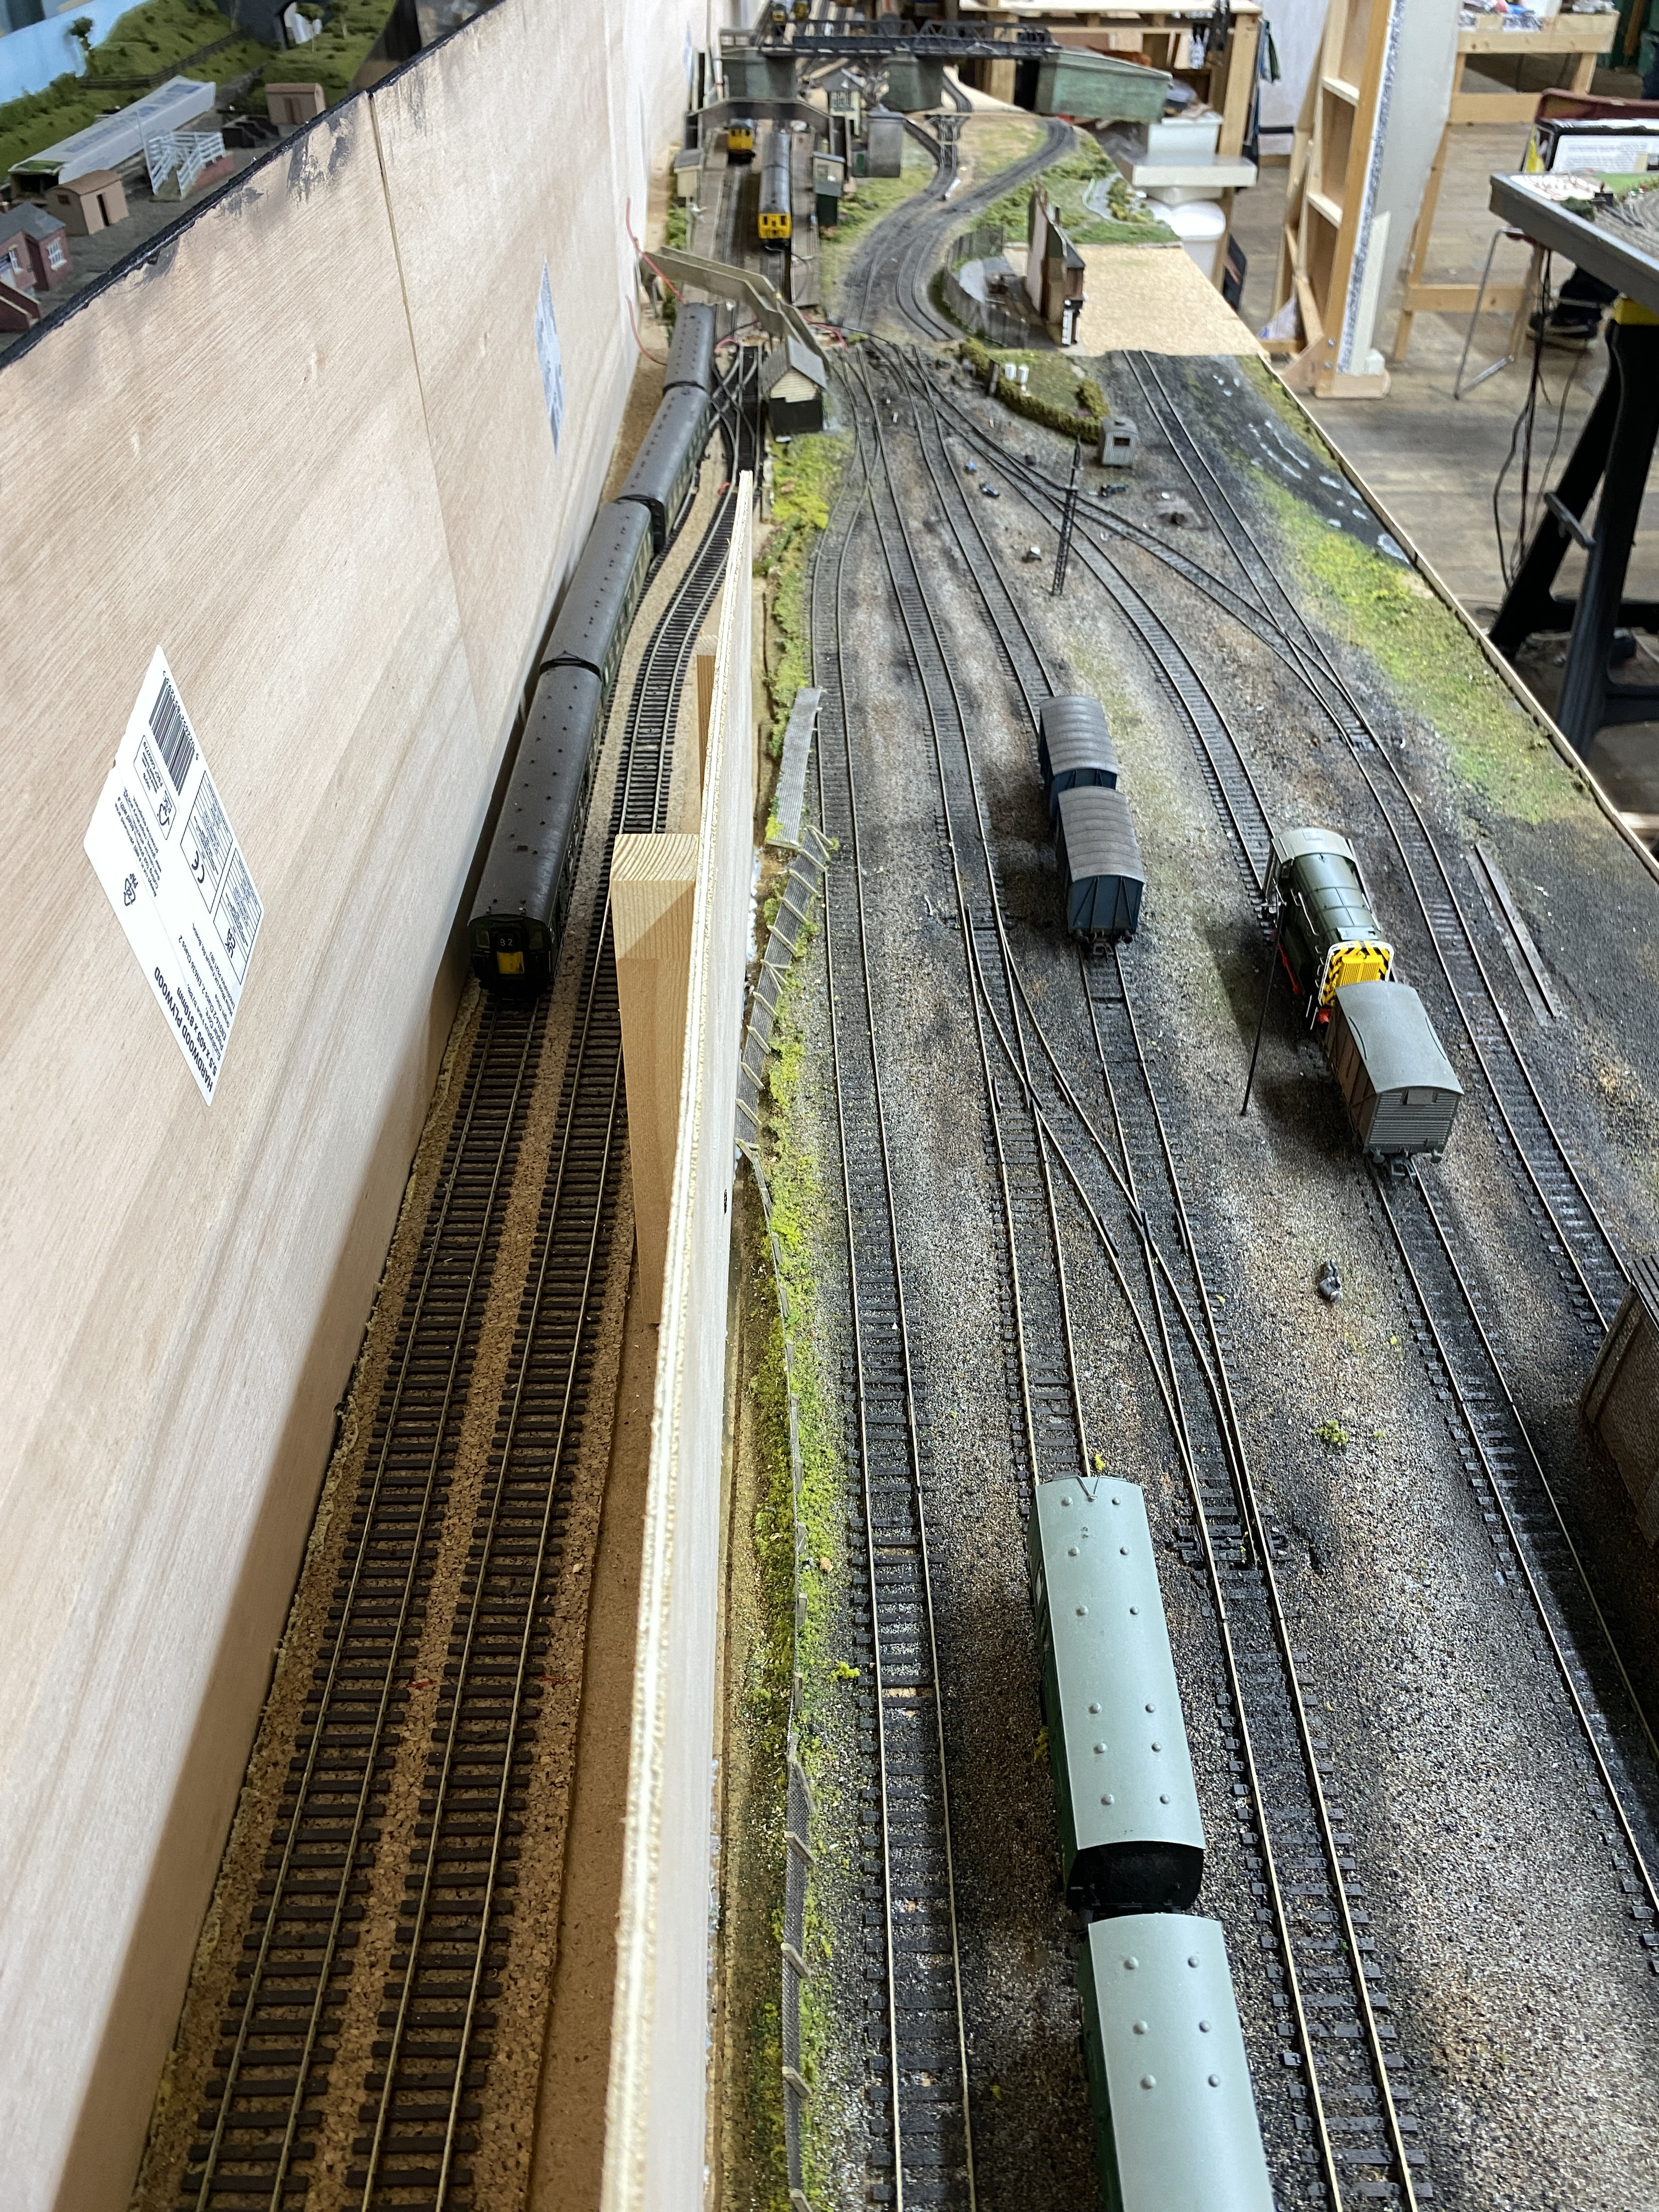
On the other (left-hand) side the single good line feeds into a fan of five sidings one of which is common with the passenger side allowing a hidden swap between goods and main lines or more flexible storage.
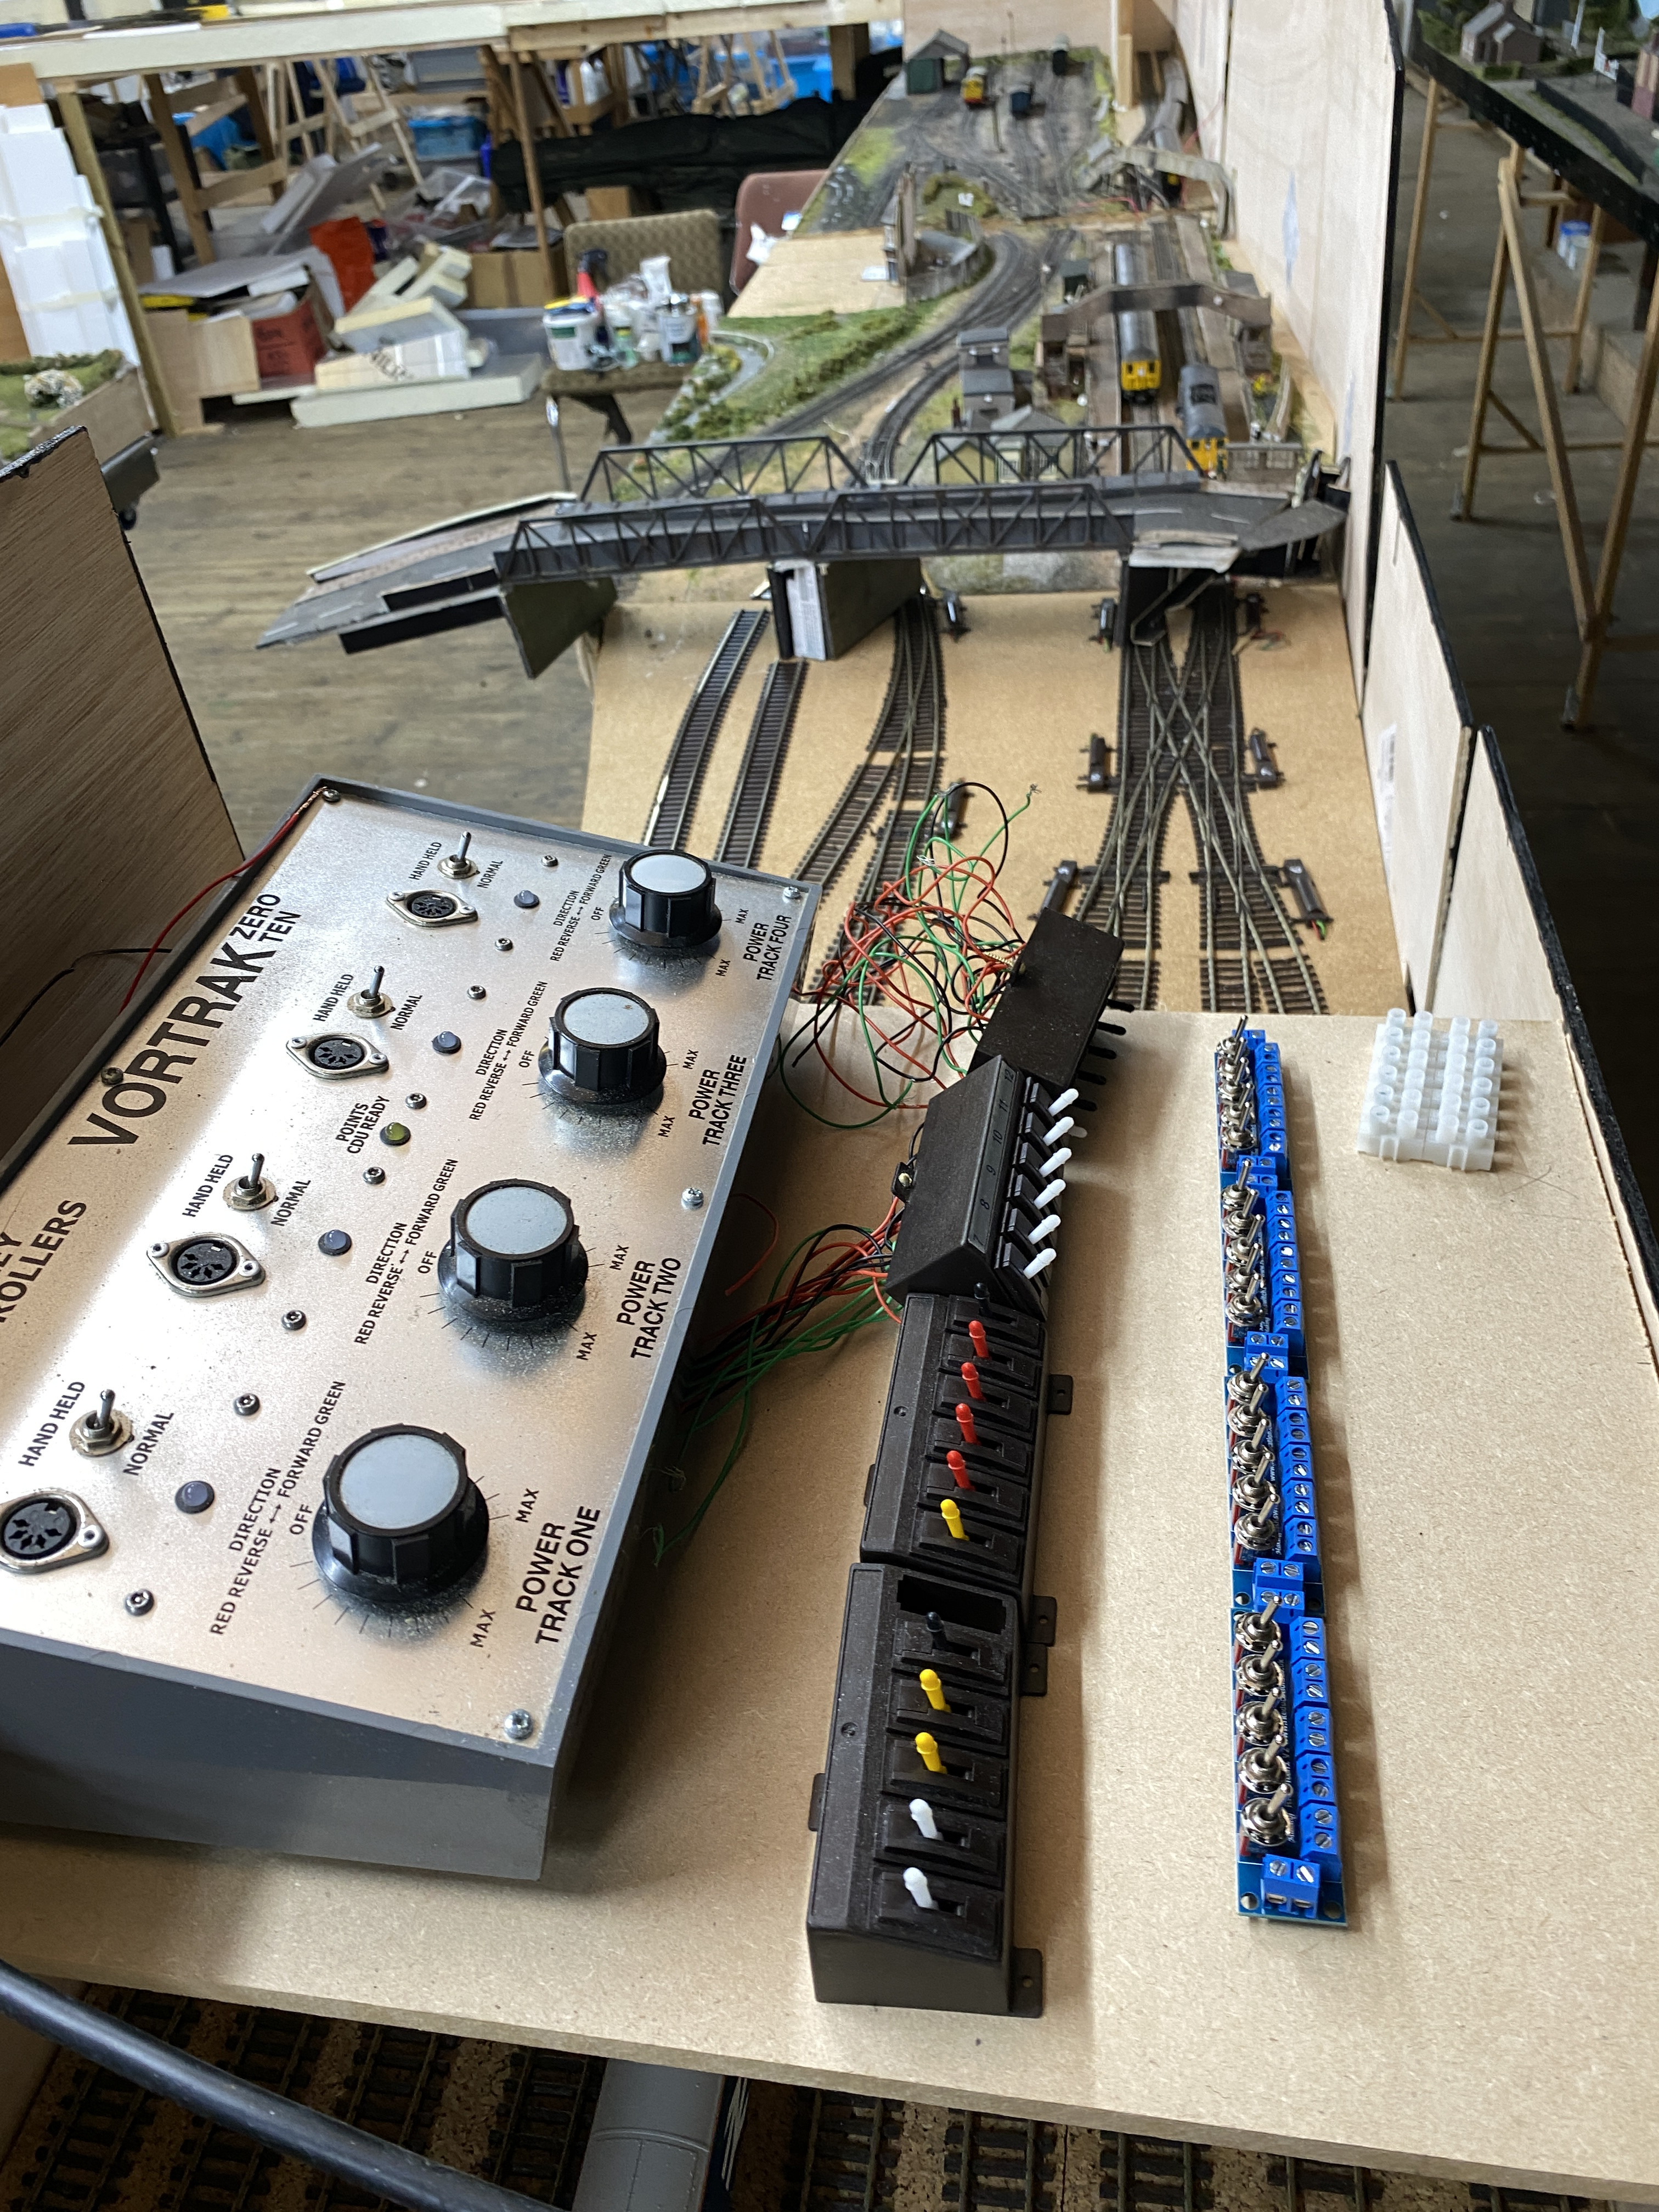
I haven't been able to get pictures recently but the woodwork is now mostly in place for the backscenes and to hide the fiddle yards. The next and quite significant task will be to construct an operating panel which will sit astride and above the main fiddle yard. The controller is already in use in a temporary position; switch panels are on order for the numerous isolations which will be needed because of those double-slips. Current back-feeds in all directions if not properly managed!
I have plenty of point-lever switches recovered from both Penhayle Bay and the earlier iteration of Waddlemarsh which will at least save some precious funds as I rebuild the layout ready for show.
Posted
Full Member

'Petermac
Full Member
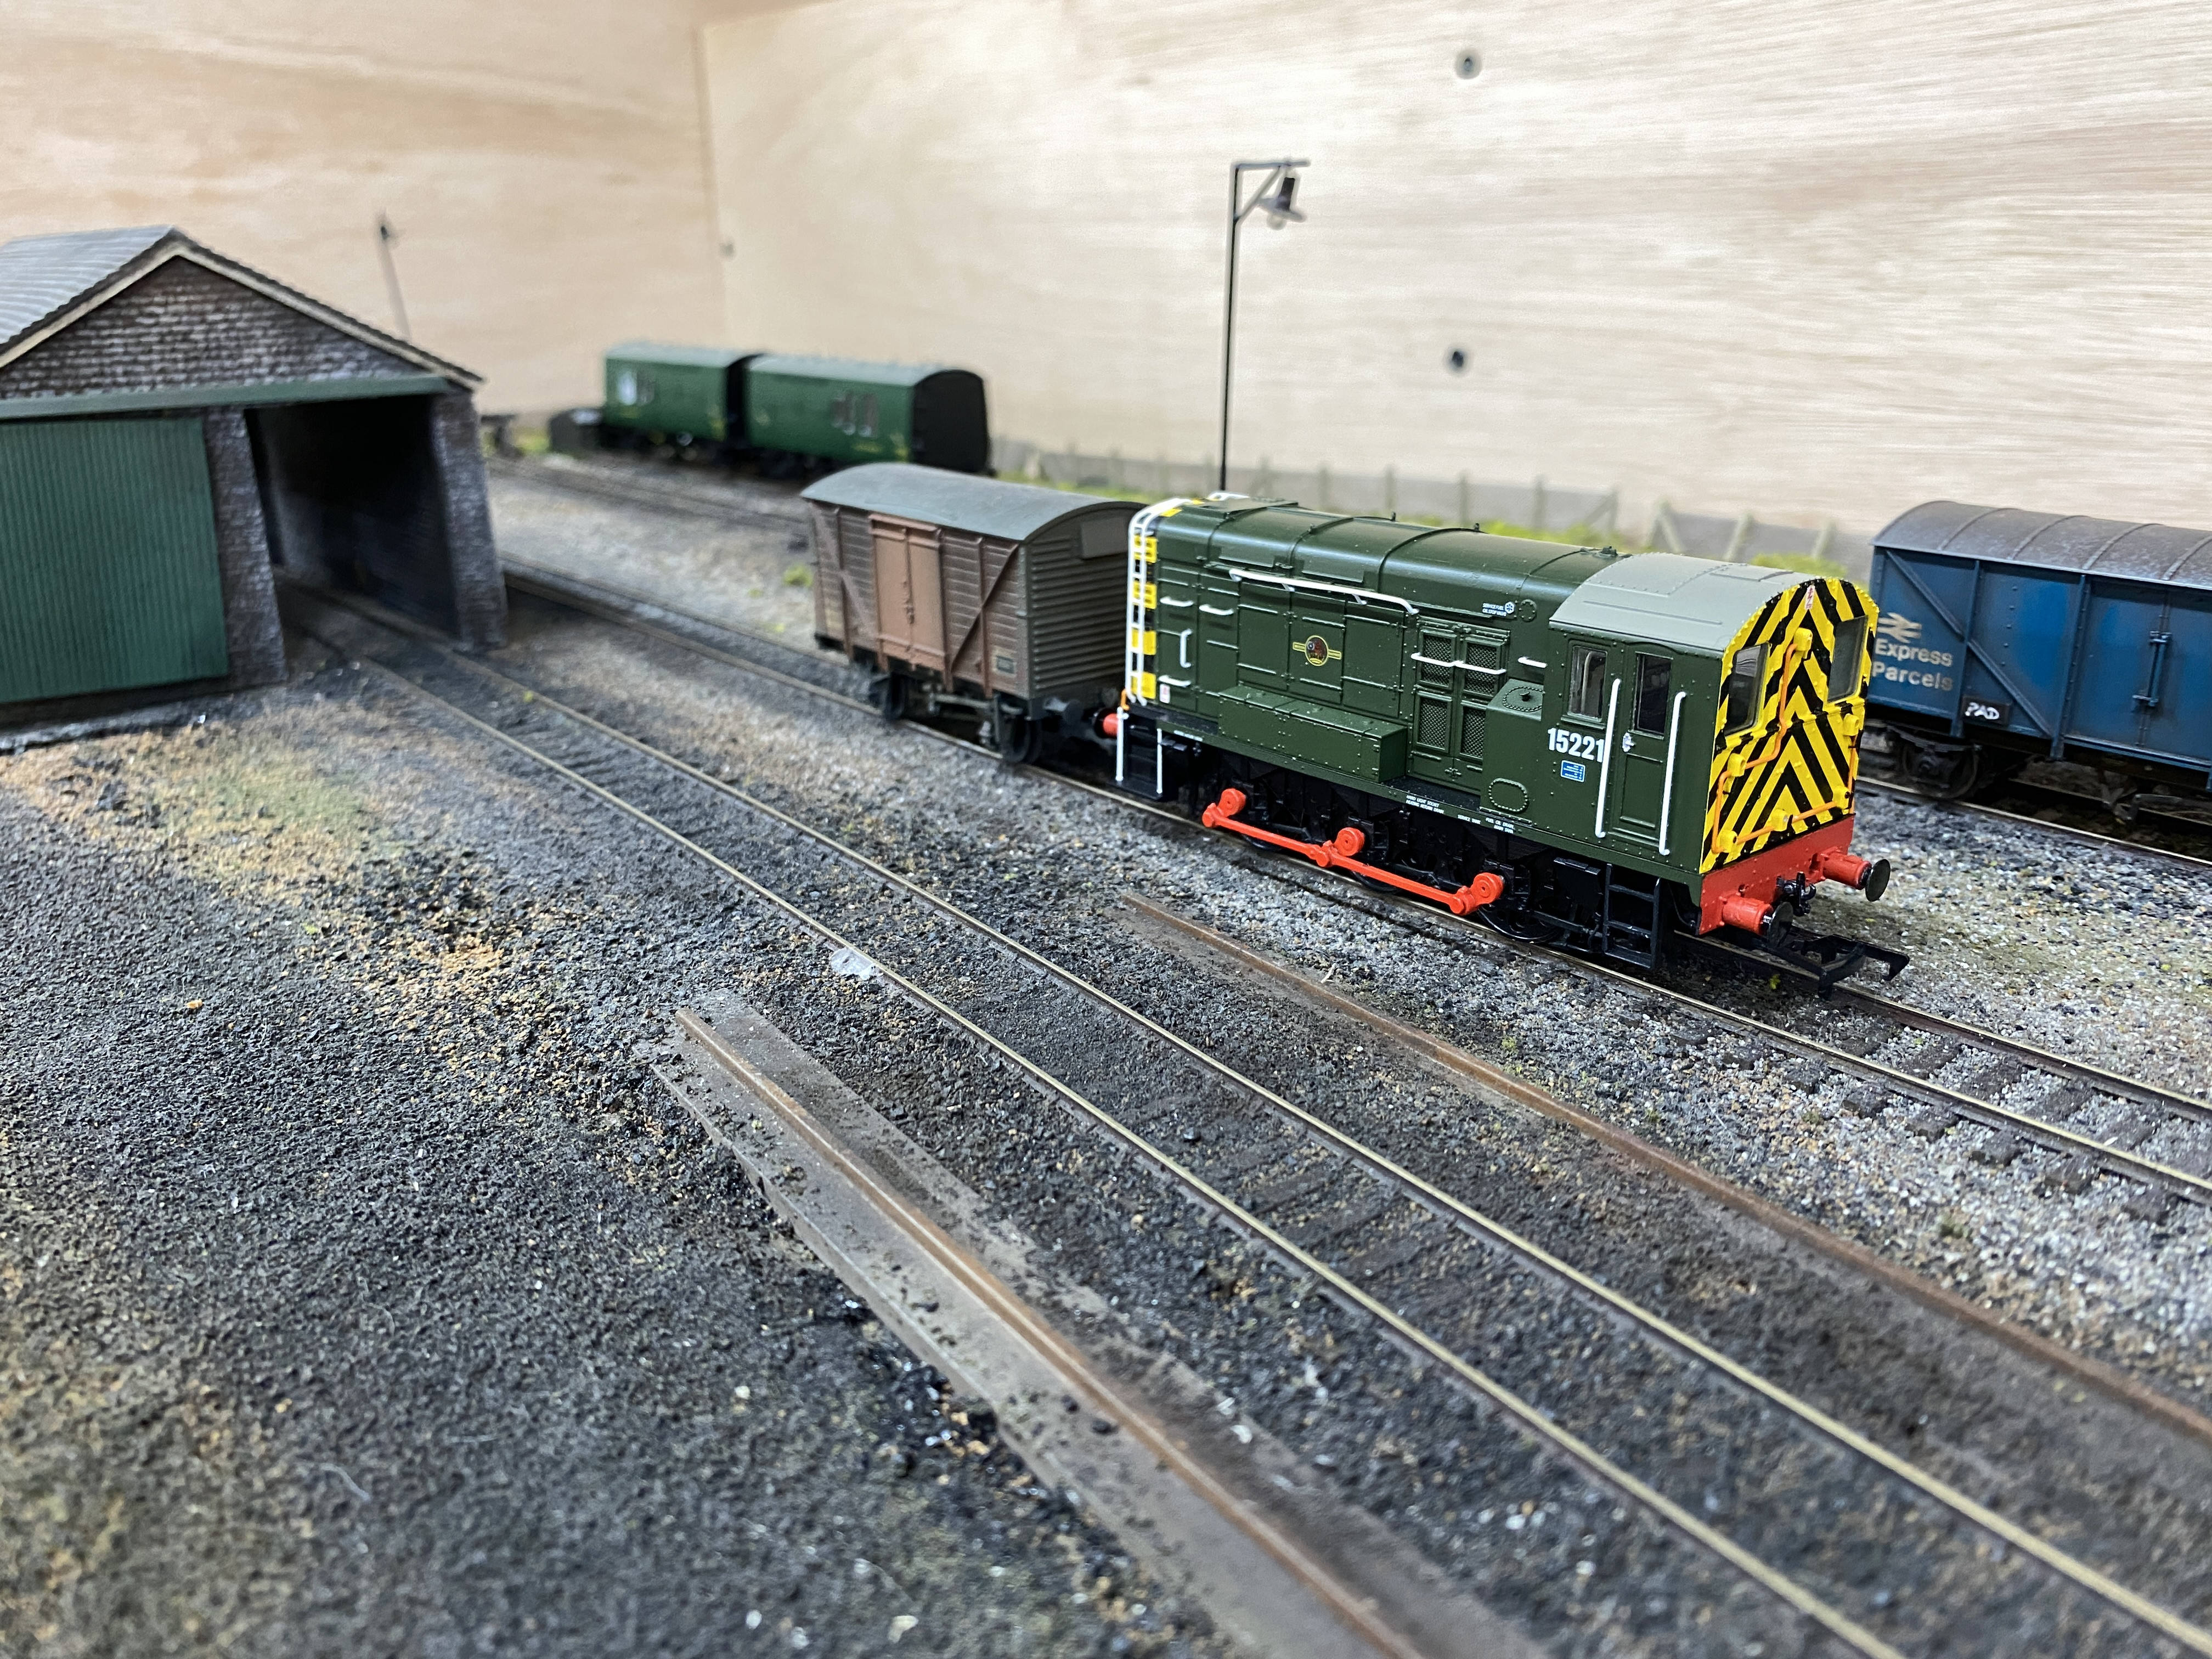
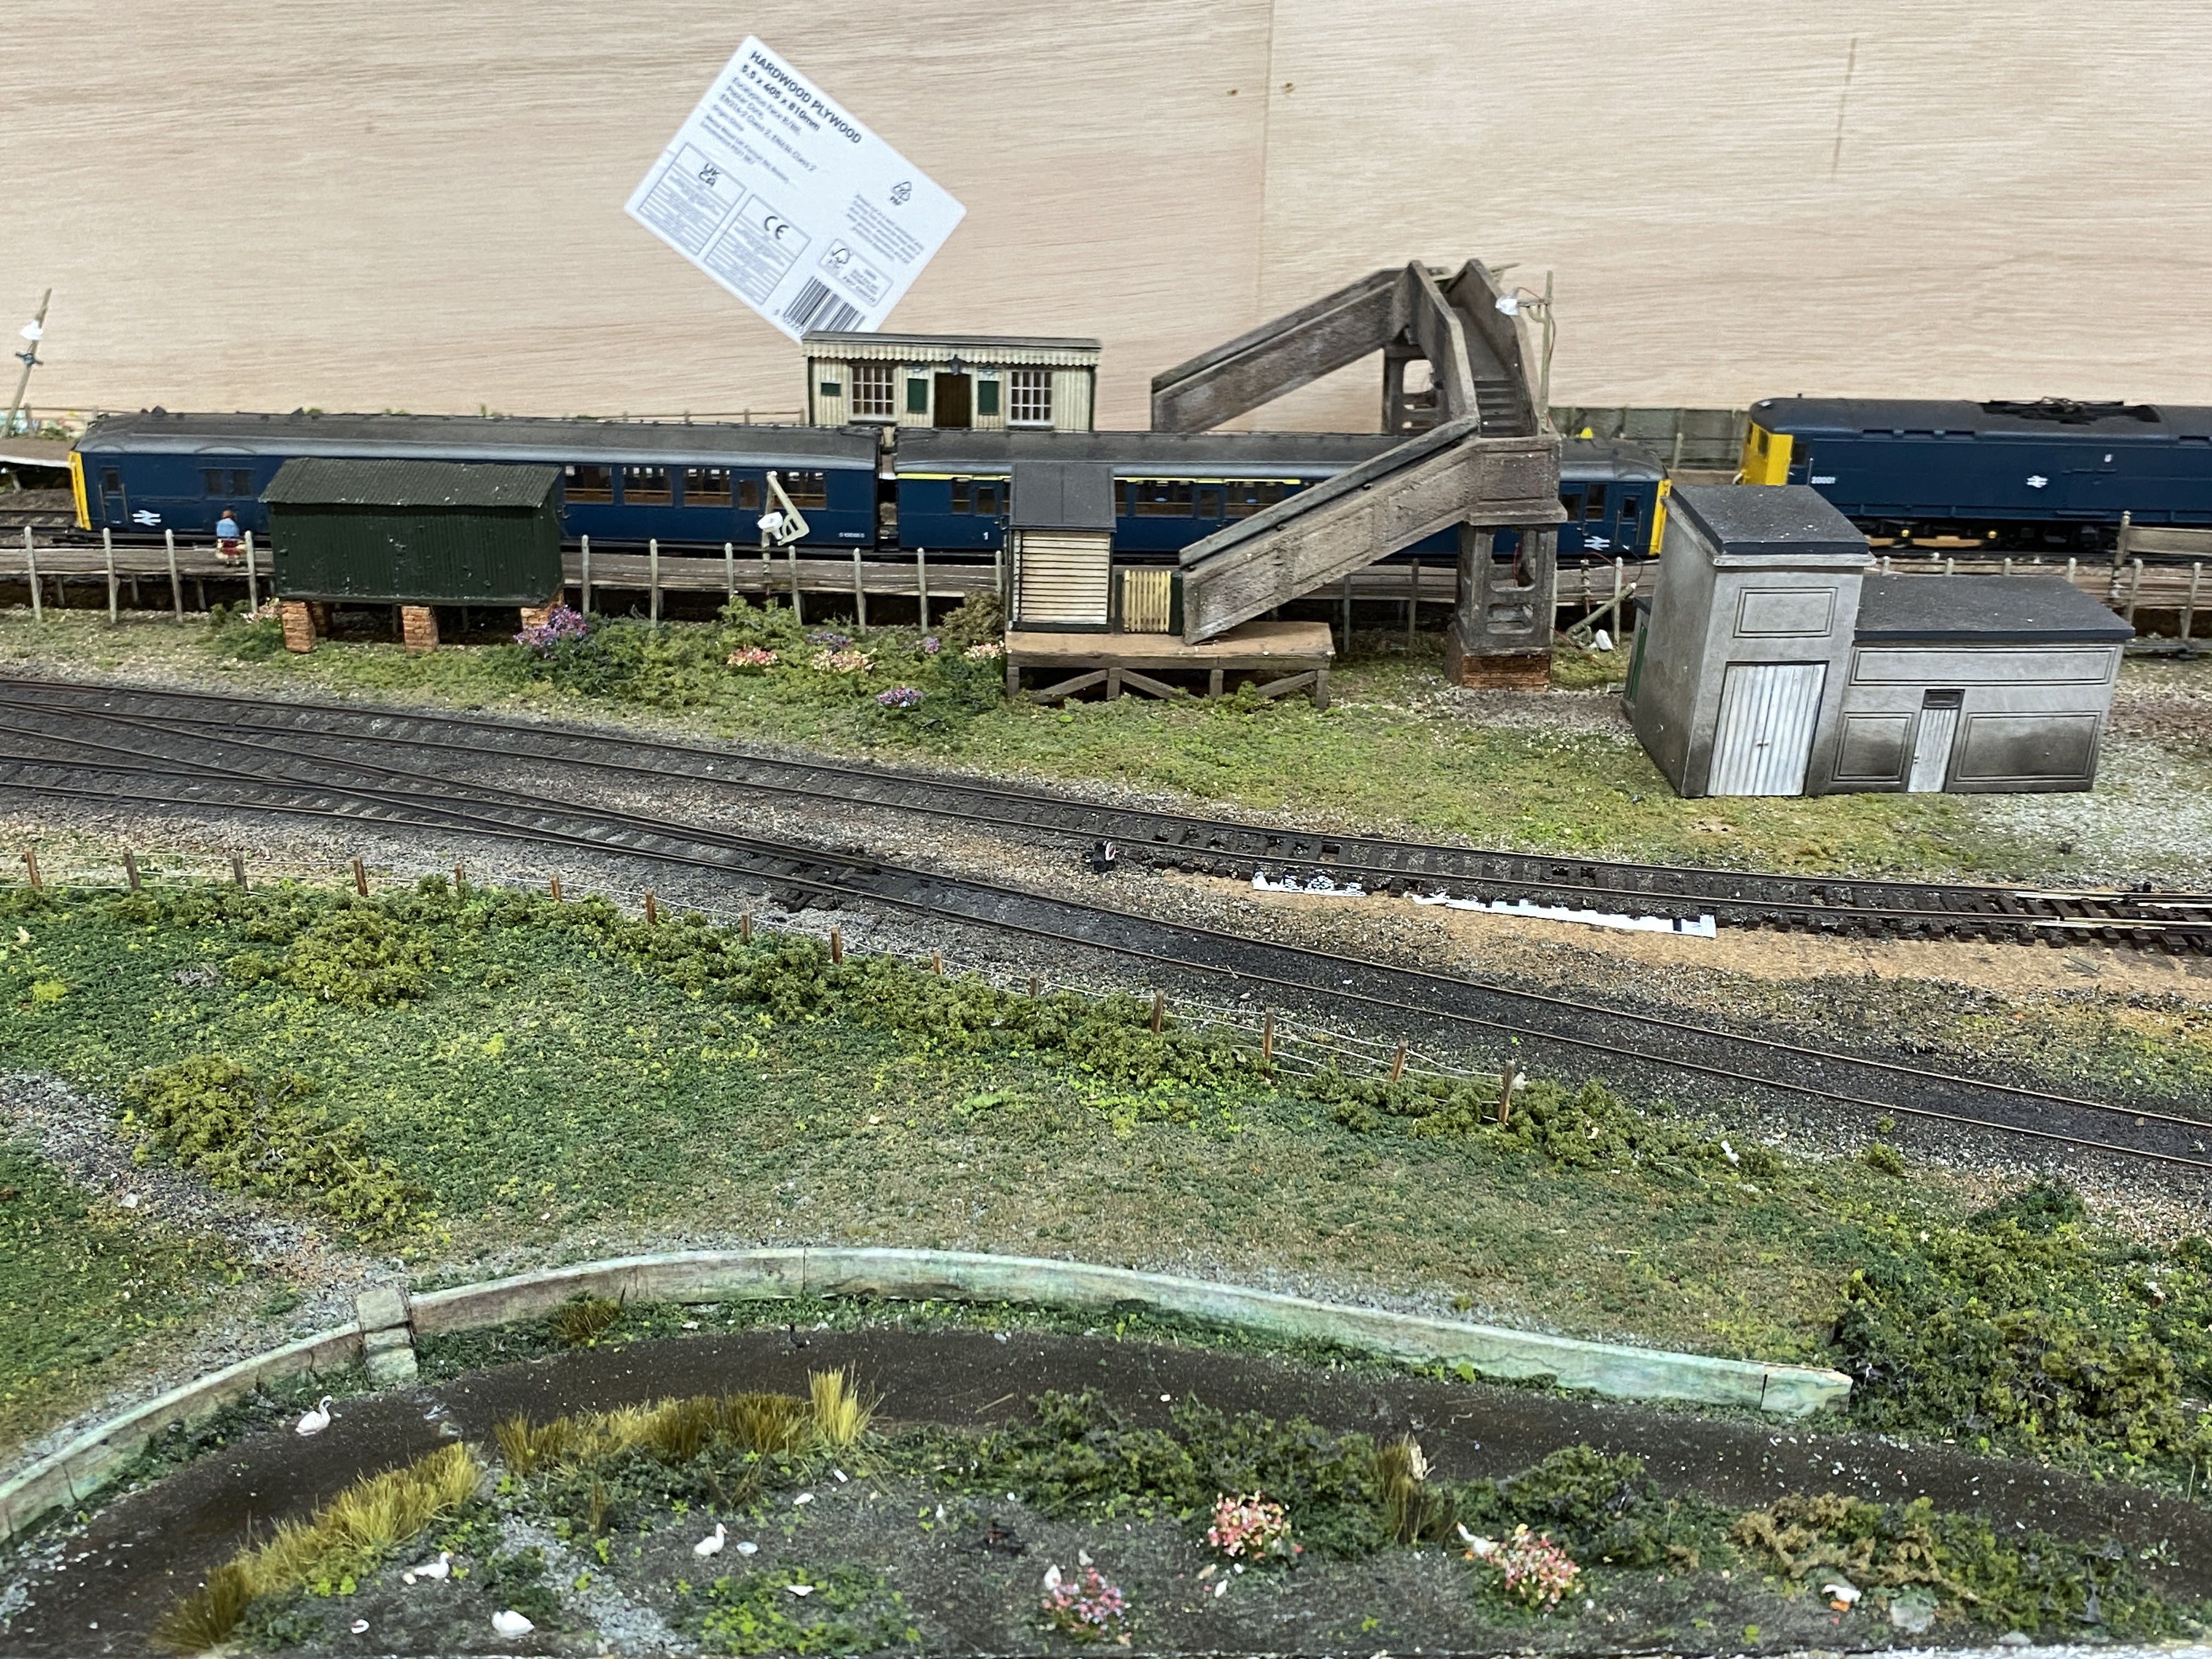
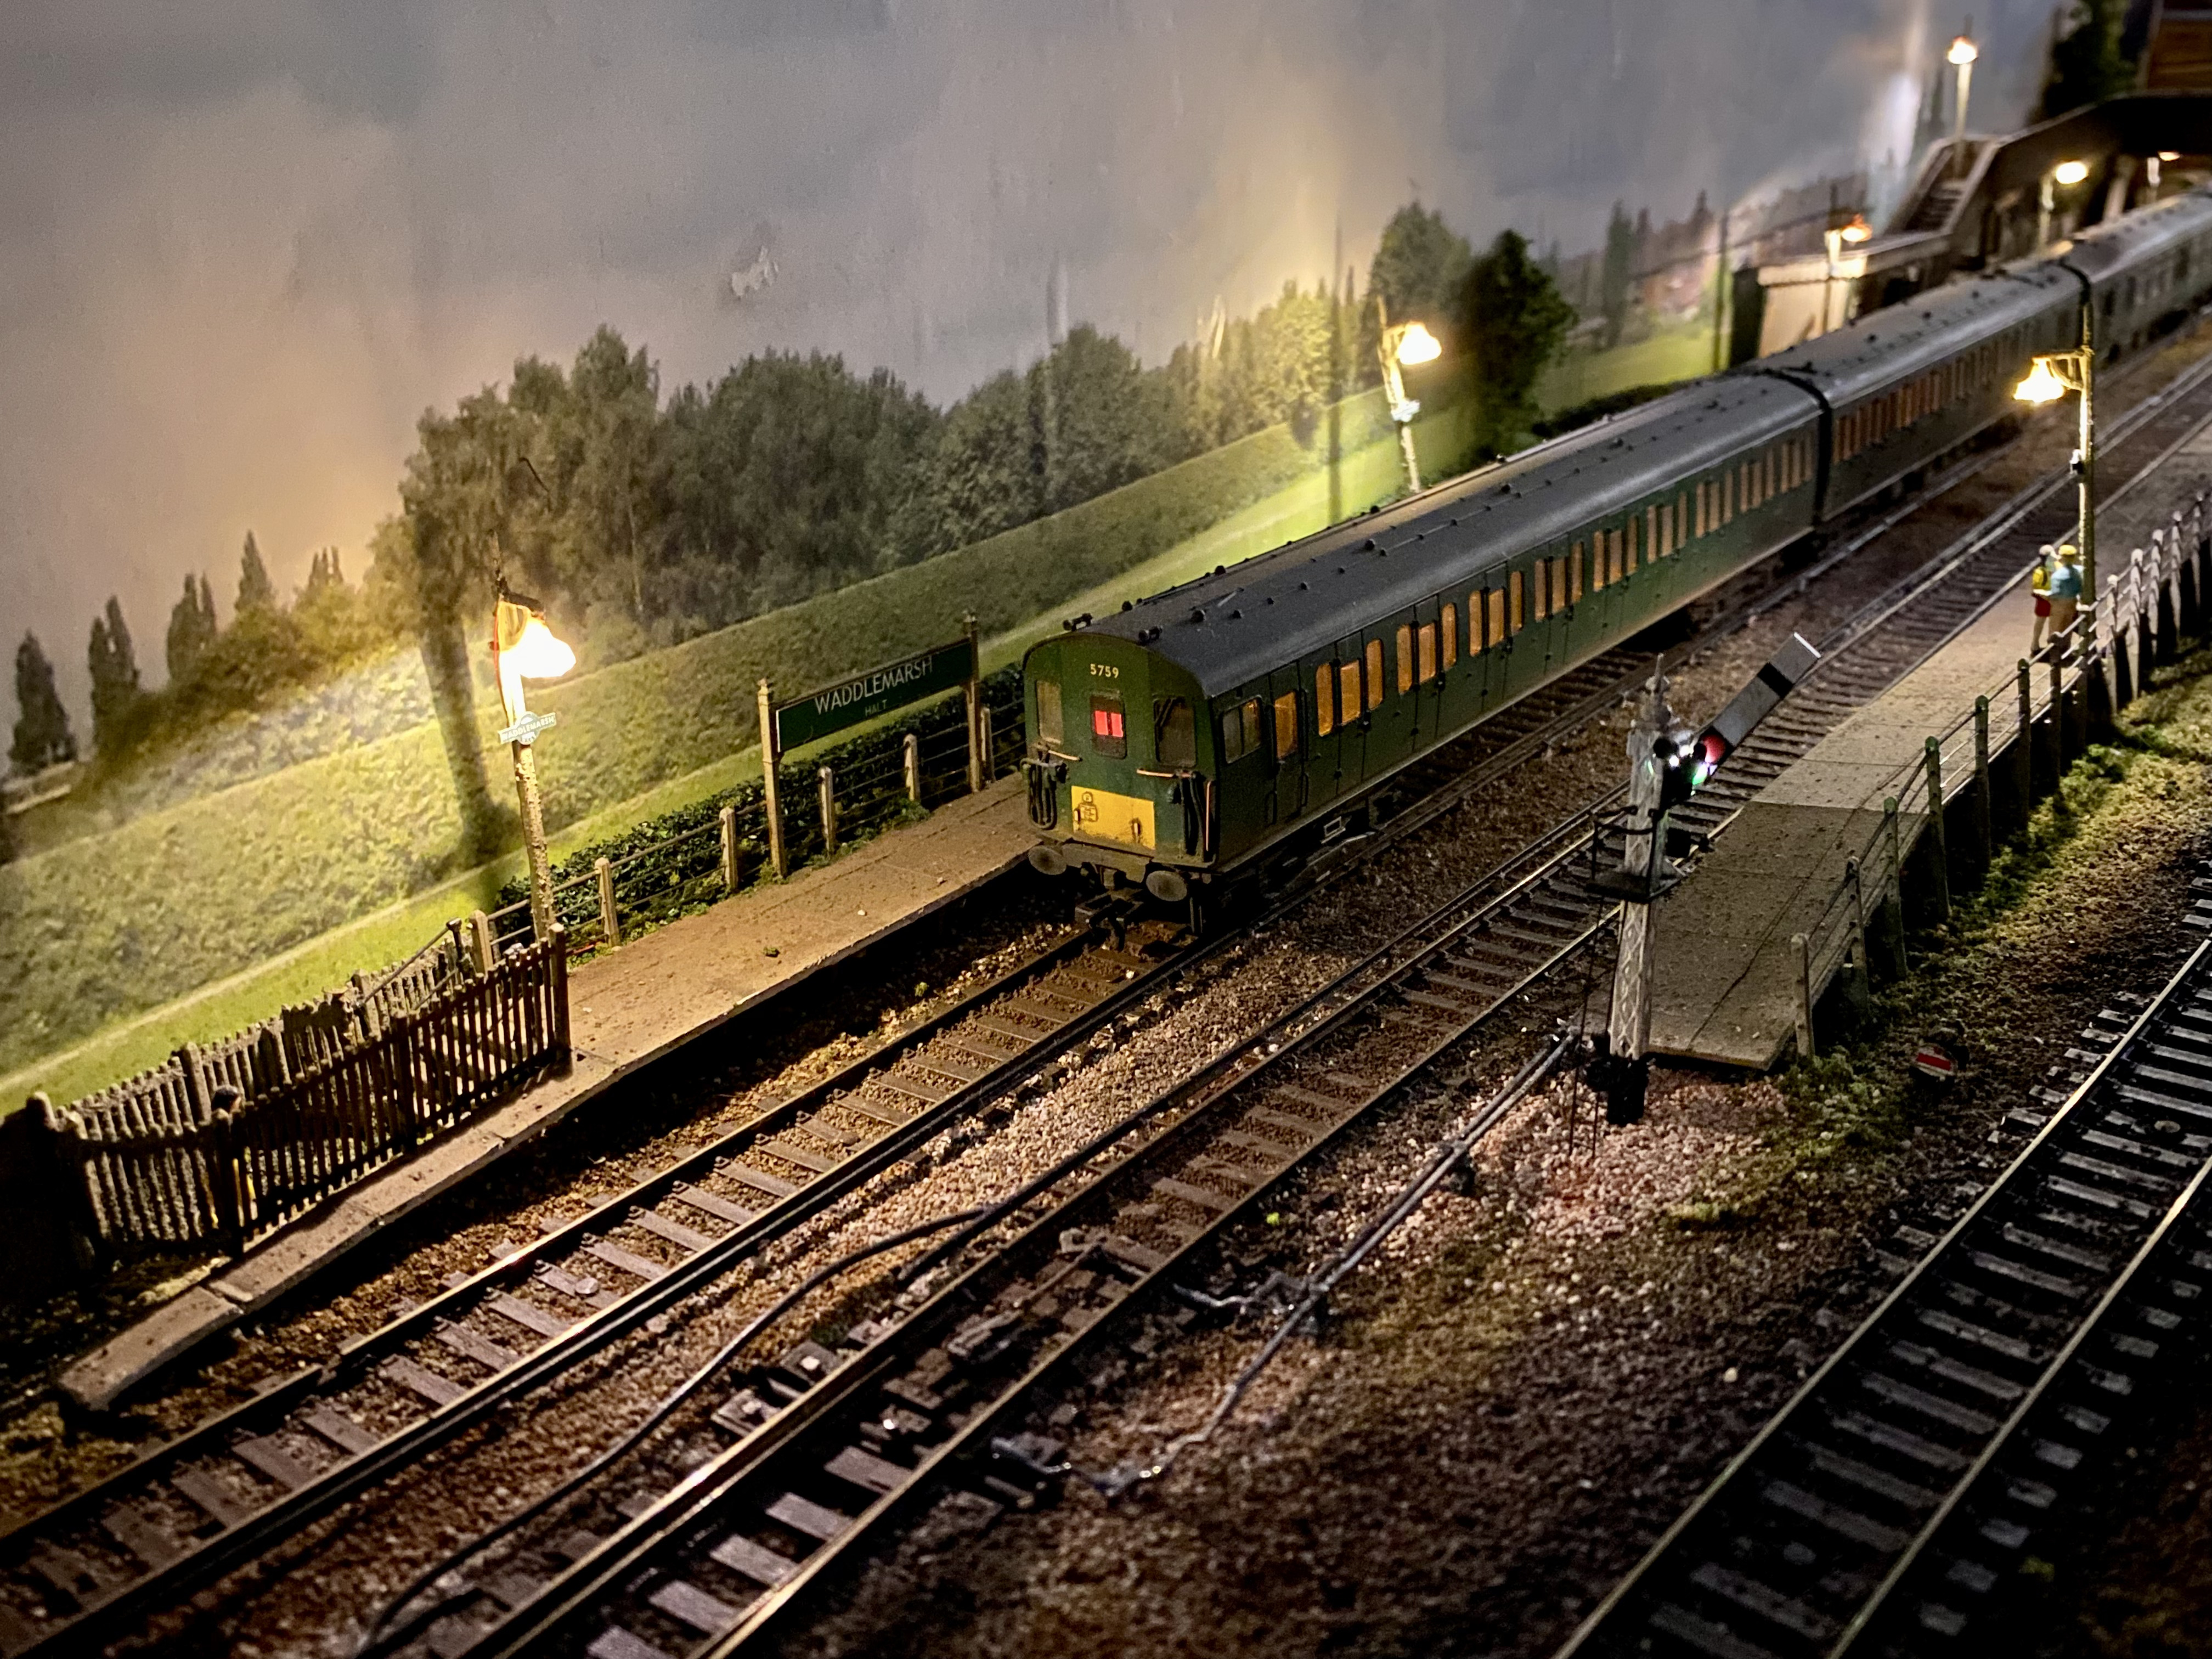
Recent work includes the creation of a deck above the fiddle yard which will become the control panel. The bare boards have been painted black (on both sides) and will - sooner or later - carry the backscene or (to create some interest where they hide the yard) some photos and background of this theoretical backwater which is somewhere near Feltham.
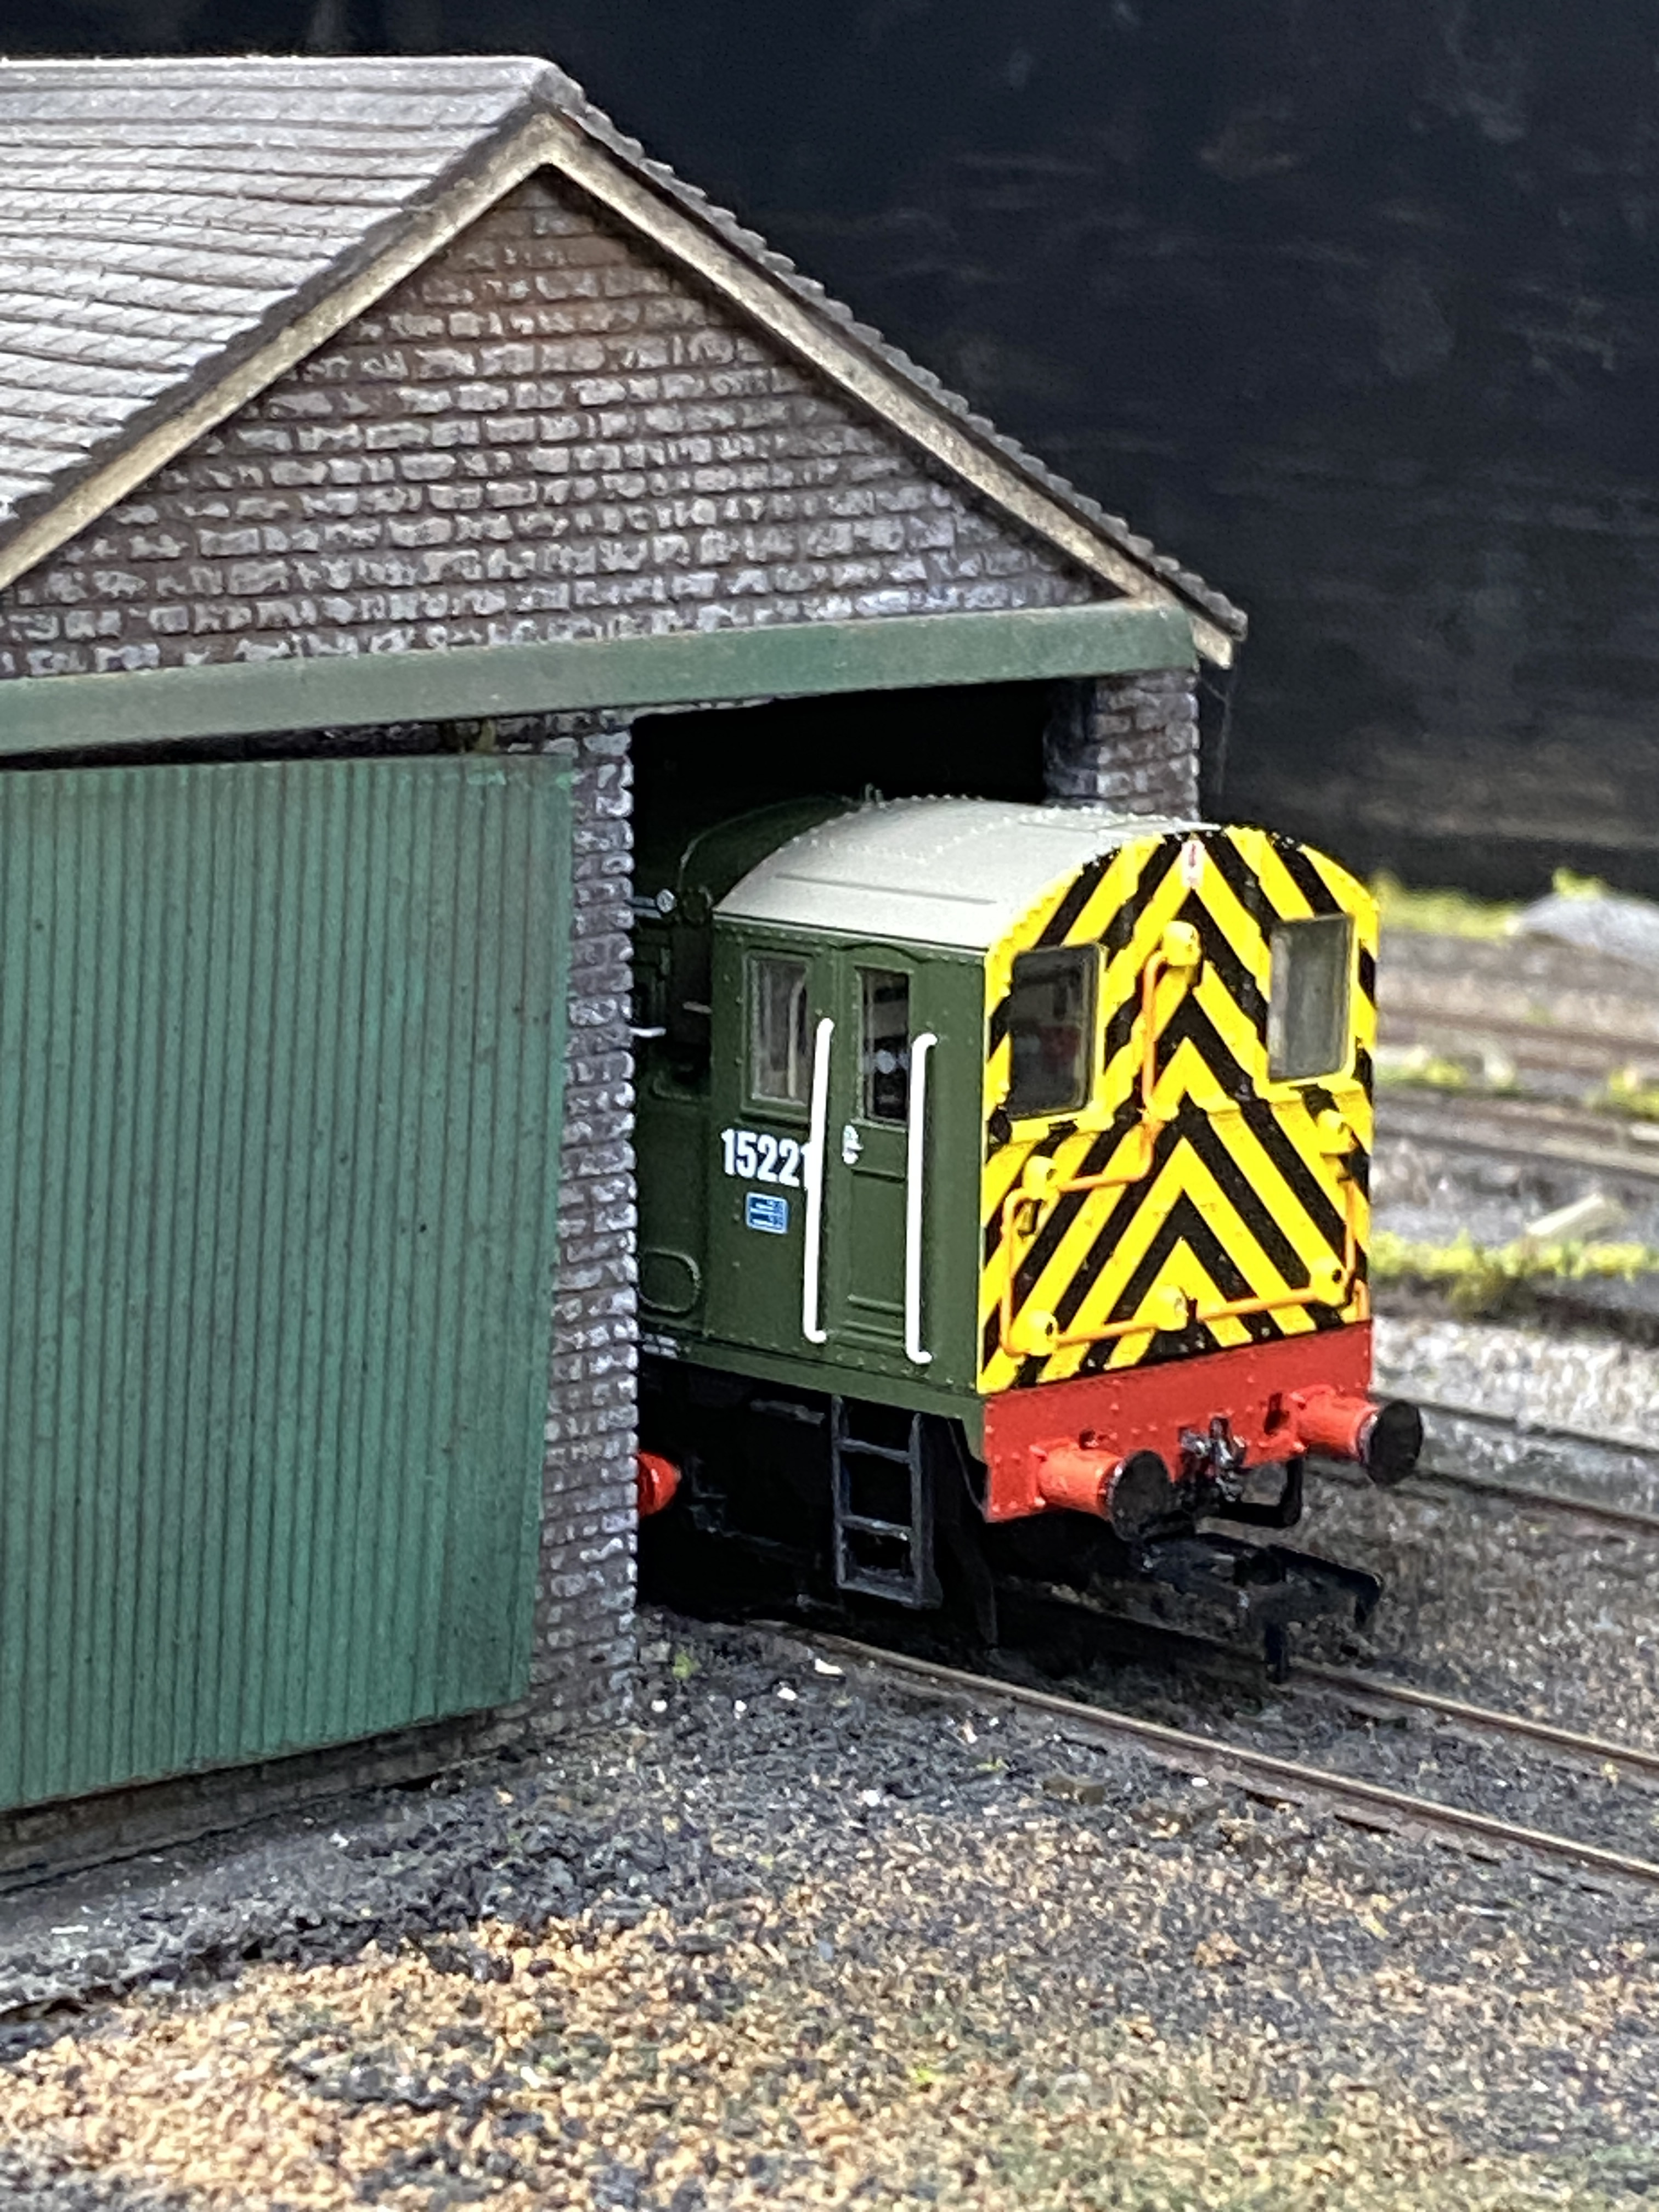
Newly-arrived class 12 shunter 15221 is now the duty loco and has a few vans to play with

Posted
Full Member
I was hoping to show more progress from the clubroom this week. Unfortunately I was taken ill more or less as I arrived and did nothing of note.
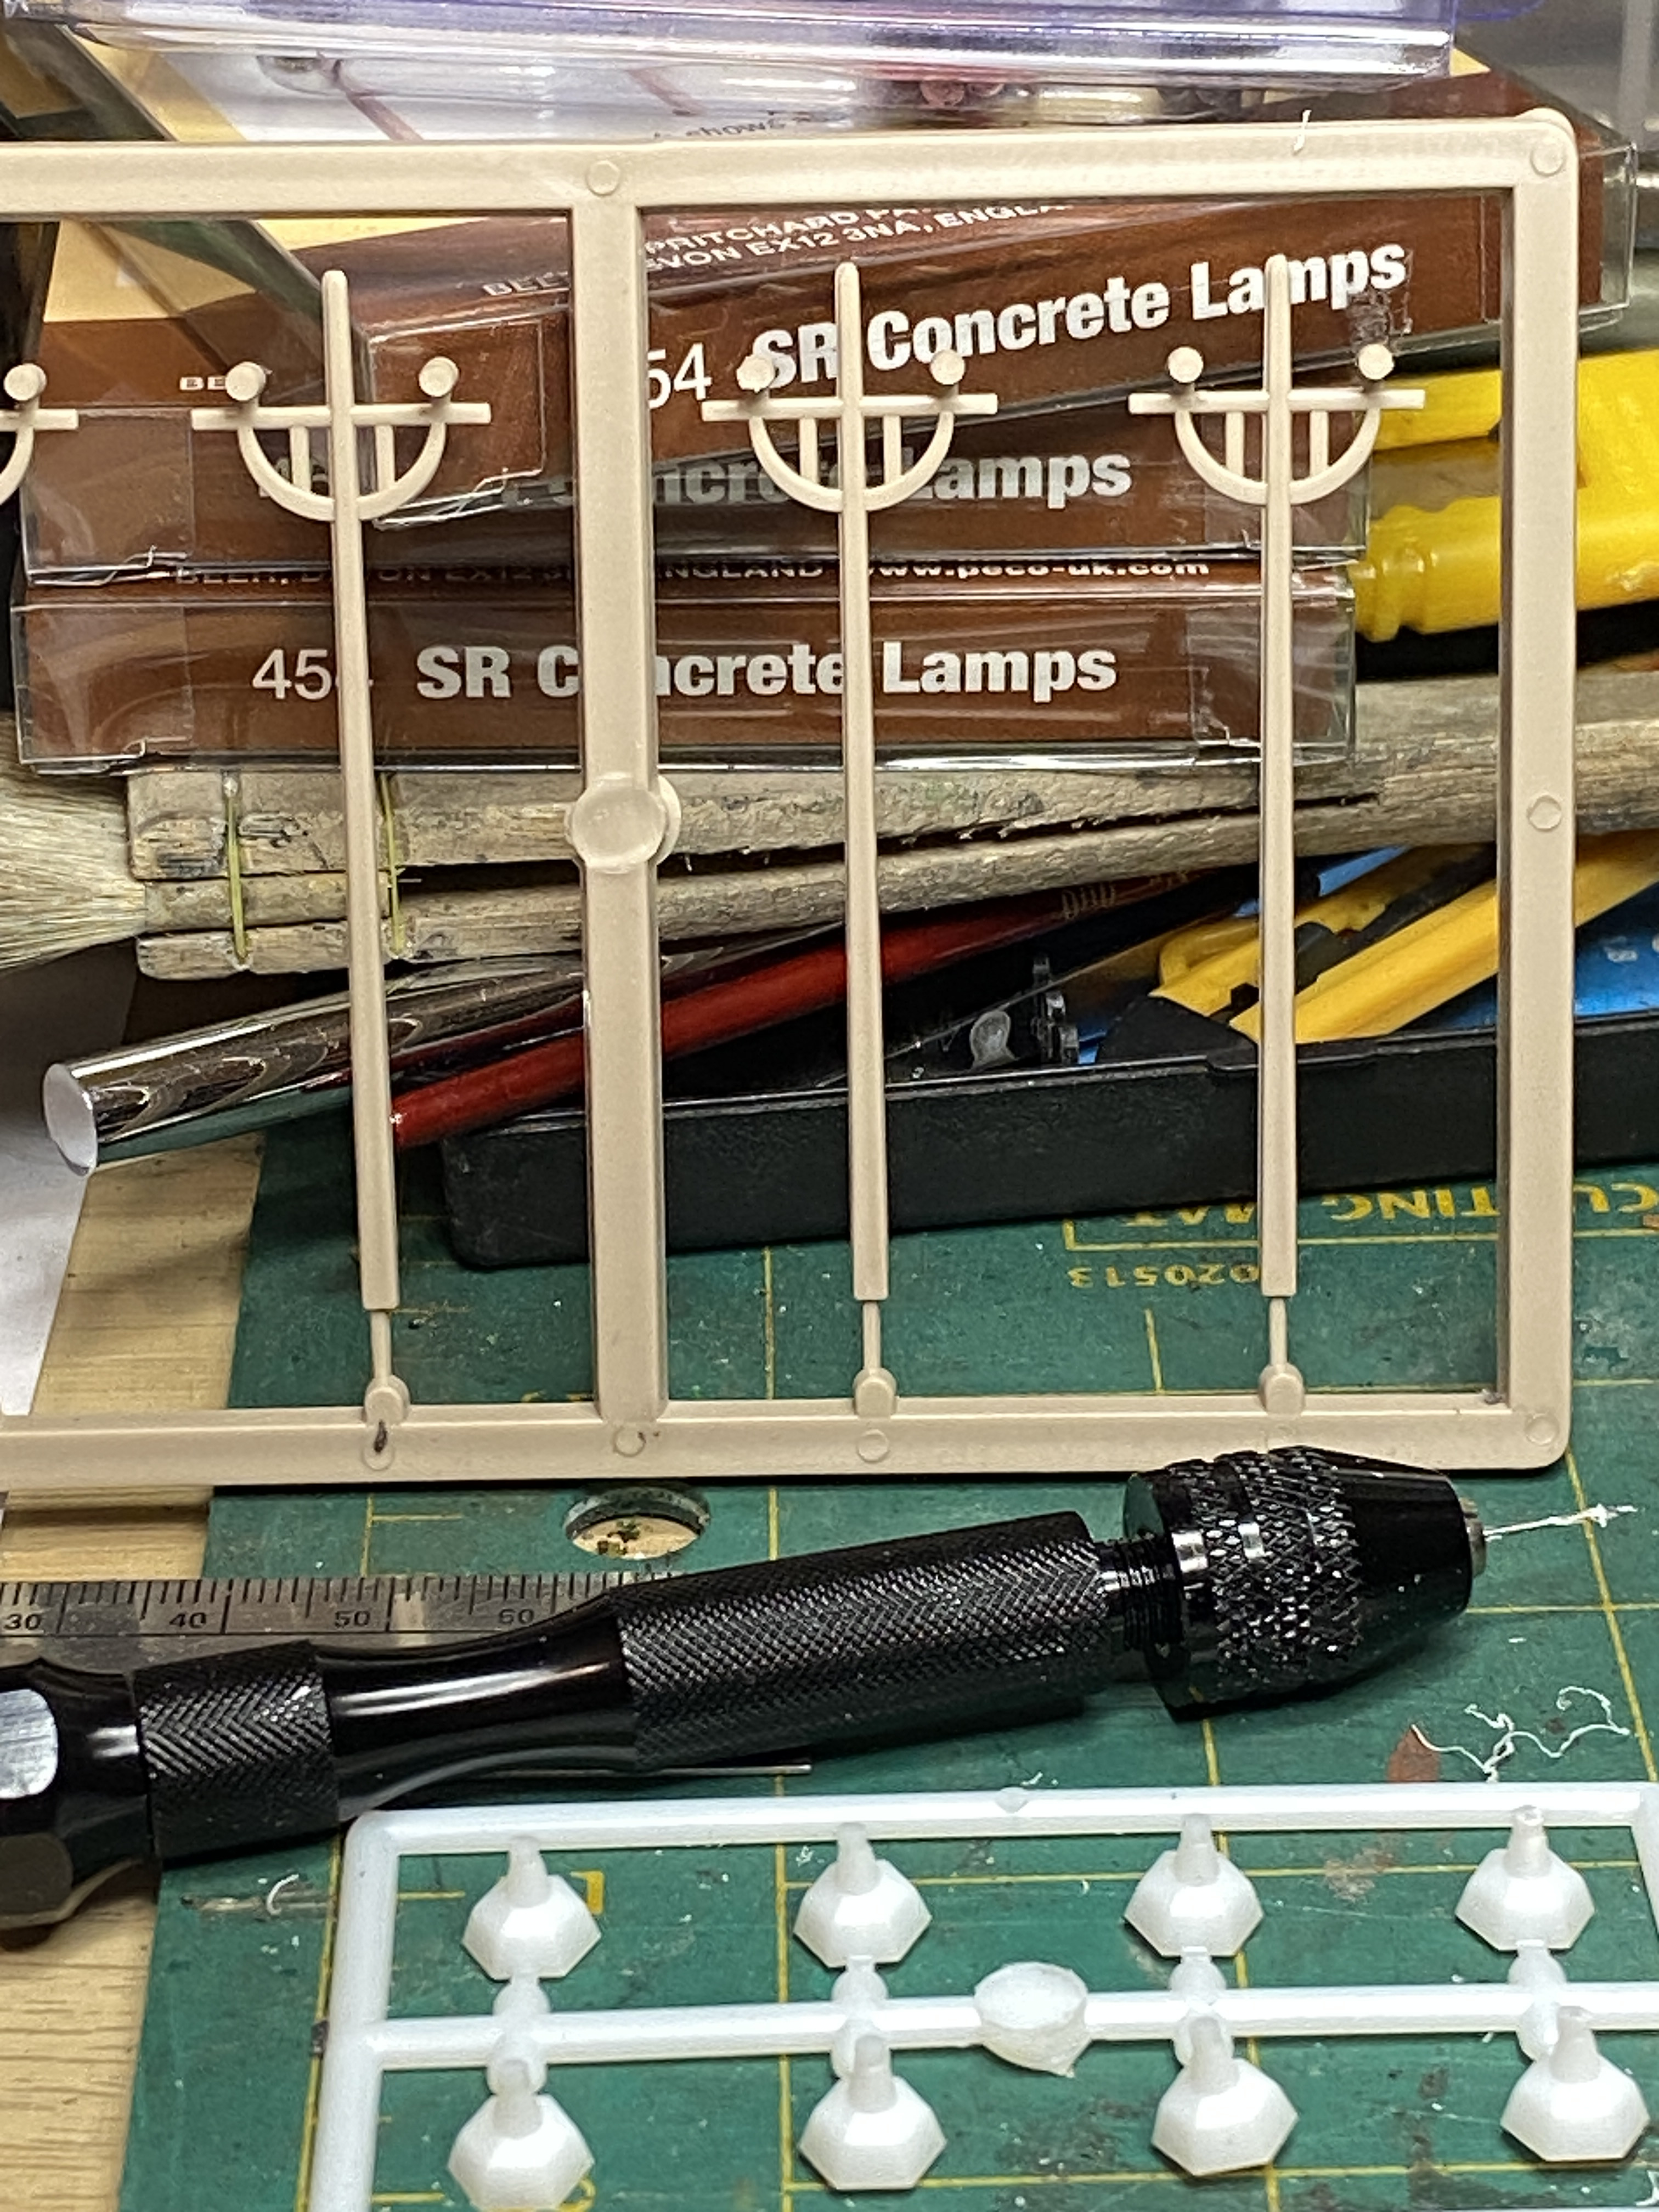
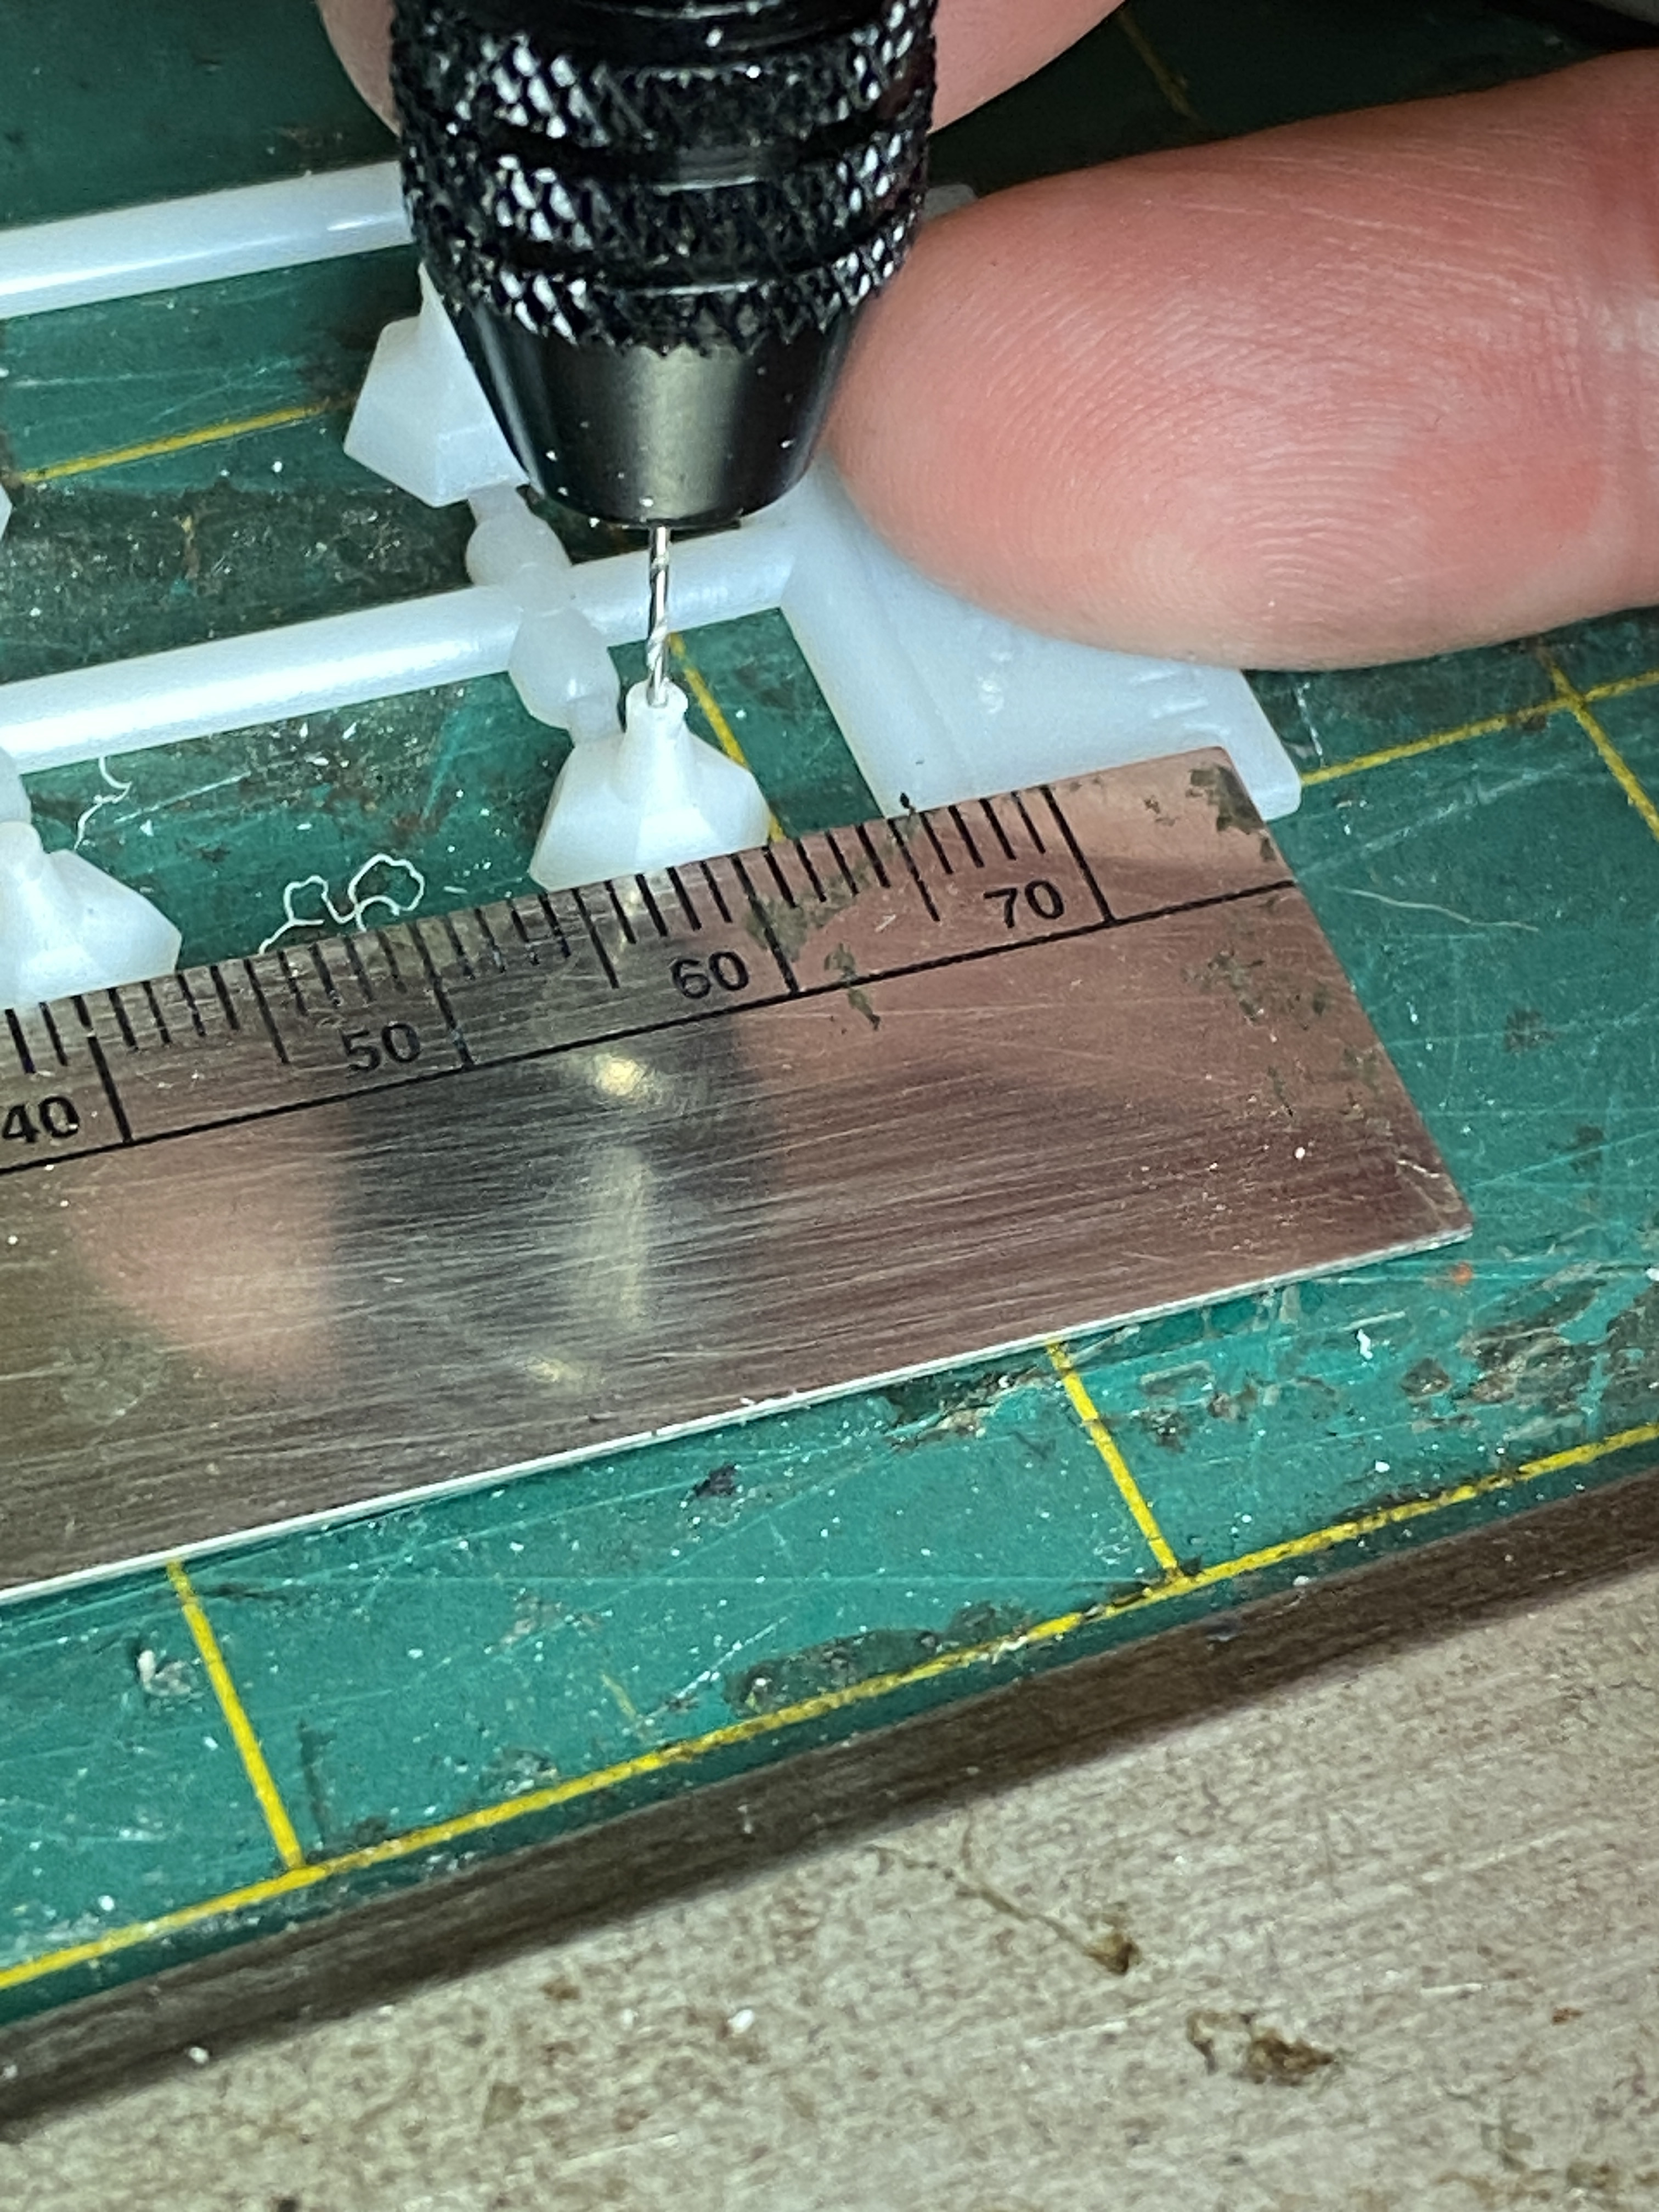
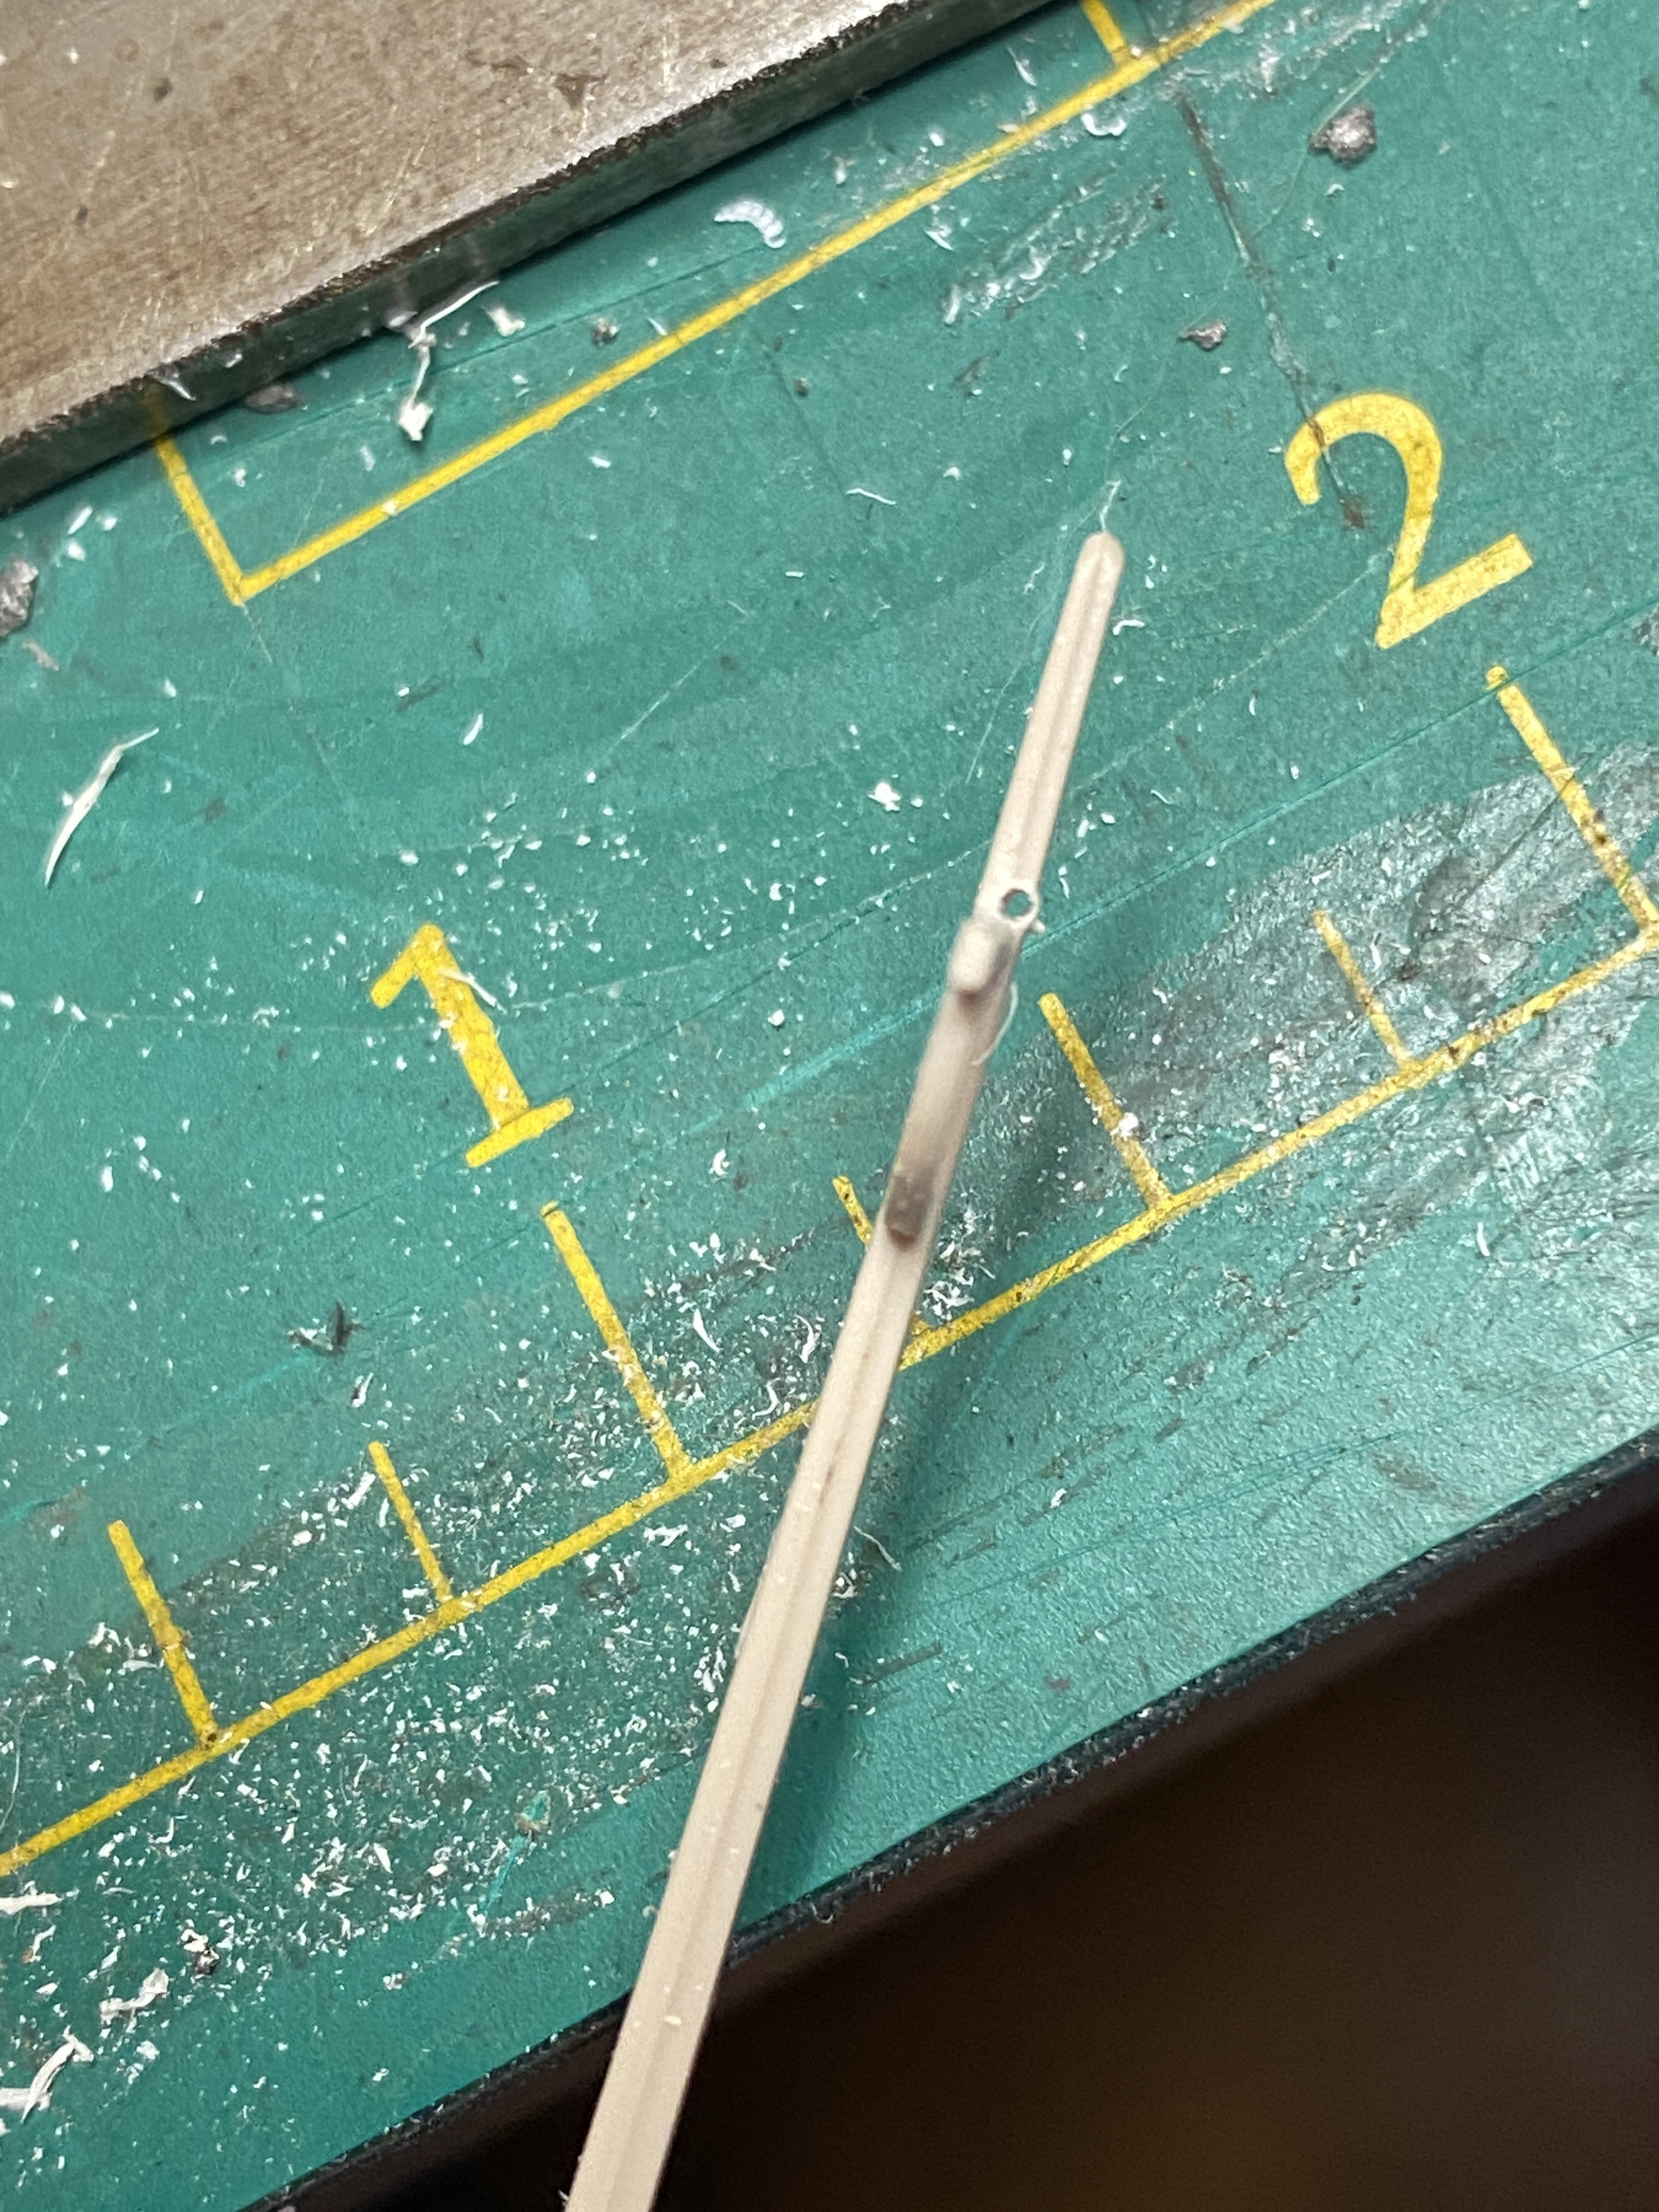
But I have started drilling out new lamp shades at home to replace the damaged ones.
A 0.5mm hole is bored through the shade then widened to 0.6mm to accept the wires of a nanoLED. Experience taught me that starting with a 0.6mm bit resulted in too many damaged parts but a 0.5mm hole is just too snug for the two wires.
Starting again and aiming for at least as good a finish as before

Posted
Full Member
Cheers Pete.
Posted
Full Member
peterm said
That looks good, Rick. Are the post's hollow or have you hidden the wires?
From “Post #292,779”, 9th November 2025, 1:18 am
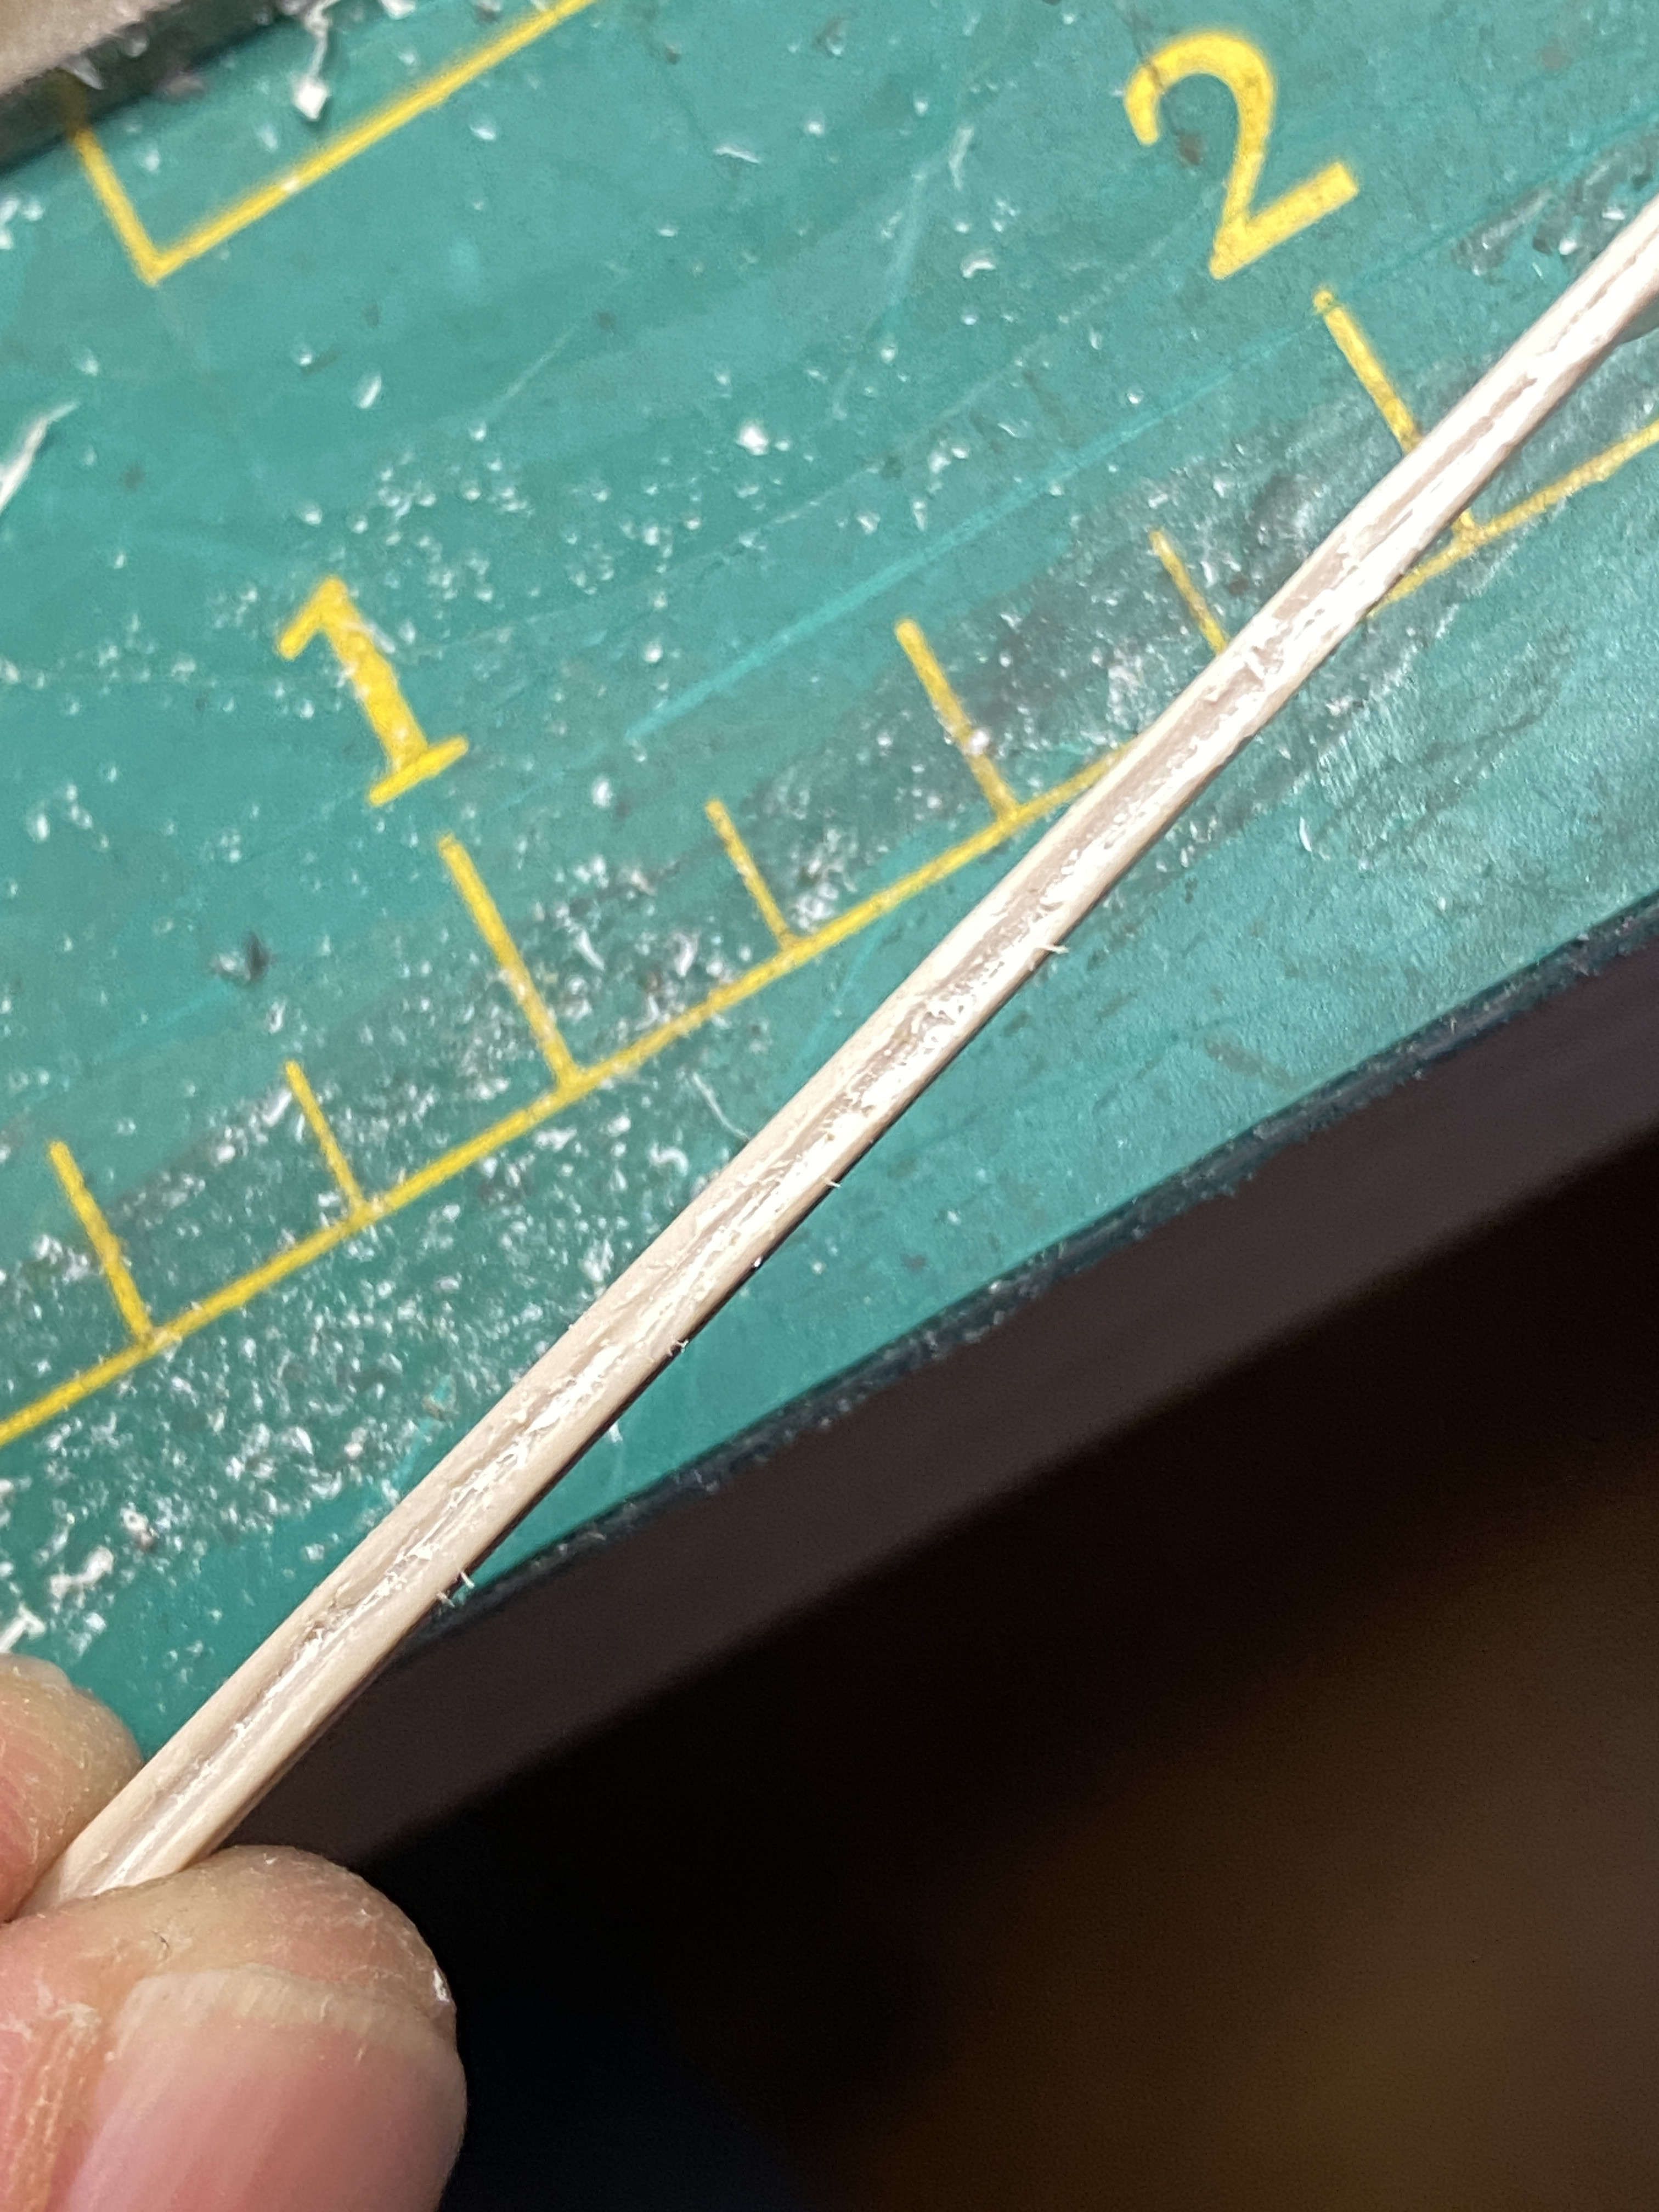
Thank you. The posts are not hollow nor can they be bored out.
I cut a small groove down the post using a scalpel or fine needle-file. The wires sit in this.
The bracket is harder. I take one wire each side of it and either side of the finial before gluing them down the post. Some look better than others but a little mess can be hidden in the painting process.
It is important to glue in the right order. The underside of each shade (which is solid plastic) is bored out using a 1.5mm bit and the nanoLED is seated in this space. The wires are fed up through the top of the shade and the nanoLED then glued in.
With that step cured the wires are then glued along the bracket ensuring there is no slack. The shade is then glued to its bracket.
Return next day when all is firmly secured and glue the wires down the post.
When that is all done the job can be painted. I use an acrylic “warm white” for the shades and Railmatch “ Concrete” for the posts. I also add a little Peco ash from a weathering pack which is very finely ground but remains gritty when wet rather than dissolving. This gives the texture to the concrete.
When all is done I weather as required and add the custom-printed name signs on pre-cut brass-etch backplates.
Then wire up and hope!!!
Posted
Full Member
Once wired and superglued more strength will return to these areas.
Each lamp takes around 45 - 60 minutes of very gentle work with blade and fine file.
1 guest and 0 members have just viewed this.