Waddlemarsh
Posted

Full Member
Somewhere SW of London. Somewhen before today
[user=6]Petermac[/user] wrote:In the overhead view from my post it can be seen that the "front-to-back" scores on the card do not always coincide with the position of the metal posts as they should do.Both the card surface and third rail look excellent Rick. By not "lining up with the supports", do you mean at the back or front edge ? They look perfect at the back edge. If it's not glued down and/or painted yet, you could mark the joins on the card before fixing it all down……………. :roll:
Do you employ wheel-tappers ? There's a chasm in this rail so I forsee a few cracked wheels. :shock: :lol:
The "chasm" in the rail has been investigated and is within my tolerance for expansion joints. It has never affected running up to now though is a bit wider than might be ideal.
It will take very little effort to mark fresh strips of card with the "front-to-back" scoring lining up at least more closely with the posts. The concrete slabs used are a square and a half of that square across the width of the platform so I also have to take care to not upset that symmetry too much in attempting to correct my own mistakes.
In terms of surface painting I think a general "concrete" colour with a little very fine powder in might do the trick followed by a little very light weathering with the powders. There is plenty of card to try a few things on first. The minor local difficulty at present is getting the right sort of paint. Woodland Scenics do a "Concrete" base colour but to order it requires paying more in courier fees than the paint costs whilst to physically visit shops is not as easy as it might be due to the general world situation.

Posted
Full Member
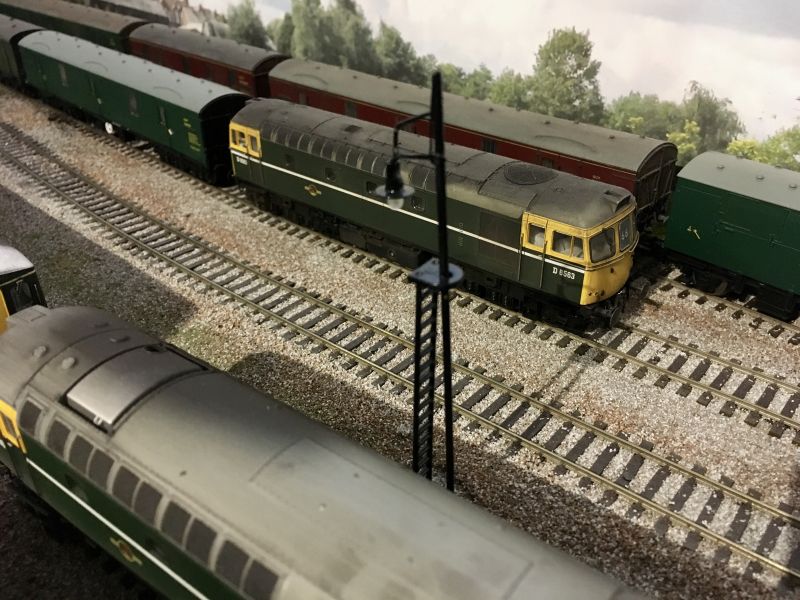
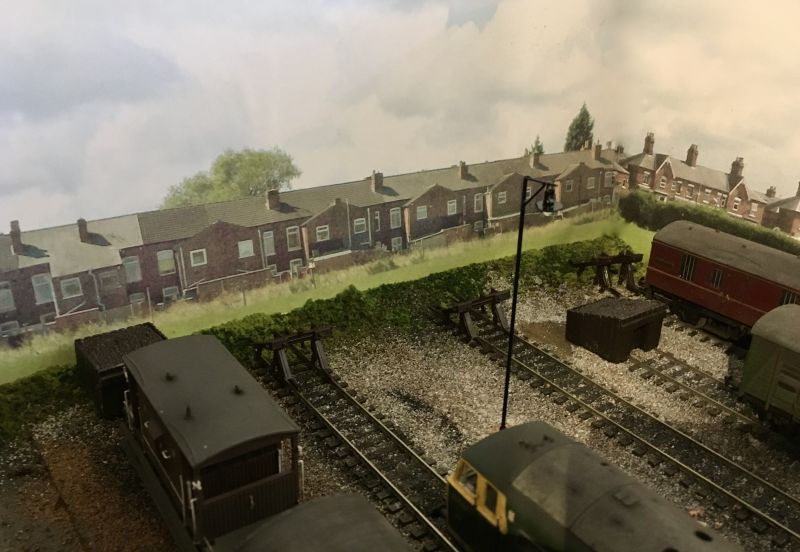
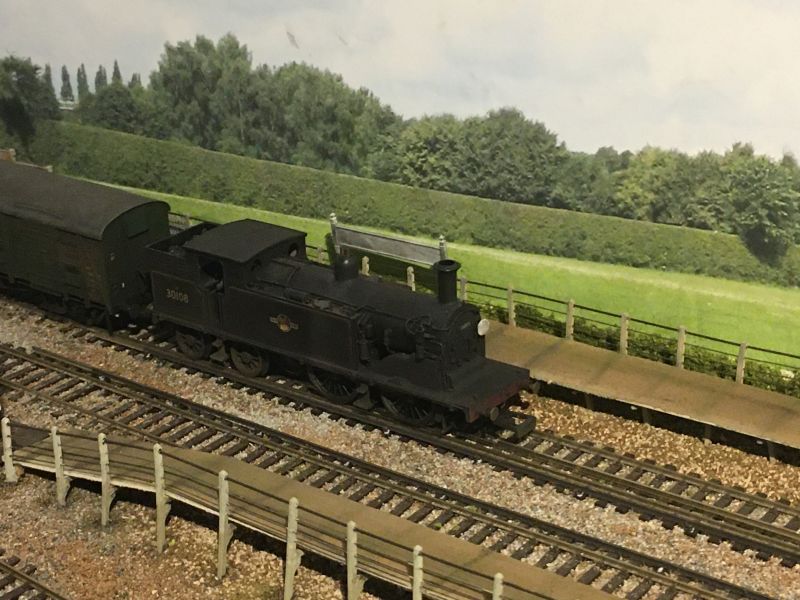
This past week has seen a little activity on Waddlemarsh including fitting of most of the remaining conductor rail, the yard lights and placing (but not fixing) the yard buffer stops. More ground cover has gone is from time to time as well. Also now back in place is the yard crane,
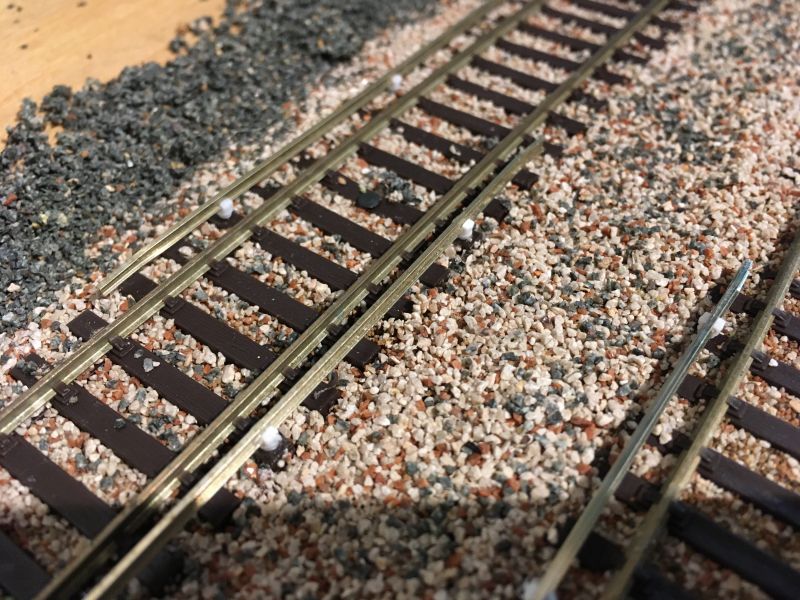
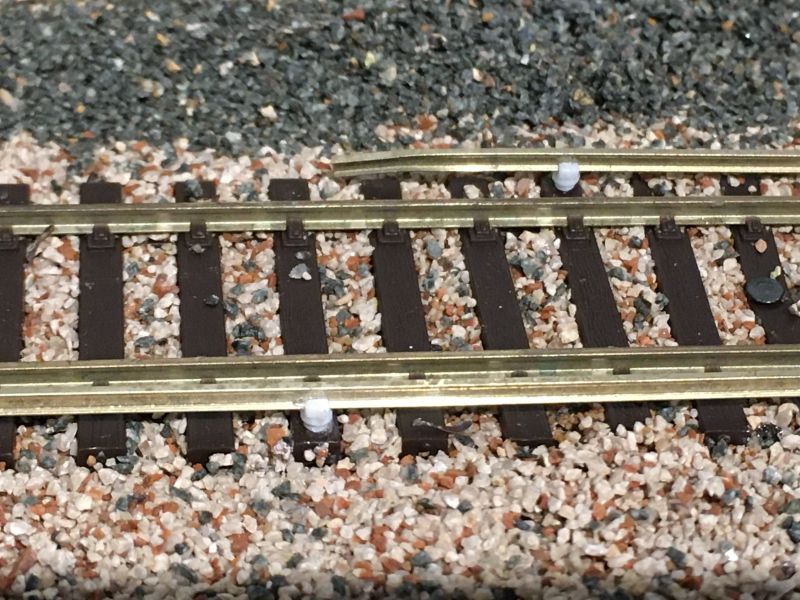
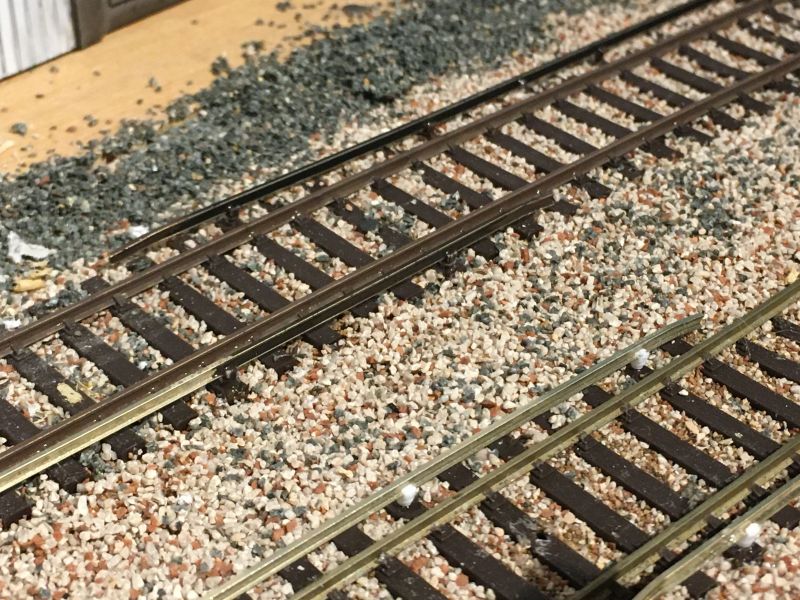
The con-rail is Peco code 60 on their own plastic insulator pots intentionally spaced every five sleepers when prototype is every four because the sleeper spacing on Peco track is wrong. This will be dummy so the slight irregularities will not matter. In correct style the conductor rail changes sides in this case once clear of the station and features run-on / run-off ramps created by simply bending the end of the rails with pliers.
The yard lights are not yet wired in nor weathered but are fixed in place. The buffers are a mix of Peco rail and sleeper types and will be painted before fixing. I had thought about having illuminated lamps on them but the ready-to-use versions are rather expensive for my needs and would probably need the power of an LED much reduced to resemble a dimly-glowing oil lamp.

Posted
Full Member

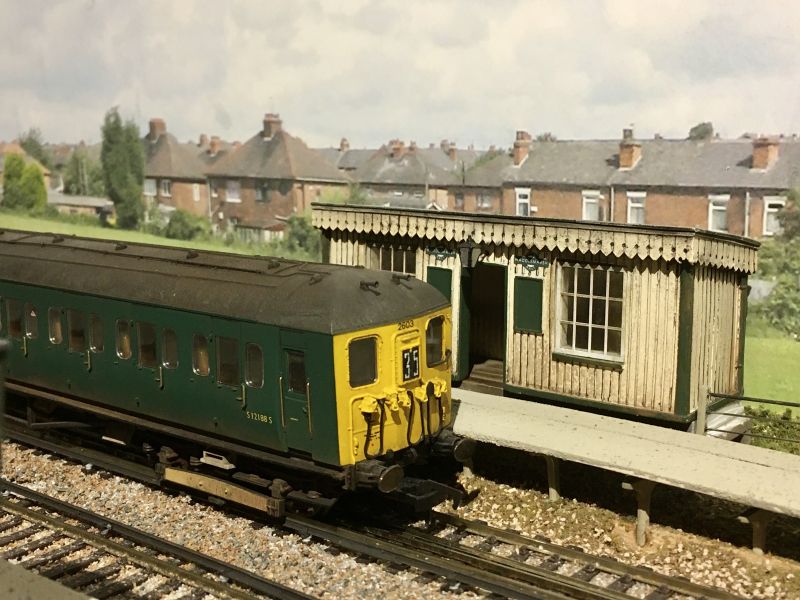
And a little more progress as a pair of 2EPB units cross at Waddlemarsh Halt apparently powered from the third rails.
 Last edit: by Gwiwer
Posted

Full Member
Well done,
Bill
At 6'4'', Bill is a tall chap, then again, when horizontal he is rather long and people often used to trip over him! . . . and so a nickname was born :)
Posted

Full Member
Michael
Posted
Full Member
Looks great. The third rail looks tricky to get right but you’ve got it spot on. Reminds me of where I grew up next to the old ‘Miseryrail’
Posted
Full Member
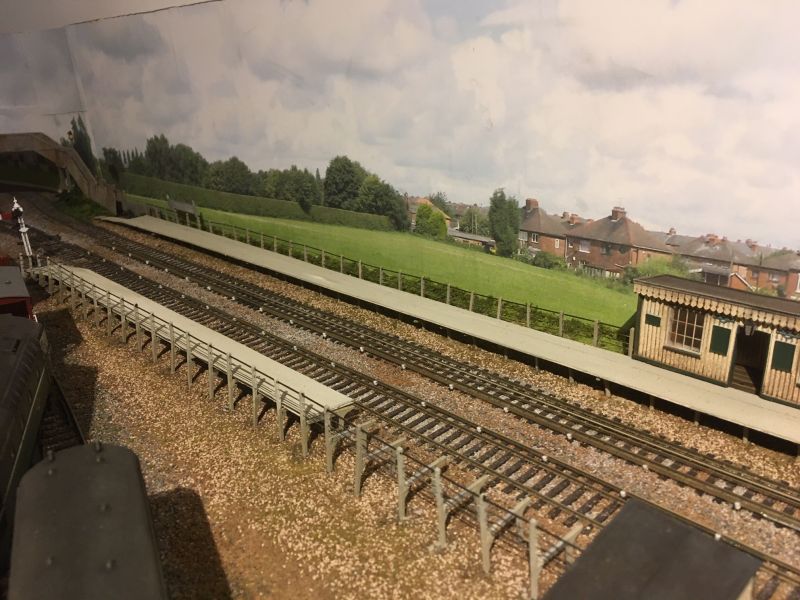
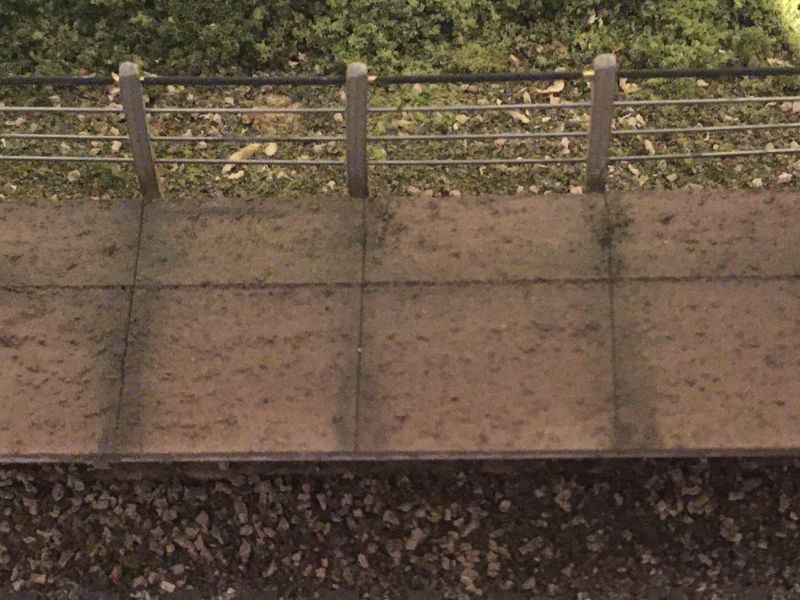
Card strips to form Waddlemarsh Halt's platforms have been painted to resemble concrete slabs. The required joints will be scribed in later and weathering applied in due course.
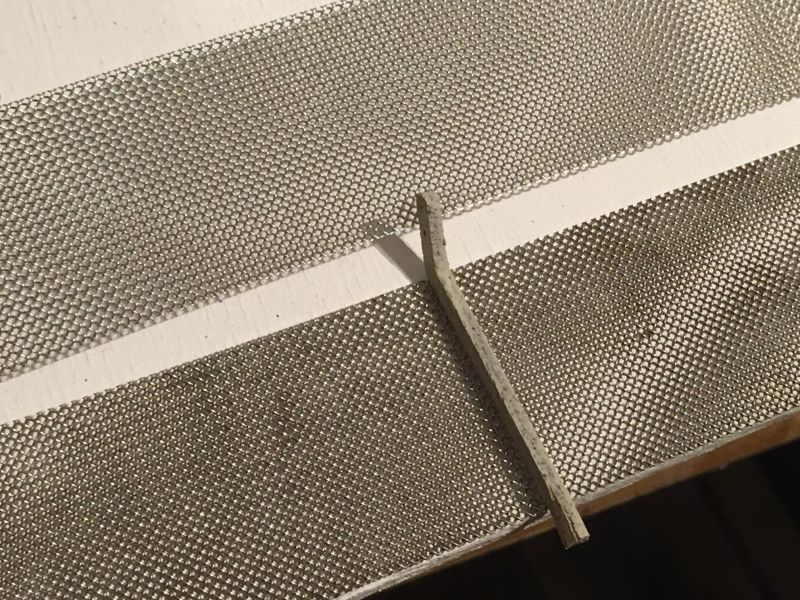
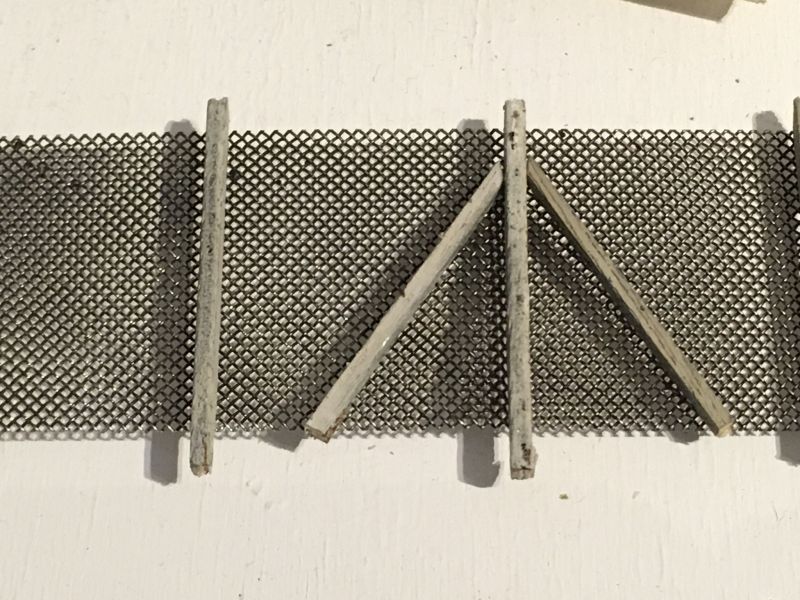
I also received a delivery of Ancorton security fencing recently which is destined to become chain-link boundary fencing for much of the goods yard. The angled tops and accompanying barbed wire might not be used but the rest definitely will. I need to weather the wire mesh but had to paint the posts first.
In other news I have sourced some (approximately to scale) corrugated metal sheets which are destined to become the Down-side waiting hut. These are from a war-games supplier eBay username aha21 The first couple of packs arrived looking perfect so I now await the required balance for construction. These sheets can be seen in the first image below.
I have a deadline of 17th November for presentation of a working work-in-progress layout on video for Hayle MRC's virtual winter exhibition. That deadline will be met with time to spare.
For reference the paint mix I use to give the concrete effect is white gesso as a binder and stiff base, Woodland Scenics Earth Undercoat and Jo Sonja's "Smoked Pearl" and "Unbleached Titanium". The textured effect is created by adding to the mixed paint a little very fine powder - in this case Peco grey ash from their track weathering kit.


Posted
Full Member
The third rail looks tricky to get right but you’ve got it spot on
Several sources suggest it is tricky. I didn't find it too bad at all. Peco Code 60 rail is a reasonable match for SR conductor rail and their plastic insulator "pots", while a little fiddly to cut off the sprues and handle due to their size, are also a good enough representation of the type in common use until around 20 years ago.
According to some who have done it before a 0.8mm hole is required in the sleeper end to accept the locating spike on the pot. I found 0.9mm worked far better and gave easy location but a snug fit which only required a pin-head spot of superglue to ensure nothing popped out. The pots are not glued to the rail itself.
As the conductor rail is dummy precise positioning is not required although it must allow free passage of the train collector shoes above it and indeed across it at junctions. The pots sit nicely down in their pin-vice bored holes and the rail as seen in my images is prototypically higher than the running rail. Those holes were bored around 1mm inboard of the sleeper end and as close to the centre of its width as I could get without creating a fine-tolerance jig.
For Bachmann stock the shoes clear it by a gnat's whisker and are almost precisely aligned to it. Hornby units are less refined and the shoes are both slightly higher and sit somewhat outside the line of conductor rail. The Dapol class 73 and DJM class 71 both clear the rail by enough but have shoes close enough that they appear at a viewing angle to make contact with the rail.
A number of other items have been run across the third-rail section. Dapol class 52 locos have (if you choose to fit them) fine brake rods sitting low on the bogie frames but they are nowhere near the conductor rail. Nothing else I have tested so far is even remotely close to making unwanted contact so I am happy that I have struck a comfortable medium.
Posted
Full Member

Michael
Posted

Full Member
When I read your posts Rick, it makes me delighted I'm not modelling the Southern ………………… :cheers
'Petermac
Posted
Full Member
I also think Penhayle beach scene was done grain by grain …………
Not quite, Peter, but it took time to get the result I wanted. And it took visits to numerous beaches before I was happy with the sand itself. I finally located extremely fine rock-sand on Edithvale beach; the much nearer Frankston beach, which looks perfectly sandy, is comprised of coarser shell-sand.
The platforms are going down as we speak. Three of four card sections are glued into place and the fourth will be done later tonight. Once firmly glued they will be scored to resemble the required concrete slab appearance and the textured paint applied to the surfaces will also be weathered down.
Speaking of steady hands and patience one of the jobs I then have to do is to paint the white line along the platform edges.
And then there's the chain-link fence ….. Ancorton Models security fence. I am playing around with weathering this to bring down the shiny metal to a more "used" appearance. The first test painting is shown. As is a single supoprt post for reference.
Posted
Full Member
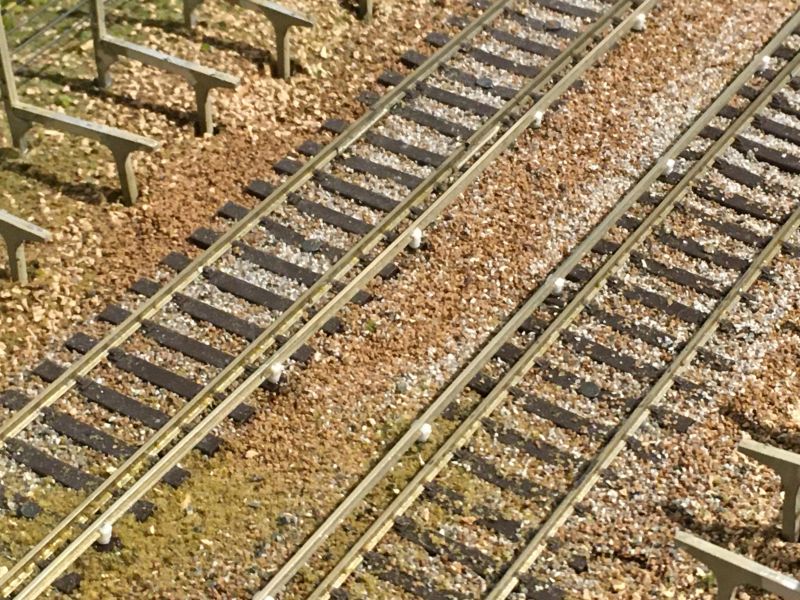
Woodland Scenics Black and Slate Grey acrylics plus Dark Rust weathering powder for the running rails. Black paint and powder for the conductor rail which weathers differently. A hint of rust at the run-on ramps which should blend into an even black when it’s all dry.
 I
I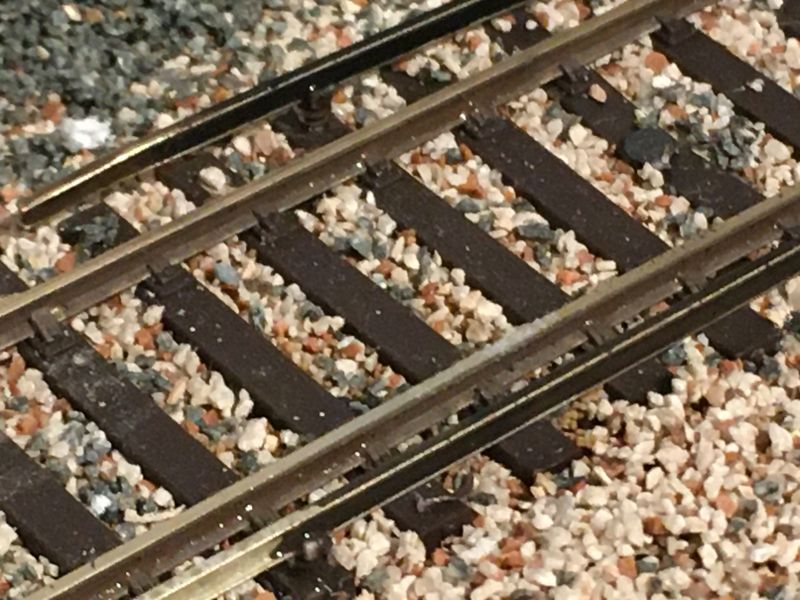
Posted
Full Member
Bill :thumbs
At 6'4'', Bill is a tall chap, then again, when horizontal he is rather long and people often used to trip over him! . . . and so a nickname was born :)
Posted
Full Member
'Petermac
Posted
Full Member
Peter yes I do let the paint dry first. I then run the rubber lightly along the rails. It helps that the Peco track rubber is an ideal width for the job.It looks great Rick but what a chore having to treat the two rails differently. How do you clean off the running rails and do you let the paint dry before doing so ?
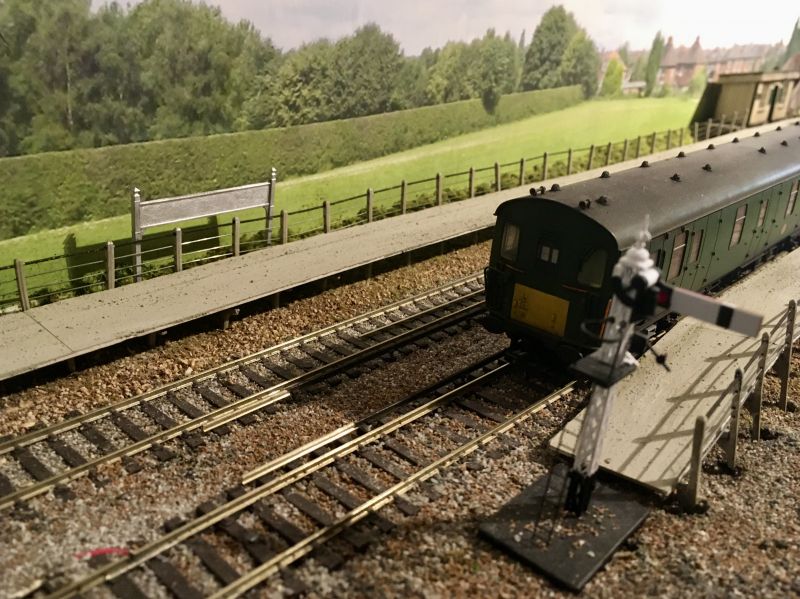
Add a train and it looks a bit better still
Posted
Full Member
The bare Dart Castings "running-in" board which will in future carry a modelled version of the usual enamel name sign is placed where I intend it to go on the Up platform; its twin will in due course appear at the approach to the Down platform.

Posted
Full Member
Posted
Full Member
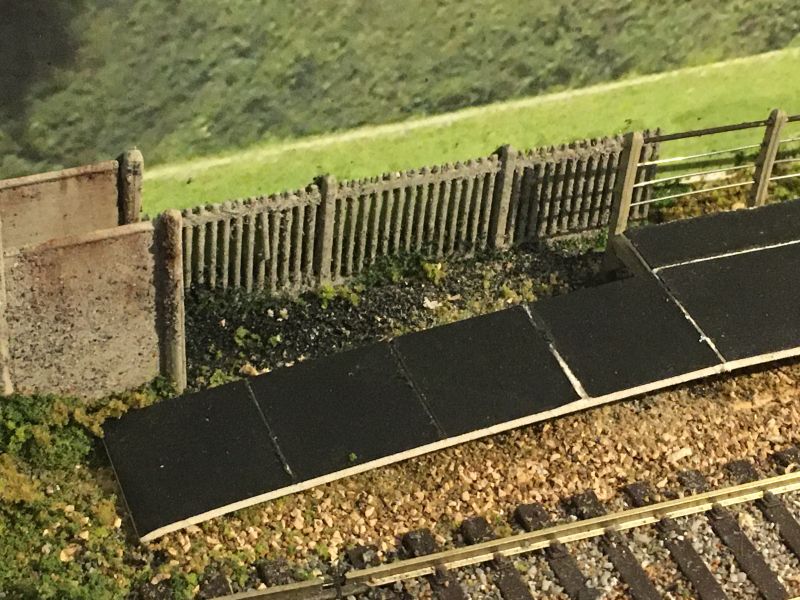
As supplied this has angled tops to the posts and pre-drilled holes for (supplied) barbed wire. I have cut the tops off because photo references suggest far from all fences in the 1950s and 60s had the barbed wire toppers. My memory is of fences without it or with a single strand directly above the chain link.
Posts have been painted the same concrete base colour as the station platforms and the chain link has received a wash of dark rust and grimy black weathering powders mixed with water.
Assembly is a little fiddly as the posts must be super-glued to the mesh before placing the panel where needed.
First image shows the painted and assembled panel and then placed where required. Further weathering of the posts is required as is blending in at ground level with a little growth climbing the mesh

Last edit: by Gwiwer
Posted
Full Member
The posts look good and you've done a great job of weathering it but sorry, I just think it detracts from the excellent work you've done elsewhere up to now.
I have seen fine toile netting used before and that looked reasonable but I suspect it would probably need treating with starch or something similar first …………….
'Petermac
Posted
Full Member
1 guest and 0 members have just viewed this.