Waddlemarsh
Posted

Full Member
Somewhere SW of London. Somewhen before today
Question:What do you get if you combine Heki, Skale Scenics, Noch Laser-cut Minis, Woodland Scenics, superglue and a spare ten minutes?
Answer:
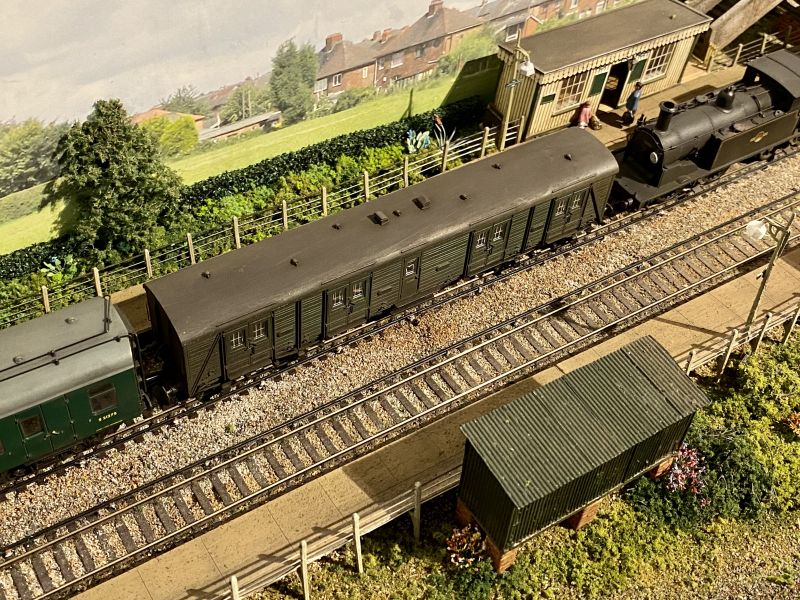
A hedgerow to protect the railway from its neighbours. It hasn’t always been there - honestly - it only went in this afternoon!


Posted
Full Member
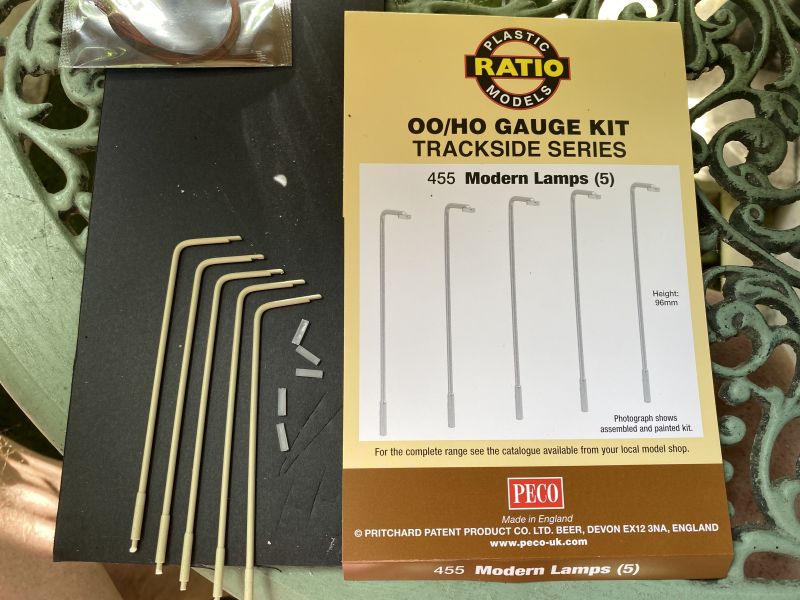
First take one pack of Ratio “Modern Lamps†which must be the easiest kit ever to build! Each consists of just two pieces which only need cutting from sprues, rubbing down to remove flash and sticking together.
But if you want ro go to the next level and actually make them work …..
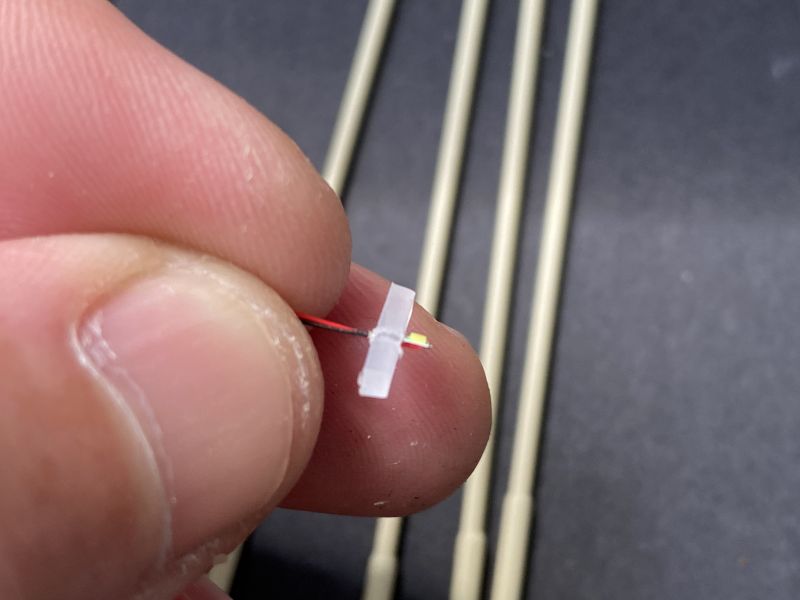
First bore a small hole right through the clear lamp unit. I used a 0.7mm bit in the pin vice to ensure both wires would go through.

Then bore out a larger hole half-depth through the plastic into which the lighting unit will fit. I used a 1.3mm bit for this Take one pre-wired nanoLED and feed the wires through the hole.

Don’t pull the LED right in yet. Apply a pin-point of adhesive (I used Revell Contakta) and then ease the LED into the wider bored-out side of the unit until flush.
Next glue the two parts of the kit together, go away and have a cuppa allowing enough time for a secure bond to develop. It helped that today was 26C outside; the adhesive went off quite quickly.
When you return to the job things get a little more tricky. Apply adhesive to the top arm of the lamp and stick the two wires to it as tidily as possible.
Again leave this to bond securely before repeating the step on the main upright of the post. After this your lamps should look something like the image below
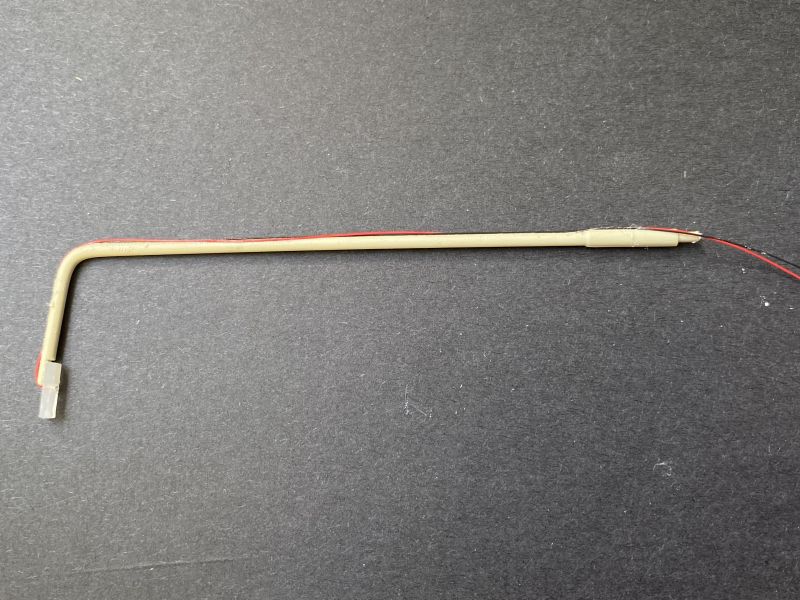
I am giving these a day or two before painting. This weekend is already fully occupied. The next step will be to paint the lamps “silver†with a little detailing on the clear pieces to ensure light is only directed downwards. Then it’s fitting and wiring-up. Watch this space.
Posted
Full Member
I shall be at the Twickenham & District Model Railway Club's Open Day at Kerswell Hall, TW3 2JF, between 10.00 and 16.00. The location is considered Hounslow but it's closer to Whitton and is off Wills Crescent.
Posted
Full Member
Cheers Pete.
Posted
Full Member
Posted
Full Member
Cheers Pete.
Posted
Full Member
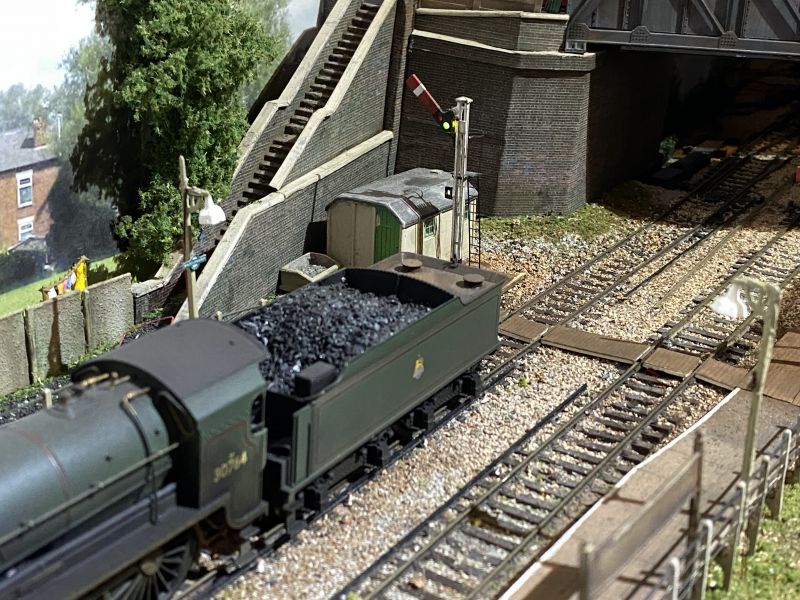
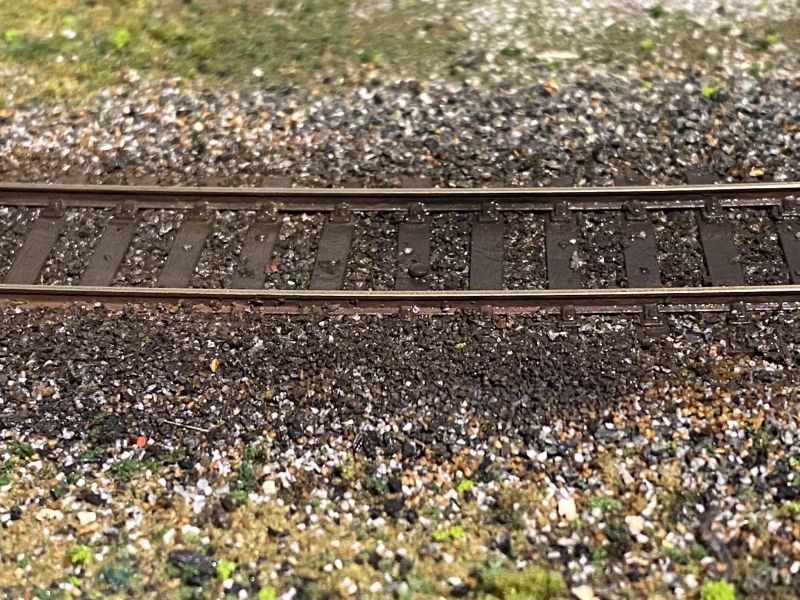
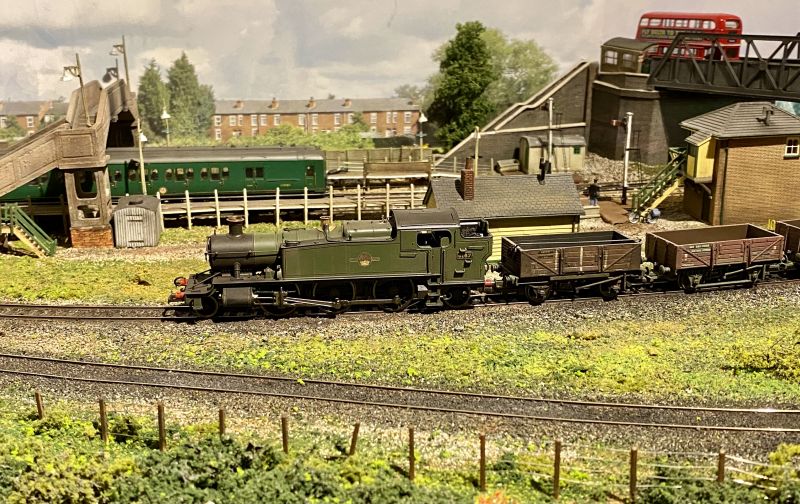
The headshunt and part of the goods line have gained a colour wash topped by weathering powders which were then sprayed with water to liquify them and alliw them to run-in. A quick polish of the rails then allows trains to run once more.
The M7 has also had a bit more grime applied.

Posted
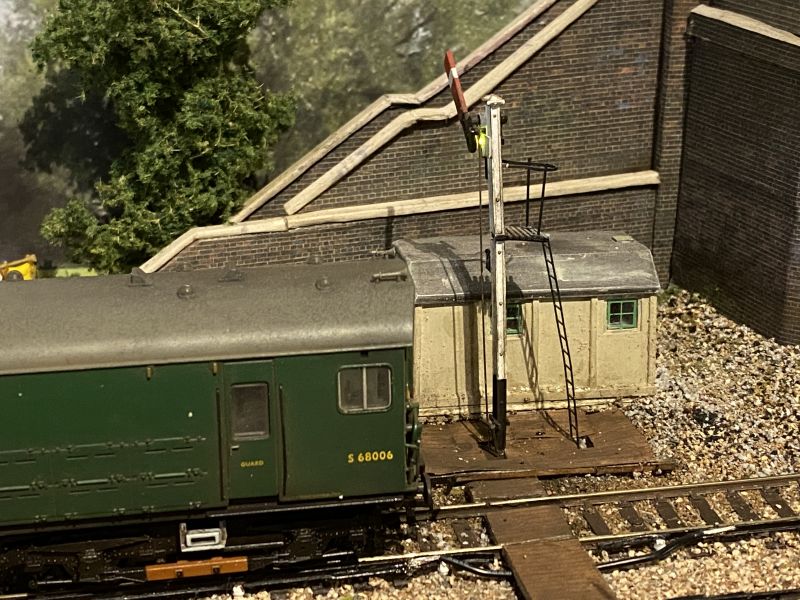
Full Member
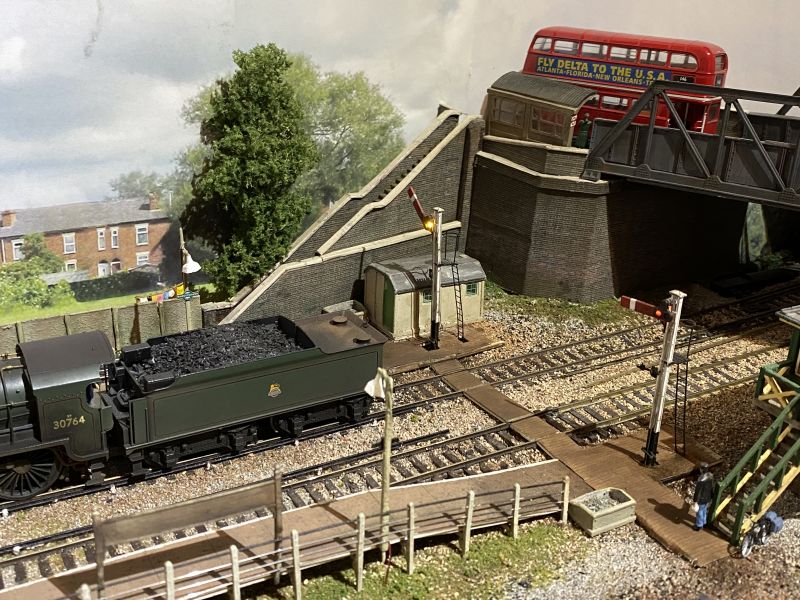
The conductor rails break at the board crossing to allow staff to cross safely. High voltage power lines now connect the ends. In reality these are often paired but the limitations of scale modelling mean I am representing them singly.
There are still bits and pieces of weathering and tidying to do but the overall impression is there.
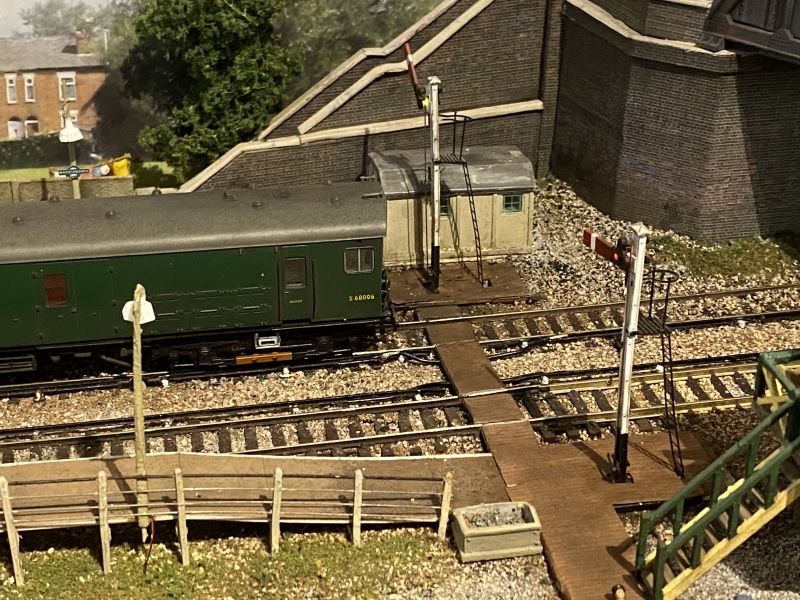
The conductor rail is also gapped where the unelectrified yard line diverges. Had this been electrified then a section of conductor rail on the nearside would be fitted for electrical continuity. This would be equipped with run-off ramps to prevent collector shoes colliding with the live rail.
As the diverging route is not electrified the need is to avoid trains joining the electrified line striking the conductor rail hence the gap and the length of cable.

Posted
Full Member
Posted
Full Member
Posted
Full Member
Thank you.Looks good Rick. Have you got around to finishing the street lights yet?
The lights are awaiting suitable paint. It’s not cost-effective by mail bur I shall be visiting our friends in Camborne next week.
Posted
Full Member
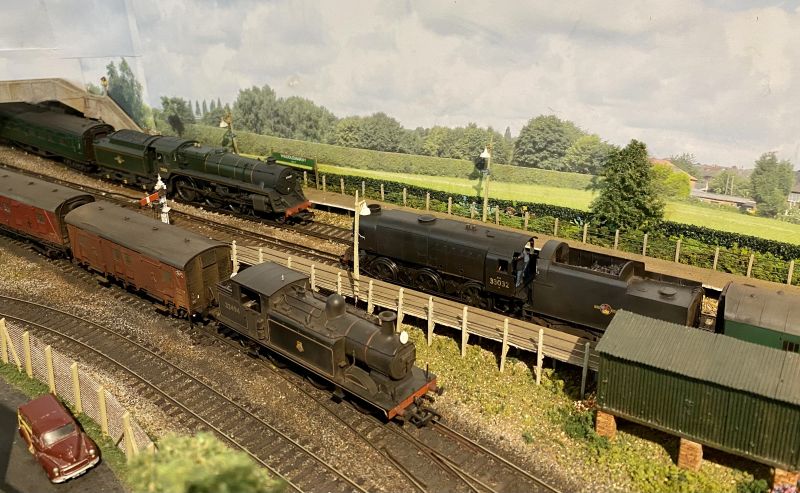
A visit to Camborne saw the addition of the first of two Standard 5MT locos due.
Straight out of the box and un-detailed 73051 leads a rake of Bullied stock towards Waterloo while Q1 33032 waits its turn to enter the yard with vans.
It won’t get the road until E4 32494 has cleared the departure road though.
Southern steam a-plenty!


Posted
Full Member
Cheers Pete.
Posted

Site staff
Ron
NCE DCC ; 00 scale UK outline.
NCE DCC ; 00 scale UK outline.
Posted
Full Member
Indeed. But such scenes could be found back in the day. Maybe not a busy station for passengers but a main-line train running through and a second waiting to enter a yard would be perfectly reasonable. Add, in this case, a train also departing and it serves to illustrate some of the scenic and weathering work as well as the ever-increasing collection of locomotives and rolling stock.What a busy station for that size !!!
Posted
Full Member
Thank you. It has not been easy to get those curves right. They take the layout through 90-degrees around the corner of the room. The various radii are all created with flexi-track of course and what isn't seen there is the two tracks which disappear beneath the footbridge to curve around behind the backscene into a pair of hidden sidings at the opposite end to the main fiddle yard.Nice flowing track work, Rick.
That gives me the ability to "swap" trains on the passenger lines rather than running the same one out and back; it can be one out and another back.
What I can't do under power is to move two trains simultaneously on the passenger lines. The layout is DC and those two lines merge briefly off-scene before diverging to the sidings. There is a short length of single track using back-to-back points which is a more compact solution than a crossover. At the fiddle yard end there is a custom-built crossover-with-slip unit which feeds two tracks into five sidings and which also limits parallel movements.
I don't see those limitations as a problem because I operate the layout single-handed anyway. Moving two trains at a time would be a challenge on this end-to-end layout. Sol might recall I could handle four at a time on Penhayle Bay but that was a 34-metre circuit; two could run happily around the main lines while my hands controlled two more - one on each of the branches.
Posted
Full Member
Cheers Pete.
Posted
Full Member
Remember these lights?
They have now been painted. Three coats of Humbrol “Metalcote†27002 for the posts and two of Humbrol acrylic 256 for the lamp heads.
The downward-facing sides which include the LEDs are of course not painted!
I am now literally watching paint dry before fitting them. After which some considerable ingenuity will be required to conceal the wiring as the bridge was built before these were considered.
Posted
Full Member


Posted
Full Member
Yes indeed. Not a 34-metre circuit but a room-sized L-shape end-to-end. Which has required a lot of ingenuity in many respects.So a fair amount of ingenuity to get that track to flow. All in a tiny space compared to your Aussie layout.
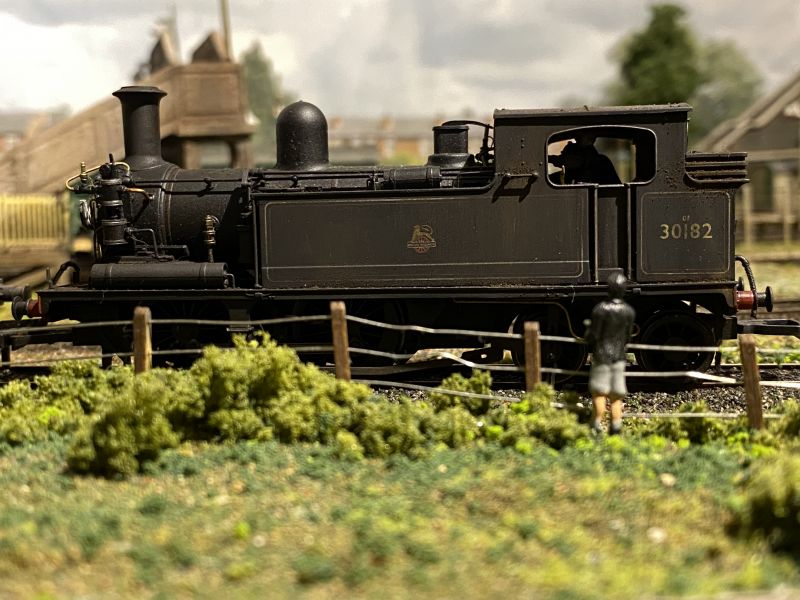
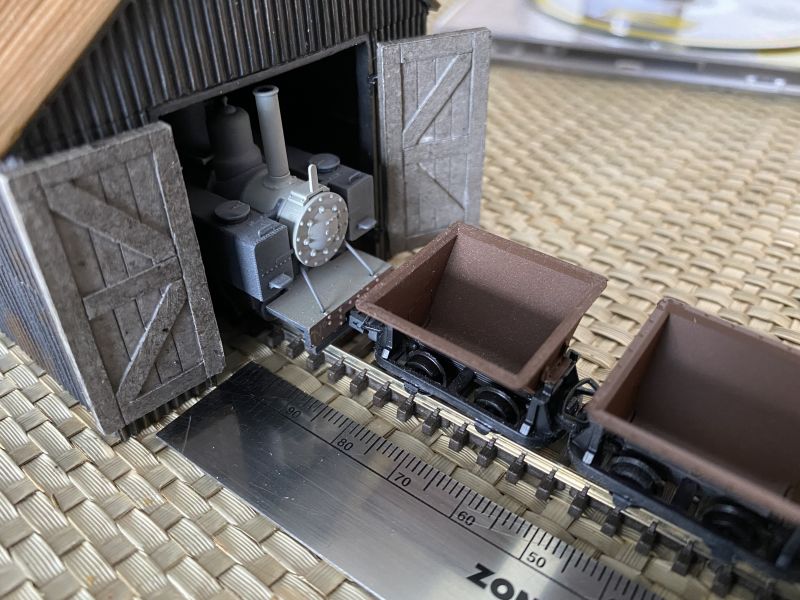
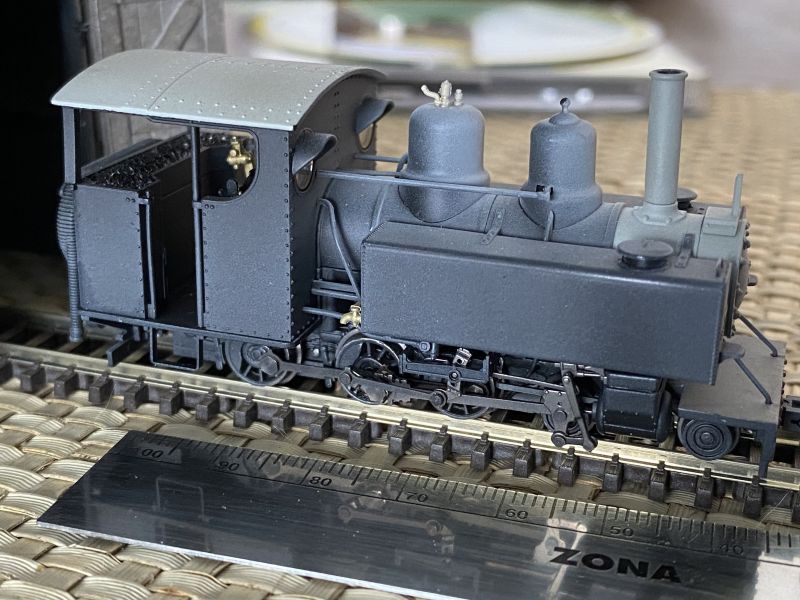
Meanwhile here’s a hint of the next-in-line project. A small and portable OO-9 (with a token OO scene) involving quarry, harbour and some industrial-type trains. The detail on this loco is extremely impressive; the cab is fully detailed inside as well.
1 guest and 0 members have just viewed this.