Tinkers End
Posted
Full Member
East Coast Main Line - in the sun
Just thought I would post an update. I have been busy cutting two more over track signal boxes, one for me and one for a guy up near Derby. I also remembered that I wasn't very happy with the steps to get up to them so have been redesigning them with a half landing. Just at the first trial cut and stick phase so I'll hold off posting a picture until I do the next attempt. I have already had requests for the positioning to be selectable which will be a challenge.In addition I have cracked on with a three lane engine shed. The centre track goes all the way though and each track has an inspection pit within the shed. Here is a pic of progress so far.
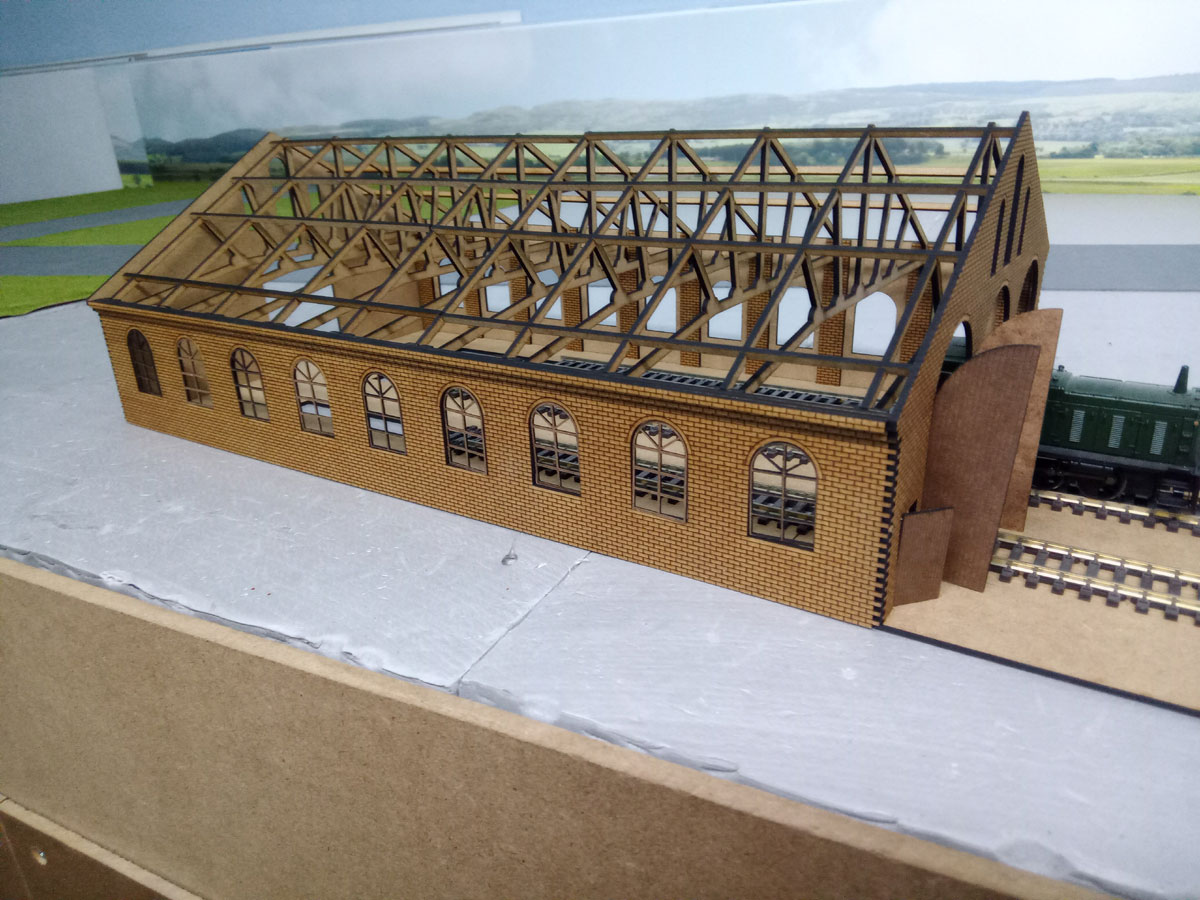
It needs a roof with a smoke vent along the ridge and the inspection pits themselves but it's getting there. There is masses of laser cut brick work so it takes quite a while to cut on the laser. What is shown in the picture is all just placed together, no glue, as it will be easier to paint a lot of it before assembly. My plan is to have one half of the roof removable so people can look inside. I had toyed with the idea of clear panels but I don't think it would look right.
Posted
Full Member
How long did the trusses take to cut - I'm assuming all 2mm MDF …….
'Petermac
Posted
Full Member
Posted
Full Member
Liz is doing that and it drives me up the wall. Hopefully, their Spanish pronunciation is a bit better than their French plus, regardless of whether or not your answer means the same thing, if it's not exactly what THEY wanted, you lose !!!
'Petermac
Posted
Full Member
Posted
Full Member
The engine shed roof struture is now complete and ready for painting but I probably won't do that before our upcoming visit to the UK later this week. Just off for 10 days to see family and friends.
I have also had a request for my warehouse model.
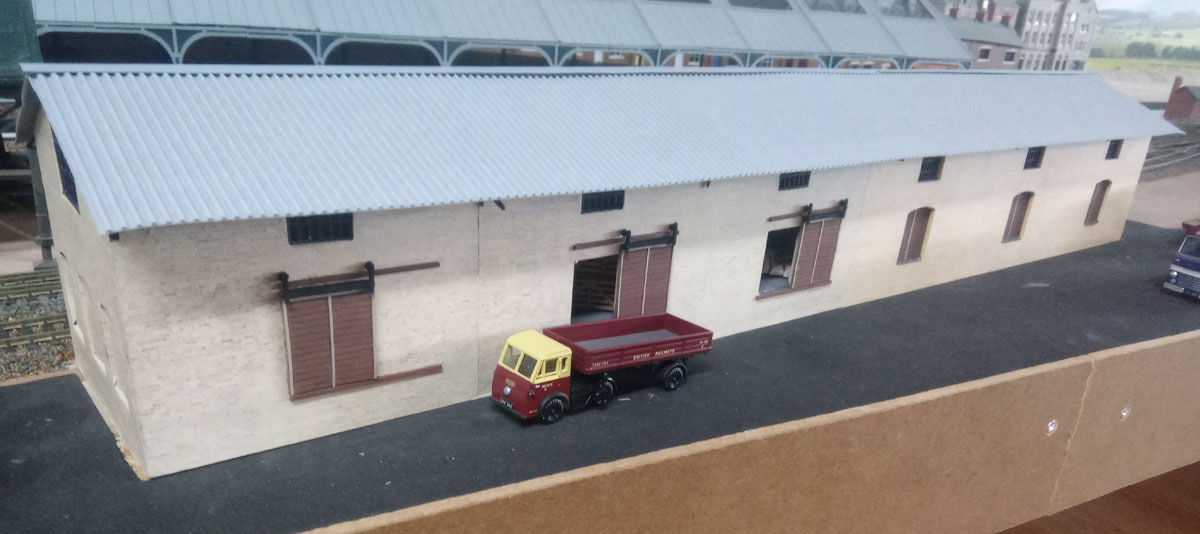
Each section is approx 100mm long and I have been asked for a 5 section version (3 old and 2 new). I am thinking of having a go at laser engraved brickwork rather than the wraps I used on mine. So stretcher bond for the new bits and english bond for the old bits, just for a bit of variation. I though a brick wall was a brick wall so you live and learn. I have a few more buildings I may offer to make once I am back.
Posted
Full Member
DaveH_Murcia said
Just thought I would post an update. I have been busy cutting two more over track signal boxes, one for me and one for a guy up near Derby. I also remembered that I wasn't very happy with the steps to get up to them so have been redesigning them with a half landing. Just at the first trial cut and stick phase so I'll hold off posting a picture until I do the next attempt. I have already had requests for the positioning to be selectable which will be a challenge.
In addition I have cracked on with a three lane engine shed. The centre track goes all the way though and each track has an inspection pit within the shed. Here is a pic of progress so far.
It needs a roof with a smoke vent along the ridge and the inspection pits themselves but it's getting there. There is masses of laser cut brick work so it takes quite a while to cut on the laser. What is shown in the picture is all just placed together, no glue, as it will be easier to paint a lot of it before assembly. My plan is to have one half of the roof removable so people can look inside. I had toyed with the idea of clear panels but I don't think it would look right.
From “Post #290,052”, 9th April 2024, 5:13 am
An impressive looking building. It will be good to see a finished example, all painted and weathered.
Bob
Posted
Full Member
Most of my modelling attempts look reasonable until I get the paint out then I usually ruin them !!
'Petermac
Posted
Full Member
Posted
Full Member
Whist in the UK I was asked to design something for the owner of the local model shop. He has a laser cutter but hasn't really done any major design work. He presented me with a 1/87 American boxcar. I have never even thought of doing rolling stock. He then showed me a 1/21 scale example produced by an American manufacturer which was obviously ridiculously shortened. Now I had to change things a bit especially underneath to allow for weights to be added if required. This is what I produced.
 The model is almost 600mm long. The picture shows the basic idea. Some parts are older versions as I can't cut things that big on my laser - yet. The roof, for example, is just a part of it so I can test the design. It has been nice to try something a bit different.
Now I am back in Spain I have set myself the challenge of getting to grips with my 3D printer and producing a model of church I saw in Cambridge. I wonder if any plans are available to make sure I get the dimensions correct.
Happy modelling.
Posted
Full Member
Hi, I rarely look in these days so catching up with the changes.DaveH_Murcia said
Feliz ano nuevo (happy new year). Well minor works on deconstructing the current layout continue. I am now gradually removing the track screws on the scenic sections. They aren't really required where the track is fully ballasted and don't impact on running trains. Had a few local visitors over the Christmas period, mainly Spanish friends, so it was nice to be able to run some trains. The helix project has now come to a halt pending a new supply of MDF. My friend across town is driving back to the UK shortly and is bringing more back with him which is kind of him. Anyway a picture showing the current state.
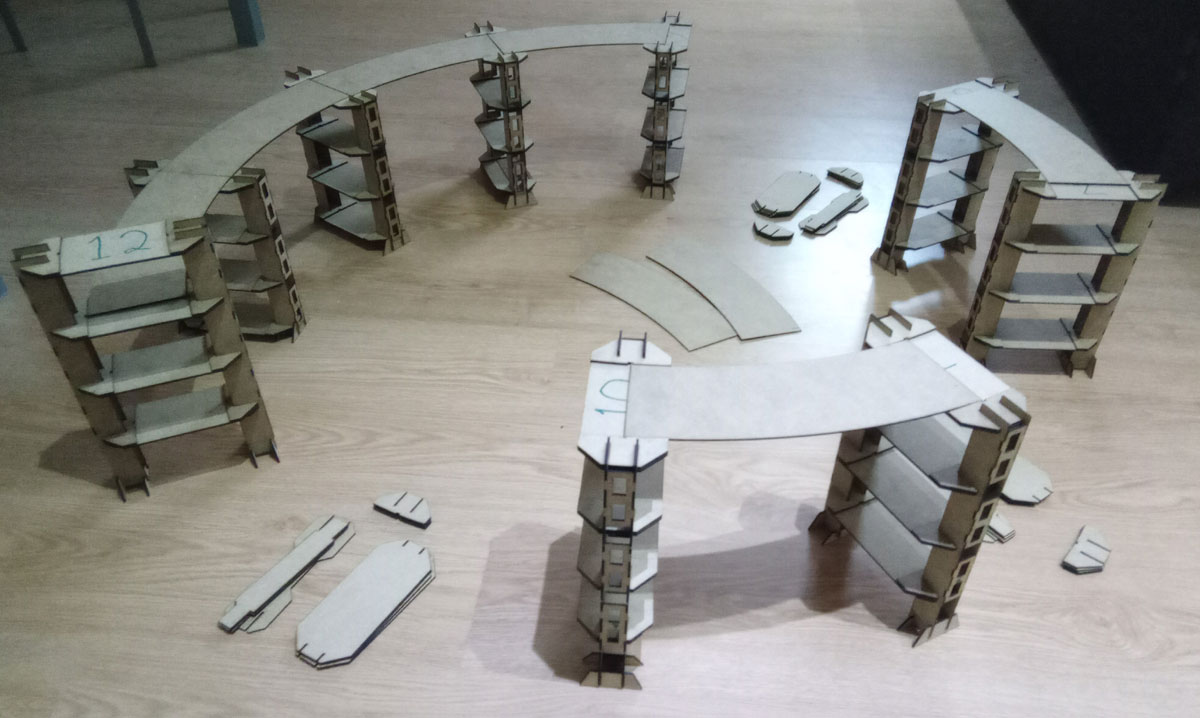
As you can see, I am three sets of pillars short and loads of track support sections. Hope it all works after it's finished. I am anticipating that there willl be a few trains that can't make it up and down. As long as it is only a few they can run around the scenic element only. The main thing is that the vast majority are ok with it. If not it's back to long slopes.
From “Post #289,319”, 5th January 2024, 6:56 am
The Helix looks most impressive but picking up on Peter Mac's comment about 2mm MDF and your plans to move back to a far more humid environment, I'm wondering if spray painting the components (oil based) might help avoid any unwanted moisture absorbance. MDF can be tricky in that regard.
I can still picture the MDF architrave in a "modern" room of a Venetian Palazzo where breaches in the polymer coating had caused it to balloon to over twice original thickness. Extreme case I know but only saying…..
If you're going near West Coast then you'll be much like where I grew up. Molds growing on raincoats in winter.
PS from 1 min on the perils of MDF and Humidy for a Model Railway with helixes (helicies) is all to clear from this video when the guy scraps his entire huge layout!
Colin
 Last edit: by Colin W
Posted
Full Member
Posted
Full Member
On the plus side, i got to grips with the 3D printer and made some boggies for the massive American boxcar. Only at entry level at the moment when it comes to designing things for it but it's a start.
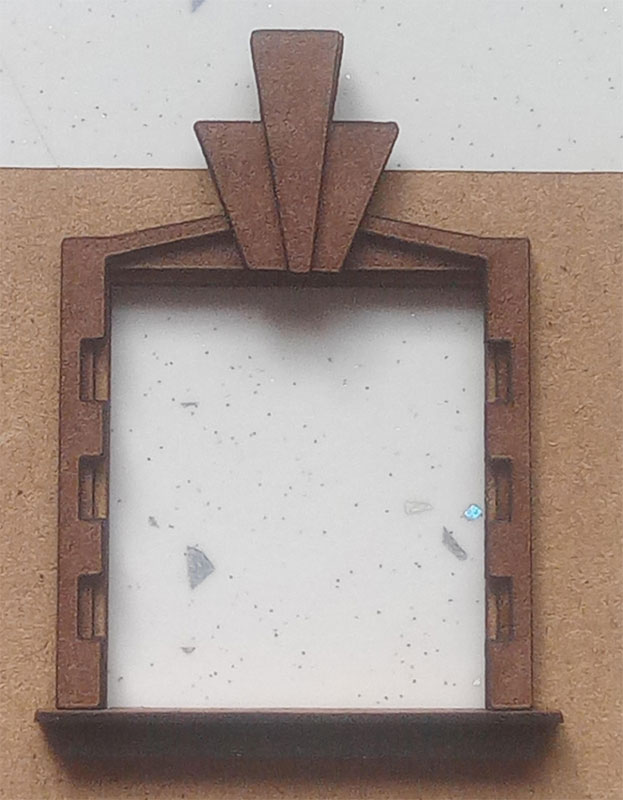
So as well as the models I am cutting for other modellers I have decided to have a go at a new project. It's an old bank building (listed) in Fleetwood. I thought it would make an interesting project because the main building will require layers to be built up whilst the top may require some items to be 3D printed. Anyway thought I would try to walk before running so made a start by attempting one of the upper windows. It's a mixture of 2mm MDF, 0.6mm and 0.3mm Laserboard. It is located only about 3 miles from our UK house.

Posted
Full Member

Posted
Site staff

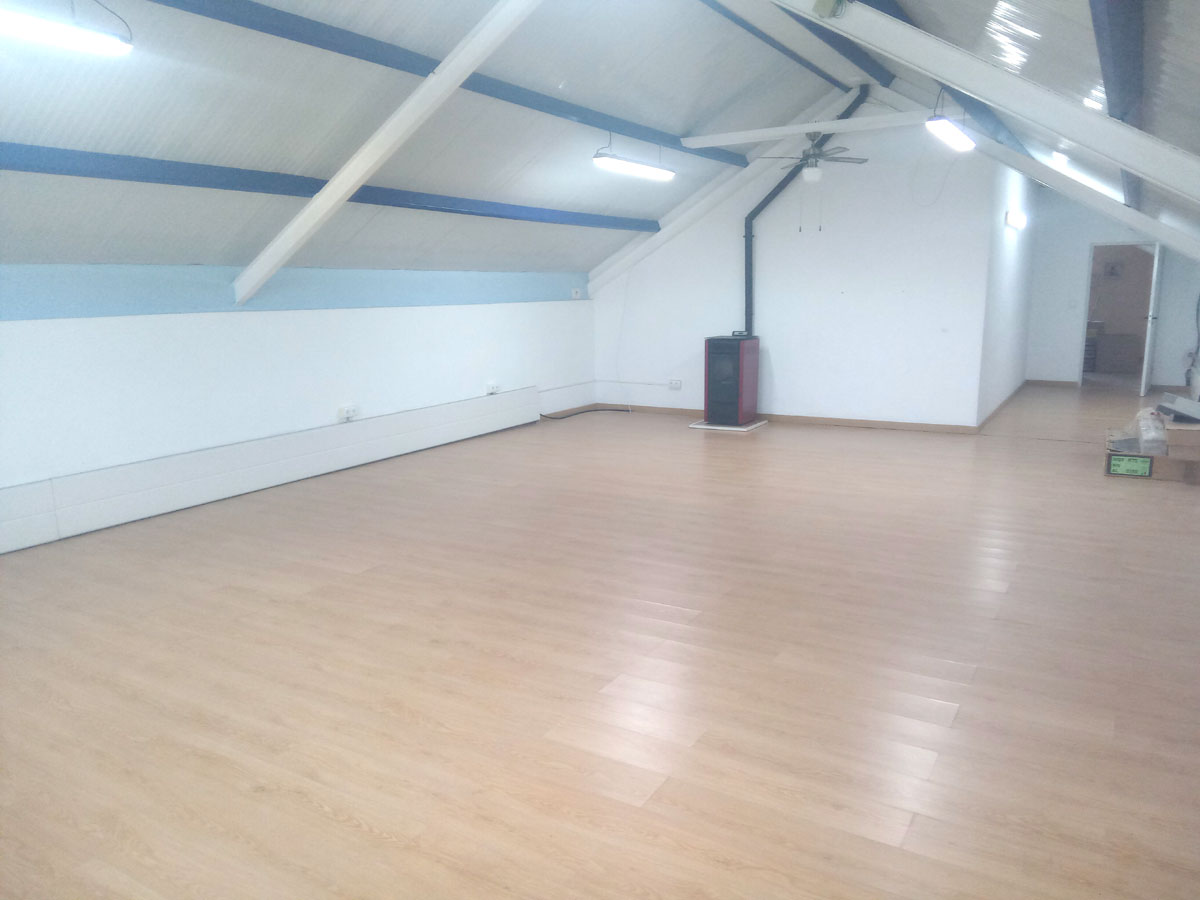
Just wish I had enough room for something like the size of your 'small layout' Dave
Posted
Full Member
Good luck with the sale and re-establishment of Tinker's End.
'Petermac
Posted
Full Member
1 guest and 0 members have just viewed this.

