Tinkers End
Posted

Full Member
East Coast Main Line - in the sun
Hi all. Just thought I would do a post showing progress in the last week and see if I can get some thoughts on what I am proposing to do.Ok all but one end of the roof canopy is now done (approx. 1450mm).
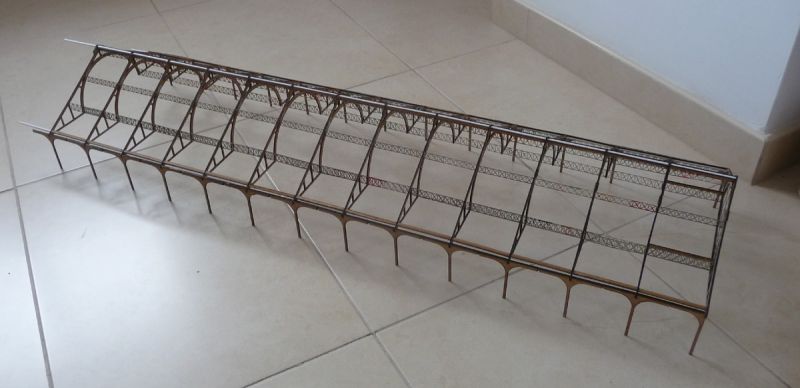
The keen eyes amongst you will notice the extra bracing at the right hand end above the bottom trellis sections. This is to stop the tension pulling in the end panel. The other end will lead to the raised station.
Ok so this picture shows my original idea - using the final sections to be added to the above.

So the canopy stops shy of the station and the steps will be enclosed (the blue flooring underlay is just to test spacing etc).
Another option would be:

Just extending the side sections up to the raised section.
Then I thought about raising the whole canopy and doing away with the covering on the steps. It would also allow me to run the roof the whole way up to the station building. If I made a wall the full length of the canopy and then put a 2mm MDF caping on it with holes for the legs to drop in (but not be glued) it would keep the legs in the correct place but still allow the whole canopy to be removed.


Any thoughts or other options?

Posted

Full Member
That roof looks fantastic but I see the problem with the transition between the main building and the platforms.
My vote would be for the raised option.
I think it would be better from both a model and prototype perspectiv
It will improve viewers visibility and I think it unlikely that the Victorians would have built an imposing roof and then had passengers enter by way of a separate covered staircase. I think that type of covered staircase would be more commonly seen on a less important station.
Best wishes
Posted

Full Member
What a station it will be! I tend to agree with John, and his point about visibility is a good one. I suppose in part it depends on how it looks at the join between station building and canopy, but it would be more cohesive, and the ability to keep it removable but also hold the supports in place could be very helpful to you.
Michael
Posted
Full Member
The first picture shows the completed structure of the station canopy with a can alongside to show the scale. It has ended up being about 1500mm long as I decided to miss off the last 80mm section. I estimate that, if you include the individual rivets I glued on to plates for the A frames, it is made up of around 900 parts. The parts on the right hand end are to enable it to mate up with the raised station building.

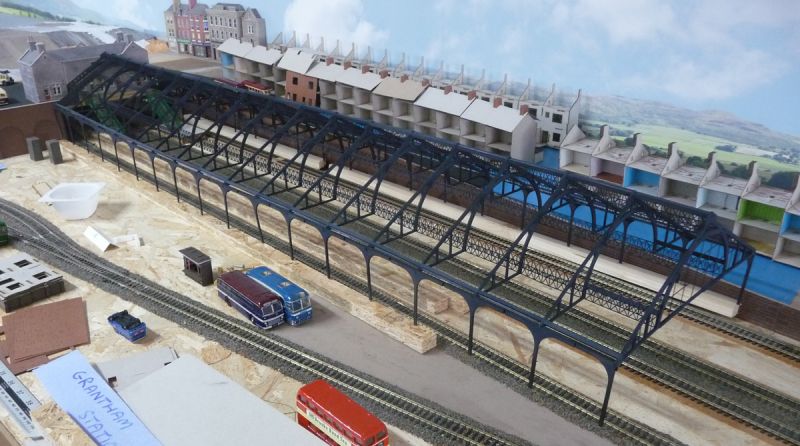
Here is a shot of it temporarily put in place.

The station building is a Metcalfe mainline station building. My plan is to extend it to make it a little more imposing.
I have also made a little extra section (not shown) for paint testing. The next task is to spray the structure with a dark gray acrylic paint (Paynes Gray) but I want to test it first to make sure I don't end up with soggy bits of card. I think many thin coats are going to be the order of the day. I am also making a thin 19mm high wall to run under all the legs - the laser cutter is working overtime at the moment.
Posted

Full Member
Images of the Liverpool Limestreet layout canopy spring to mind.
It would be a huge pity to cover it with opaque sheeting - I'd use something to represent glass - at least for the upper 2/3rds so you can still see everything.
'Petermac
Posted

Site staff
Ed
Posted

Full Member
Best,
Bill
At 6'4'', Bill is a tall chap, then again, when horizontal he is rather long and people often used to trip over him! . . . and so a nickname was born :)
Posted
Inactive Member
Cheers
Evan
Posted

Full Member
Following along.
Posted
Full Member
So I happened to se a couple of laser cut kits that were available and I thought, why not have a play and see if I can design and cut one on my laser. The first was a carriage or loco cleaning/service platform. It's not quite ready for painting but almost.
So I then saw a company selling water towers and off I went again. The first picture is the Mk.1 which was OK but I didn't really like the base section. The second version has had extra bits added to the tank, including rivets, and is almost complete. I just need to add pipes for water in/out and put in a representation of the water itself and it's ready to go.
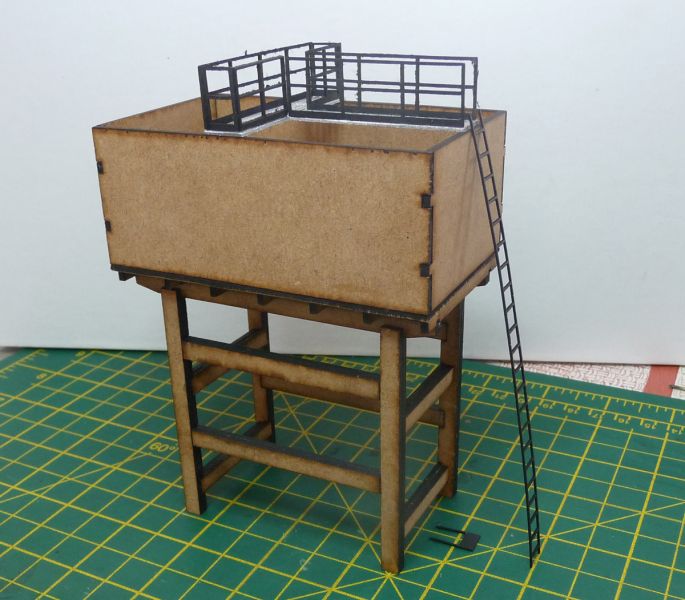
Mk.2
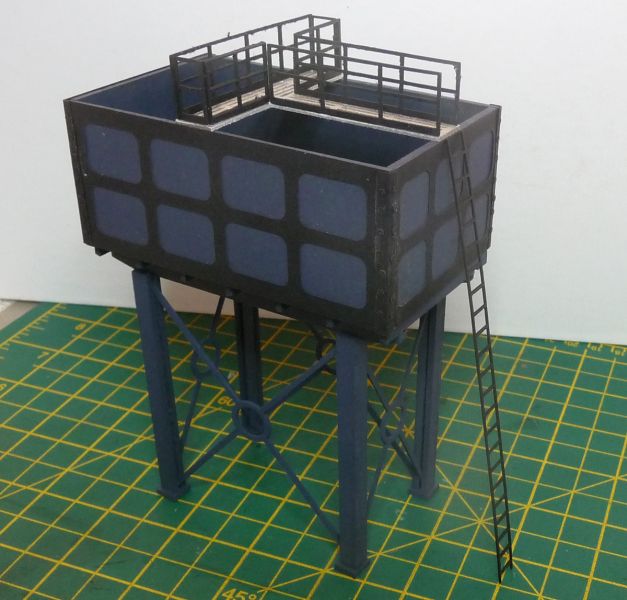
Once I have put the water pipes on I will give it a light overall spray of matt black just to tone down the differences.
Right, all I need now is a new project for this week. I really must get back upstairs and start doing some actual work on the layout itself but I do enjoy the design and build.
Posted
Inactive Member
Cheers
Evan
Posted
Full Member
Posted
Full Member
That canopy colour coat really makes the structure even more imposing and I’m not the only one looking forward with anticipation to the next stage.
Your design and build work with the laser is also paying off with again, inspiring results and giving much of the commercial boy's output a decent challenge.
Best,
Bill
At 6'4'', Bill is a tall chap, then again, when horizontal he is rather long and people often used to trip over him! . . . and so a nickname was born :)
Posted
Full Member
Anyway given no lights I thought I would make a start on yet another project which will sit across the road from the Station.
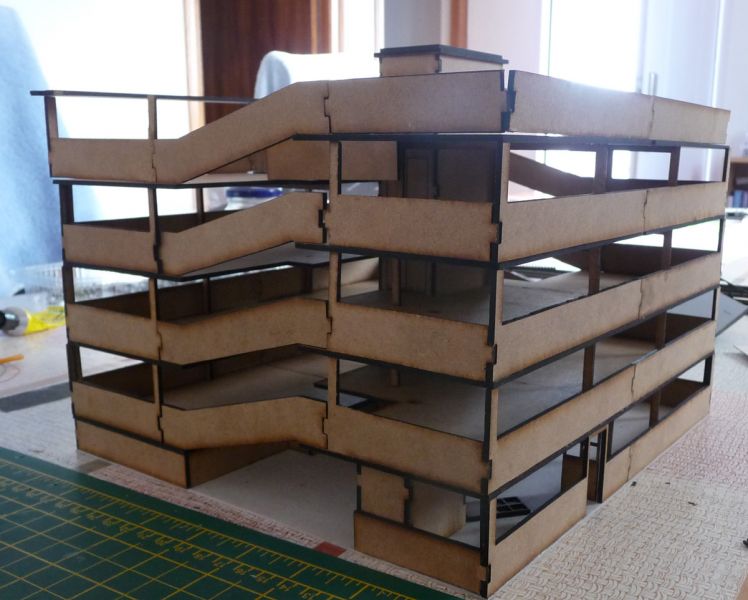
Nearly all the parts have now been cut and I can start putting it together, as you can see many joints are just positioned at the moment. I am not going to bother adding any lights to this one. It's made in layers so it could easily be made taller or shorter. I am also designing a high level walkway that will come out of the third level up and span the road across to the station. Going to see how it looks before putting a doorway in the side wall.
Posted
Full Member
Michael
Posted
Full Member
The laser cutter and associated software was actually very easy to work with. I downloaded some free software called LibreCad on to the PC and it's quite simple to design parts. I run the cutter in the garage so have a laptop driving it, so the designs are transferred to it via a memory stick and off you go. As it was my first cutter, I bought a relatively cheap diode laser marketed as 20W (5W at the laser) but with only a 150mm x 150mm cutting bed. So the NEJE Master is now nearly a year old and I am looking for a replacement. NEJE have now brought out the Master 2 and the Plus model has a 255mm x 440mm cutting area with either a 30W or 40W laser. The 20W cuts through 2mm MDF with 2 passes so I am thinking the 30W (7.5W cutting) will probably do and the 40W is almost double the price.
Then there is always the 3D printer I want … I am sure there is a model railway upstairs - must go and check one of these days.
Posted
Full Member
Project 1: The overall station canopy. The last reported delay was waiting for LED's from China. Well I recently received an email from the supplier saying there had been a problem with supply but that they were now being shipped. Sods law they are probably now stuck in the Suez Canal. Other bits are also an issue but see later.
Project 2: The multi-storey car park. Well the local print shop printed me some wraps which are nice and thin and work well but I only got enough to try. Now he is out of the paper and doesn't know when the next lot will be available.
Project 3: The carriage cleaning walkway. My supplier of 2mm MDF sent me 2.5mm MDF by mistake and then told me he didn't have 2mm in stock anymore. My laser will only cut 2mm even with multiple passes. I have also modified the track plan to put in a couple of extra points for a track for carriages being cleaned and and a goods warehouse (Project 4) but need more point motors (see later).
Project 4: Although the layout is supposedly on the East Coast Mainline in 1962 I now live here in Spain. A trip to the local station came up with this.
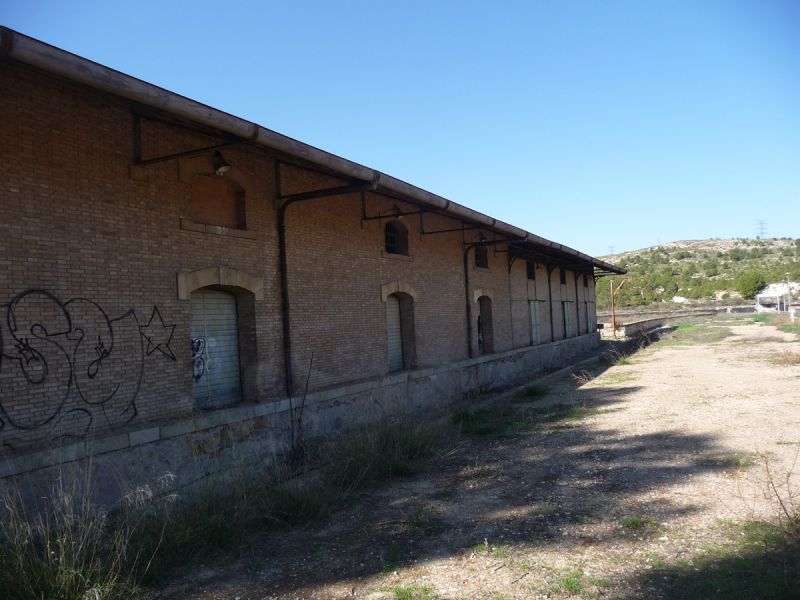
The far end is the older part of the warehouse with the shutter doors on the outside. I though it would make a nice project. So here is the current state of play.
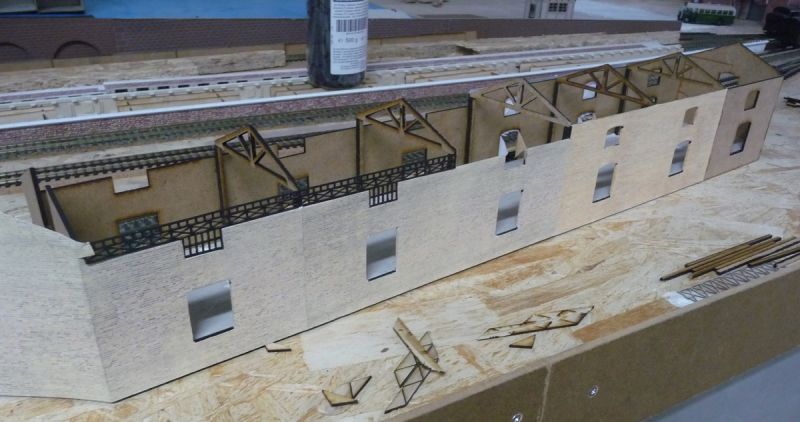
Unfortunately this is also going to come to a halt due to wraps and MDF being unavailable. There are bits I can still do but not a lot.
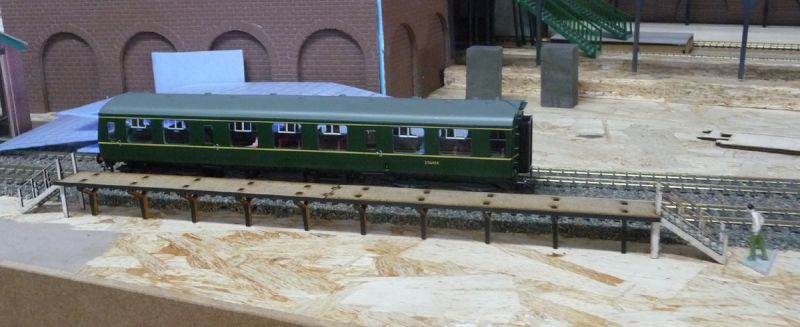
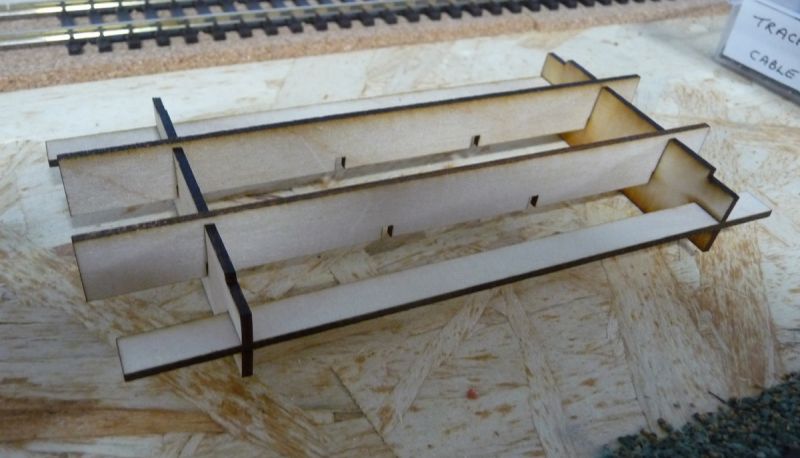
So I also thought it would be good to put the station platforms in place which will be under the overall station canopy. I like the Peco side walls but not the wraps so I have some textured ones I get from Turkey. That left the centre supports/spacing on which the platform surface will sit. Back to the laser cutter and some inexpensive oversize lollypop sticks from the local cheapy shop.

and the revised MK2 version.
With me so far. Now the real pain in the you know what. I have loads of bits from various UK suppliers which I have sent to my mum's who then puts them in one parcel which I then have collected for delivery to me here in Spain. So DPD collect the parcel over a week ago and it makes it's way to Spain and is handed to Seur (the DPD subsiduary here in Spain). They are having problems at the moment and have decided to just send all end user to end user parcels back to the UK. So that's loads of stuff, many of which are for the above projects (canopy supports, brick textured paper etc etc), which I can't get sent here at the moment.
I think I will just run trains, sorry train, part of the parcel is some track detection hardware to cure the reversing loop problem. I also have quite a few bits in a trunk at Hattons - not sure getting that sent is a good idea at the moment either.
Posted
Full Member
Wow Dave, that's nearly enought to make you change to modelling donkeys……..
Your station sub-structure looks brilliant, as does your goods shed - presumably, that's the advantage of MDF but one would need a laser cutter to work with it - my experience is that it's a pig to cut with a knife and slow with a coping/fret saw.
I did manage to get a small delivery from Hattons without problems (via the post) earlier this week and, by a stroke of luck, another for some points VAT free with nothing further to pay here. The first time Brexit has worked for me but I suspect the Douane (French customs) were on their 2 hour lunch break at the time …..
Impressive work you're doing there Sir. :pathead
'Petermac
Posted

Site staff
Cheers
Matt
Wasnie me, a big boy did it and ran away
"Why did you volunteer ? I didn't Sir, the other three stepped backwards"
"Why did you volunteer ? I didn't Sir, the other three stepped backwards"
Posted
Full Member
1 guest and 0 members have just viewed this.