Teasel Bay
Posted

Full Member
Early construction of a simple 00 garage layout
I think a contrast is a great idea, as that would be the case in reality and will allow the viewer to see two different scenes, even though they are similar.I asked because I like to understand choices people make so I can learn from that, but sometimes it is just a gut feeling with the modeller.
Michael

Posted
Full Member
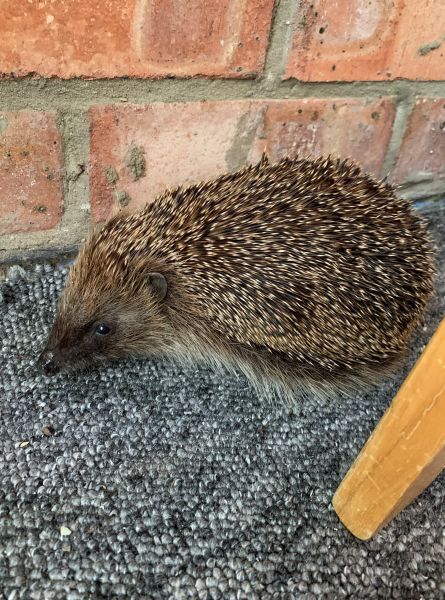
It was a pretty interested in routing around and I was a little worried about it disappearing into the depths at the back… After some gentle persuasion by slowly pulling him along on the piece of carpet it was sat on, I was able to construct a wall Trump would be proud of, to finally direct it in the right direction….
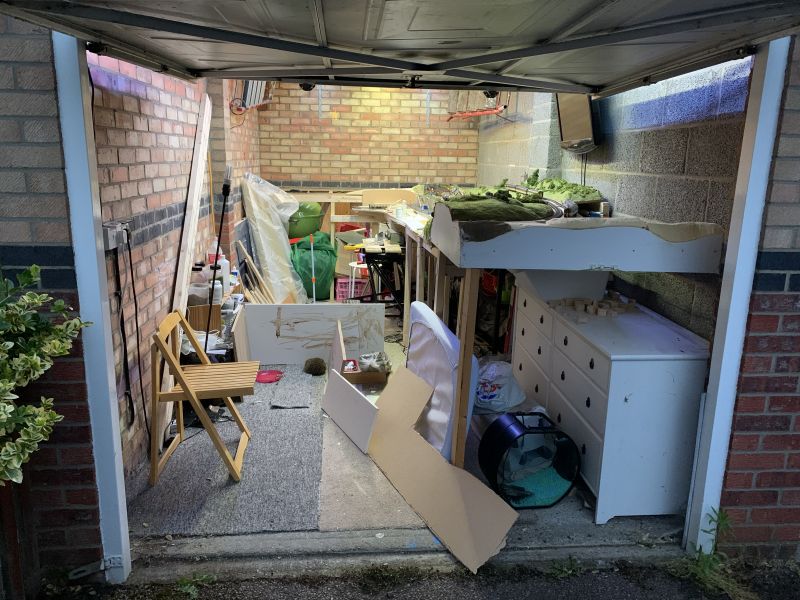
An interesting view from the front of the garage, not seen since very early construction. You can see the expansion point of where the lift out bridge will sit when I eventually get around to the upper level. As well as all the rubbish which has accumulated under the Bay!
 Last edit: by TeaselBay
Posted
Full Member
Michael
Posted
Full Member
Posted
Full Member
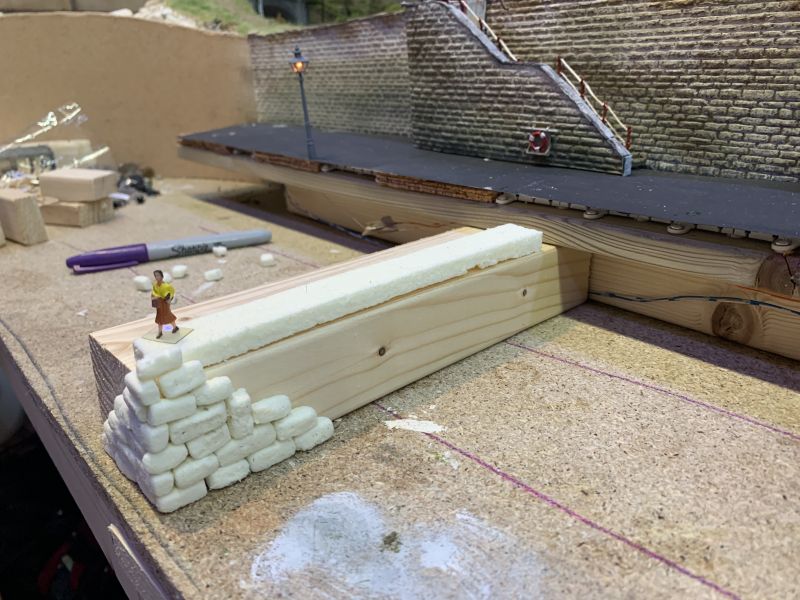
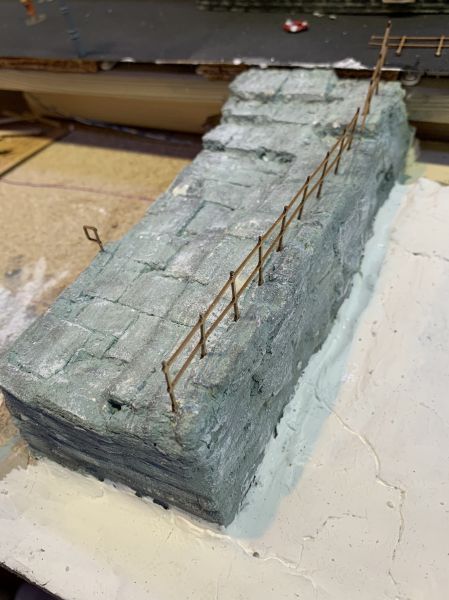
I want the stone to look large and moulded around the wood, so I thought I’d try and make my own this time. Each stone is cut from thin sheets of the foam and then rounded by individually rubbing them around the palm of my hand and stuck on.

The top stones are a very thin cut in a mix of squares/rectangles. I raised the height beach end side as it would take the brunt of the waves.
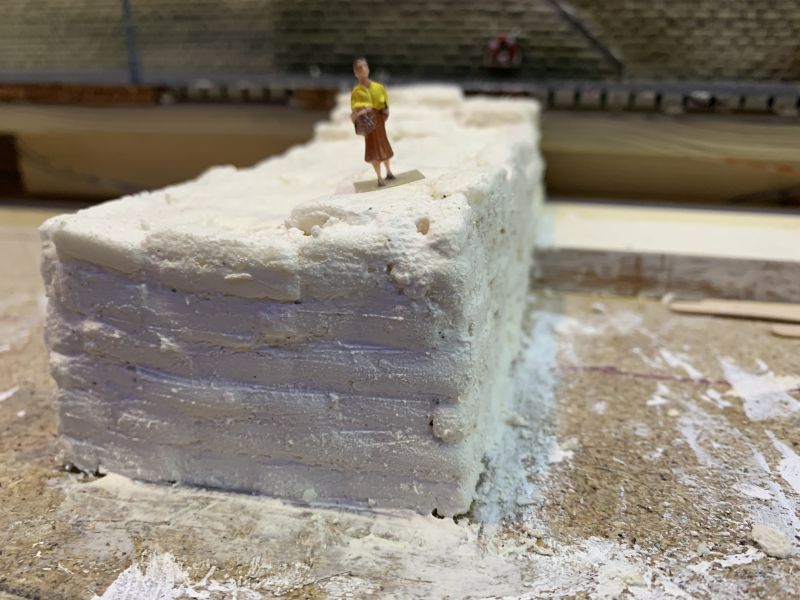
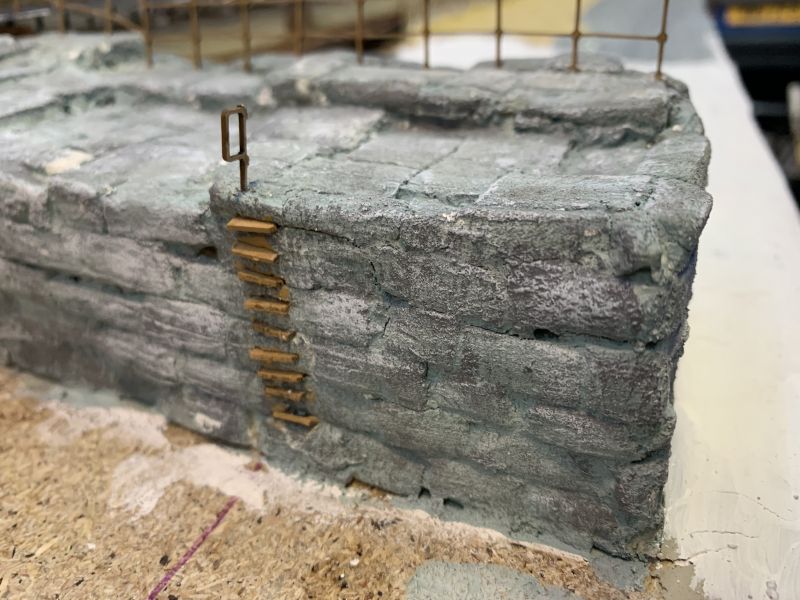
Plaster of Paris acted as the mortar between the stones. So far I’ve painted a light grey base and dry brushed a first coat of a darker grey. At this point I started to play with some off cuts from the laser kits for some rings for the ladder.
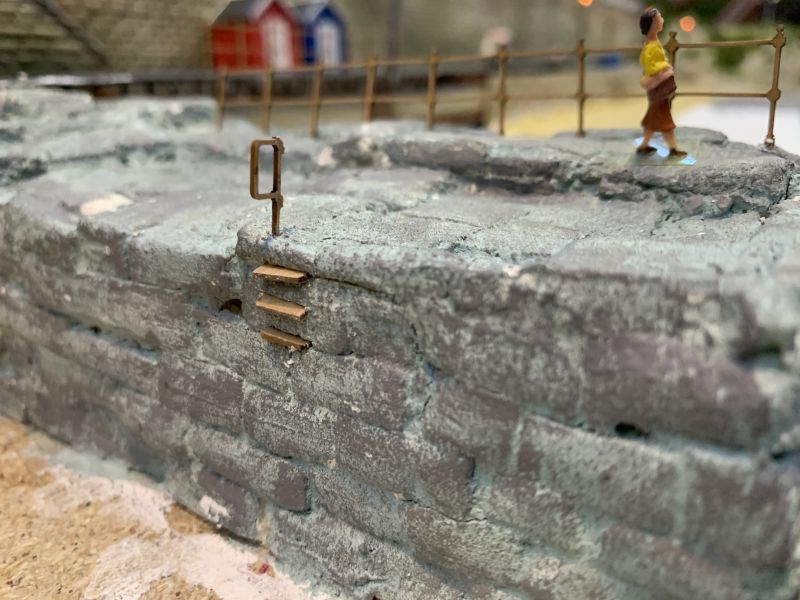
Still needs some work on the painting side and some seaweed, but as a scratch build I’m pretty happy with it.
There seems to be a Worldwide shortage of Sculptamold. I can find one pack for £25+40pnp and another for £60!! I’ve had to resort in finishing the beach incline with clay! Luckily it’s a small area. I’m sure it’ll be fine..
Last edit: by TeaselBay
Posted
Full Member
Michael
Posted
Full Member
Are you sure? Faversham attracts some wealthy people into the 5 star hotel estate!too expensive for humble Faversham!
Posted

Full Member
Posted
Full Member
Thanks Jimmy. Once its finished being painted and blended in to the other sea walls will be good.I love the foam it worked well, I look forward to seeing more
Posted

Site staff
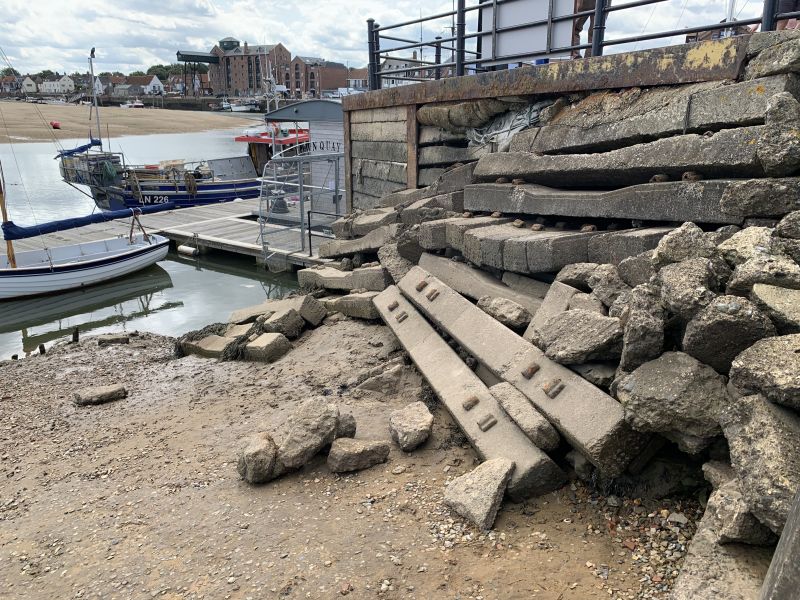
So just to confuse Michael further I’ve decided on a third technique for the warf. Is it a warf I’m not sure what the technical name for the sticky out stone bit is, so I’m going to refer to it as a warf!
Ain't it just referred to as a breakwater?
Just guessing
Ed
Posted

Full Member
It reminds me of the poster for the film "A French Lieutenant's Woman" ……………………… :cheers
'Petermac
Posted
Site staff
Ed
(PS: but I think sticky outy bit sounds better :lol:)
Posted
Full Member
Could be, its effectively what it will be doing, sheltering the dock from the waves. :hmm but I can keep calling it the sticky outy bit in future :mrgreen:Just guessingAin't it just referred to as a breakwater?
Ed
Last edit: by TeaselBay
Posted
Full Member
Thanks Peter, It didn't actually take that long I was able to cut a long strip and then slice them off. I was worried the sheets would cause the corners to be too sharp and everything look a little flat…This is looking great Chris - love the end result with the foam blocks but my word, what patience making each one by hand !!
It reminds me of the poster for the film "A French Lieutenant's Woman" ……………………… :cheers
I had to Google the film, but once complete I'll make the lady a black cape and retake the photo.
Posted
Full Member
Michael
Posted
Full Member

Having built that jetty with heavy stone, he'll need something to test it …………….. :cheers
'Petermac
Posted
Full Member

Clay doesn’t work half as well as Sculptamold! Oh well once covered with some Woodland Scenics flex paste it smooths out. A few more layers and it’ll be all good.
Dry brushed some white on ‘the sticky outy bit’. Once that is dry time to add some sand painted black to represent seaweed and clams and some of the green dye used in the sea wall.
Posted
Full Member
Michael
Last edit: by Headmaster
Posted
Full Member
Posted
Full Member
Michael
1 guest and 0 members have just viewed this.