OO Gauge - Latton Fields
Posted

Inactive Member
Branch Line - Roundy, roundy with some shunting
That`s right mate.Such is life…..but you can`t have it all your own way……but I tried??
:cheers Gormo
 Last edit: by spurno
"Anyone who claims to have never made a mistake, never made anything!!"
https://sites.google.com/site/greatchesterfordmodelrailway/home
https://sites.google.com/site/greatchesterfordmodelrailway/home

Posted

Site staff
Unlike Network Rail though, don't think it'll all be back in time after the bank holiday

Ed
Posted
Guest user
Looking good
Cheers
Toto
Posted
Inactive Member
What happened????????
Ed ……have you been taking your medication old mate??????
:cheers Gormo
Last edit: by spurno
"Anyone who claims to have never made a mistake, never made anything!!"
https://sites.google.com/site/greatchesterfordmodelrailway/home
https://sites.google.com/site/greatchesterfordmodelrailway/home
Posted

Full Member
Marty
Posted
Site staff
Spent ages earlier in the week attaching new droppers and wires to switch frogs closure rails, with a fine tipped soldering iron and didn't melt any sleepers.
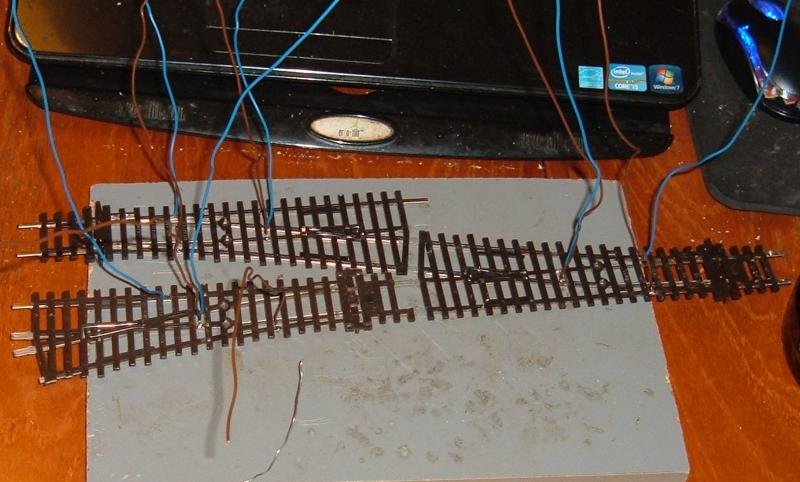
Installed the first left hand point of the crossover yesterday and the system shorted.
Thought it must be a damaged slide switch, so cut the wires I had so painstakingly attached with said soldering iron and ………..
system still shorted.
Checked droppers were connected correctly, blue dropper to black bus wire and brown dropper to red bus wire, all fine.
Cut the droppers and …………….
no short :hmm
Something wrong I thought and went back to check the drawing below.
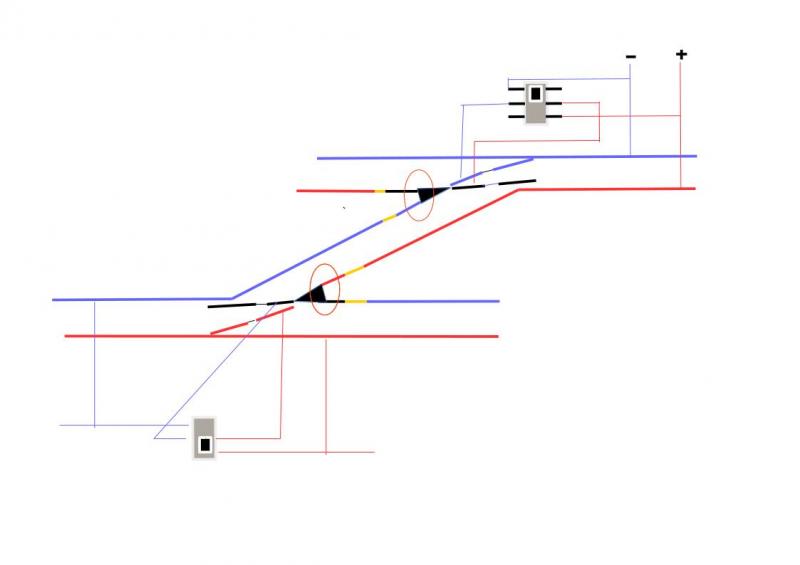
The it struck me, if you install the wrong left hand point in the wrong place you will short the system :oops::oops::oops:
Just off to start again :sad:
Ed
PS Try and put 'em in the right place this time.
Posted
Inactive Member
Welcome to the club………hands up those of us reading your thread who never made a boo boo???
OK you made a boo boo……but hey!!…..you worked it out and I bet you won`t get caught that way again.
Can`t see any hands yet and I don`t expect to either. :It's a no no
:cheers Gormo
Last edit: by spurno
"Anyone who claims to have never made a mistake, never made anything!!"
https://sites.google.com/site/greatchesterfordmodelrailway/home
https://sites.google.com/site/greatchesterfordmodelrailway/home
Posted
Guest user
Ed hi ……. From the master of boo boo's. I'd win an award. How low does your heart sink when you realise what you've done. However, quickly followed by the elation I knowing that you can move on.
Done well to have no sleeper casualties.
Carry on the great work.
Cheers
Toto
Posted
Site staff
Slight "I don't believe it" moment when I had a short when I first turned the power on, but I'd left a coil of solder wire across the track :thud
The other left hand point is in but not got it's droppers or switch wires connected, so it's relying on rail joiners and switch blades for connectivity. Today's job!
However the Hornby Class 31 which was tending to short as it went over the crossover (unless I had nail varnish painted on the frog tips), now goes across no problem.
Ed
Posted
Inactive Member
:cheers Gormo
Last edit: by spurno
"Anyone who claims to have never made a mistake, never made anything!!"
https://sites.google.com/site/greatchesterfordmodelrailway/home
https://sites.google.com/site/greatchesterfordmodelrailway/home
Posted
Site staff
We're Getting There
https://www.youtube.com/watch?v=h80Gt0rG8Jo
Ed
Posted
Guest user
I feel a running session coming on for you.
Have fun.
Cheers
Toto.
Posted
Site staff
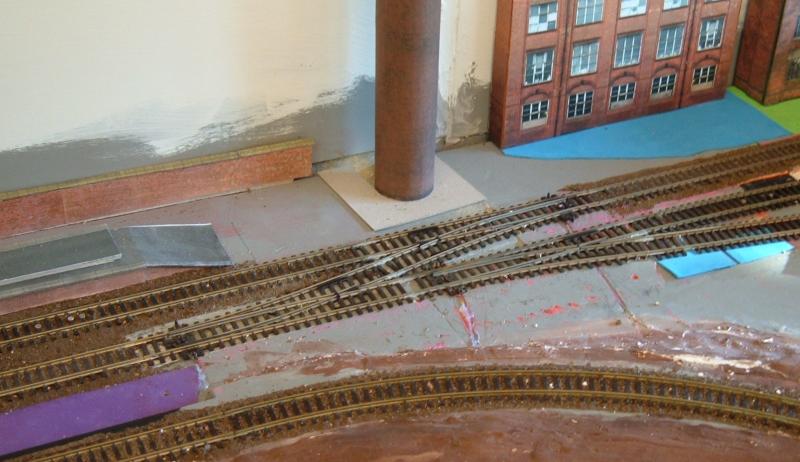
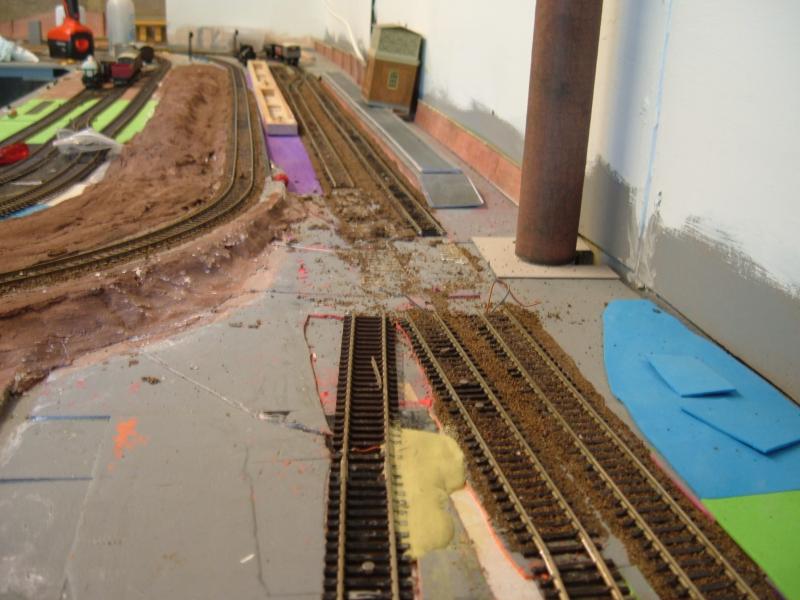
The slide switches providing additional conductivity are in the bottom left hand corner of the picture below.

Don't think there is any way to make a insulfrog point more reliable to protect against short circuits and not rely solely on switch blade contacts for connectivity.
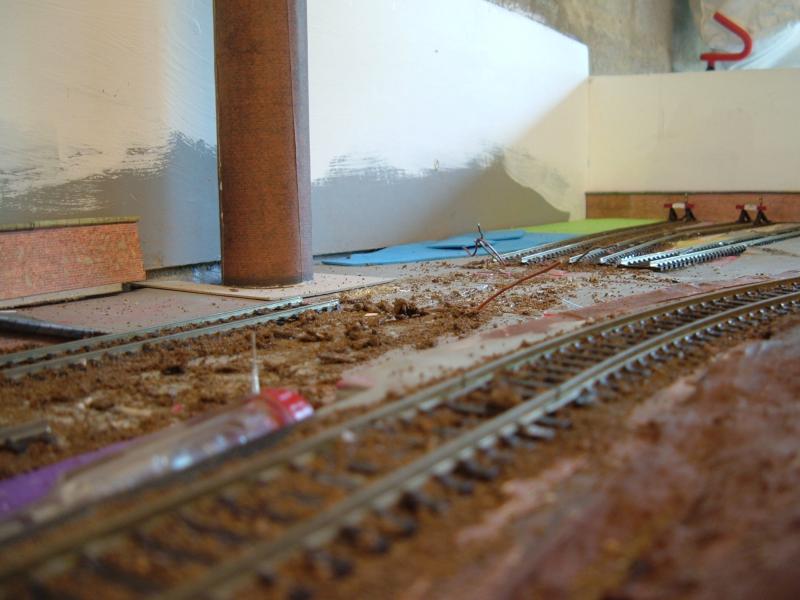
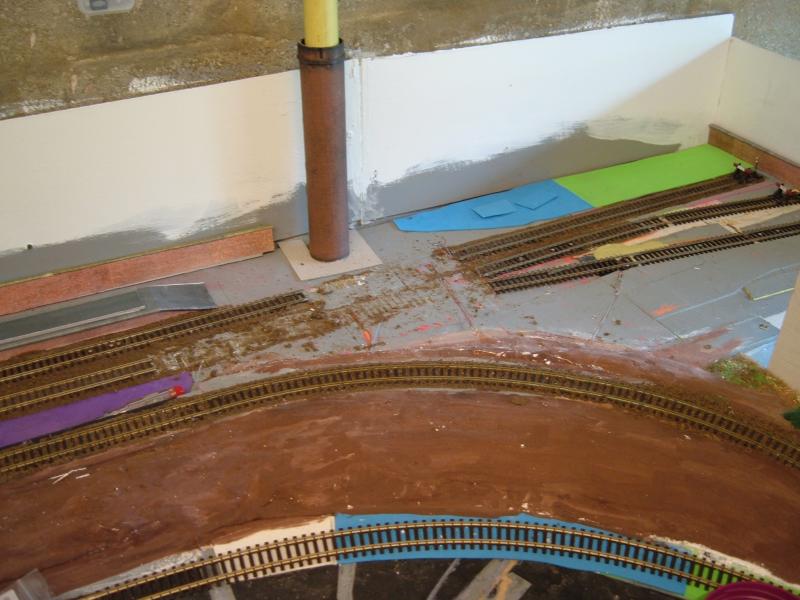
Haven't put platform two back yet, as I think I really need to do some work on ground cover for this goods yard area.
I've got some air-drying clay which I might try out, but I know Gary and others have had trouble with it cracking as it dries.
Ed
Posted
Inactive Member
Lookin` good!!!
The ground cover in the goods area.???….that goods area looks like most of it would be paved or tarmac or cobbles or are you considering a blend of man made surfaces and natural.???
:cheers Gormo
Last edit: by spurno
"Anyone who claims to have never made a mistake, never made anything!!"
https://sites.google.com/site/greatchesterfordmodelrailway/home
https://sites.google.com/site/greatchesterfordmodelrailway/home
Posted
Site staff
I could try the clay as Gary has done on Industry Lane, or Polyfilla the lot (but it may look a bit too much like smooth concrete), or of card inserts for between the rails. Maybe a mixture of all of it :roll:
Seem to remember we had non-slip paint for the deck when I was in the MN, which was basically paint with sand in it. Don't know if you can still get that and I'd only want a small quantity. Could always add some fine sand to some brown acrylic and see was the result is like :hmm
Ed
Edit Just remembered I read somewhere talcum powder in paint is another option :shock:
Last edit: by Ed
Posted
Inactive Member
In the past I have made up my own colour chart ( for want of a better description ) with experiments in colour and texture. Just mix `em up and slap `em on a bit of board whilst making notes about each formula. Quite often the fact that they are all there in front of you for comparison, makes the choice, or at least the elimination, of some much easier.
You could even use some off cuts of track stuck to the board and filled in with various scenic concoctions to see how they pan out.
Just a thought to help with your decision making.:hmm
:cheers Gormo
Last edit: by spurno
"Anyone who claims to have never made a mistake, never made anything!!"
https://sites.google.com/site/greatchesterfordmodelrailway/home
https://sites.google.com/site/greatchesterfordmodelrailway/home
Posted

Banned
If you intend on covering the clay (or whatever you choose to use), having cracks appearing may not be that much of a problem then. If you are looking at a fine gravel look, why not use sand, glued to the pre-painted surface, then dry brushing or airbrushing the sand to your required colour. Another option is to cover the clayed area with ash from a fire place.
Cheers, Gary.
Last edit: by Gary
Posted
Full Member
Marty
Posted
Site staff
Lost count of how many times I've read some of the posts by Chris Nevard, but I know what I do will be nowhere near his standards.
Just having lunch and it's back to the garage to look for some off-cuts of MDF.
Ed
Posted

Full Member
Pete.
it was already on fire when I got here, honest!
1 guest and 0 members have just viewed this.