OO Gauge - Latton Fields
Posted

Full Member
Branch Line - Roundy, roundy with some shunting
… telegraph/phone poles make such a huge difference to a layout… all those sort of details that keep us pottering along with layouts long after they are "finished" are one of the things that make this hobby fascinating.Keep it coming Ed.
cheers
Marty

Posted

Site staff
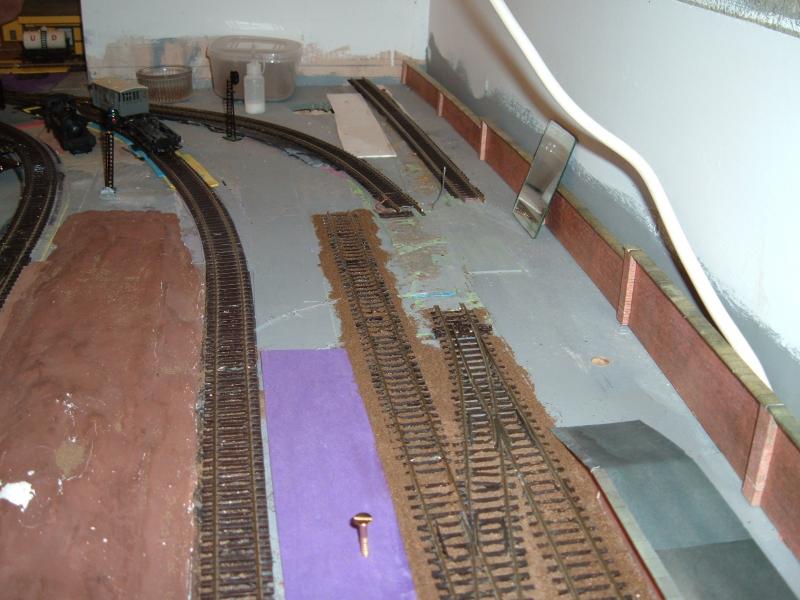
Platform on the right (Platform 2) isn't screwed back down yet, as I haven't finished ballasting around the points and it needs the rest of the edging stones put on, but I ran out of clear matt varnish spray.

Bit blurred but in the the background are the changes to the goods yard, with the middle 'siding' now longer (again!) but slightly curved away from the head shunt along with the goods shed, which is minus it's roof as I'm gradually covering it with Scalescenes tiles.
Ed
Posted

Inactive Member
Those platforms have a realistic look and the whole scene is coming along quite nicely. Did you use the usual methods for ballasting.????
Carry on old chap!!!
cheers Gormo
 Last edit: by spurno
"Anyone who claims to have never made a mistake, never made anything!!"
https://sites.google.com/site/greatchesterfordmodelrailway/home
https://sites.google.com/site/greatchesterfordmodelrailway/home
Posted
Guest user
coming on a treat. The platforms look the business as does the ballasting. keep up the good work Sir.
cheers
Toto
Posted
Site staff
I just lay a line of ballast with neat PVA along each side first and wait for it to dry, then the watery mix (PVA or Copydex) on the track in the middle doesn't spread too far.
Going to try something similar to Max's turnout ballasting,
http://yourmodelrailway.net/view_topic.php?id=13263&forum_id=62
but lots of other jobs to do in-between.
Ed
Posted
Site staff
The Scalescenes print out has various patches of tarmac already within the print, so by cutting the bits you want the joins don't now look too bad.
It's just a patchwork tarmac platform, which looks pretty much like those I've seen in pictures on the web and in books.
Ed
Posted
Guest user
I totally agree. Its not often that you see a perfect surface unless just newly refurbished so it certainly brings a touch more realism. Crack on, doing great.
cheers
toto
Posted
Full Member
Marty
Posted
Site staff
The ramps on platform one are actually the ramps cut off the Superquick platforms and recovered, just need to sort out ramps for platform two once it's finished.
Then there's a footbridge……………… maybe :hmm
Got to be careful though, already dented part of the embankment in front of the station. Must remember not to lean on scenery when doing things at the back of the board :oops:
Ed
Posted
Site staff
Had a quick test yesterday with some slightly watered down PVA and hoovered off the loose ballast this morning.
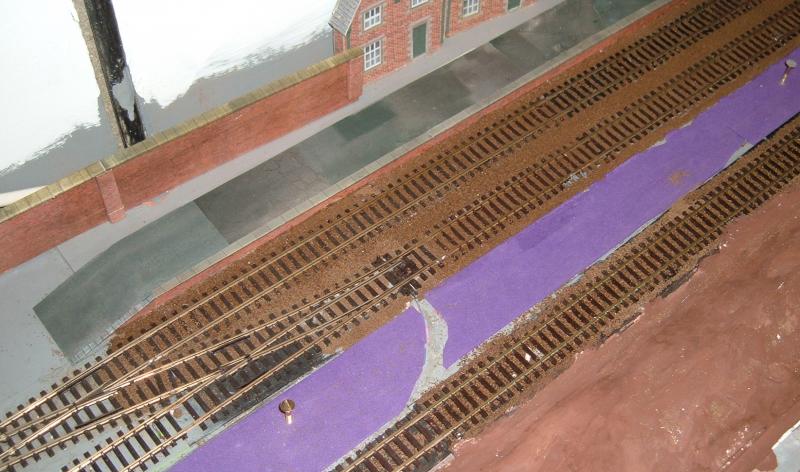
Quite pleased with that, although I'll have to go back and fill in the missing bits.
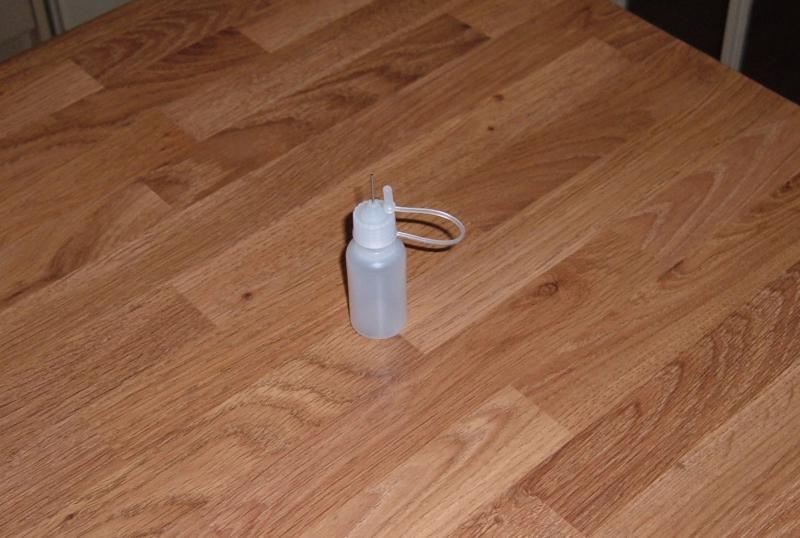
The only problem is the bottle is a bit small so you've used it up before you've got very far and have to refill it, but certainly a good way of ballasting around points.
Ed
Posted

Site staff
Regards
Alan
Born beside the mighty GWR.
Alan
Born beside the mighty GWR.
Posted
Inactive Member
That ballasting looks pretty good to me. I`m fairly sure nobody would lay it all down clean first go and therefore areas missed would need attention.
I was wondering if maybe you should keep an eye out for other slightly larger, unwanted bottles around the house that might fit the cap of your fine tip applicator. You never know, you might get lucky??……it`s just an idea!!!
:cheers Gormo
Last edit: by spurno
"Anyone who claims to have never made a mistake, never made anything!!"
https://sites.google.com/site/greatchesterfordmodelrailway/home
https://sites.google.com/site/greatchesterfordmodelrailway/home
Posted
Site staff
As for N gauge, couple of times I've thought should have chosen N. Then a coach derails and I have trouble getting it back on the track, or I drop a screw when taking a OO gauge loco apart and can't see it, or the couplings lock on some trucks and I'm struggling to get them apart.
That's when I think O gauge would have been better

As for ballasting an N gauge point, forget it! You blokes that model in N have my undying admiration.
Already tried the cap on another small bottle Gormo, different thread :thudSo I've ordered a second one. The two together cost me £6.47 which I thought was pretty good.
I did some more ballasting yesterday and when it finally stops raining I'll go out and hoover the excess off again.
Ed
Posted

Banned
Cheers, Gary.
Posted
Site staff
Still missed a couple of bits but they weren't actually visible from where I was standing, only in the photos.
Handy this, taking pics from angles that you can't see visually.
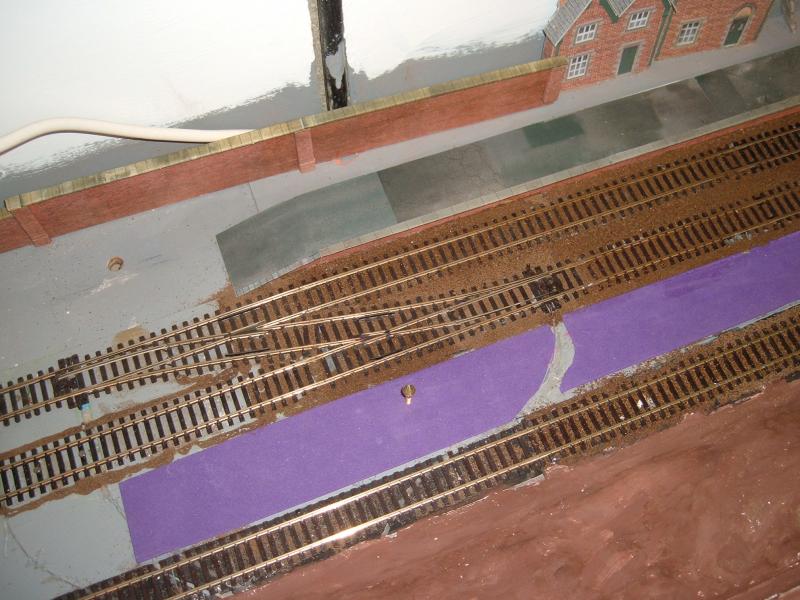
Once I've finished this cross over and the siding, I'll do the cross over at the other end and then platform 2 can go back.
It's currently sat on the worktable in front of the Metcalf Factory.

(it actually looks quite tidy in this view, you should see the rest of it :oops:)
Pug chassis/frame at the front with Milliput waiting to be shaped in to dumb buffers.
Ed
Posted
Site staff
On close inspection I found the switch rails weren't sitting properly in the recess in the stock rails and there was therefore a slight bump which the trucks didn't like.
My fault, I should have checked the point before laying it as I have found the stock rails can slide within their chairs slightly, causing this problem and they just need to be slid back before laying.
Then I thought, should there really be an engine shed there. A small station wouldn't really warrant one and it's not very prototypical.
So there was an engine shed…………
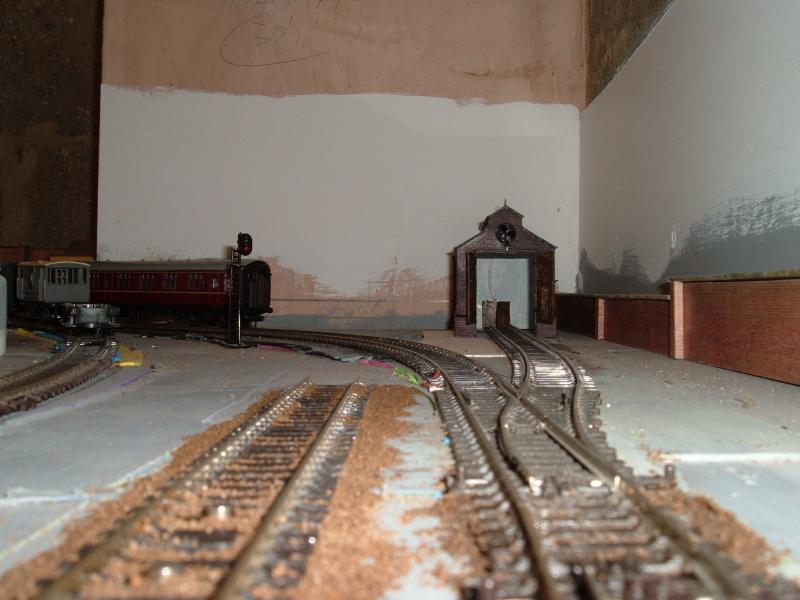
(You can see the end of the switch rail proud of the stock rail in the picture above.)
Now there isn't.
I found a small piece of flexitrack to replace the point as a temporary measure, as I've decided to take the diamond crossing out in the near future, so the piece of track from the diamond to the station is going to be lifted anyway.
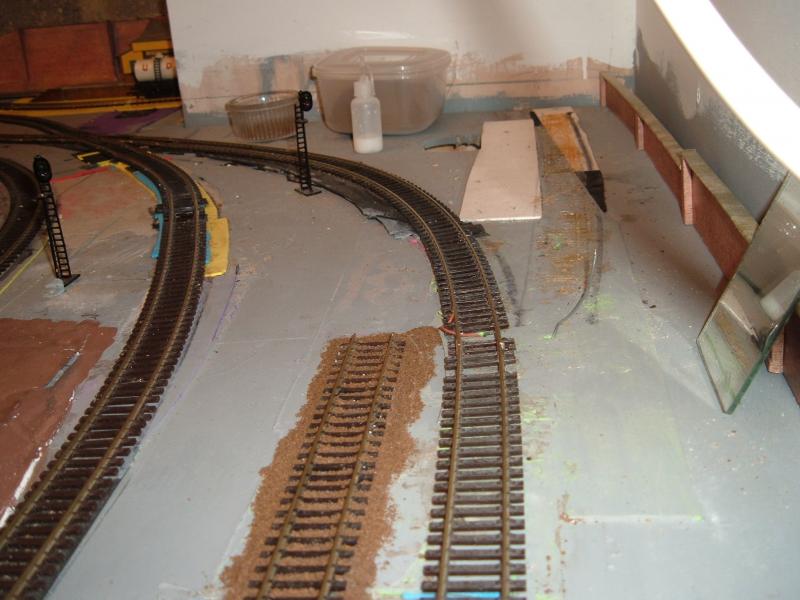
I've now got a nice space next to the curve leading to the station for something else, row of terrace house backs maybe :hmm
Ed
PS: After hoovering ballast into my dedicated hoover I thought I'd empty it out and sieve out the bits of dirt etc. so I could reuse the good stuff.
Couldn't find the sieve I thought I'd kept for this so assumed I'd thrown it out and used a spoon as best I could.
Then, when clearing up last night I looked in one of the garage cupboard drawers and

:thud
Posted

Inactive Member
Can we see more of the engine shed?
Max
Port Elderley
Port Elderley
Posted
Inactive Member
I think that curve looks better than the point and engine shed siding did ???…..Just my opinion but sometimes less is more??
Switch rails can be a pain…….usually they don`t show any probs until you`ve put them down. I have had a similar problem to yours and also the reverse, where the switch rail was sitting lower than the main rail. I put a piece of clear plastic under it and that worked…….it`s only in the fiddle yard so it doesn`t matter what it looks like. I`ve taken the file to a couple of others as well.
Your ballasting is coming along quite nicely………if your not busy I need some done too…
:cheers Gormo
Last edit: by spurno
"Anyone who claims to have never made a mistake, never made anything!!"
https://sites.google.com/site/greatchesterfordmodelrailway/home
https://sites.google.com/site/greatchesterfordmodelrailway/home
Posted
Site staff
I put it together ages ago before I read somewhere on here about straightening out bent bits of these kits with hot water.

I mixed acrylics to get different colours for brickwork and it ended up a bit too mauve and they grey roof did look better with an earlier coat of grey, but I kept thinking maybe I'll just give it another coat :oops:

I tested lighting by putting a led in it, but found you need to keep the voltage down so it doesn't shine through the plastic too much.
Still, it's all been good practise.
I've screwed the base of platform 2 back down and just used blu-tak to hold the surface on for now.

Not sure about the wall between the back of the platform and the line on the right running up the embankment.
Need some sort of break between the station and the running line, but if I do use a wall I think it will have to be at least the entire length of the platform, possibly longer.
(The plaster showing through on the embankment bottom right is where I lent on it and made a dent :thud)
'Less is more' was my take on it Gormo, but I'm afraid you'll have to do your own ballasting. I'm getting fed up with it now and I only started this because the platforms I had kept moving every time I cleaned the track.
I've ended up building platforms, ballasting track, changing the track layout and removing an engine shed, so I'm now going back to creating dumb buffers on the pug conversion, for a break.
Ed
Posted
Inactive Member
To keep the light in, paint everything inside black, then repaint in the finish colour you want.
Max
Port Elderley
Port Elderley
1 guest and 0 members have just viewed this.