OO Gauge - Latton Fields
Posted

Site staff
Branch Line - Roundy, roundy with some shunting
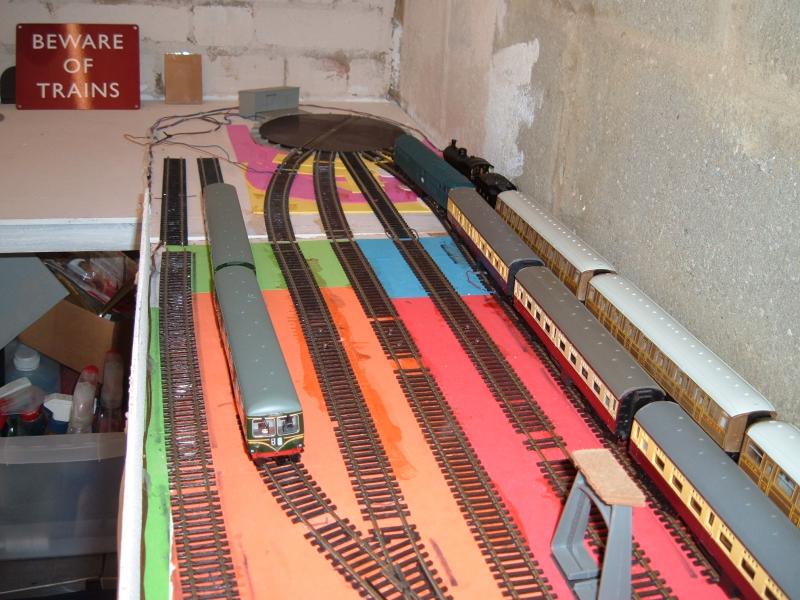
Back to reality :lol: …………………………………………….Turntable for the end of the fiddle yard turned up.
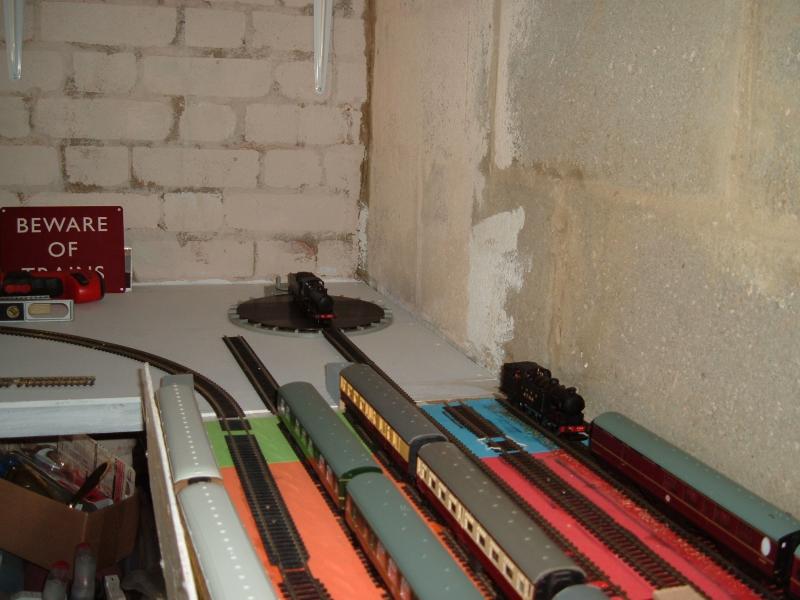
Sorry about the pictures, but it's pretty dark in the back corner of the garage at this time of the morning.

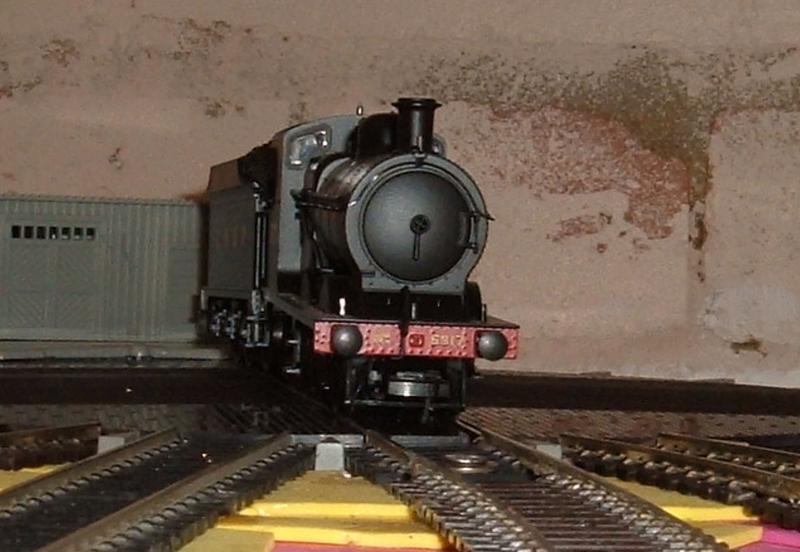
The J11 just about fits

All I've got to do now is fit the motor and lay the connecting tracks
Ed

Posted
Site staff
Unlike Mike's (Dorsetmike) N gauge version, the Peco code 100 flexitrack doesn't fit snugly without a bit of filing of the sleepers to reduce their width.
Being a bit concerned about how rigid this would make the track where it meets the deck I've resorted to some Setrack sections, a couple of small ones I already had and I cut some longer sections of the right length.
Hopefully the flexitrack will match up to this ok.

As I don't want any holes in this board or wires hanging underneath, plenty of 2mm psychedelic funky foam to get the track level at the deck.
One thing to note for anyone considering one of these, the Atlas TT motor is very noisy.
Getting the access tracks to match the deck exactly in line is also a bit fiddly and involves much toing and froing of the deck, especially as four of the access roads are curves.
Ed
Posted

Full Member
Turntables are lots of fun to operate but you are absolutely correct to spend a lot of time on laying the aproach tracks. The transition between bridge and approach track is critical………slight variation that you can get away with on running track or even turnouts can cause endless anguish with a TT (you will have guessed how I know this).
I imagine you are doing this already but if not…..use a variety of locos to test the transition not just the most reliable one!
Not sure what Atlas recommend regarding approach tracks but both Fleischmann and Walthers (Heljan) insist on a minimum of 4"-6 " dead straight track exactly lined up with the bridge before introducing any curves :shock:
You may have everything sorted now…….in which case, just ignore this
Kind Regards
Posted
Site staff
I decided some time ago that the layout wouldn't look right with large mainline locos so I've no Pacifics or Atlantics, it's going to be mainly smaller tank engines biggest maybe a Prairie, although I do rather fancy a Hornby D16/3 when they eventually release it. Just got to hope the smaller locos will cope ok with the curved approach tracks.
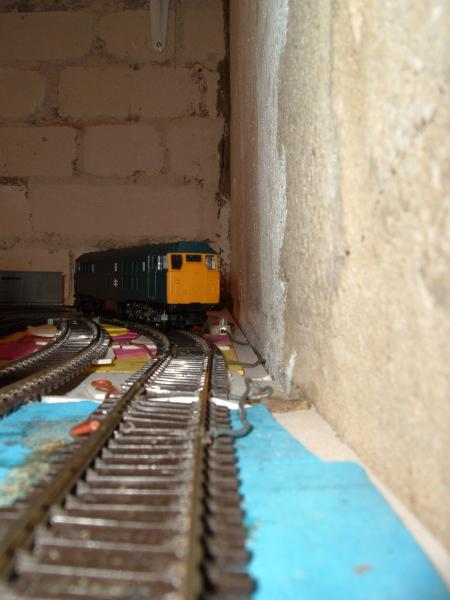
I've tested the central track with my Dapol N2 in both directions, but I haven't been able to test the other approach tracks yet as I've been waiting for glue to dry. Hopefully I'll have these connected later today or tomorrow.
Meanwhile, a really boring slightly out-of-focus video of the N2 being turned. (First video was in focus, but so far back it was just dark shapes due to the lack of light).
Please feel free to go out and make the tea, take the dog for a walk or go shopping between 00:26 and 02:20

Avant d'accéder à YouTube
Ed
Posted

Inactive Member
When you think about it…..the curved track should work……it`s no different to joining a set track curve to a straight. Obviously it has to be lined up to near perfect, but that`s the case with straight track as well…… I reckon it should work. Your tank engines really should have no trouble with it.
The Atlas turntable seems to have a similar drive mechanism to the old Hornby turntables. I had an old Hornby one once and it sounded like a coffee grinder when it was rotating. Yours is whisper quiet by comparison.
:cheers Gormo
 Last edit: by spurno
"Anyone who claims to have never made a mistake, never made anything!!"
https://sites.google.com/site/greatchesterfordmodelrailway/home
https://sites.google.com/site/greatchesterfordmodelrailway/home
Posted
Site staff
One thing I have noticed is that it doesn't line up exactly the same depending on direction of rotation. It's not much out (we're talking fractions of a millimetre here), and I don't think it would affect any locos going on or off the turntable, it's just that I can see it.
(Either that, or I'm getting paranoid about it
)Ed
Posted
Inactive Member
The alignment issue you`re talking about is simple. Do any of your locos derail when it`s out by fractions of a mill.???……..If yes…..you may have to work on it…….if no then don`t worry about it.
I think because there must be a little play either way in the table, it will appear to be out, however when the loco wheels bridge the gap between the table and the exit road, that should force the table into correct alignment because the exit road is rigid, therefore the table will align correctly.
:cheers Gormo
Last edit: by spurno
"Anyone who claims to have never made a mistake, never made anything!!"
https://sites.google.com/site/greatchesterfordmodelrailway/home
https://sites.google.com/site/greatchesterfordmodelrailway/home
Posted
Site staff
Although I did have to adjust one of the setrack pieces, as the flexitrack I connected to it pushed it out of alignment.
Clearance is a bit tight (but I don't think as tight as John's station canopy support).

Resorted to the 'screw with washer' trick to get the alignment right on the dodgy bit.
The two tracks on the left are not intended to go to the TT, so one to go and I ran out of flexitrack
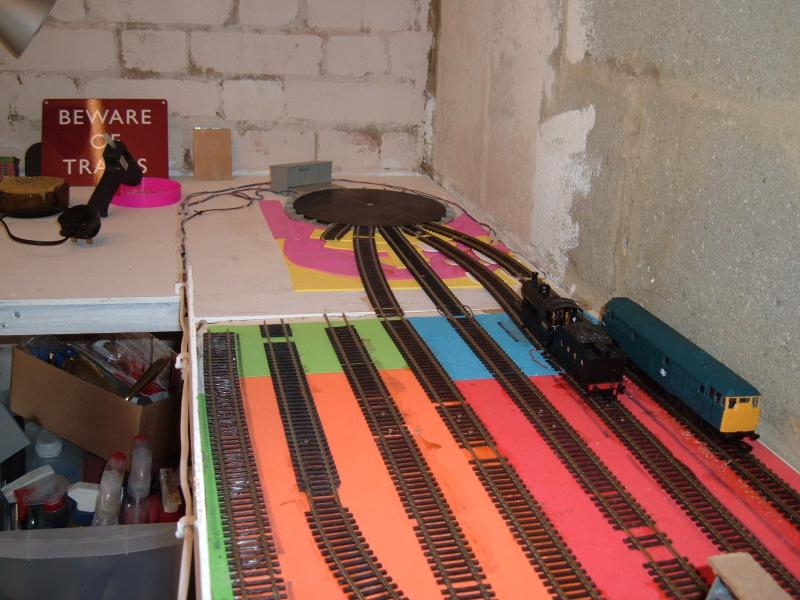
Doh :thud
Ed
Posted
Guest user
Glad you got your bodgy bit right.
Cheers
Toto
Posted
Site staff
The deck of the Atlas is only 9" (228.6mm) diameter, so quite handy if you want to model a pre-grouping 57' TT.
Ed
PS Thought you were on holiday.
Posted
Guest user
Cheers
Toto
Posted
Site staff
Posted
Legacy Member
:thumbs;-):oops:
my webcam link http://86.19.184.67:8080
Posted
Site staff
Not called 'Funky Foam' for nothin'
Ed
Posted
Inactive Member
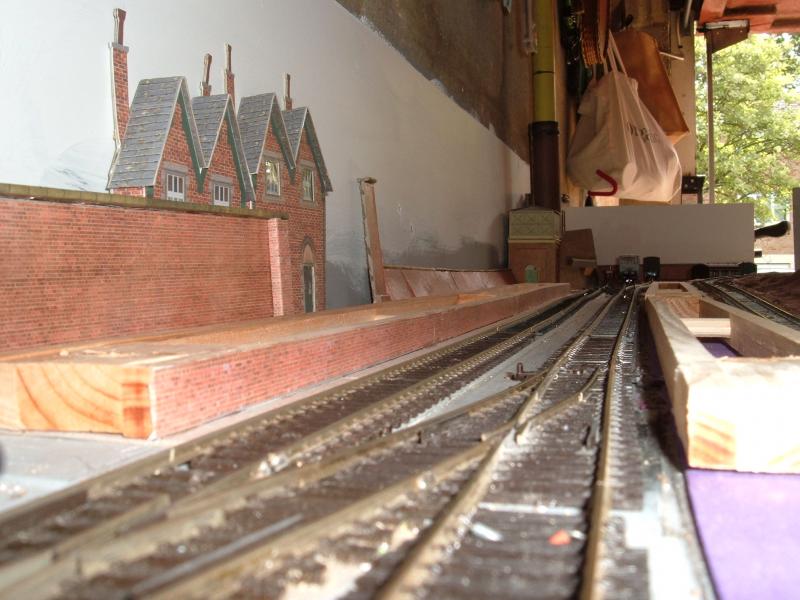
I know you say it`s tight in there but as long as it works and your longest loco clears that wall, you`re in business mate.
That last photo…..the long shot where you can see the length of the entry roads and curves to the turntable…….looks really good. Even if you had the room to open out the radii of those curves, it wouldn`t make a great deal of difference to the look of it.
So well done and carry on old chap.
:cheers Gormo
Last edit: by spurno
"Anyone who claims to have never made a mistake, never made anything!!"
https://sites.google.com/site/greatchesterfordmodelrailway/home
https://sites.google.com/site/greatchesterfordmodelrailway/home
Posted
Full Member
Well, there doesn't seem to be a problem with the curved access track.
Although I did have to adjust one of the setrack pieces, as the flexitrack I connected to it pushed it out of alignment.
Clearance is a bit tight (but I don't think as tight as John's station canopy support).
Back earlier than I intended so maybe I can face the moment of truth before Canada Day (July 1)I am so glad your exit roads worked out for you. I do hope my initial post didnt appear to be negative….I thought long and hard about posting ……it was sent with the best of intentions:lol:
Posted
Site staff
In fact I liberated a piece of flexitrack I was using as the programming track, to make the last connection to the turntable and it did prove to be more of a problem to get it aligned just right.
Remembering your advice I was considering cutting a small straight section as the actual access track, as I had a bit more room on this last one.
Fortunately, after much glueing and un-glueing and with the aid of first two and then one screw, I seemed to find the 'sweet spot', purely by chance.
I've now left well alone, but if I start getting problems in the future I'll look at straightening out the access track as much as possible as it gets to the deck.
Ed
(PS been having broadband problems for the last few days, so haven't been able to post much. Now swapped the router)
Posted
Site staff
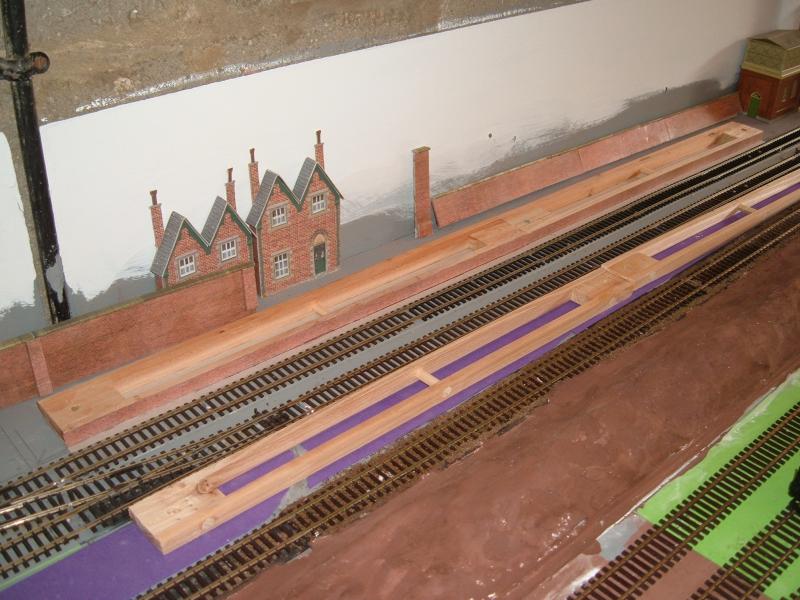
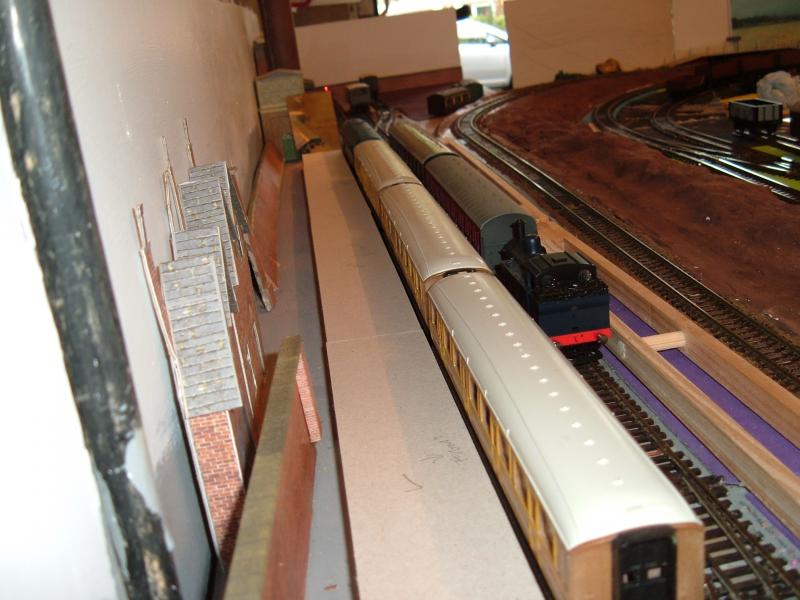
Took these earlier in the week.
I'm currently trying to get a decent looking platform surface using Scalescenes paper.
Problem is they're not turning out so that (as Eric Morcambe used to say to Ernie) you can't see the join
Ed
Posted
Inactive Member
Do you mean the join in the platform under surface or the join in the Scalescenes paper???
:cheers Gormo
Last edit: by spurno
"Anyone who claims to have never made a mistake, never made anything!!"
https://sites.google.com/site/greatchesterfordmodelrailway/home
https://sites.google.com/site/greatchesterfordmodelrailway/home
Posted
Site staff
Tried John's idea in the instructions about running a felt tip along the edge and trying to butt them together, but the join still seems very visible.
I've also tried printing on thicker paper, almost card-like.
Might be I'm using the wrong glue (UHU) as it's pretty hot here and I'm not getting much 'slidability' before it sets, or perhaps I'm just being too picky?
Ed
1 guest and 0 members have just viewed this.