O scale 2 rail exhibition layout
Posted
Inactive Member

After much head scratching due to some incorrect instructions in the build manual, I've managed to get my 3D printer built, set up and working. I've still got a LOT to learn about it, but after a couple of attempts at calibrating it by printing an N Scale coal car (none of those worked, and I had to take some of the printer apart and put it back together to get things working), I've managed to print out the cab from an EMD SW1500.
I've got the files for the rest of the locomotive, and I'm planning on trying to build a working switcher from it, as it has so far cost me pennies for the printing material. If I can successfully do so, I'll have instantly justified the expenditure on getting the 3D printer! :)
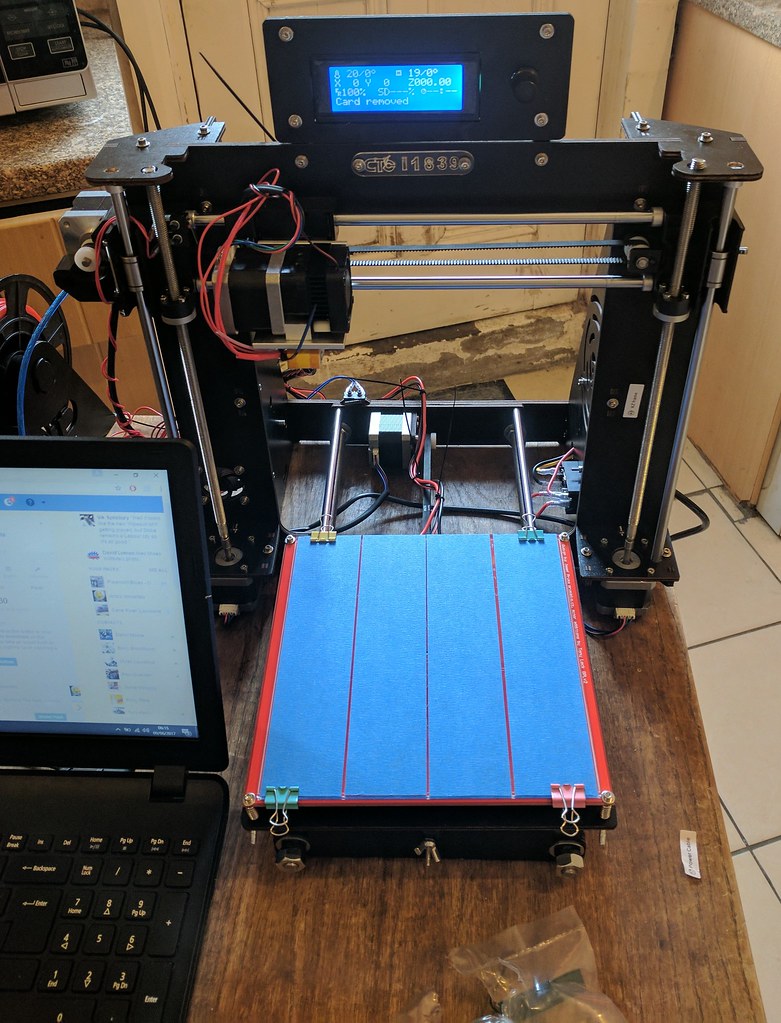
For the technologically inclined, I would most definitely recommend getting a 3D printer. I'm loving it already, and I've barely scratched the surface.

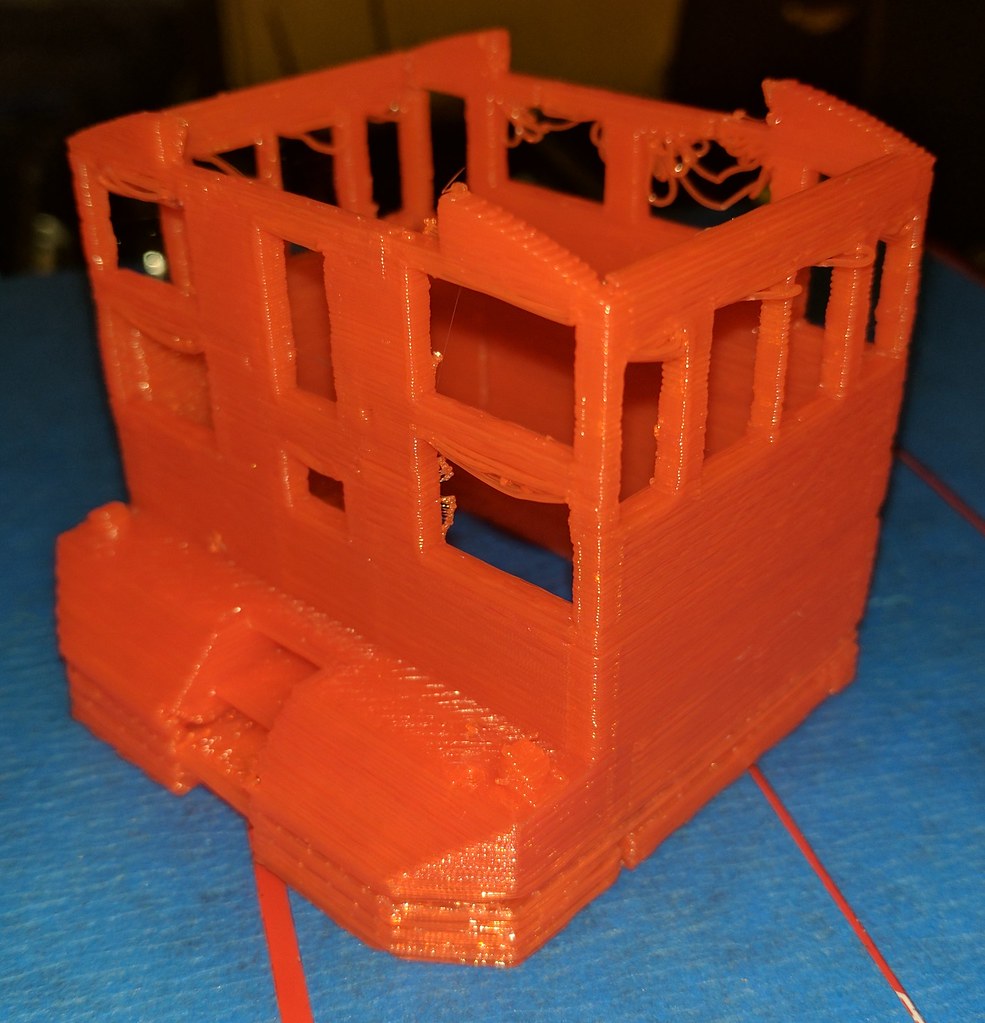
As you can see, there are currently some quite pronounced printing lines on the model, and some places will need filling in where the filament didn't extrude correctly. On top of this, the tops of the windows aren't great, as the heated material didn't cool fast enough to keep a rigid shape before it set. This is a known issue with printing in PLA on some of the cheaper printers, but there's a pretty simple fix - fit a shroud around the extruder heatsink that directs the cold air from the cooling fan down and onto the extruder nozzle, which will cool the material faster as it leaves the heated nozzle.
I don't think you can buy these shrouds yet, however the great thing about the 3D printing community is that they tend to just 3D print their own solutions! Someone on one of the forums for my model of printer designed and uploaded the files to 3D print your own shroud, so that's next on my list of things to print! :D
If I was excited about the possibilities of the printer BEFORE I got it, now I'm truly over the moon. Once I've got it figured out, I'm going to 3D print soooooo much stuff! :D

Posted
Inactive Member
The only photographs I've found of the prototype locomotive are from AFTER it was repainted into Tuxedo Black. As such, I'll be using reference photos of other RS3's in the green scheme to weather this locomotive up to the wear and tear typical of the locos in the run up to the repaint program.
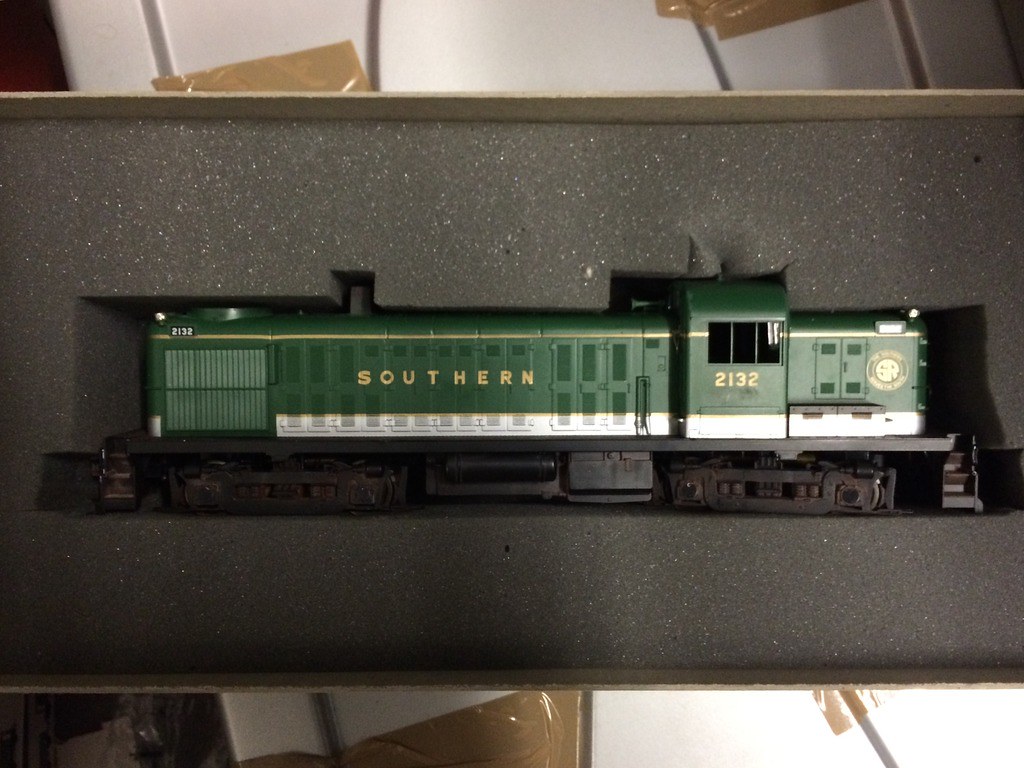
I am going to try and find out as much as I can to turn the model into a Southern prototype, as I'm sure there are variations from the "standard" ALCO locomotive, as is usually the case. :)
Posted

Full Member
There are some Alco RS's in green and white here http://southern.railfan.net/images/archive/southern/alcos/alcos.html
Green and white went to the tuxedo black and white in 1958.
Nigel
©Nigel C. Phillips
Posted
Inactive Member
Posted
Full Member
Always one tucked away on a branch that avoided the paint shop. Rule 1 applies of course.
Re the 3D printing - I'm intrigued as to the cost effectiveness (or how many loco bodies before you're in the black). I did the calculations - for me (where the need is very sporadic) it's cheaper to do the CAD and send it off and have it printed on a professional machine or just buy it off the 3D clearing house. I know you're using a freebie CAD file, but if you factor in the cost of a decent CAD license (and the time to learn how to do it)…
Throw in a slug and the pair will really look the part.
One thing that struck me is that those coarse jets would be ideal for making leaf springs.
Nigel
©Nigel C. Phillips
Posted
Inactive Member
The benefits of instructions in Chinese, I guess! :P
I also need to faff around with the layer thickness and such, to avoid the rough surfaces.
A friend of mine has a very similar printer to what I have, and his can print essentially smooth surfaces.
So clearly I need to have a play with the settings some more, and have another go.
Posted
Full Member
No criticism intended. It would just make very realistic leaf springs at the jet setting your using.
Layering shadow after sanding (plus those voids that will need filling) and variations in surface level is well known in 3D printing, be prepared to spend 2-3 hours per piece getting rid of it (in reality minimizing it). Even when primed and painted it's often still there in the right light. Not an issue for small parts, but you're up in the "Senior Scale" now where these issues will be very evident. You can loose a fair bit of material getting rid of it, which can be an issue for multi-part models (loose fit). Something most folks don't make allowance for. Layering shadow also appears to be highly dependent on the thermoplastic used, which will determine whether you will need to use a surface finisher such as a sandable filling primer. Must be a technical reason for it, probably related to temperature differences and cooling rates. Beyond me.
The course I attended on 3D printing where the emphasis was on finishing the project, not printing it (nothing more boring than watching a 3D printer in action) was useful in realizing this. Plus the fact that it's not worth the trouble trying to print small details (especially handrails and rivets). Add those afterwards.
Chinglish? Blame Google Translate.
Nigel
©Nigel C. Phillips
Posted
Inactive Member
I've got a friend who is going to run me through the basics that he did with his, to get a good jumping off point for the printing.
Beyond that, not a lot of progress on PB recently, as I've been arranging for the sale of West Allen Street, and planning on a 10' N scale layout I need to build for the Derby NMRA meet in October.
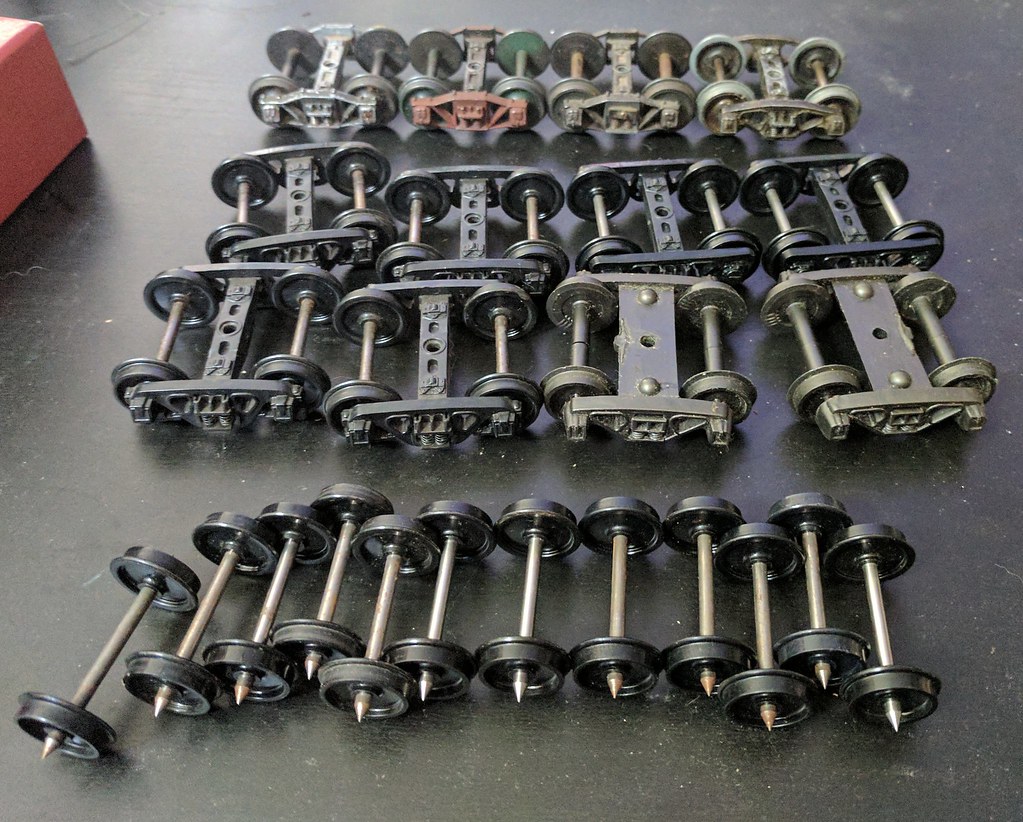
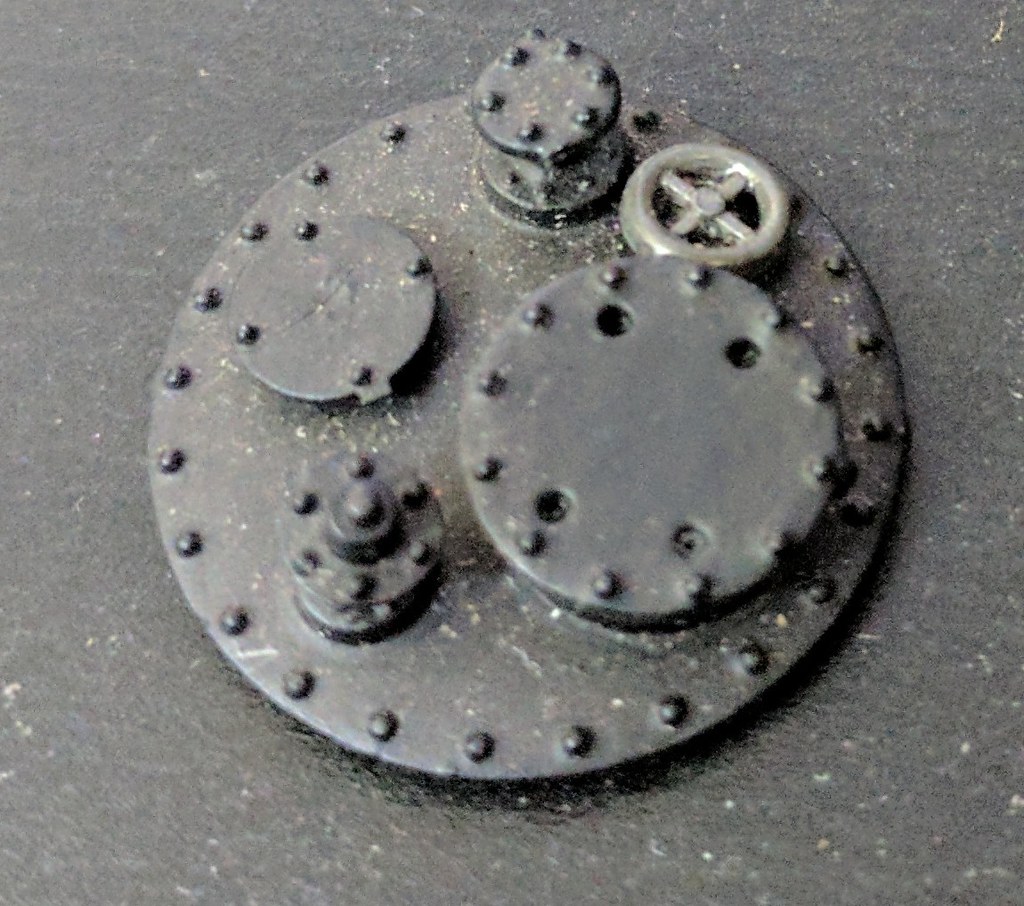
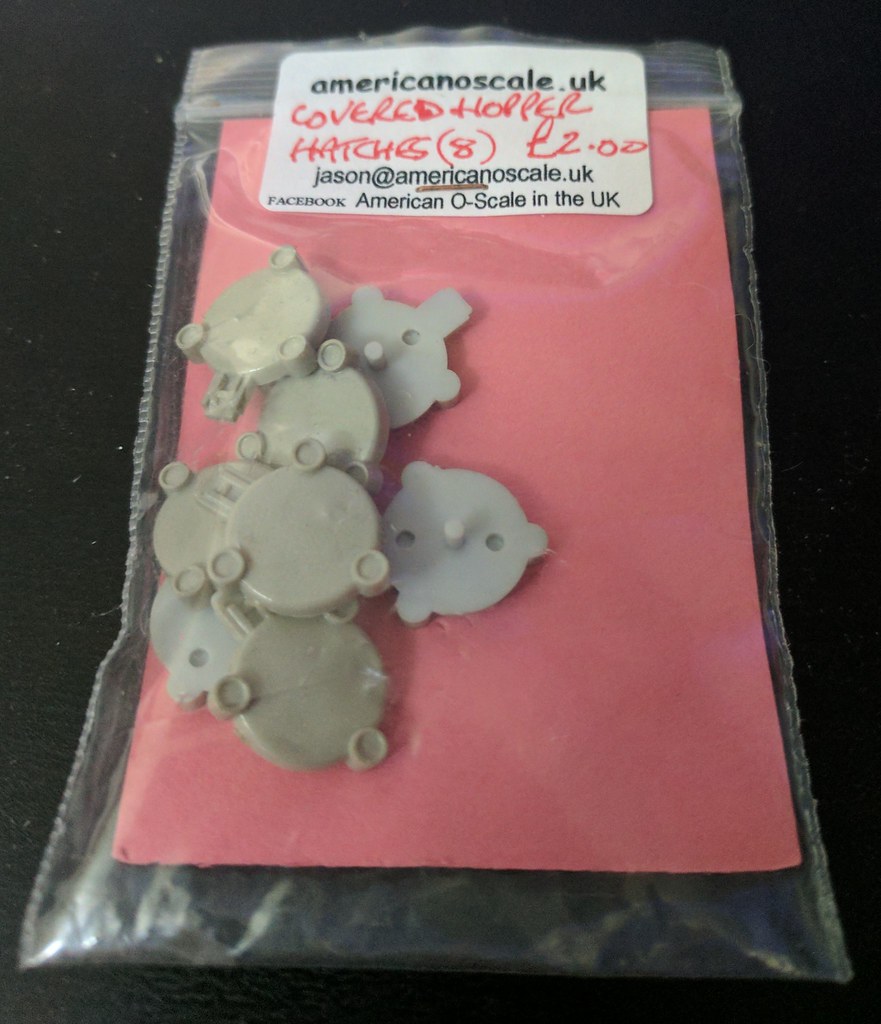
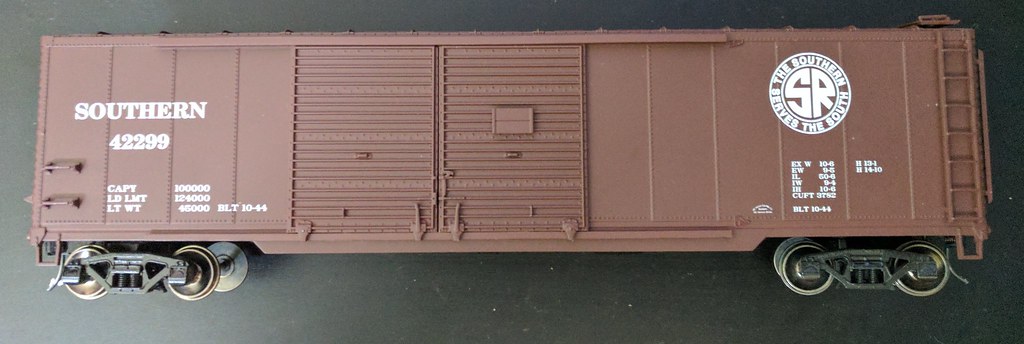
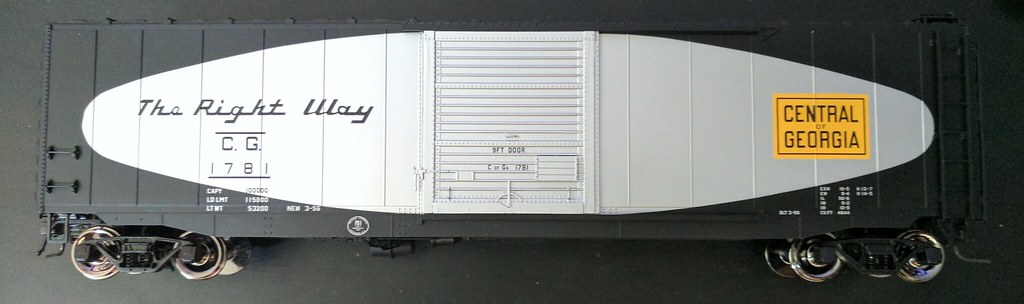
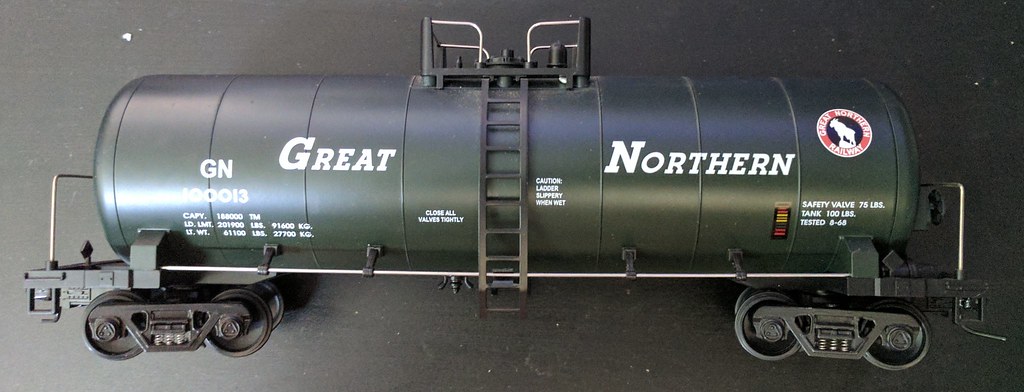
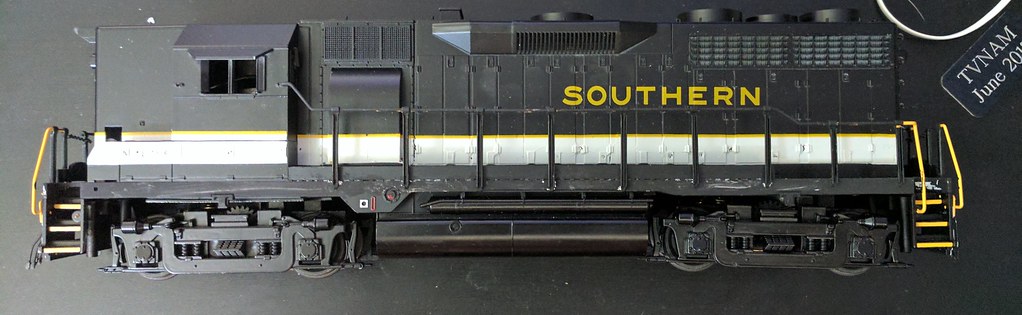
That said, through bargains from Nick, Jason and Brian - as well as whatever I found on the trade stalls - at TVNAM this last Saturday, I came away with the following for the O scale fix…
Trucks, wheels and couplers - LOTS OF THEM! :D
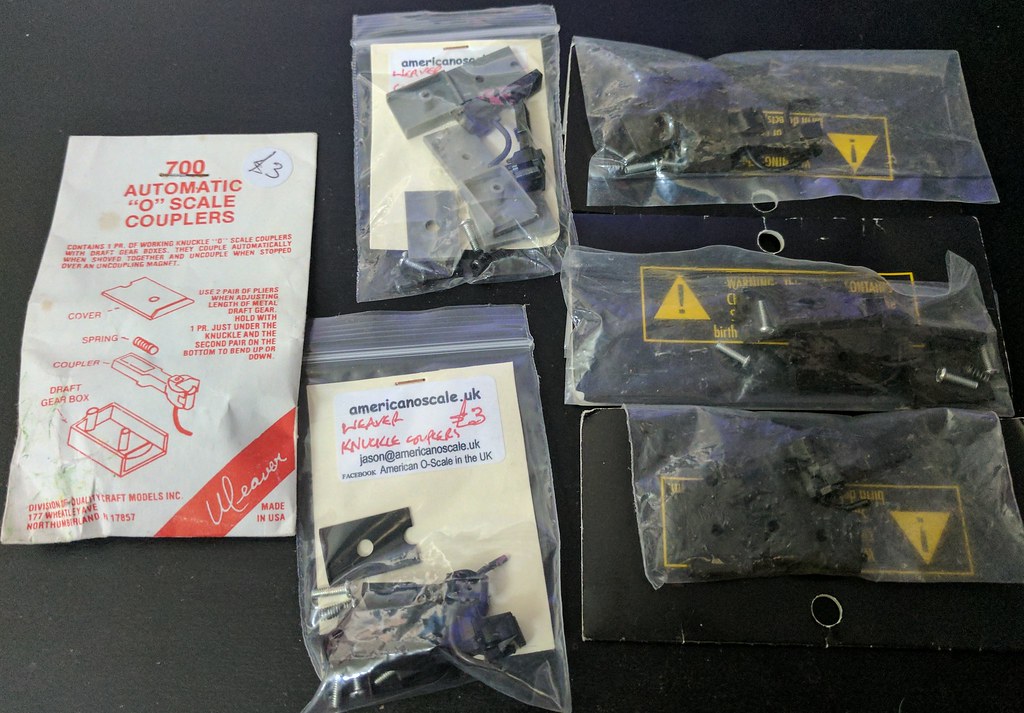
Tank car parts:
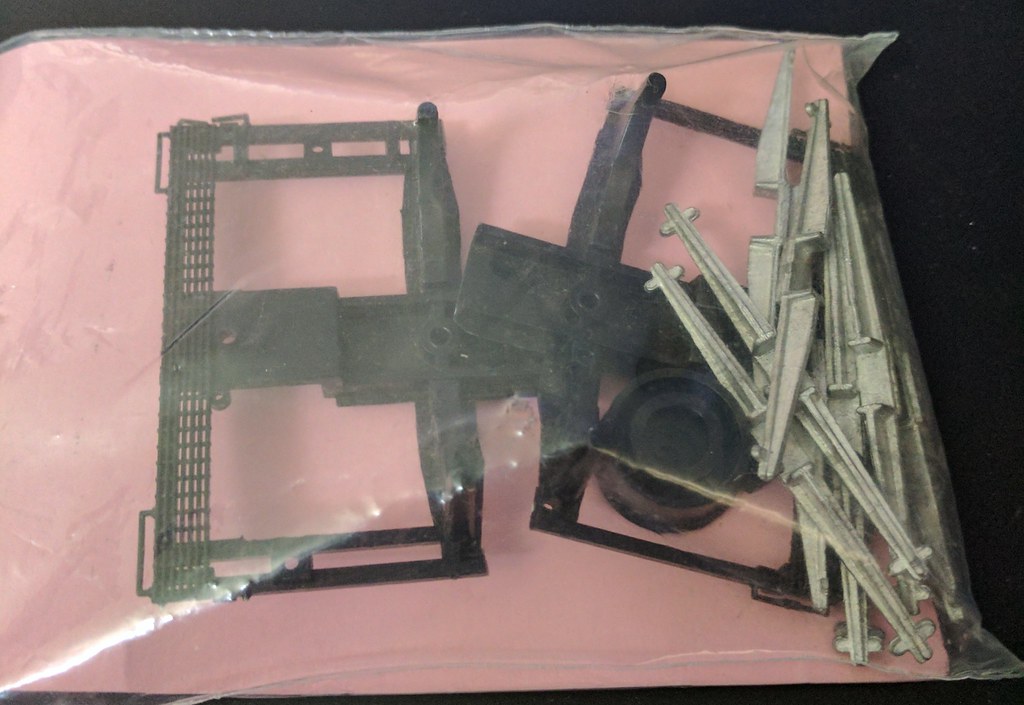
Hopper car parts:

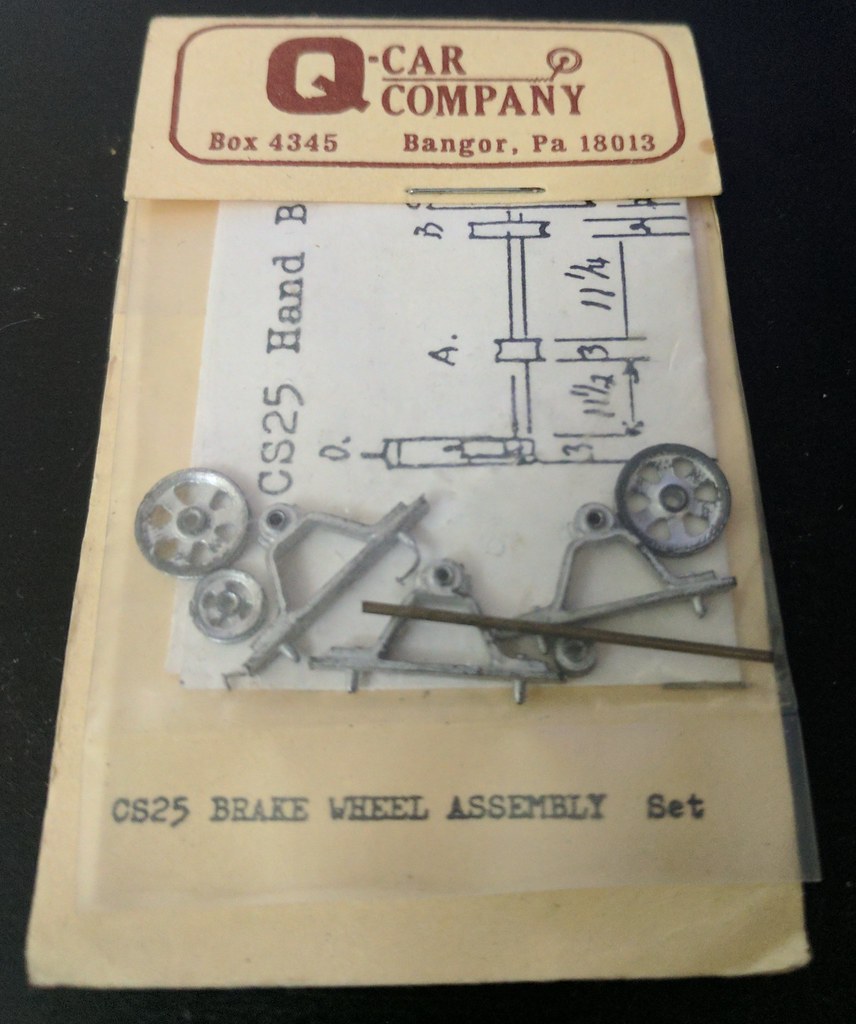
A brake wheel assembly:
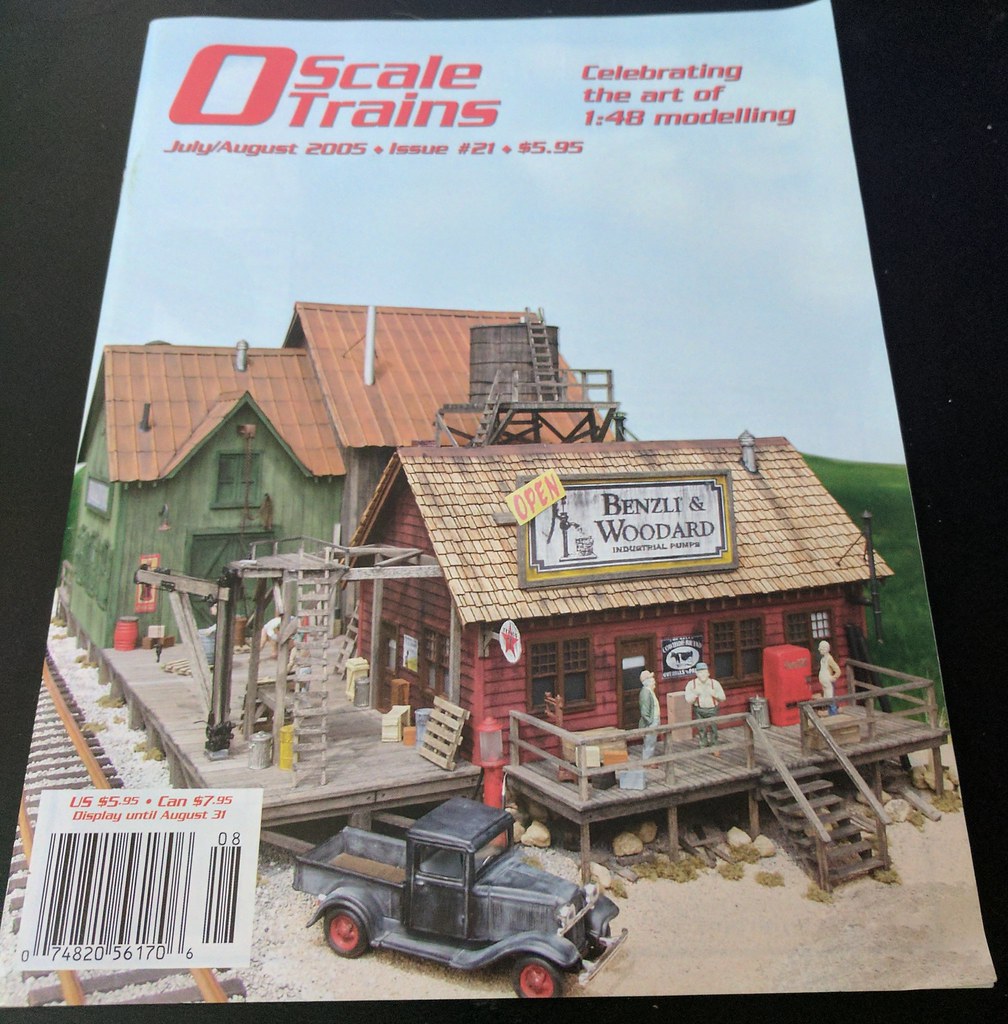
A free copy of O scale Trains magazine - thanks Jason!
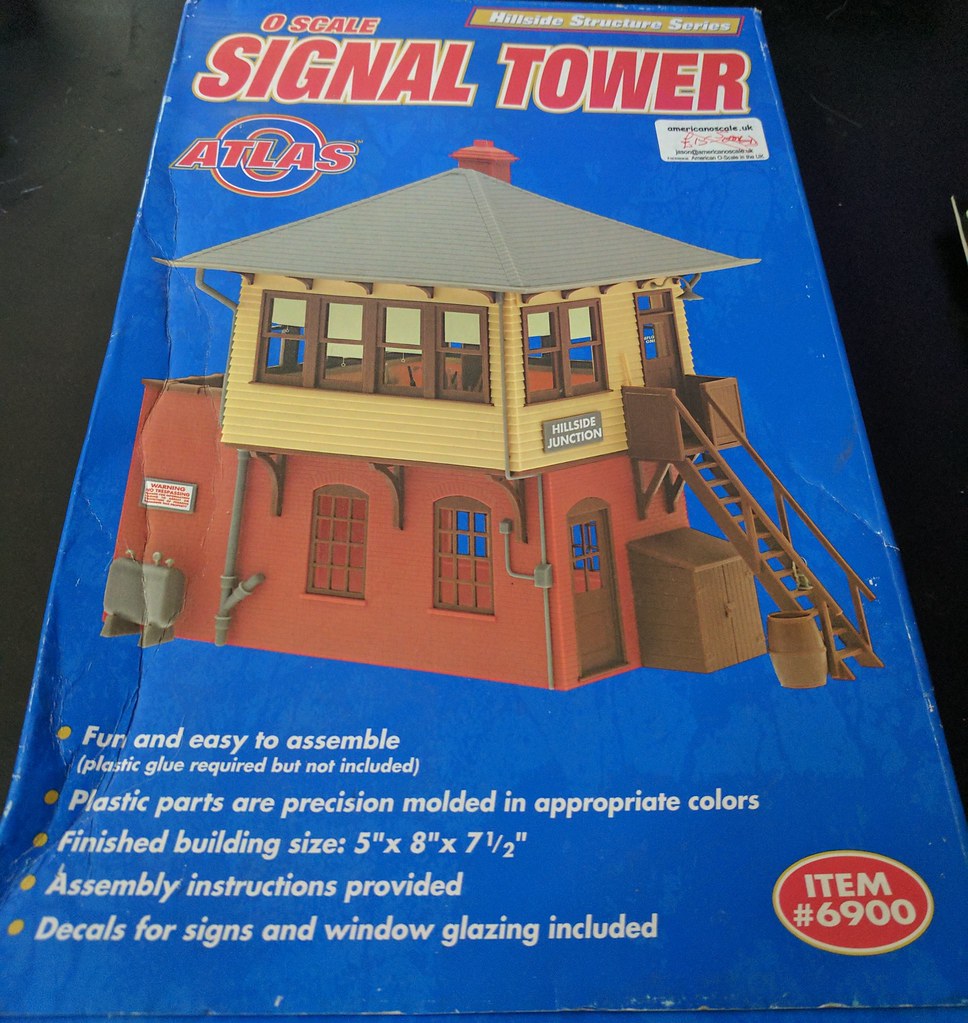
An Atlas signal tower:
A free plug door boxcar, minus wheels and couplers - again, thanks Jason! :)
A Pecos River Southern double door boxcar:
An Atlas Central of Georgia boxcar:
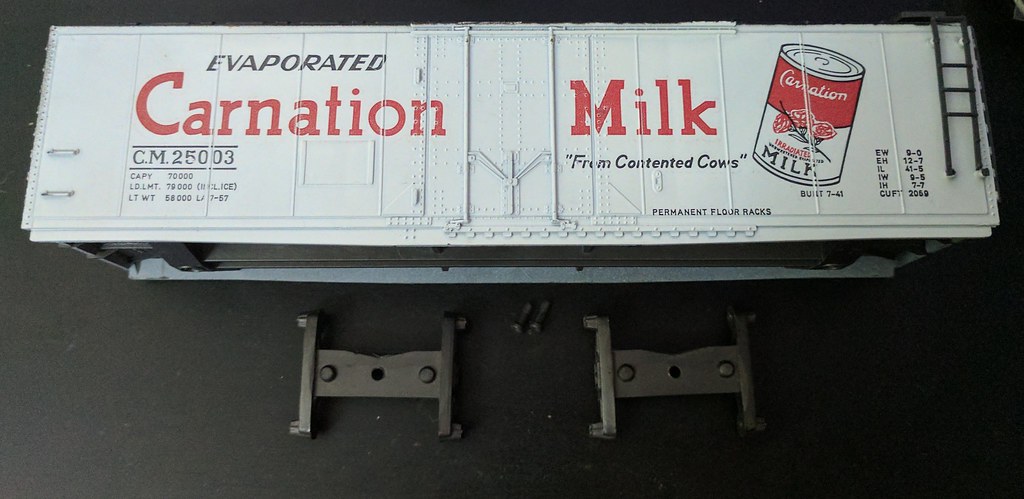
An MTH 2-rail converted Great Northern Tank car:
And finally, an Atlas high nose GP35:
I now have enough spares to fit all my freight car kits and boneyard cars with trucks and couplers.
Lots to do! :D
Posted
Inactive Member
I've been looking into Dead Rail/Bluetooth control for the layout, and have decided to have a go and test out a BlueRail Trains "BlueHorse" board. I ordered it last week, and it arrived a couple of days ago. I'll have a go at installing it into my Weaver RS3 sometime next week, I think. I also ordered some laser cut structure kits from Kitwood Hill, which should be here sometime next week. :)
This last week I went to York for a day out, and found a model shop that sells Atlas O scale. It would have been rude not to buy anything, so I came away with this:
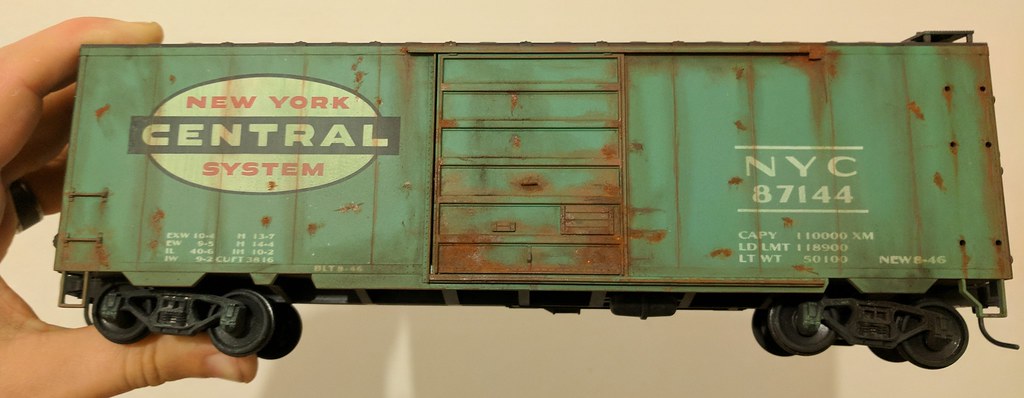
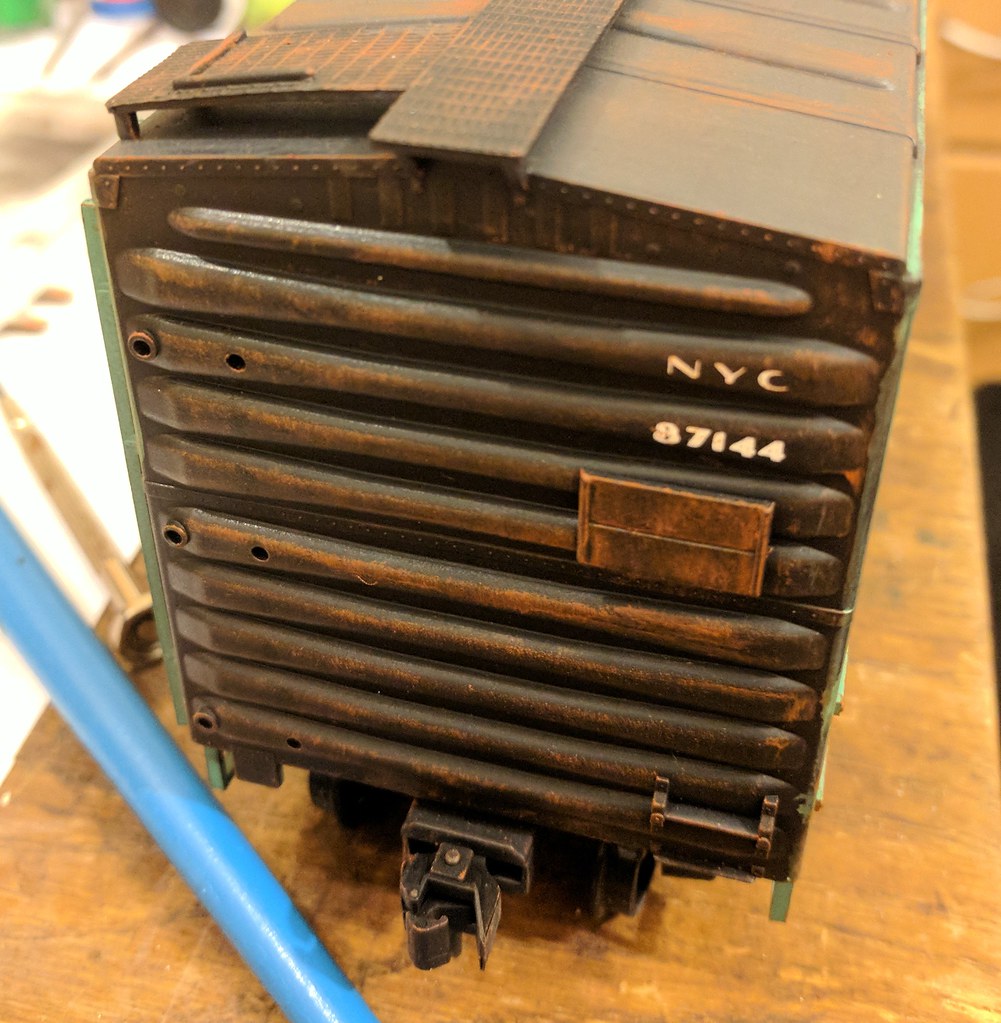
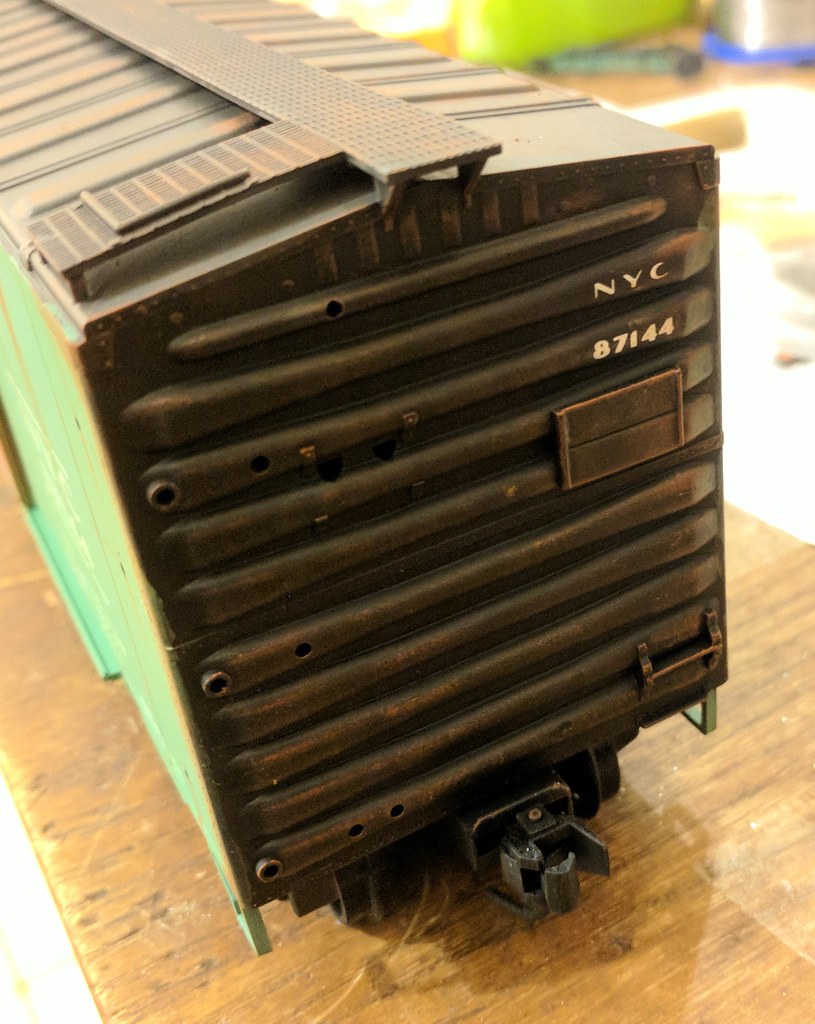
With the O scale bug nibbling away at me once more, I decided to get the NYC boxcar out of it's box and carry on with the weathering. I've done some more on the car ends, roof, and the other side of the car which - up until now - had just had the green fade wash applied. It now looks like this:
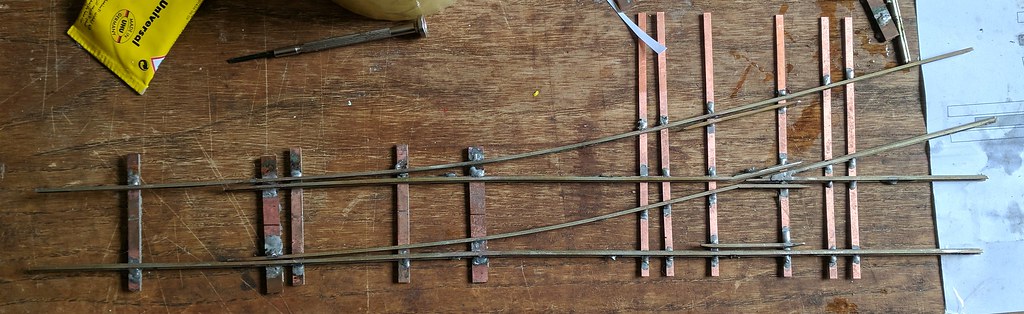
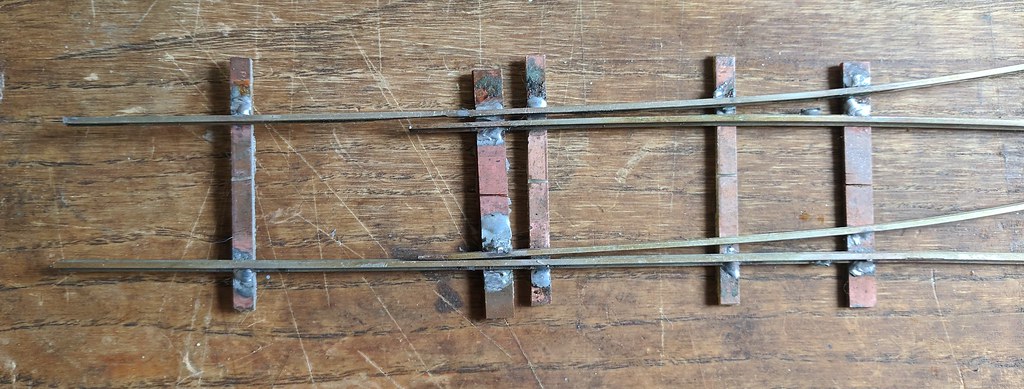
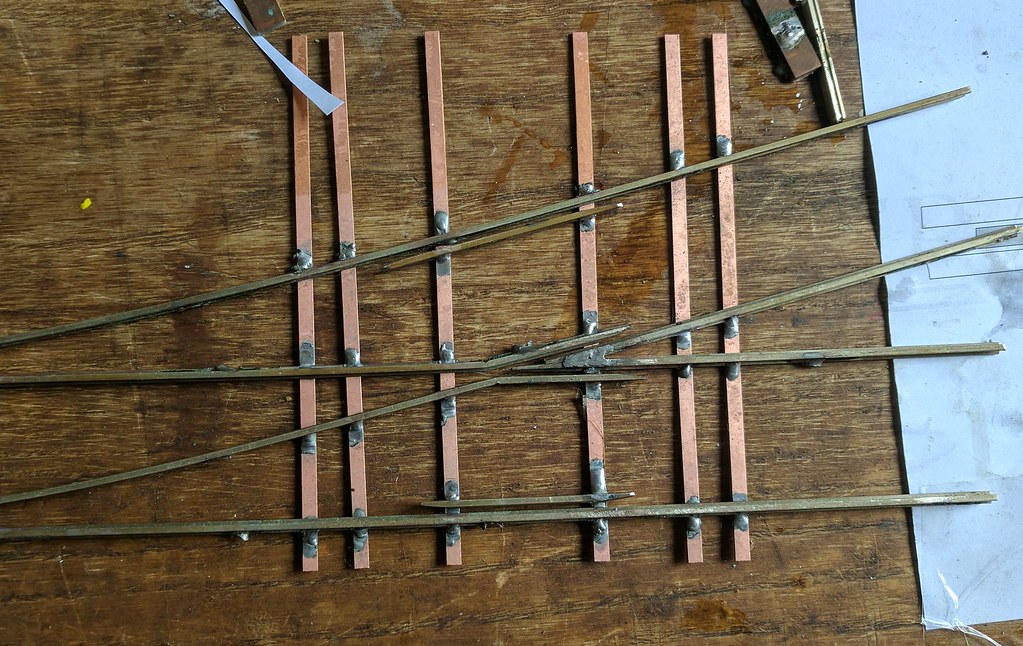
Finally, I decided to make a start on the trackwork, and - after printing out some Fast Tracks templates, I built a Number 4 turnout. It's a little messy, but it works perfectly.
Posted

Inactive Member
Max
Port Elderley
Port Elderley
Posted
Inactive Member
Posted
Inactive Member
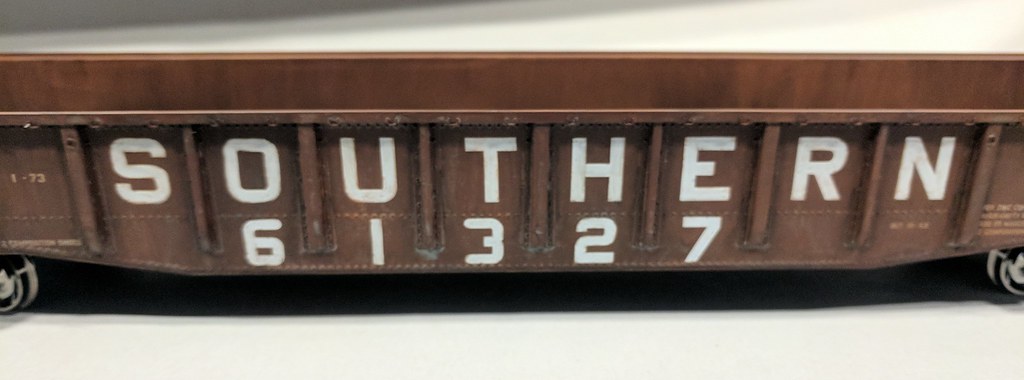
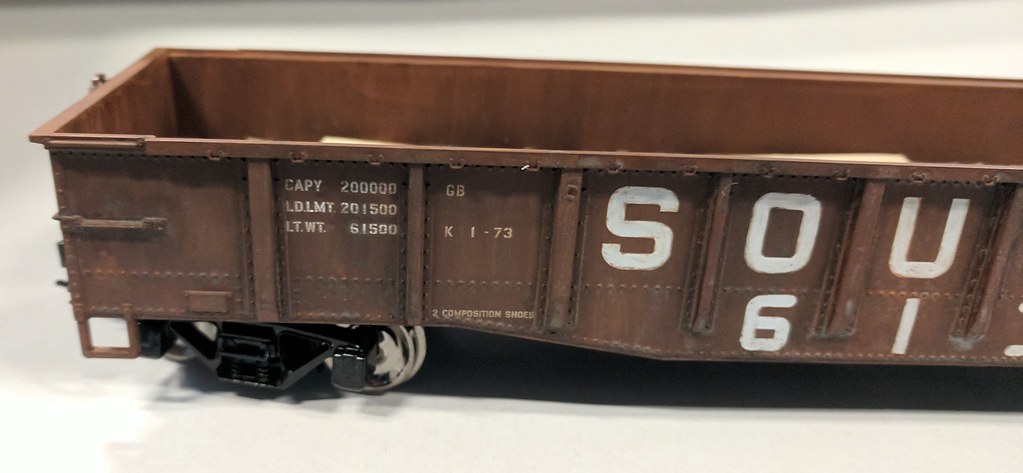
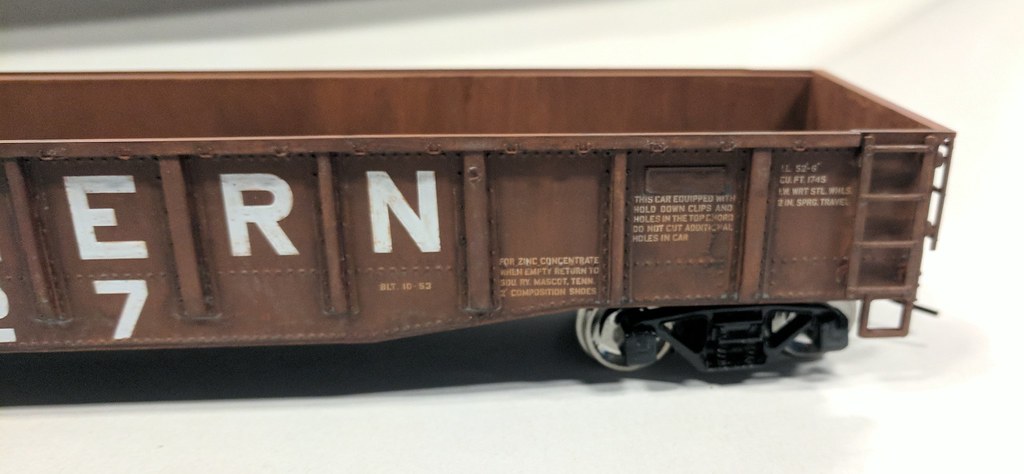
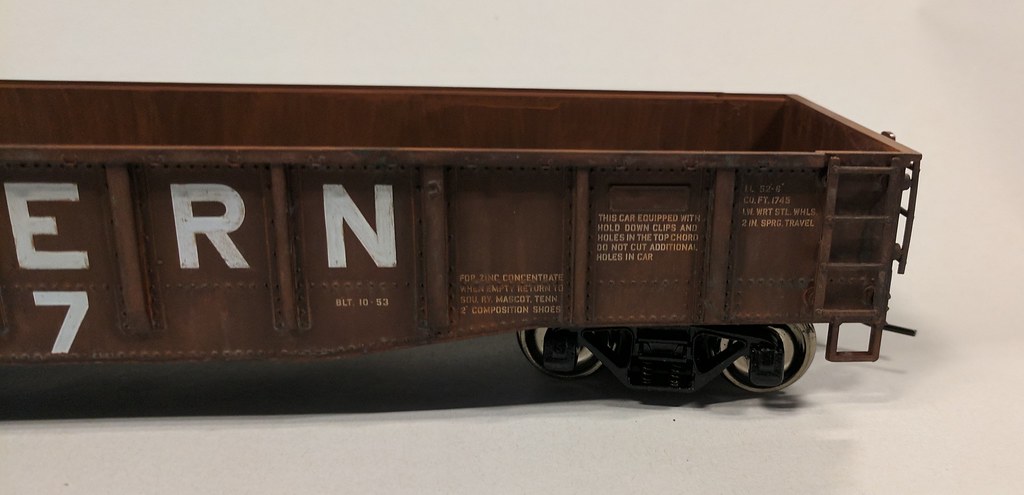
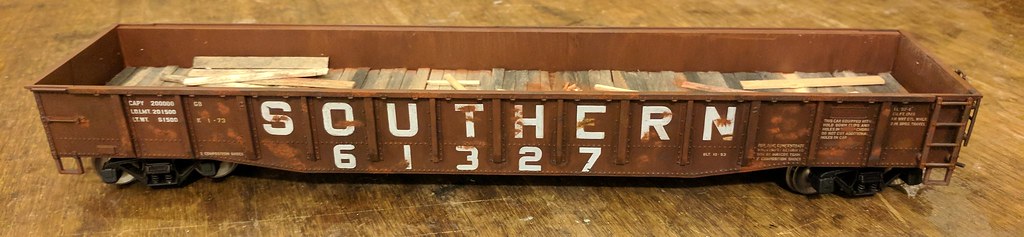
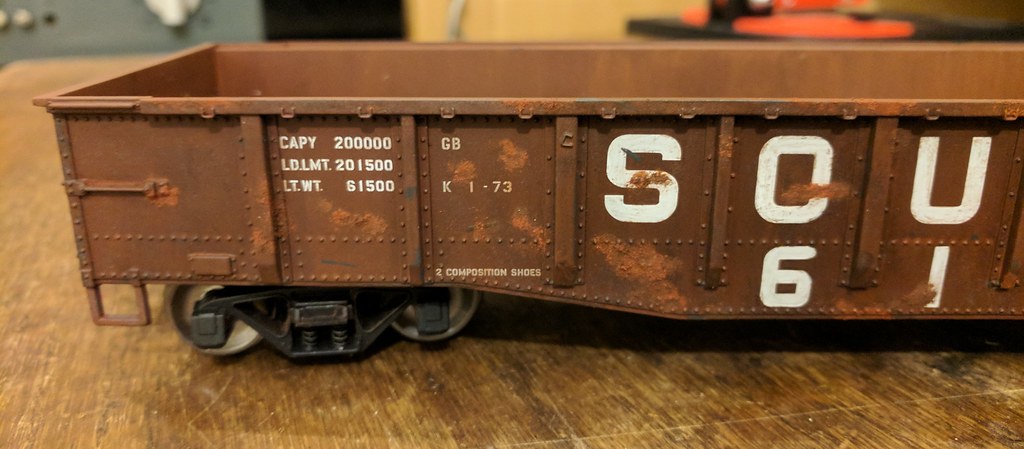
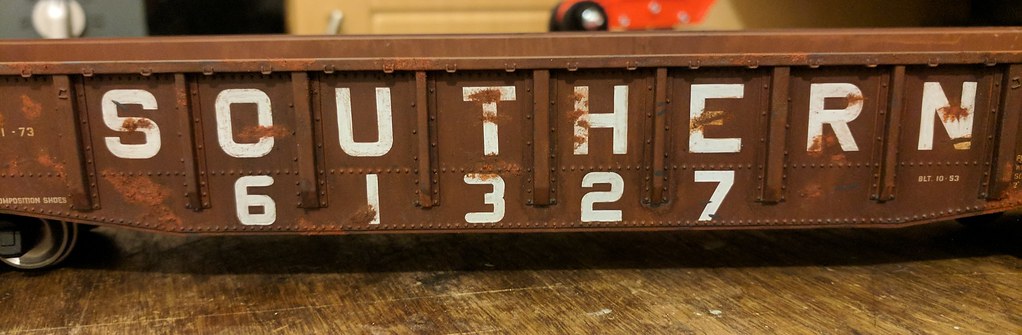
After this was done, I went over the lettering and car number with a damp microbrush to remove the paint from the white and let it really pop again, as most of the time the lettering isn't too dirty in prototype photos.


Posted
Full Member
Oh my, that gondola looks good as does the NYC boxcar. I see you're going for the combination of scales I debated a few years ago, 0 for detail and 'mass' and N for the complete scene. I think that's the best of both worlds, good for you.
Most of my US 0 has been sold now but I still have a few bits, would you like to know more?
Cheers,
John.
Cheers,
John E.
My layout: http://yourmodelrailway.net/view_topic.php?id=15083&forum_id=21&page=1
Is this fair? Brexit and the future of tax havens - Tax Justice Network
John E.
My layout: http://yourmodelrailway.net/view_topic.php?id=15083&forum_id=21&page=1
Is this fair? Brexit and the future of tax havens - Tax Justice Network
Posted
Inactive Member
You betcha I'd like to know more! ;)
Thanks,
Dan
Posted
Full Member
No worries! I'll get a list together and PM you, presently.
Cheers,
John.
Cheers,
John E.
My layout: http://yourmodelrailway.net/view_topic.php?id=15083&forum_id=21&page=1
Is this fair? Brexit and the future of tax havens - Tax Justice Network
John E.
My layout: http://yourmodelrailway.net/view_topic.php?id=15083&forum_id=21&page=1
Is this fair? Brexit and the future of tax havens - Tax Justice Network
Posted
Inactive Member
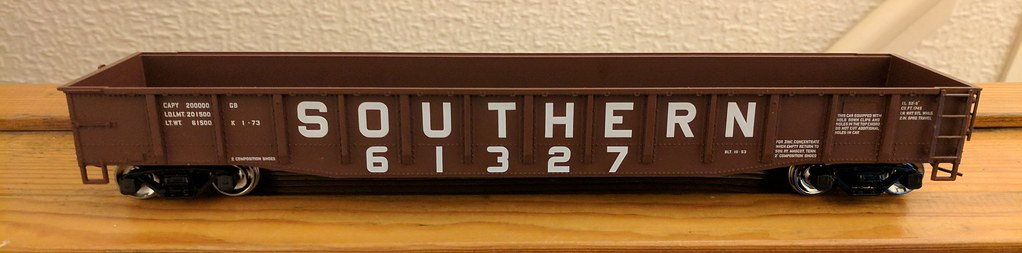
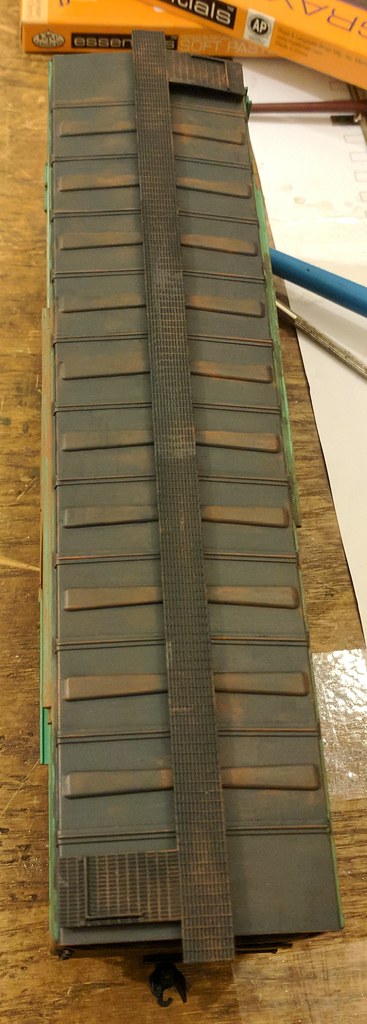
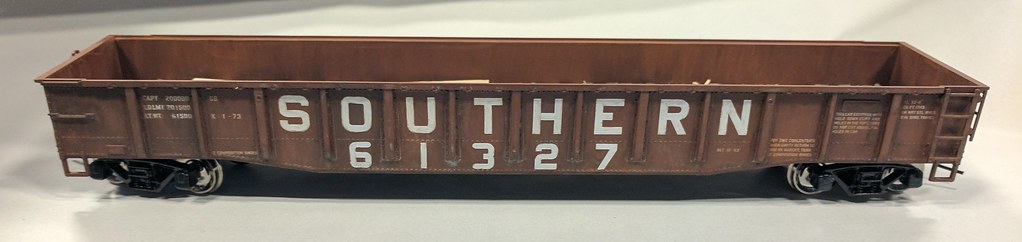
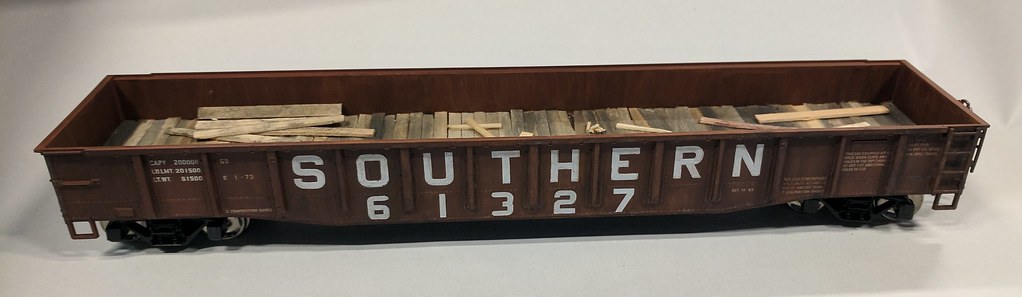
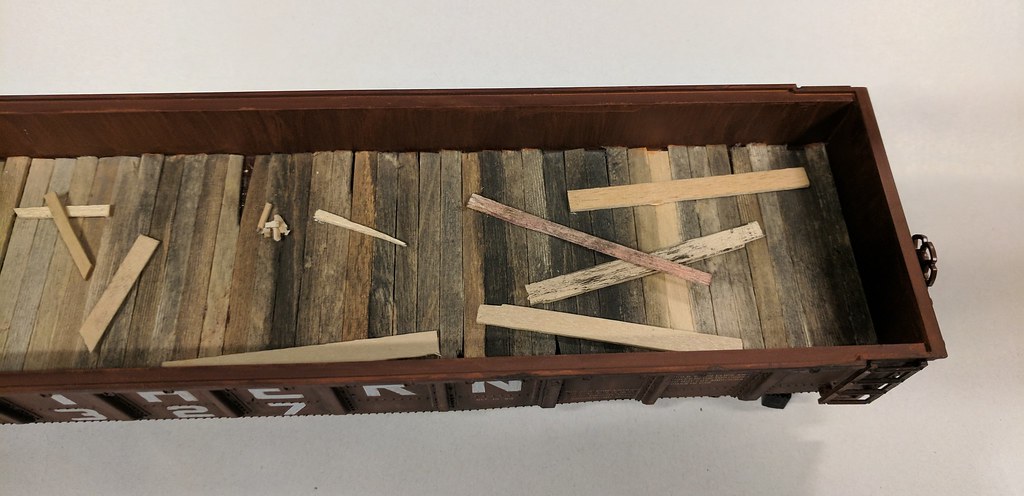
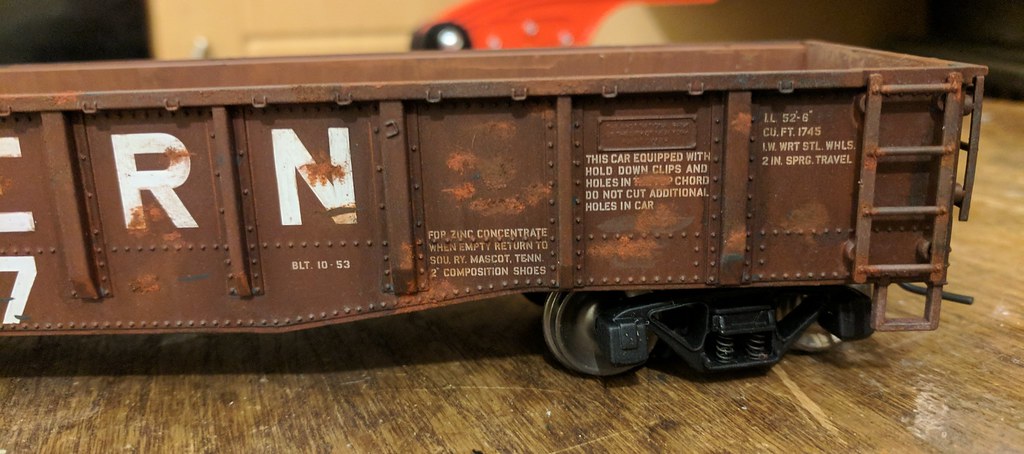
Further progress on the Southern gondola from last night, one side has had dings and scratches and rust patches added. I think I went a bit OTT with this, but I'm going to attempt to tone it down a little today. We shall see. :D
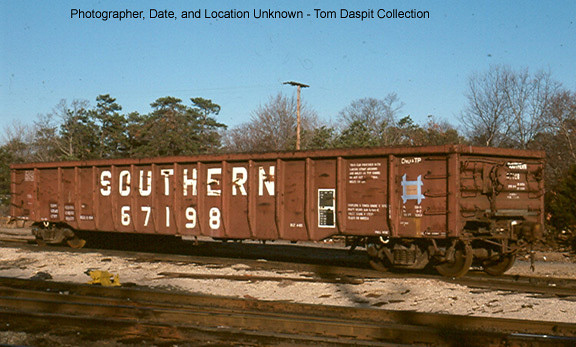
Here's the prototype photograph I am working from - found on Southern Railfan (an amazing source of SOU images and information, and my Go-To place for references):
Posted
Inactive Member
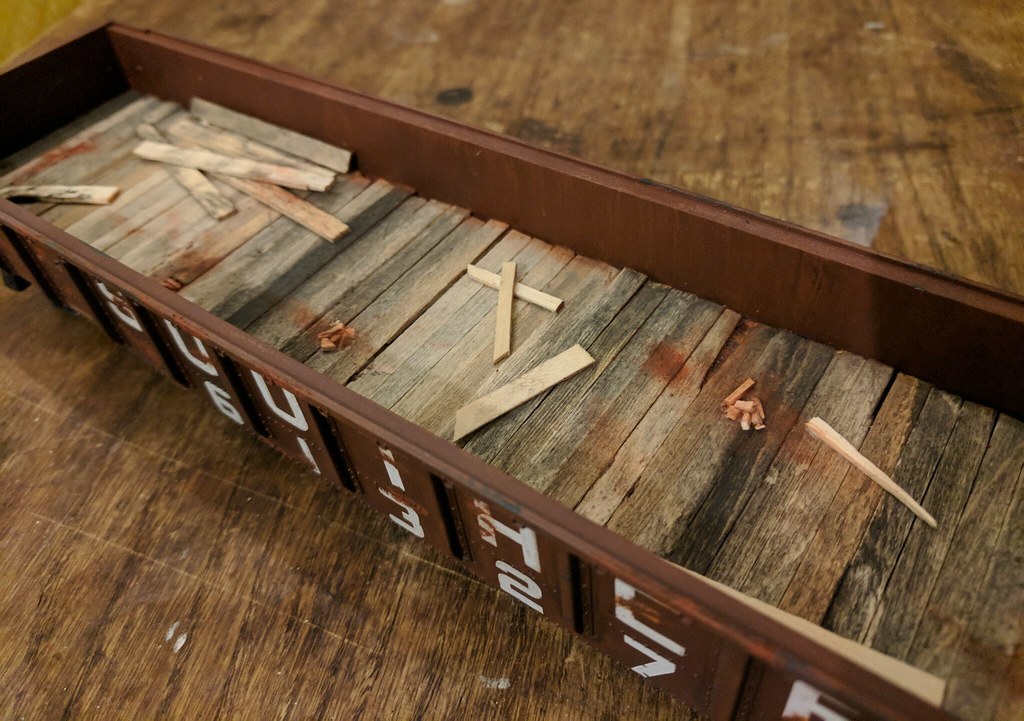
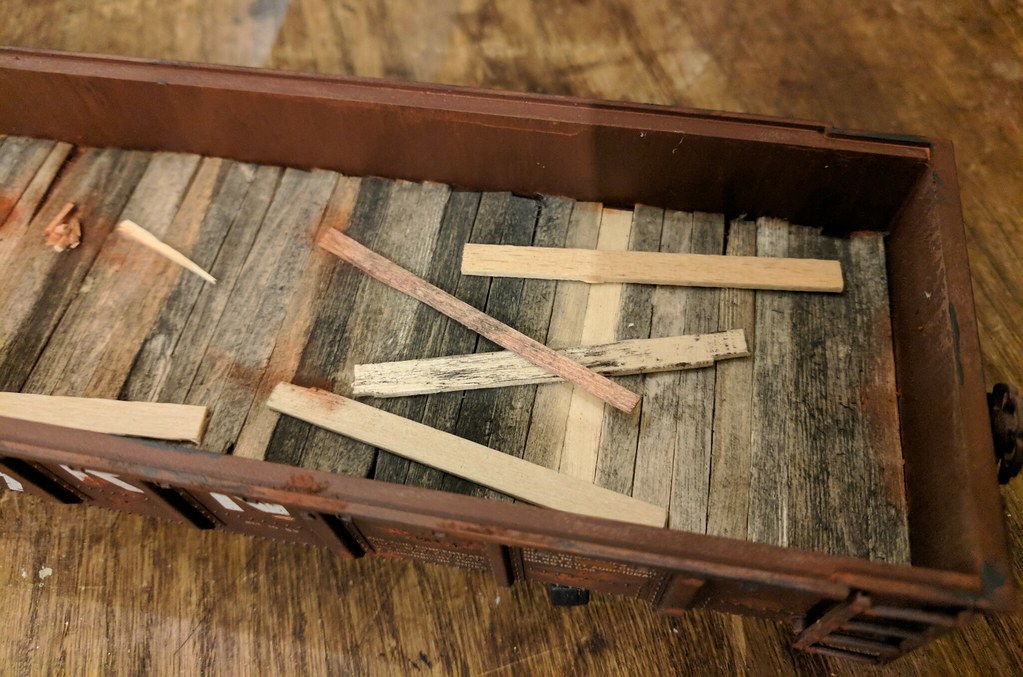
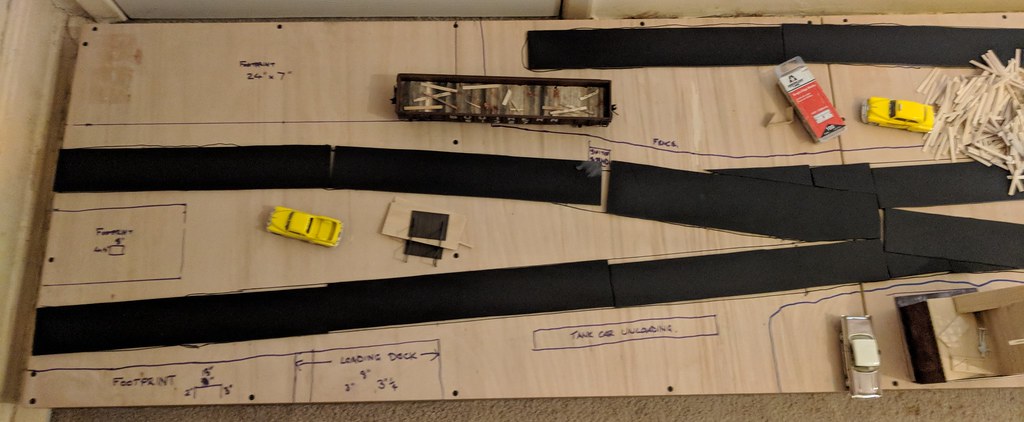
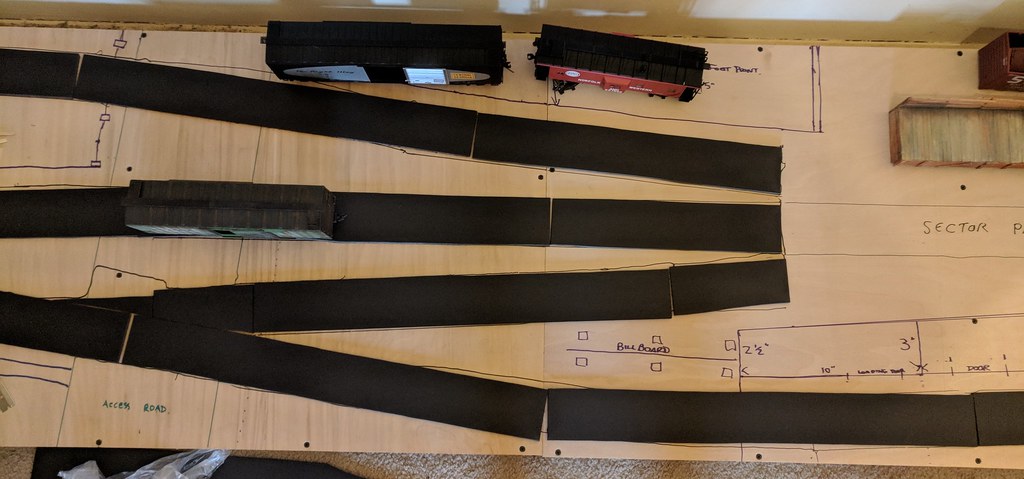
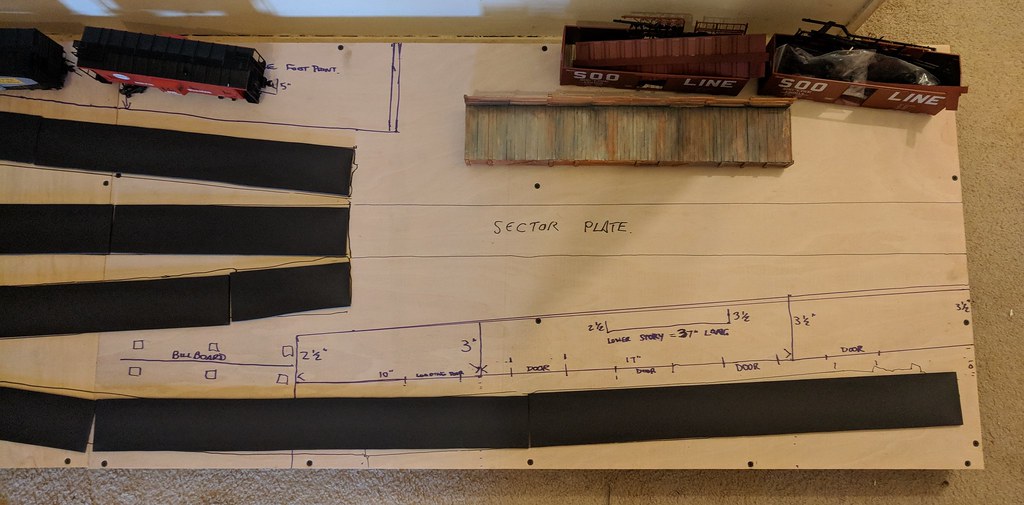
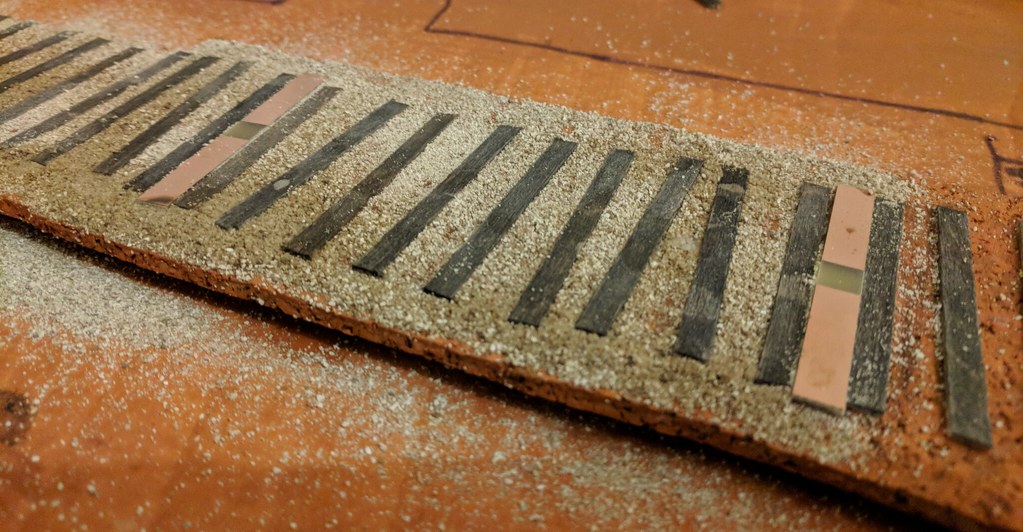
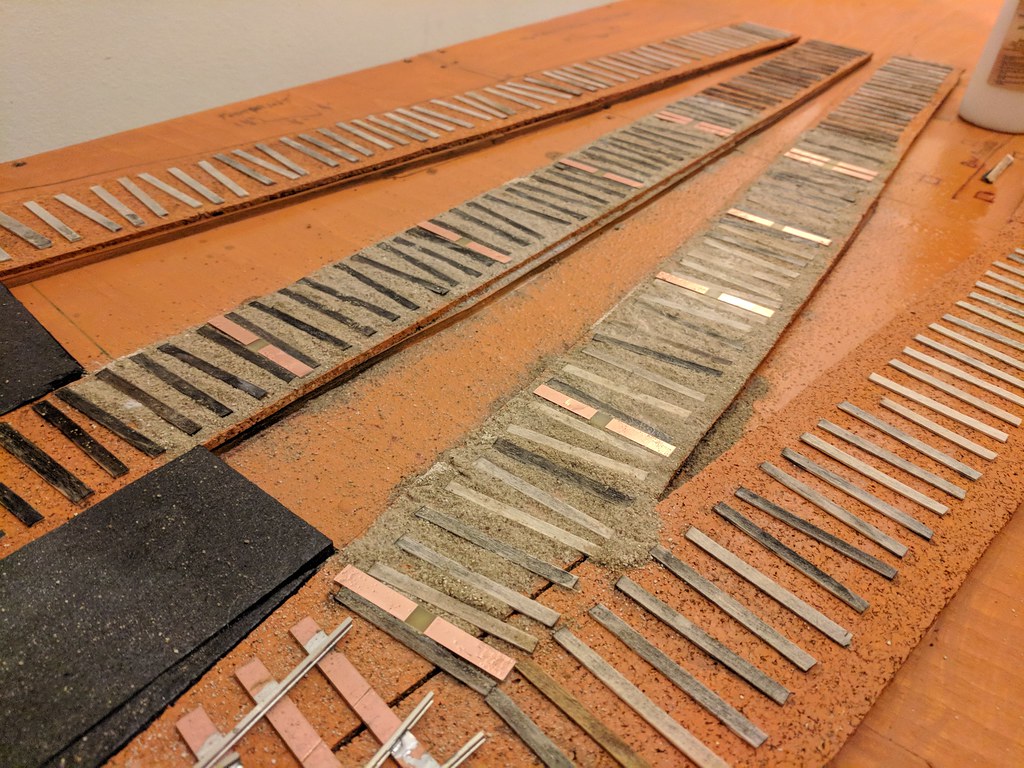
Baseboards are done, so I've been working on the track plan and getting the roadbed prepared, and about eleventy-billion wooden ties cut from coffee stirrers.
Photos of the layout mocked up so far:

TIES! TIES EVERYWHERE!
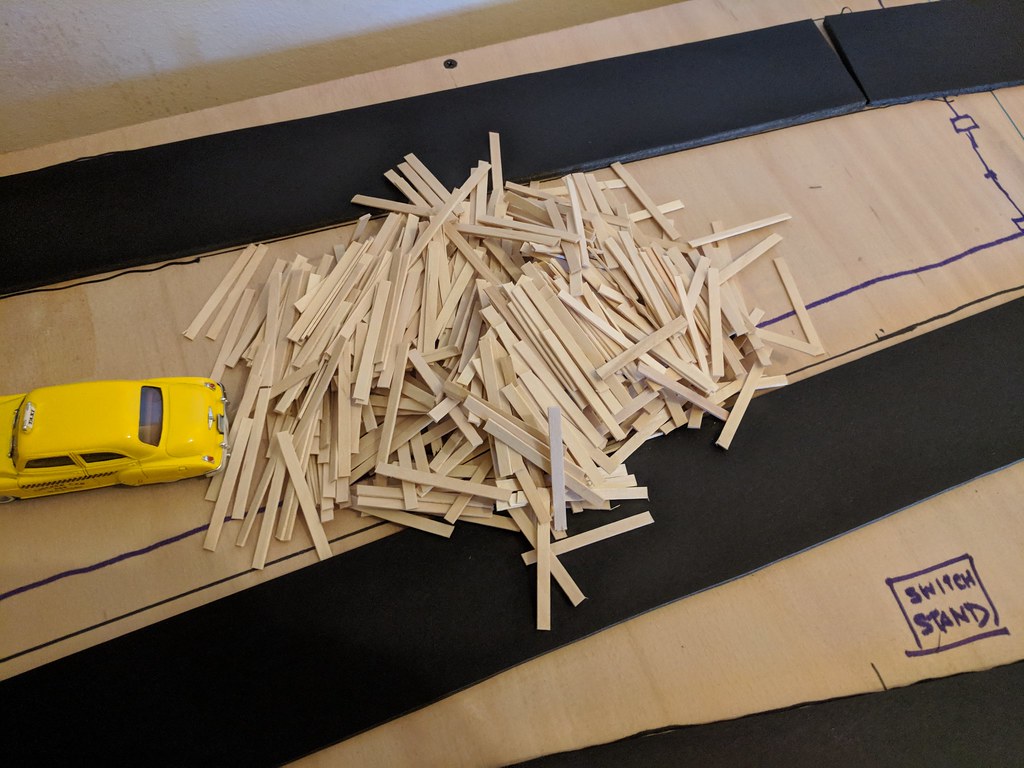
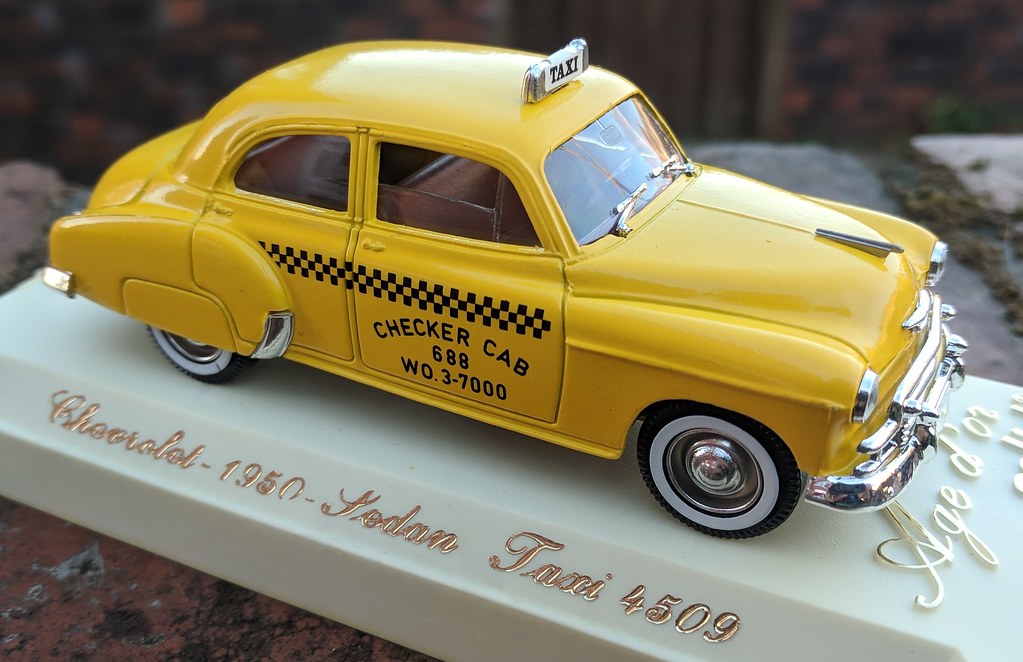
I've also been into the local model car shop and picked up some era suitable vehicles - these three should be more than enough for the whole layout. :)

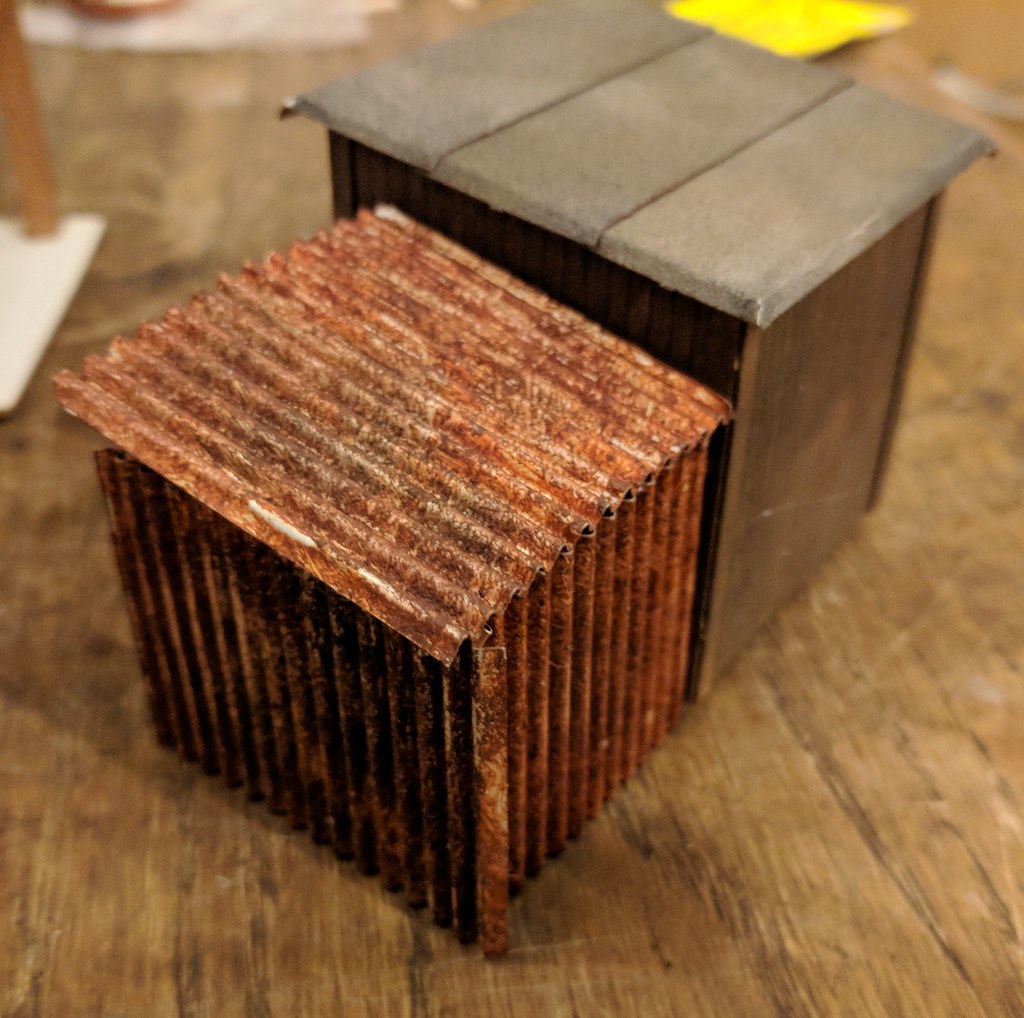
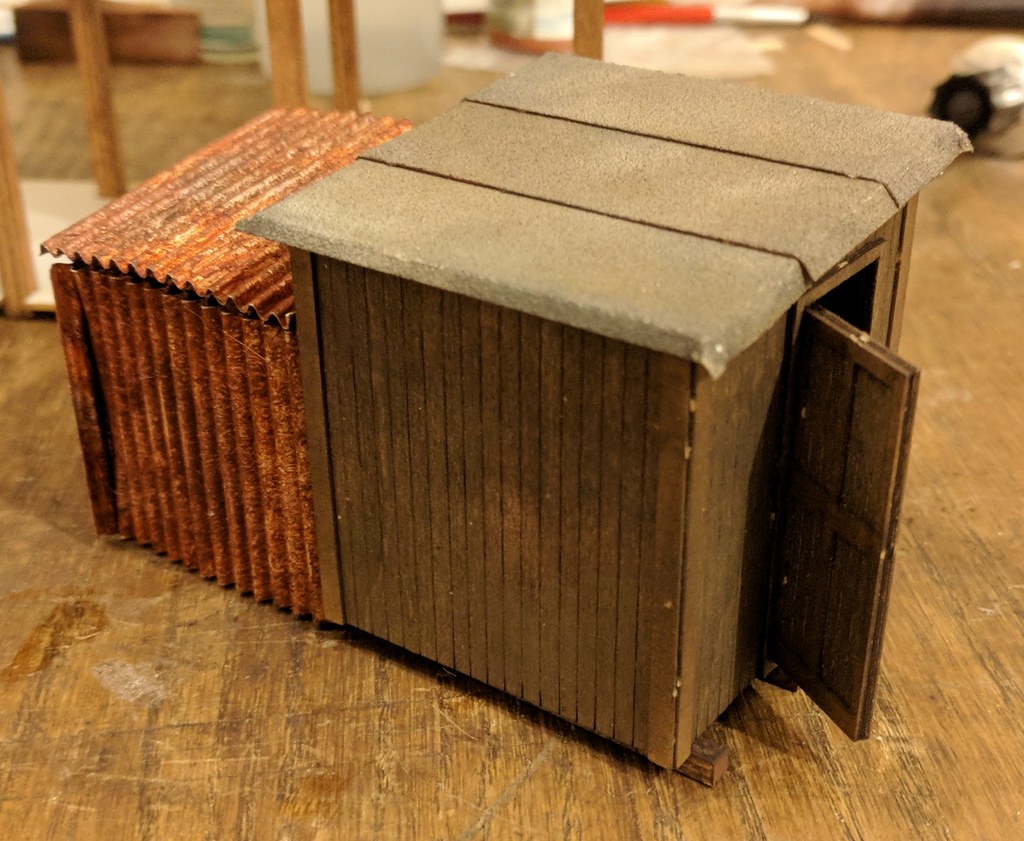
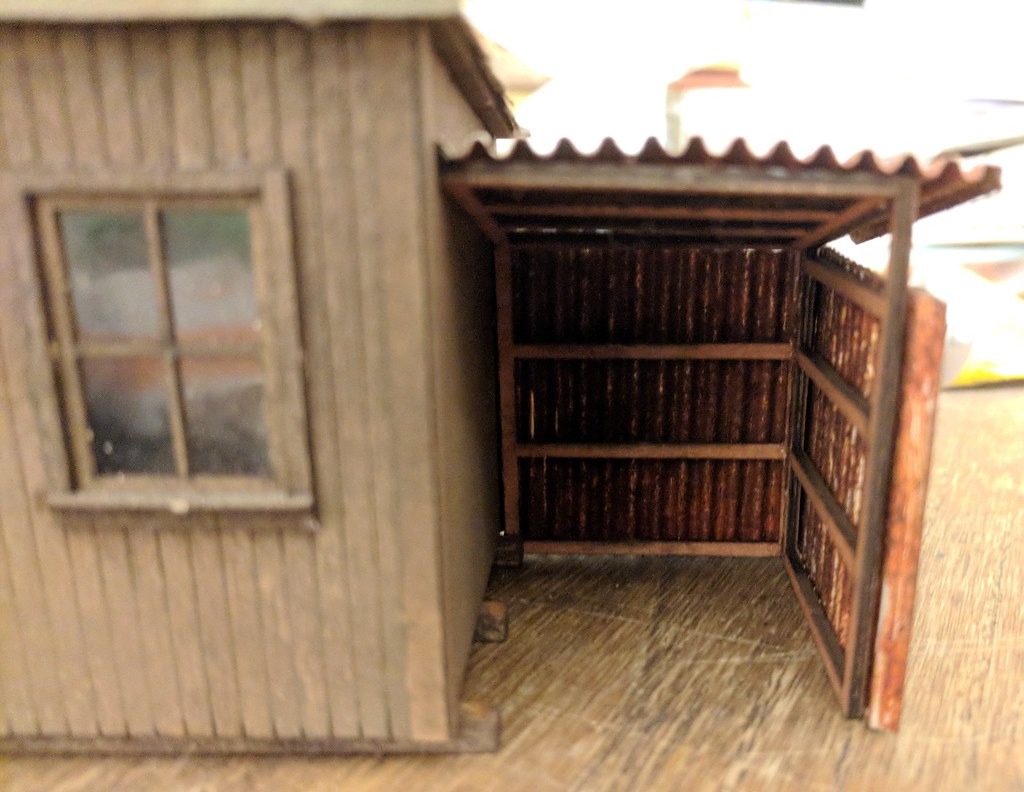
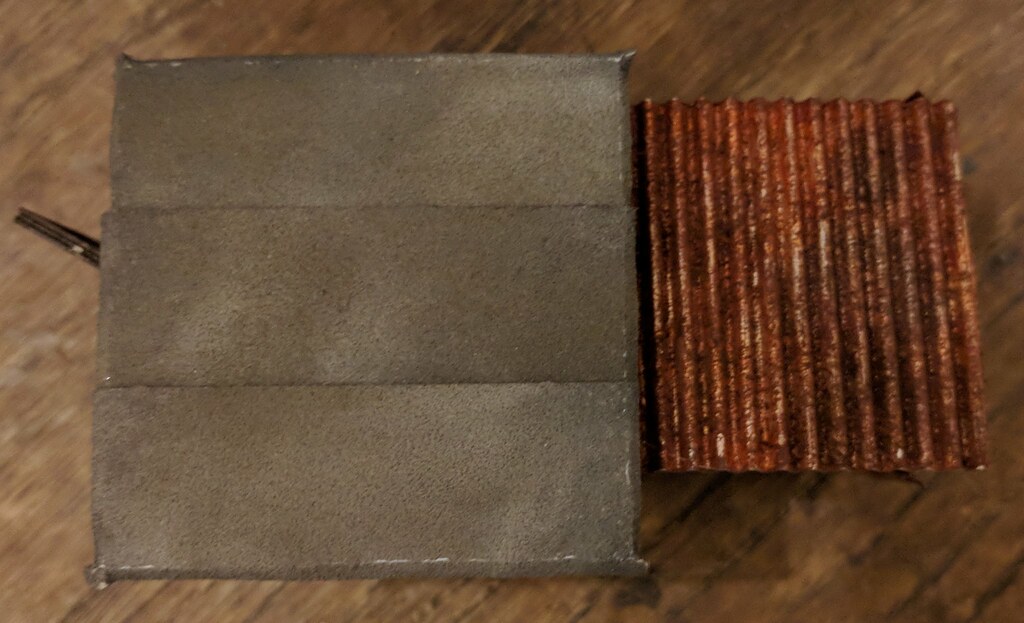
Finally, here's a work in progress Kitwood Hill 'trackside shack' kit that I've started, mainly so I don't go insane from cutting all those ties. :D
It's done mostly with pan pastels, with the only paint used being oil paint as a base for the rust on the corrugated metal sheeting, and watercolour black used as a basecoat for the tarpaper roof.

Posted
Full Member
Nice looking corrugated tin there.
Nigel
©Nigel C. Phillips
Posted

Full Member
Posted
Inactive Member
Well, it's been a while, but swinging by the C&L
Finescale stall at Warley exhibition allowed me to pick up a bag of PCB ties to allow me to progress with the tracklaying.
Unfortunately I underestimated how many I would need, so I'll need to grab another bag before I can finish preparing the roadbed.
I started ballasting the sections that I had enough PCB ties to get done, and here's the results (though it's very much still drying in the photographs).
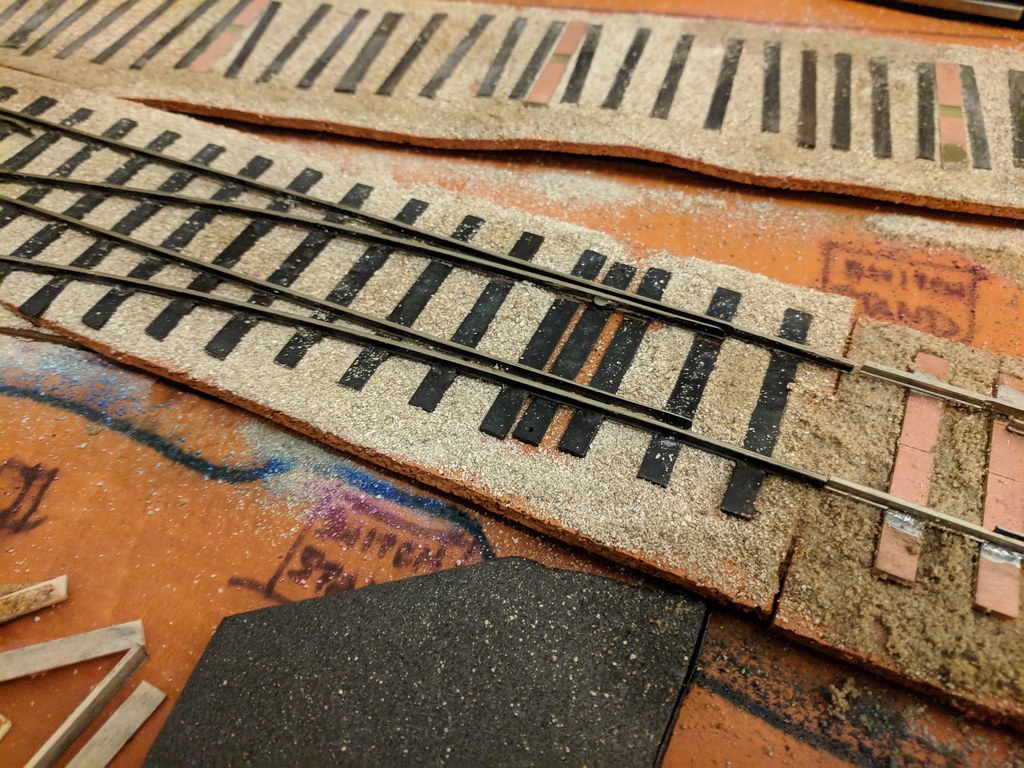

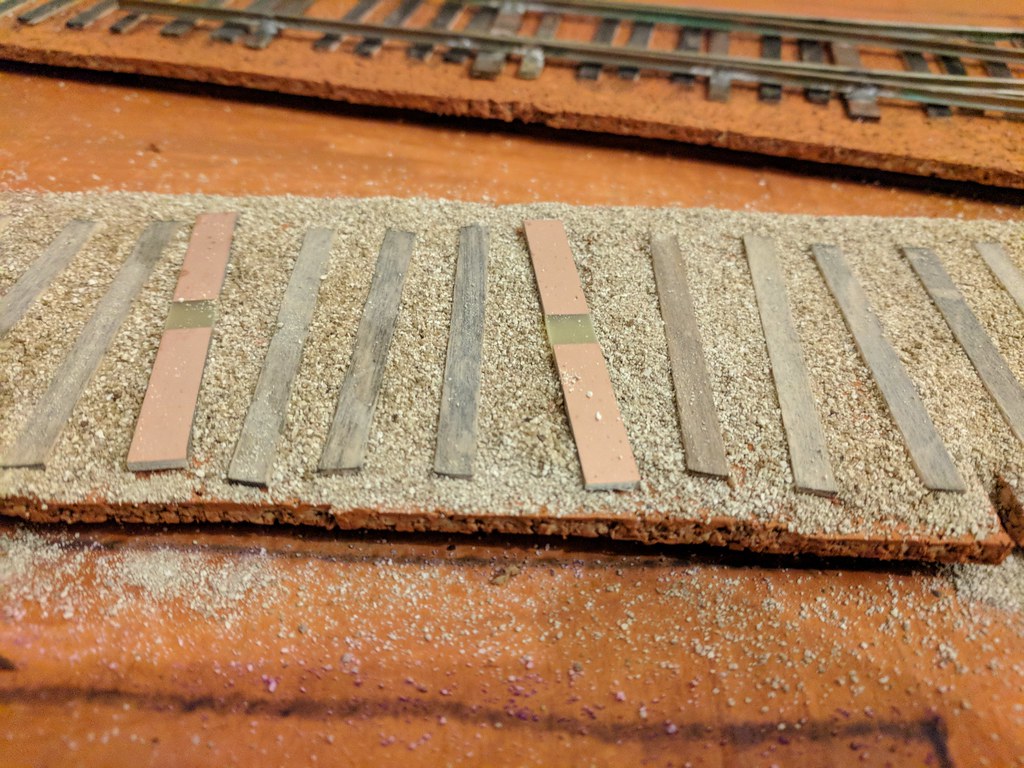
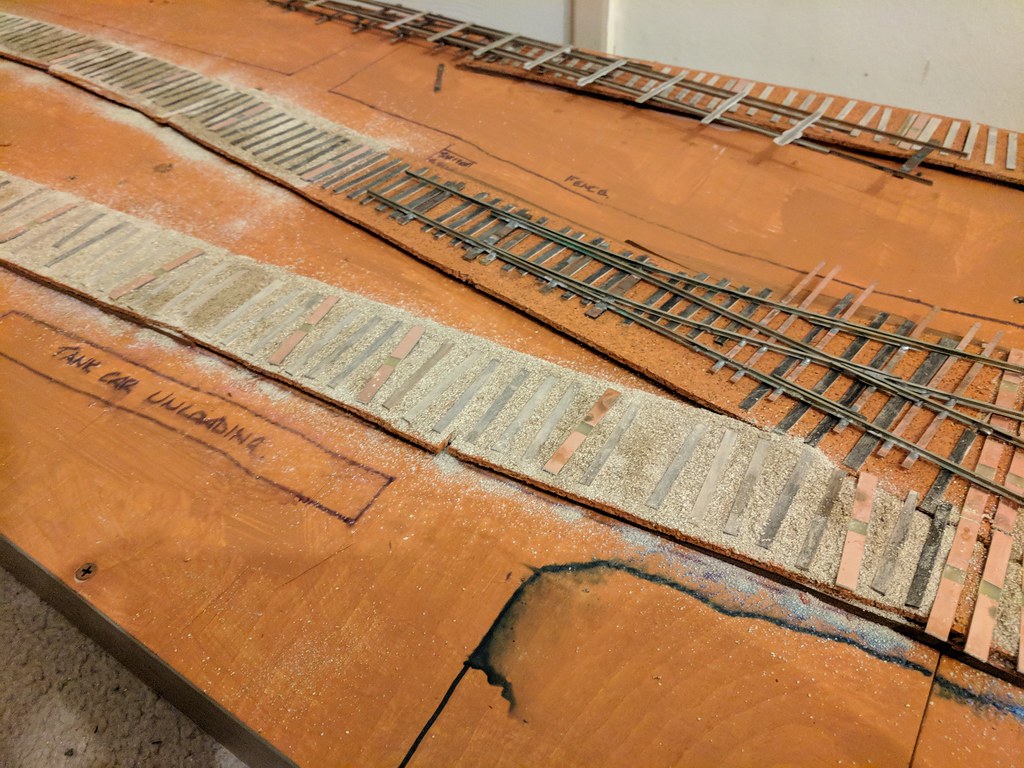
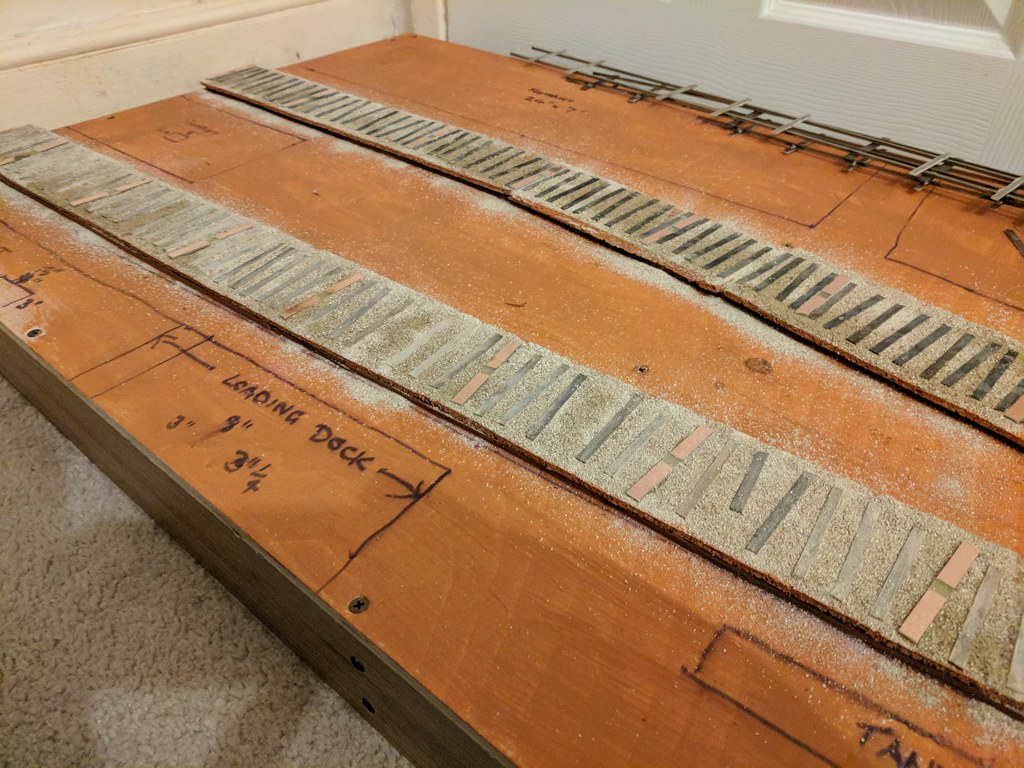

It's a slow process, but it's getting there. :)
1 guest and 0 members have just viewed this.