N Gauge - Newcastle Emlyn****
Posted
Guest user
the flu certainly hasn't effected your creative energies
 another mini masterpiece. looks great and blends in with the others very well.:thumbs
now ……. you only have a forest left to do.:lol:
cheers
toto
Posted

Full Member
Cheers Pete.
it was already on fire when I got here, honest!

Posted

Banned
Cheers, Gary.
Posted

Full Member
More of "Marty's Miniature Magic" Forest is underway
… 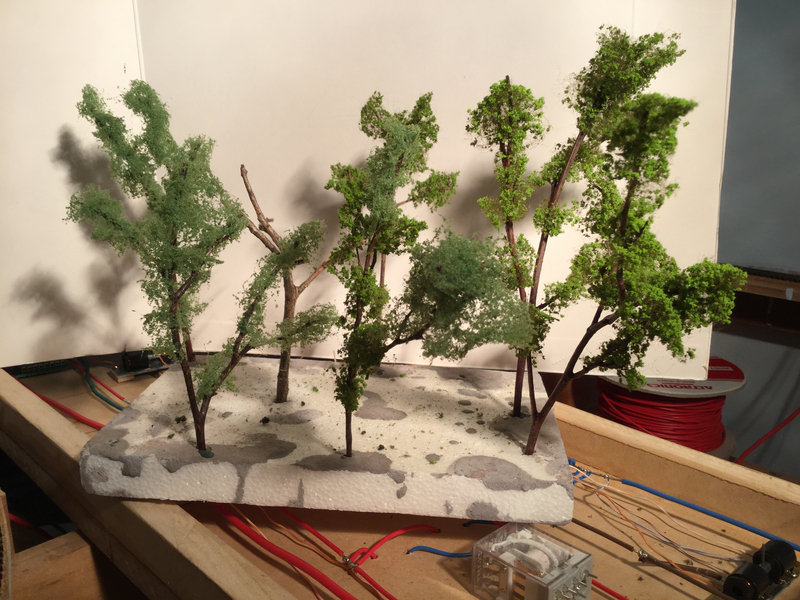
Just the forerunners of the required army of trees.
Marty
Posted
Full Member
This is a project that has been ticking along in the background over the years and is now nearing completion. I've never made a waterfall before and it's been the usual combination of research, trial and error and just blind faith.
Not one to be hurried either, in particular the layers of varnish and Gelcoat but also the gradual build up of scenic elements that create the entire picture. Often it's been weeks of pondering the latest additions trying to imagine how they fit into the non-existent plan and considering the next step.
Apart from the bare base board frames and then polystyrene "snow covered" hill this is about the earliest view of the area I can find at the moment that clearly shows the concept of rock terraces for the falls on the right side of the photo below.
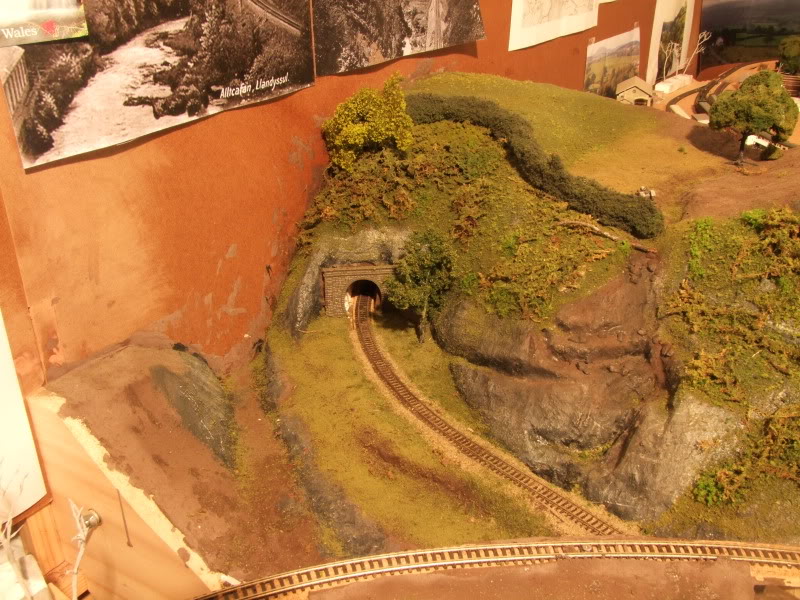
While not modelled after any particular falls and certainly not one around Pentrecourt Halt I have used an old post card from my mother's youth when she lived in Wales as a guide.
Over the next few posts I'm hoping to show some of the steps that I took to get where the falls are getting to in case it is of benefit to anyone else.
Cheers
Marty
Posted
Guest user
Another scenic stunner on its way.
Cheers
Toto
Posted
Full Member
This technique gives a thin, light, sealed but robust shell to build scenery on. It's also incredibly messy… And gives a great deal of satisfaction :lol:
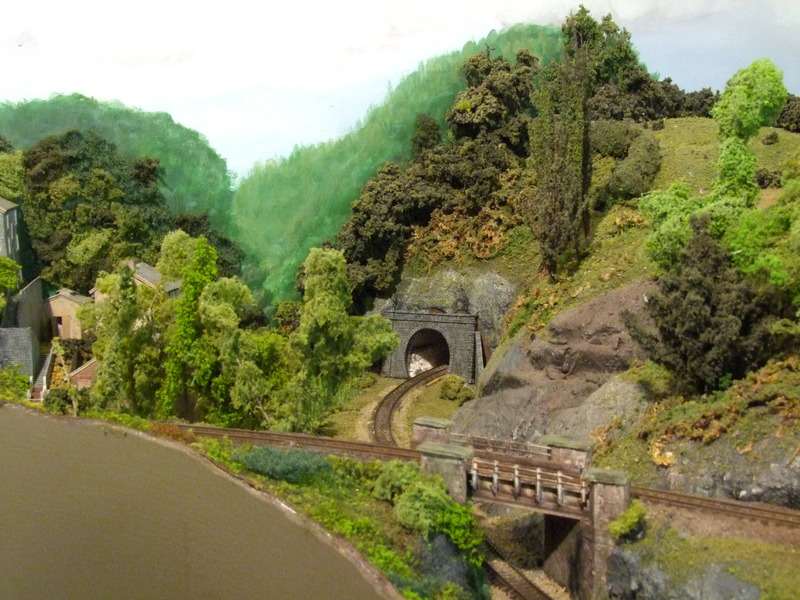
With the vegetation in the mill valley encroaching up the hillsides and surrounding the falls area it was clear that at some stage something about the falls just had to be done.
Most of the rock face had already been painted with acrylics, the upper sections though remained the "ground gloop" brown.
To start with a drizzle of 50/50 PVA/water mix was added to the top of the falls and let drain naturally down the rock face to determine where the flow ought to be.
In the picture below the glue mix is still wet in the ledge pools and milky. Even though I knew too thick a pour will result in slow, milky drying it was tricky to get enough to run down the falls and yet not fill the bottom pool too much. A small paint brush helped transfer excess back to the top again.
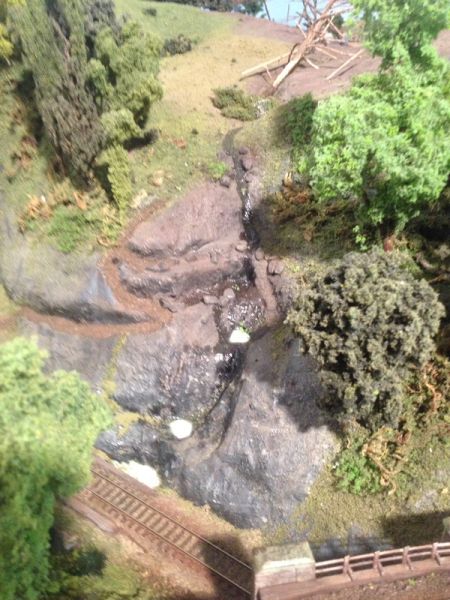
The shine of the dry PVA makes a convincing "wet" surface to me, as start anyway. On the left can be seen the beginnings of the tourist path to the falls and up to the top field.
Marty
Posted

Full Member
Cheers
Ron
Proper Preparation makes for Perfect Performance!!
http://yourmodelrailway.net/view_topic.php?id=13331&forum_id=21
http://yourmodelrailway.net/view_topic.php?id=13331&forum_id=21
Posted
Legacy Member
:thumbs;-):cool:
my webcam link http://86.19.184.67:8080
Posted
Banned
If the waterfall was to have falling water, ie off the rocks, I would recommend squirting/squeezing out several, very thin lines of PVA onto glass or similar and allowing to cure. When dry, use a scapel to lift one end and peel the thin strips up and off. Glue these to the top of the waterfall (the lip) with PVA and the bottom into the basin below. Fill the basin with normall thin applications of PVA.
Cheers, Gary.
Posted

Site staff
Ed
Posted
Full Member
I persevered with the diluted PVA for a couple more layers but each time had the same problem with slow, milky drying if I let it get too deep and the bottom pool IS deep.
However, the structure of the water flow was starting to appear.

About then the decision was made to try an acrylic gloss medium/varnish.
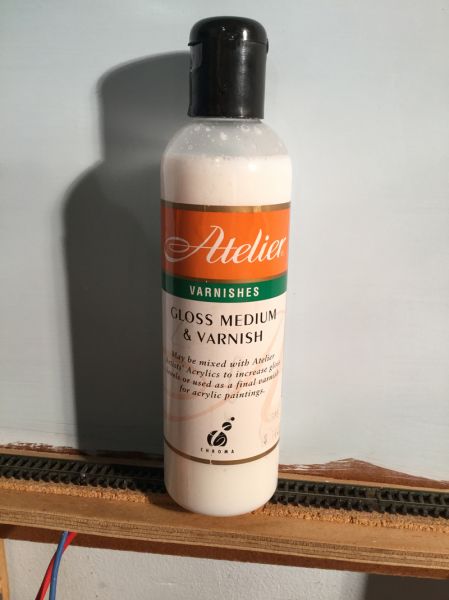
Same deal with the varnish though, lots of lightly built up layers. An off white paint can be dry brushed to represent white water, thinking about where the white water would be in the falls. References to photos helped. Then more layers of varnish.

Further vegetation has been added starting with scissor cut lozenges glued with neat PVA and allowed to dry. Then teased out with tweezers, dripped with diluted PVA and covered with a light "blow" of the layout base scatter green. The commercial foliage I have is single colour and my preference is not to have blocks of single foliage unless is a prize winning lawn or planted crop.
The pools in the photo above are starting to fill.
More to come…
Marty
Posted

Inactive Member
Ken
'It don't mean a thing if it ain't got that Swing'
Posted
Guest user
cheers
Matt
Posted
Full Member
Looking fabulous Marty and what make are those reddish bits of foliage please?   They make a nice bit of relief from everything else.
Ken
Hello Ken,
The foliage is Heki-flor, either 1557-1567 Autumn Brown or 1558-1568 Autumn Red, I suspect it's the brown.
Best foliage I've found so far, they obviously do greens.
cheers
Marty
Posted
Full Member
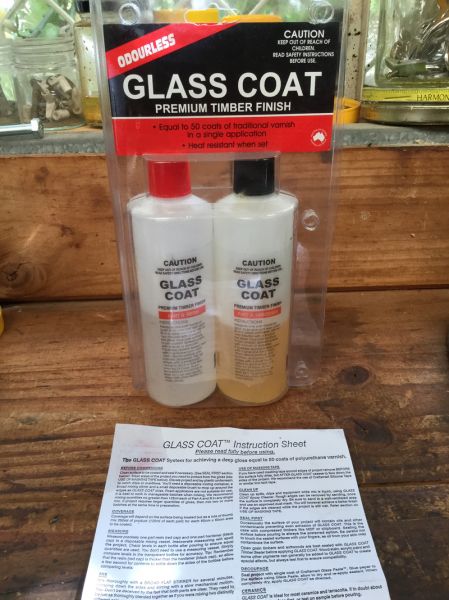
This two pack furniture protecting glass coat is my preferred medium for making water and was used on the Pentrecourt Diorama.
For this waterfall only a small amount was going to be needed and care would be needed to get the quantities matched.
This stuff dries perfectly clear, sets rock hard, can be tinted with acrylics, finds it's way level, needs poking at the edges with a cocktail stick to break the meniscus and flow around rocks, rushes etc. If left to it's own devices it will dry flat like a sheet of glass. It can, with care during the late stages of drying be "formed" slightly… more experimentation is required though.
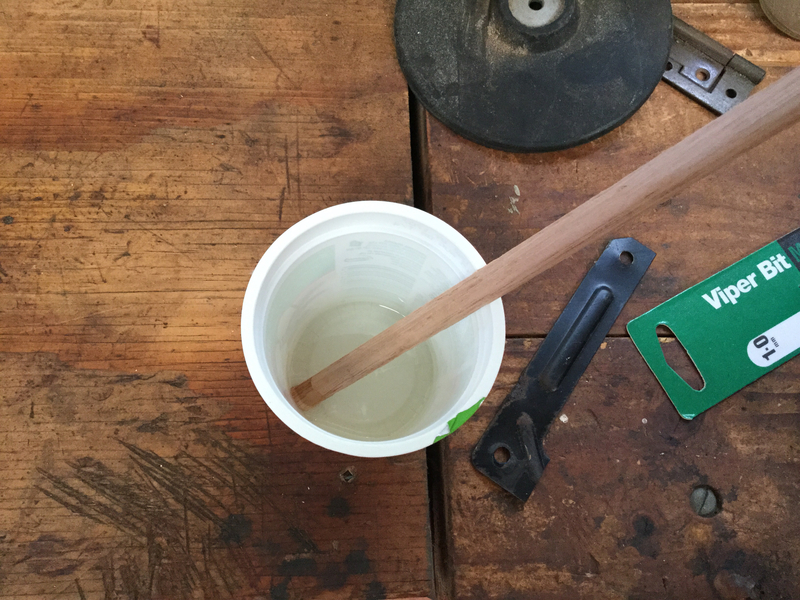
Mixed into a disposable pot it was again poured carefully using a disposable BBQ skewer as a pouring guide balanced on the lip of the pot onto the top of the waterfall and allowed to run down.
You can see in the photo below that the pools are now suitably filled… almost to overflowing in the bottom pool (small panics and mental running around in circles, getting glass coat on the track was not going to be pretty).

While it was left to dry I went to put the glass coat away, but then the river around the Mill WAS ready for it's first coat of Gel coat anyway… wasn't it? Yeah, life's too short… go for it…

Ooooh yeah…. it needs a couple more layers to the top of, and overflowing, the weir but that's a good start.
I do want to "texture" the water to show a strong flow with eddies around rocks and bridge abutments with the requisite white water over and beyond the weir too, but that'll be later on I'm thinking.
The waterfall needed finishing first.
More to come….
Marty
Posted

Site staff
Ron
NCE DCC ; 00 scale UK outline.
NCE DCC ; 00 scale UK outline.
Posted
Legacy Member
:thumbs:thumbs;-):cool:
my webcam link http://86.19.184.67:8080
Posted

Inactive Member
Max
Port Elderley
Port Elderley
Posted
Full Member
I'm pretty chuffed with it so far…
I'll go into the river in a bit more detail for you Max. There are a couple of things I want to try out that might be of interest.
cheers
Marty
1 guest and 0 members have just viewed this.