Johns 7mm Layout
Posted
Inactive Member

Posted

Full Member
John
John
Posted
Full Member

I might accidentally have done a transition curve so that's a bonus.
I mentioned the sector plate earlier, here's a better view:

I used Tacky Glue to stick the track down, it dried firm so I'm happy to continue using it for the rest of the track.
John
John
Posted

Inactive Member
Max
Port Elderley
Port Elderley
Posted
Full Member
John
John
Posted

Full Member
Marty
Posted

Full Member
I'm with Marty on the curves :doublethumb
Regards Rob
Posted
Full Member
John
John
Posted
Full Member
I bought it quite a long time ago when I was planning a 00 layout. I reckon it will serve here although I'll have to widen it.

I'll use this to cover the larger areas.
John
John
Posted
Full Member

It is very useful for all aspects of the layout. Unfortunately I haven't been able to get my hands on Vol 1.
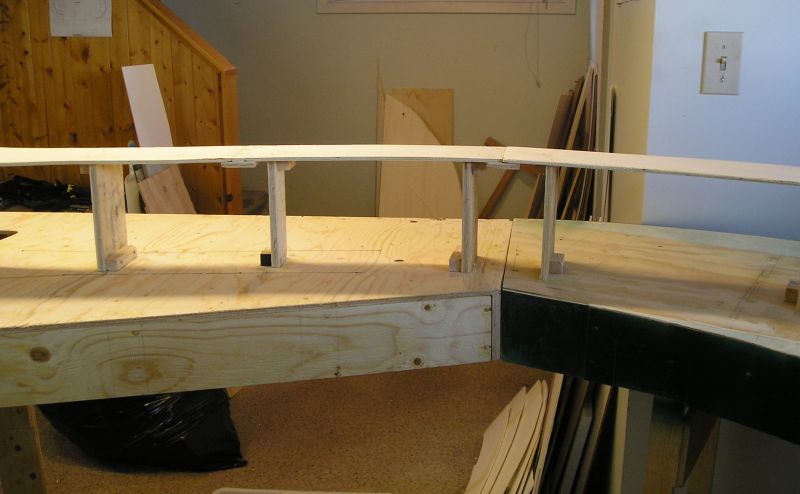
I spent Thursday preparing the curved roadbed for super-elevation.
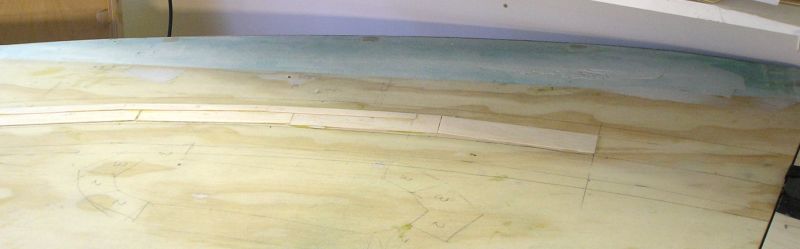
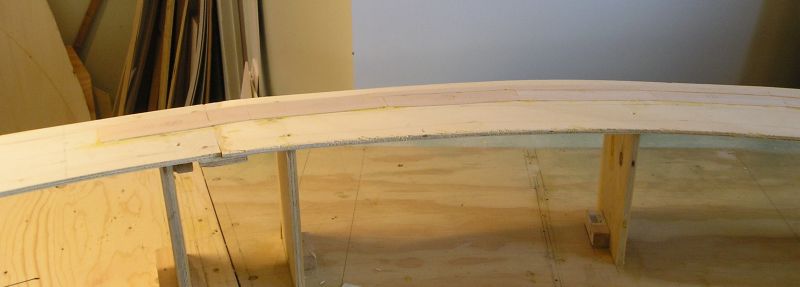
In this scale, the elevation on the outer radius is 3mm. I used sheets of 1.5mm balsa. Note that the maximum height is gradual and that the top strip of balsa starts about 8" in. The roadbed width can be seen in the penciled lines in the top picture.
John
John
Posted

Site staff
https://www.amazon.co.uk/7mm-Railway-Modelling-Part-Introduction/dp/1874103313/ref=sr_1_6/258-0755482-0180516?s=books&ie=UTF8&qid=1508626514&sr=1-6&refinements=p_27%3AGordon+Gravett
Ron
NCE DCC ; 00 scale UK outline.
NCE DCC ; 00 scale UK outline.
Posted
Site staff
Ron
NCE DCC ; 00 scale UK outline.
NCE DCC ; 00 scale UK outline.
Posted
Full Member

I'll hang on for something more reasonable.
John
John
Posted
Full Member
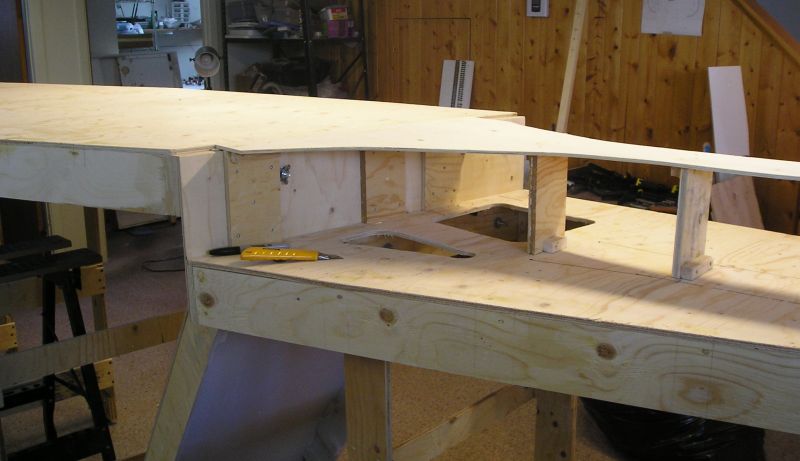
I wanted to reinforce the track ends, something I plan to do everywhere, of the sector plate. I removed the plastic sleepers and glued some 1/8" ply onto the foam. I used copper clad strip and glued that to the ply. Next step will be to solder the rail to the strip.
I'll replace about 3" of the foam on the board with 1/4" ply to reinforce that track end.
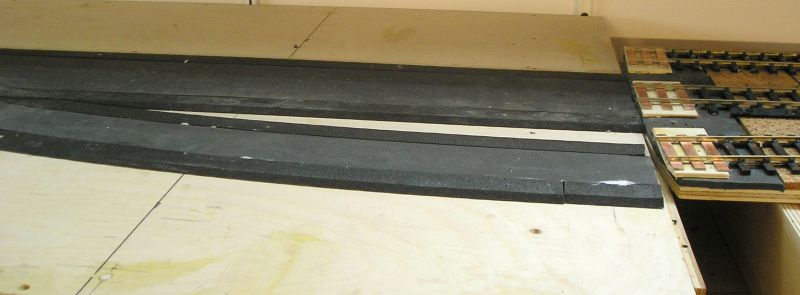
Before doing that, I need to plan the track for the board. I decided to add a small siding just big enough to house the Railbus, the foam is down to do that. I started making a small radius turnout using copper clad strip for timbers. This is all hidden stuff so no need for the niceties.
As an aside, when reviewing turnouts that I made previously yesterday, they were all bowed. I chopped a small radius turnout up and you can see the problem:
The timber at the bottom is C&L which is solid, while Peco are hollow. The solvent for the chairs must have softened the timbers. I should have weighted the thing until the solvent went off. Ah well lesson learned.
I may just use C&L and Peco in alternating positions in the future. Someone suggested using wooden timbers - who would've thought. Might give that a try.
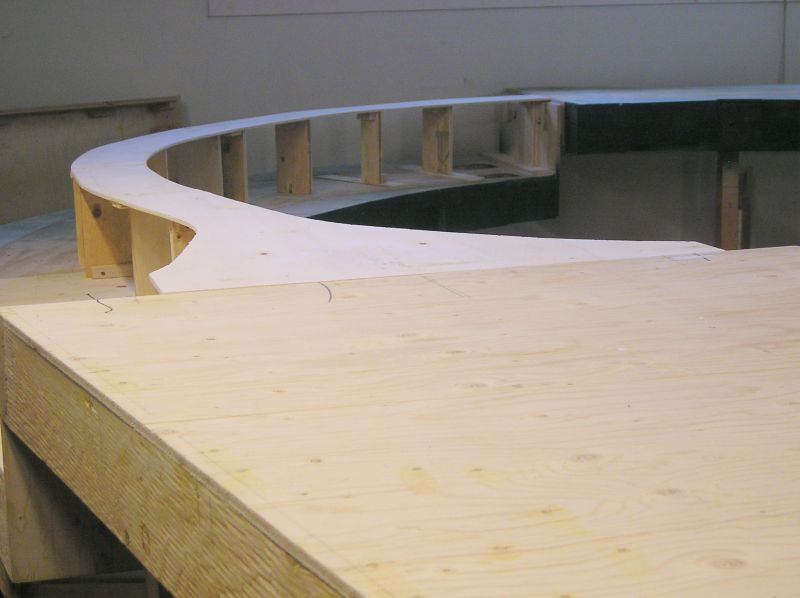
Still in the hidden section. Ply blocks glued down with 1mm plastic sheet add as a shim so that the CC sleepers can be soldered to the track at the right height (fingers crossed).
You can see the 1/4" ply blocks glued to the railbed. Here, because the track will be seen, I'll use lost wax brass chairs soldered to CC strip.
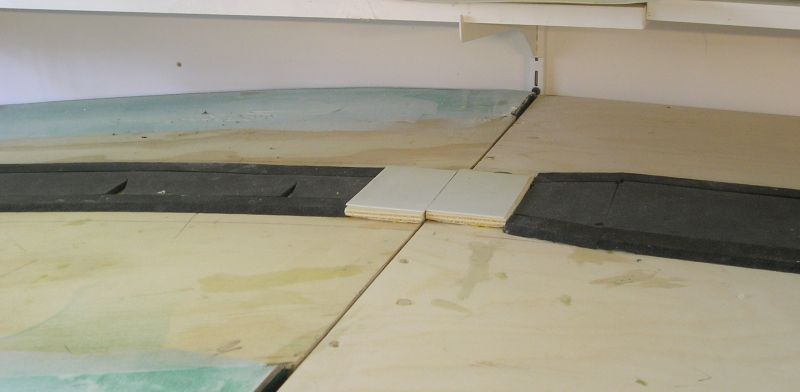
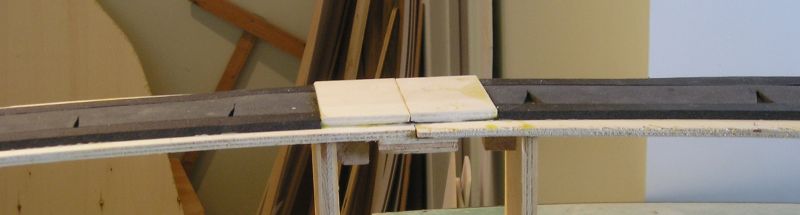
Note that there is a ply lip glued under one side of the join to support the ply on the other side.

A view of the curve showing ply blocks at the joins.
John
John
Posted
Full Member
I have wired up the sector plate.
I constructed a turnout using copper clad strip for the fiddle yard. My idea is to provide some extra storage for the railbus.

Wire droppers are also done.
Note the hand mirror, very useful for having a squint down the track to see if it's straight without straining anything.
The track ends of the sector plate were a tad short so I soldered on very short lengths of rail to close the gap to ~ 1mm. Everything seems good now and my test wagon runs along the track happily. It even goes through the turnout. I have a manual actuator that I think I'll use - it's H0 but the throw seems long enough.
John
John
Posted
Inactive Member
Max
Port Elderley
Port Elderley
Posted
Full Member
Cheers
Marty
Posted
Full Member
I'm with you there, unless you learn something, you might as well stay in bed.
It doesn't hurt to practice making these turnouts.
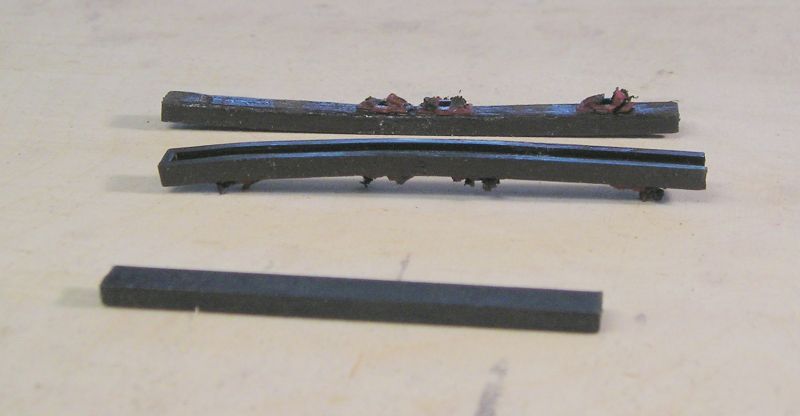
To my disgust, the turnouts I made earlier in plastic were all bowed and unusable.

I've done a post mortem on one of them and conclude the Peco timbers, being hollow are susceptible to distortion after the solvent has been applied. There's a C&L plastic timber at the bottom, these are solid.
In future, I'll use alternating Peco/C&L timbers to improve stability.
John
John
Posted

Full Member
Unless you really soaked the timbers with solvent, I wouldn't have thought a dab of MEK or similar in 3-4 places across the the length was capable of inducing that amount of bowing (which can only be due to shrinking).
I vaguely remember buying some Peco plastic timber for turnouts some years ago (same channel design) and binned them when I found they were warped in the packet. This really looks like a batch of plastic that has not been fully matured, and is still shrinking - the very same issue that affects split axle driving wheel designs.
I think I'll stick with copperclad and seasoned wood.
Nigel
©Nigel C. Phillips
Posted
Full Member
I look on these issues as lessons and we do well to learn them.
Using wooden timbers has crossed my mind but I've got a lot of these plastic ones. I've ordered additional plastic timbers from C&L (among other things). I should have enough material to construct 10 turnouts.
Copper clad comes in ~ 1mm thickness so unless you're building ALL the track with it, things have to be beefed up. For the turnout pictured, I glued 0.250" x .100" Evergreen strip under the CC. Additional work and some cost.
I've learned that wooden timbers from Intentio and C&L come in 3mm thickness - just right.
All part of lifes rich tapestry. :cheers
John
John
1 guest and 0 members have just viewed this.