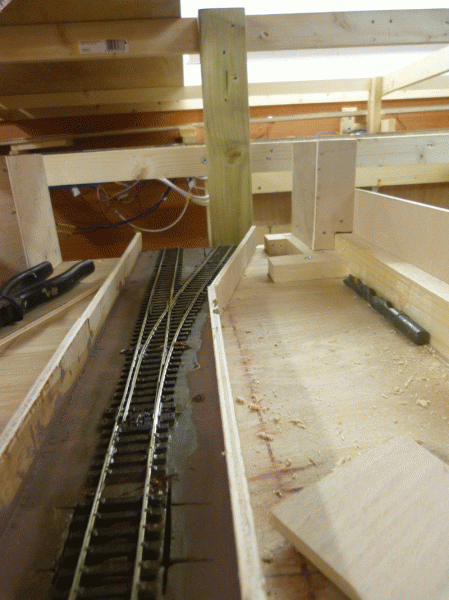
Highbridge Sidings
Posted
Guest user
Off at a tangent once more.
Stop dithering and get on with it boy ( he says with back turned to his own baseboards with are crying out for attention :roll: )
Posted

Banned
1. Get all the painting done first, track etc.
2. Follow this with the ballasting.
3.Whilst the PVA is drying, it would be a good time to start cutting up the brick wall sections for the bridge piers/abutments and glue them into place. Careful not to touch the drying ballst.
4. Start cutting out the road/footpath sections next. Get them painted up before gluing onto the layout.
5. Fix these pieces into place and whilst the glue is drying, start on those lovely buildings you have.
That should keep you going for some time ! :roll:
Cheers, Gary.

Posted
Guest user
You've missed out the abutments and more critically the Cobalts. Should the track be painted / ballasted before the electrics and Cobalts are completed and tested. Just in case of any tweaking.
Toto
Posted

Full Member
This Gary fella is a right slave driver - no caffine or nicotine breaks either, better measure you up for a white coat.
As long as the hole is already drilled for the cobalt, then you can leave them until later.
After all you said you were thinking of extending the side frame to protect the cobalts, may as well leave them off untill you've done that.
Paul
Posted
Banned
Yes, get the wiring done first. Test first, then progress onto the formers for the bridge. :thumbs After that, you can cook more bacon sarnies before proceeding with my previous 'order of the day'… :mrgreen:
Cheers., Gary.
EDIT ** Just read part of your thread Paul. I believe Matt is the 'coffee fetcher…'

 Last edit: by Gary
Posted
Guest user
Sounds sensible. I'll do the abutments for the double bridge and then look at how I am going to do the painting. It will be airbrushed but I'll still need to think on how I will build up the colours.
I think a coat of Matt first to take the shiny edge of the sleepers,Then a coat of some shity Matt brown and then a light dusting of a lighter colour to try and emulate weathered timbers. The rails will get a coat of track rust. Possibly even a very light grey prior to that to take away the sheen to the rail sides first.
Could be interesting.
Cheers
Toto
Posted

Inactive Member
I`m assuming those jobs will be finished by lunch time:roll::roll::roll::roll:
:pathead
Gormo
Back to work lads……no time for replies on the forum or idle chit chat
Last edit: by gormo
"Anyone who claims to have never made a mistake, never made anything!!"
https://sites.google.com/site/greatchesterfordmodelrailway/home
https://sites.google.com/site/greatchesterfordmodelrailway/home
Posted
Guest user
Posted
Inactive Member
By the way ……you`re making me hungry with all this talk of bacon sarnies.
Off to bed……goodnight all and good luck with your build Toto.
:cheers Gormo
"Anyone who claims to have never made a mistake, never made anything!!"
https://sites.google.com/site/greatchesterfordmodelrailway/home
https://sites.google.com/site/greatchesterfordmodelrailway/home
Posted
Banned
18ml tins : http://www.gaugemaster.com/search_results.asp?ob=c_a&searchstring=railmatch+paints&andor=view&searchtitle=railmatch+paints&style=main&method=kws&strtype=arch¤tpage=3
Or, you can purchase aerosol : http://www.modellers-mecca.co.uk/railmatch-enamel-paints/6326-rm1406-railmatch-sleeper-grime-150ml-spray-can.html
Cheers, Gary.
Posted
Guest user
Posted
Guest user
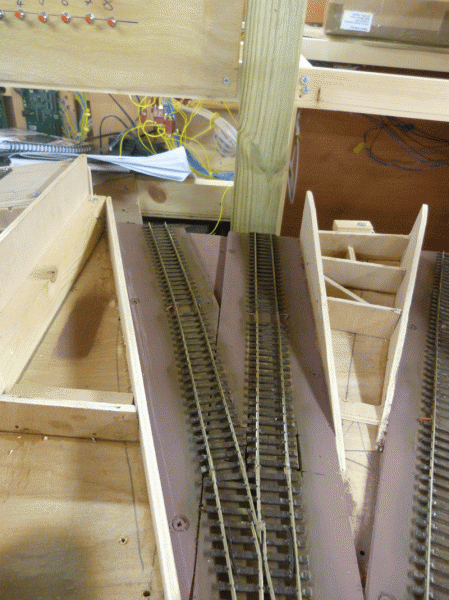
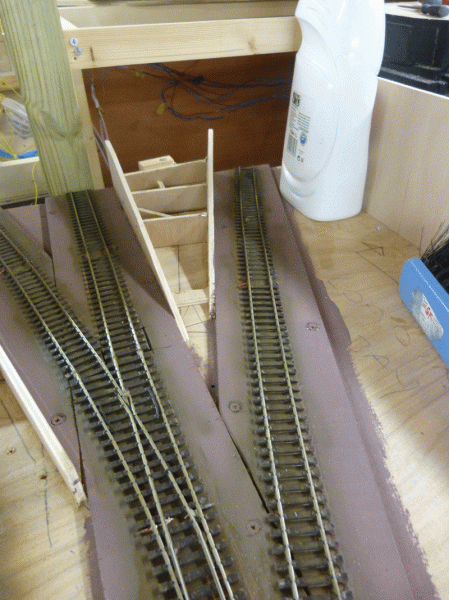
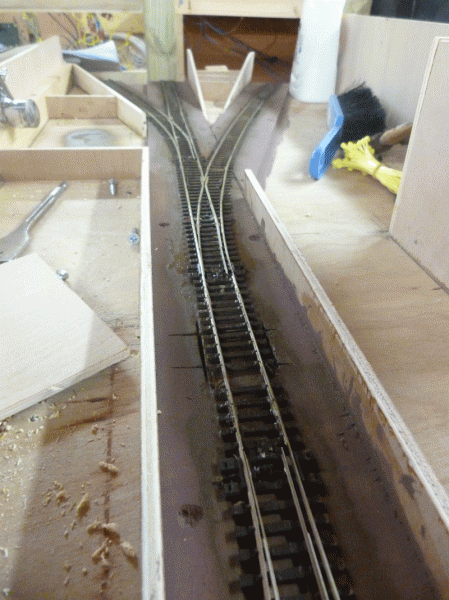
the bridge abutments are complete,
another

another
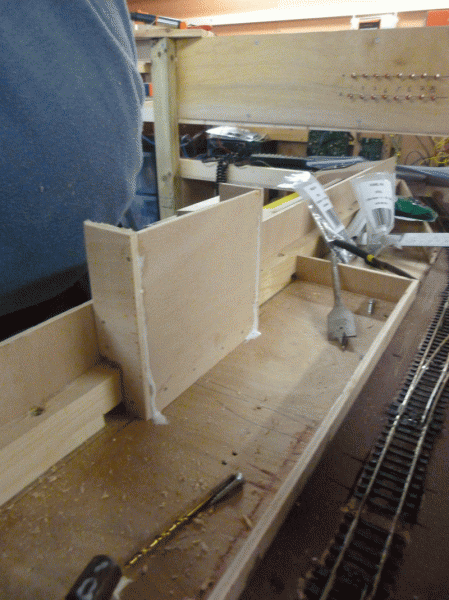
the long shot

and one more

now, things are looking better already. OK time to look at what paint I have. I may have the sleeper grime you mention Gary. I got all types in a couple of sets that I bought when Buying the air brush. It sounds familiar. I'll have a look and see what I come up with.
I'll do the sleeper grime then the ballast ( probably black ) then a wee bit sleeper grime as a slight overspill on to the ballast ( very lightly ). I think the grime would have got onto the ballast too. Am I correct?
cheers
toto
Posted
Guest user
I tried my hand at painting track sleepers with track grime. dunno what to think. may need another coat. here are a couple of pictures.
first here is the colour……. its life colours sleeper grime. An acrylic based paint thinned down with acrylic thinners. I think the mixture may have been too thin. its hard to say.

that's the first image, here's another.
and another,
the last one there looks a bit wishy washy. maybe a thicker coat required.
and the last one,
very inconsistent. I think another thicker coat is required. I've convinced myself.
cheers
toto
Posted
Inactive Member
From the pics, it looks too thin to me.
If you have a rail line near your home, I would suggest you go and have a look at the real thing. Just to analyze the colours and how the rust and grime etc. builds up and maybe take some pics for reference.
I try to paint in the order of decay, for want of a better description. In other words…..the timber colour for the sleepers first, then the rust colour on the rail. Some of the rust bleeds onto the sleepers…that`s OK. Then dirty it all up with oily / grimy black but the muck is put on sparingly. For example, you get a dirty / oily area down the centre of the track at stations but less out in the countryside.
So all I`m saying is study the real thing and try and emulate it. Thin layers of paint can be added until it`s looking good so don`t worry about not getting it right the first time.
:cheers Gormo
"Anyone who claims to have never made a mistake, never made anything!!"
https://sites.google.com/site/greatchesterfordmodelrailway/home
https://sites.google.com/site/greatchesterfordmodelrailway/home
Posted
Guest user
I will do. I knew looking at it that it was going on too thin. It's difficult to get the milky consistency that is described.
I'll have smother crack at it next weekend when I get back home. That will be Friday night / Saturdays job before attempting ballasting.
At least I gave it a bash. Nothing ventured nothing gained as they say.
Cheers
Toto
Posted
Banned
This method will give you better results and won't look 'washy' or thin.
Cheers, Gary.
Posted
Guest user
Cheers. I'll give it a bash. I think I was way out with the acrylic / thinners ratio. I don't think I have sleeper grime in enamels but I'll see what I can come up with. I'll need to try and get to a shop as I don't think you can have these items delivered by mail.

Never mind.
Cheers for now.
Toto
Posted

Full Member
Cheers
Ron
Proper Preparation makes for Perfect Performance!!
http://yourmodelrailway.net/view_topic.php?id=13331&forum_id=21
http://yourmodelrailway.net/view_topic.php?id=13331&forum_id=21
Posted
Guest user
I'll have a look.
Cheers
Toto
Posted
Banned
http://www.diy.com/departments/valspar-paint-primer-in-one-white-matt-spray-paint-400ml/177573_BQ.prd Please note that this is white, but also comes in black. Be careful with this lot. I would recommened a very light coat.
Or there is Halfords Grey Primer :
http://www.halfords.com/motoring/paints-body-repair/car-spray-paints/halfords-plastic-primer-grey-spray-300ml
Take a look at this post for aerosol painting of track (only have to read the 1st post) :
http://www.rmweb.co.uk/community/index.php/topic/23129-improving-peco-code-75/?&p=232234&fromsearch=1
And this for best colours :
http://www.rmweb.co.uk/community/index.php?/topic/81080-what-colours-are-best-for-painting-track/
Cheers, Gary.
EDIT** Don't forget that Humbrol produces Primer in their little 18ml tins as well as aerosol. :thumbs
Last edit: by Gary
1 guest and 0 members have just viewed this.