H0 Scale - South Shore Line
Posted
Guest user
Posted

Full Member
Yes it is going to be a beach/ocean scene. May even add a small outside bar for refreshments for the sun bathers, or even a rock climber.
Mike,
No, I did not pre wet the area before applying the paint, though after the first coat, it pretty much stayed wet. I did not let each layer dry thoroughly. I did have a fan running which did help, and I watched closely for signs of the previous color being washed off, but I saw none of that.
Max,
I haven't given up on try to highlight the cliff just yet. I will give your suggestion a try, but I'm not holding my breath. The surface is just too flat to get that look from it. Nothing really protrudes out to highlight.
I did think about taking a taunt damp cloth and rub it to see if it would take some of the color off the very top surface. I was going to try that, but decided I needed to let everything dry real good first.
Wayne

Posted

Full Member
Phill
Posted
Full Member
Wayne
Posted
Full Member
You can see just how hot the sun is here in Florida, it has already faded out the color of the masonite. All these pieces came from the same sheet.
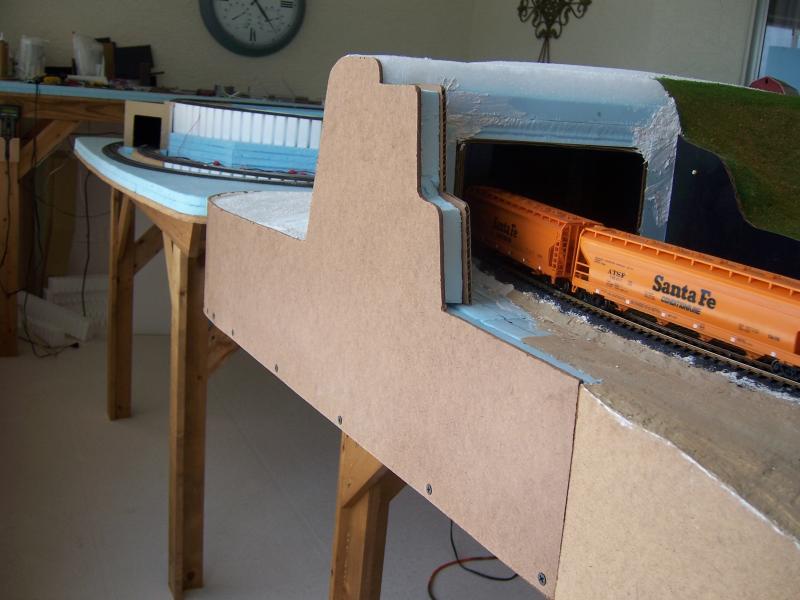
I now realize that I should have made the corner radii of the layout a bit larger, the masonite does not quite make the bend without cracking. Not much I can do about it now.

The shape of the ocean will follow the shape of the cliff. That should explain why the cliff is like it is.
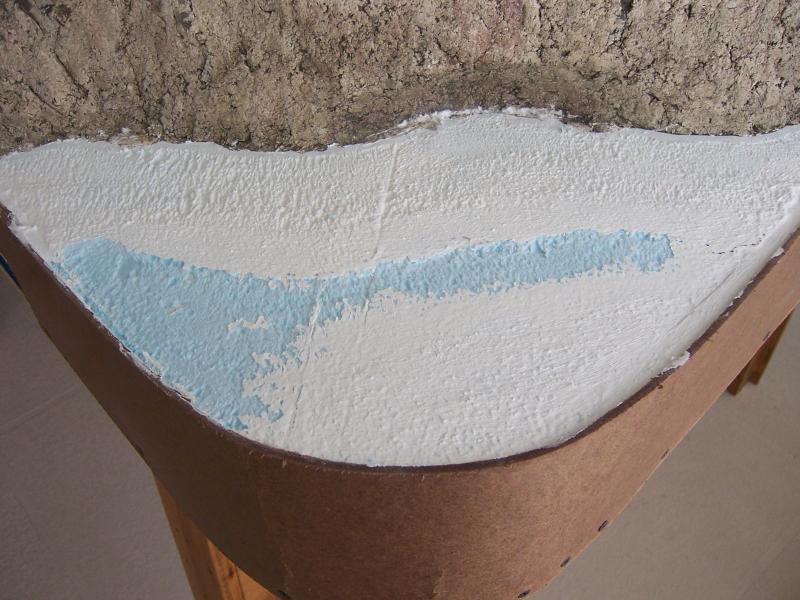
The line (between the 2 different colors of white) that is about 2 inches away from the cliff will be a high point in the sand. You can see a slight depression about 1 inch to the right of that line, this will be the edge of the water.
The brighter white to the right of the line is flex paste by Woodland Scenics. It is supposed to seal the blue foam so that the resin will not leak down into it, and thus onto my floor. I still need to double check how level everything is before doing the pour. The top edge of the masonite is 1/8 inch up and that is the thickness that I am shooting for, for the waters depth.
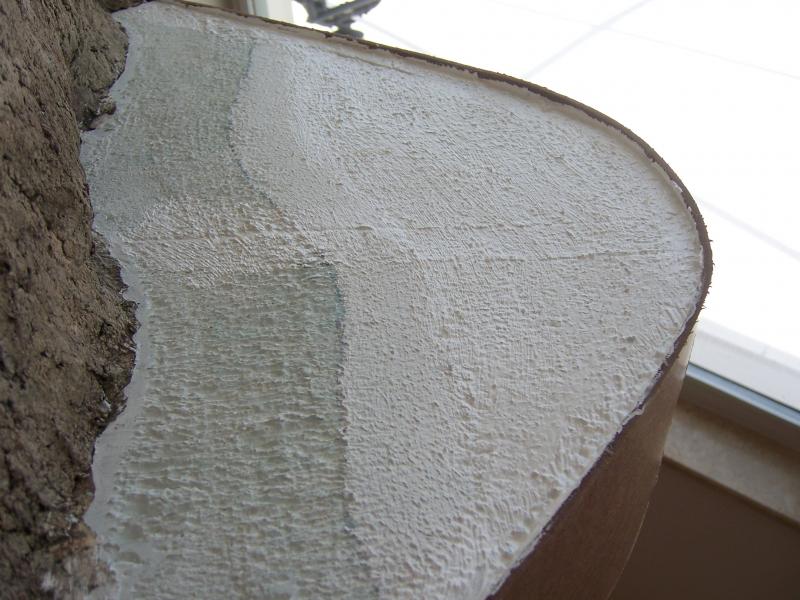
Once all this completely dries, then I need to decide on what colors to paint the oceans floor.
Best laid plans of mice and men, stay tuned to see how it all ends.
Wayne
Posted

Full Member
With the water and beach in place it really will look like a cliff face. I also think you do need some talus at the bottom of it but wouldn't get at all up tight about the colour and texture - it looks just fine. :cheers
'Petermac
Posted
Guest user
Are you winging it, or do you have some reference photos?
Mike
Posted

Inactive Member
Max
Port Elderley
Port Elderley
Posted
Full Member
I seem to remember that Masonite will bend without cracking when it's wet, Wayne. Have you got a piece of scrap you can try it with?
I never thought of getting it wet Max, but won't that make it swell up and get real soft like?
Mike,
Yes I am sort of winging it in this corner. There are cliffs along Lake Michigan that are very vertical like this though. I will be looking for some pictures to try and get the right water color.
I really did not have much choice in regards to the cliff design. There is not much room below the top surface till you reach the train tracks.
Petermac,
I will most definitely be placing some talus along the bottom edge. Should they be painted to somewhat match the cliff face? Kind of makes sense I guess. Probably should have painted some while I had all that paint out! :shock:
Wayne
Posted
Inactive Member
Max
Port Elderley
Port Elderley
Posted
Guest user
Wayne my guess would be that if the talus was wet, it would be darker, but otherwise pretty much identical to the rest of it.
Looking forward to more progress.
Mike
Posted
Guest user
You sure this is something that you have not done before??
Regarding the prepairation for pouring the "resin sea", it may be an idea to paint all the surfaces that will come into contact with the resin using a coat of waterproof PVA (white wood glue - do you call it PVA?). As this dries clear and waterproof it should do the job and seal the joins. A coat of PVA (before painting the sea bed) may well pay dividends.
Posted
Full Member
The flex paste is what Woodland Scenics recommends to seal everything for the resin. I do have to do some touch up first though, because I can still see a few pin holes. A second coat will go on first thing in the morning.
Wayne
Posted
Guest user
Beach and sea development next that will take some experimenting
If it doesnt come out well paint the sea black and say its oil spill come up the coast from the Gulf of Mexico

Brian
Posted

Inactive Member
Ken.
'It don't mean a thing if it ain't got that Swing'
Posted
Guest user
as long as Wayne dosen`t get it too wet.
 lol::cool:
Posted
Full Member
If it doesnt come out well paint the sea black and say its oil spill come up the coast from the Gulf of Mexico
:shock: :shock: 
Brian,
We are praying that the oil doesn't show up around us here. I really think this spill is a lot worse than they are telling us.
Wayne
Posted
Full Member

You can see by the color of the blue water where the deepest spots and the shallowest spots are located. I also wanted the water to go more up in the left hand corner.
The darker blue (lower right) area will be filled in some to get it below 1/8" deep. That way I can do the entire lake in just one pour.
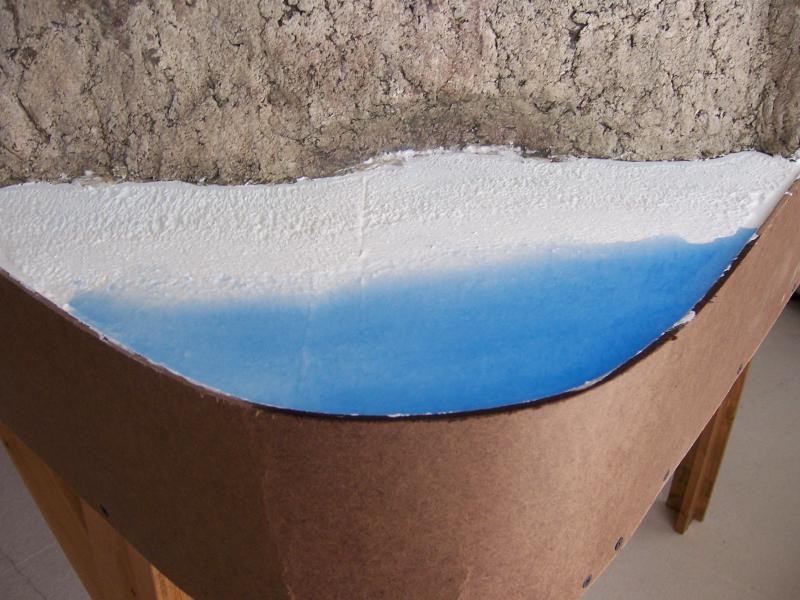
It did not come out too bad as far as being level is concerned. I may end up removing some of the edging on the right side of this photo. Not sure just yet though.
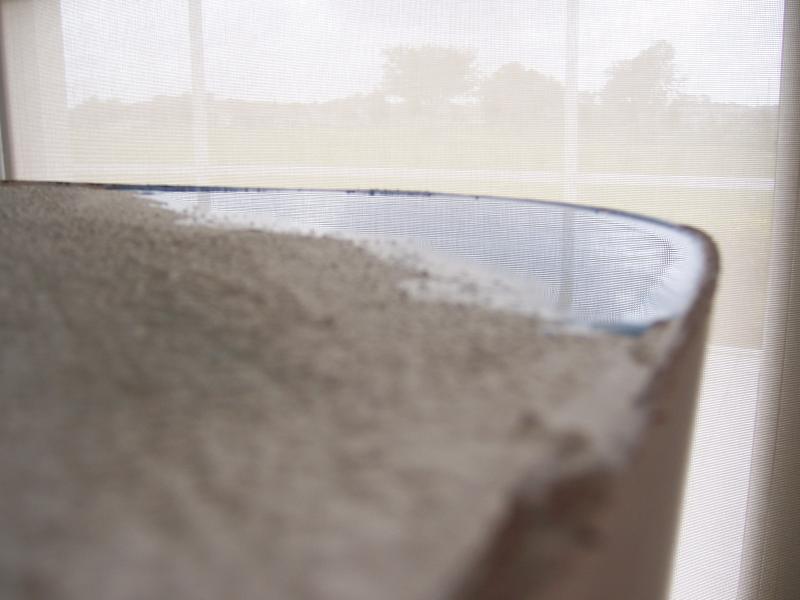
The blue water has been removed and I have ground down the areas that needed more water in them.
Now to re-seal the surface and try the water again.
I should add that I HAD NO LEAKS!!!!!! :Happy :Happy
Wayne
 Last edit: by Wayne Williams
Posted
Guest user
Wayne if i pop down the beach here on the rocks at droskyn if you look there are still some splodges of crude oil still on the rocks there that have hardened not a lot of it and not that many people really notice it is there.[user=52]henryparrot[/user] wrote:
If it doesnt come out well paint the sea black and say its oil spill come up the coast from the Gulf of Mexico
Brian,
We are praying that the oil doesn't show up around us here. I really think this spill is a lot worse than they are telling us.
Wayne
My point is that was from the torrey canyon disaster in the 1960`s so that can have a long term effect on the coastline
Hopefully i will mot drift up as far as florida
Brian
Posted
Guest user
Also - what colour/s are you going to paint on the lake bed?
Mike
1 guest and 0 members have just viewed this.