Boghouses / Tŷ Bach
Posted

Site staff
N / OO9 Two scales one gauge
Petermac said

:lol:

Posted

Full Member
Ed said
Ah, so basically they were bumpy
(never been on one)
Ed
From “Post #290,934”, 8th January 2025, 7:10 am
They had a very nauseating forward-and-back “nodding” motion. Bouncing, some said. A factor, allegedly, of “poor track” and lightweight suspension of a 4-wheel vehicle.
They nodded on the perfectly good track of the East Coast Main Line as well so it wasn’t all down to issues below the wheels.
Later class 143 and 144 variants had less of the nod about them.
Posted
Full Member
Cheers Pete.
Full Member
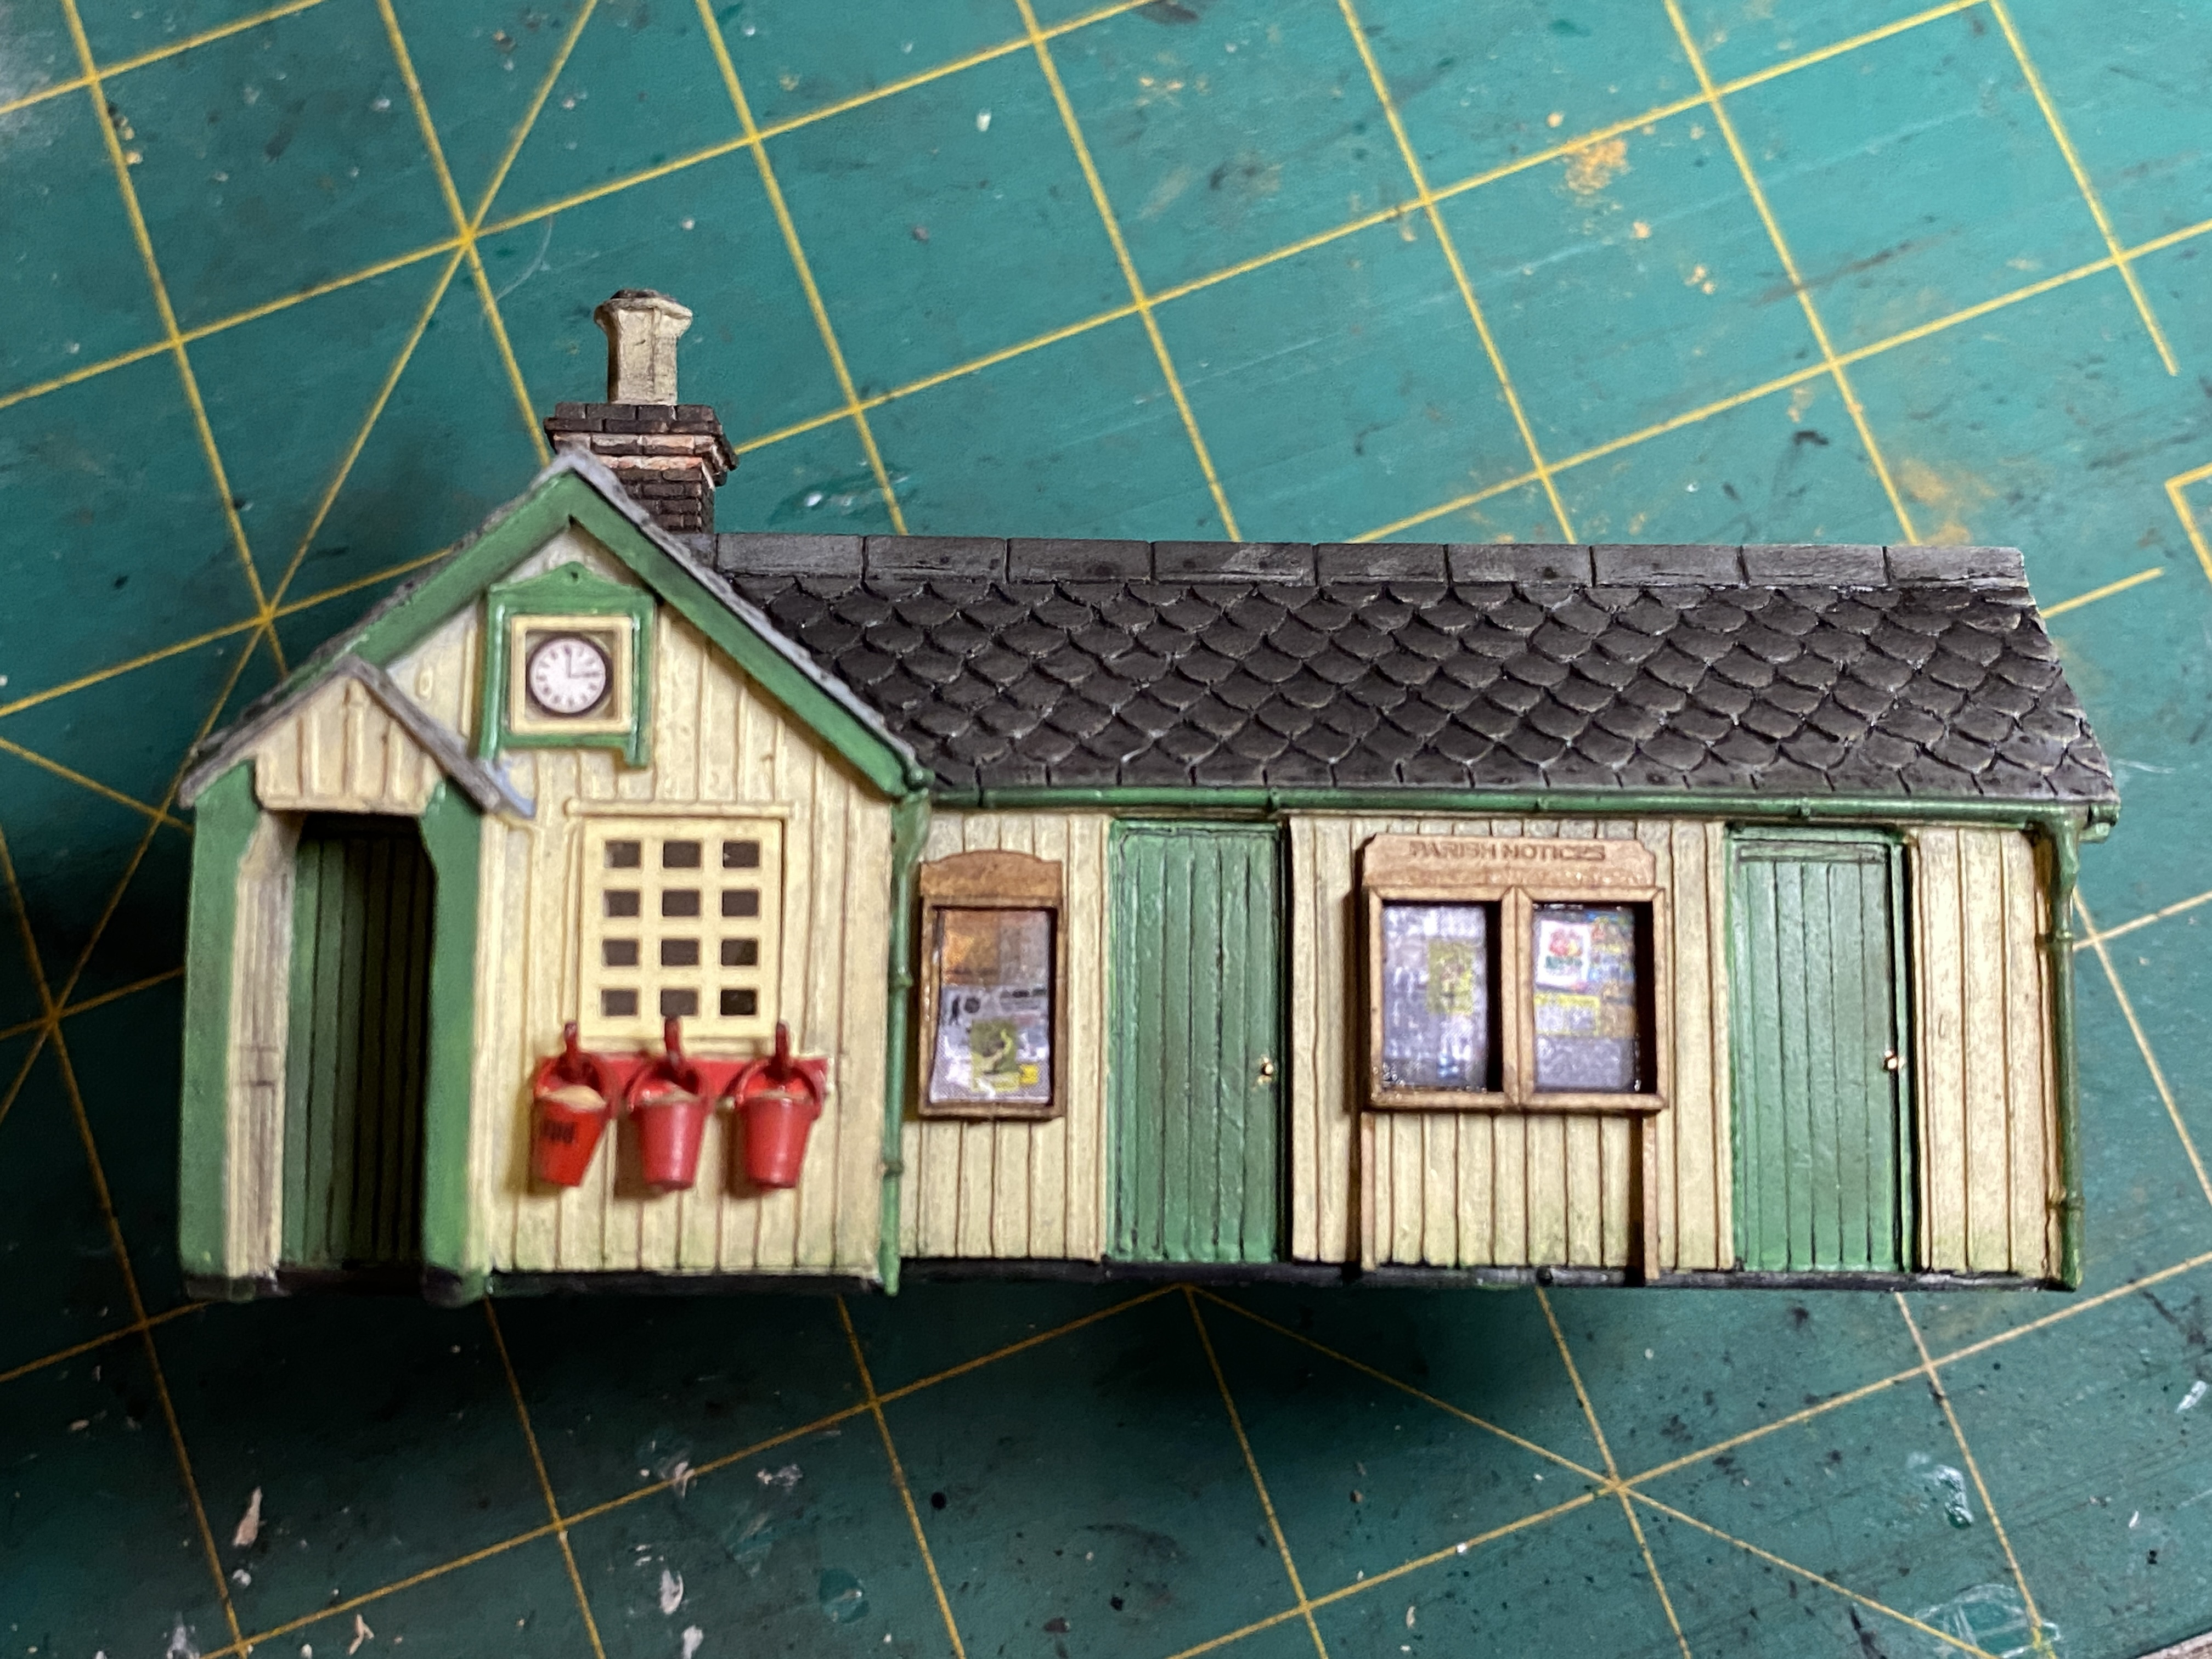
This also has Scale Model Scenery notice boards fitted.
Full Member
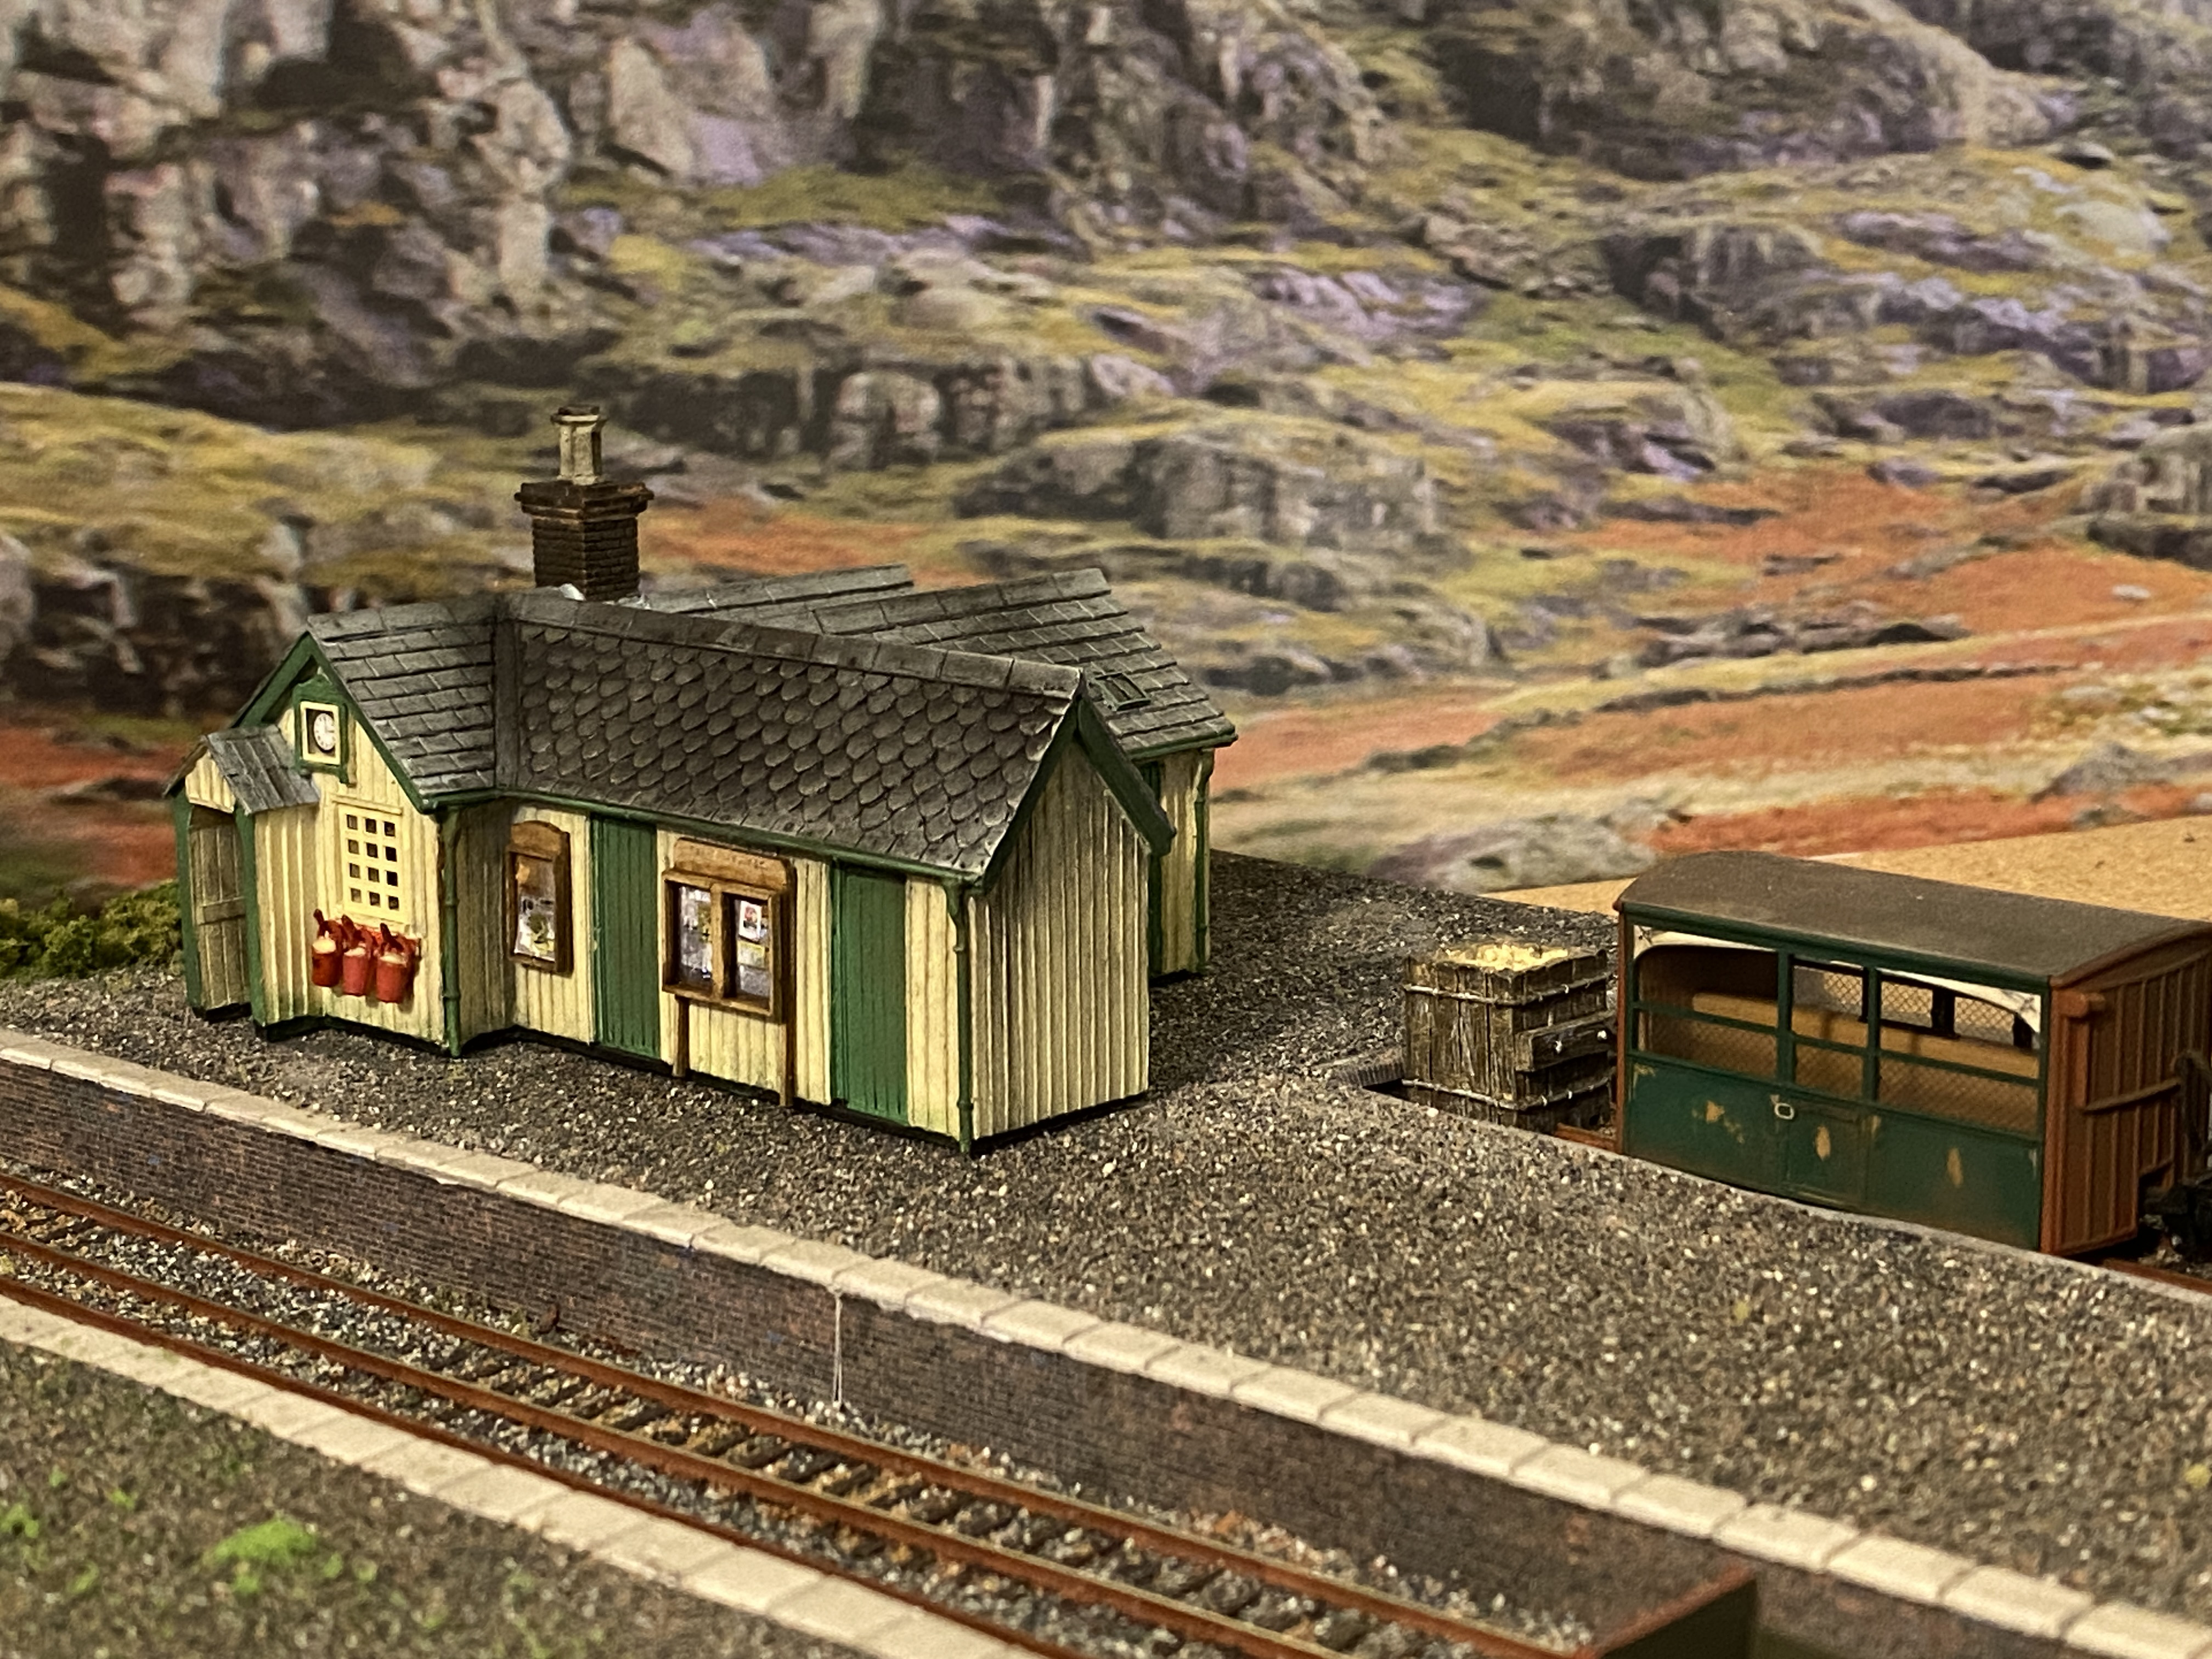
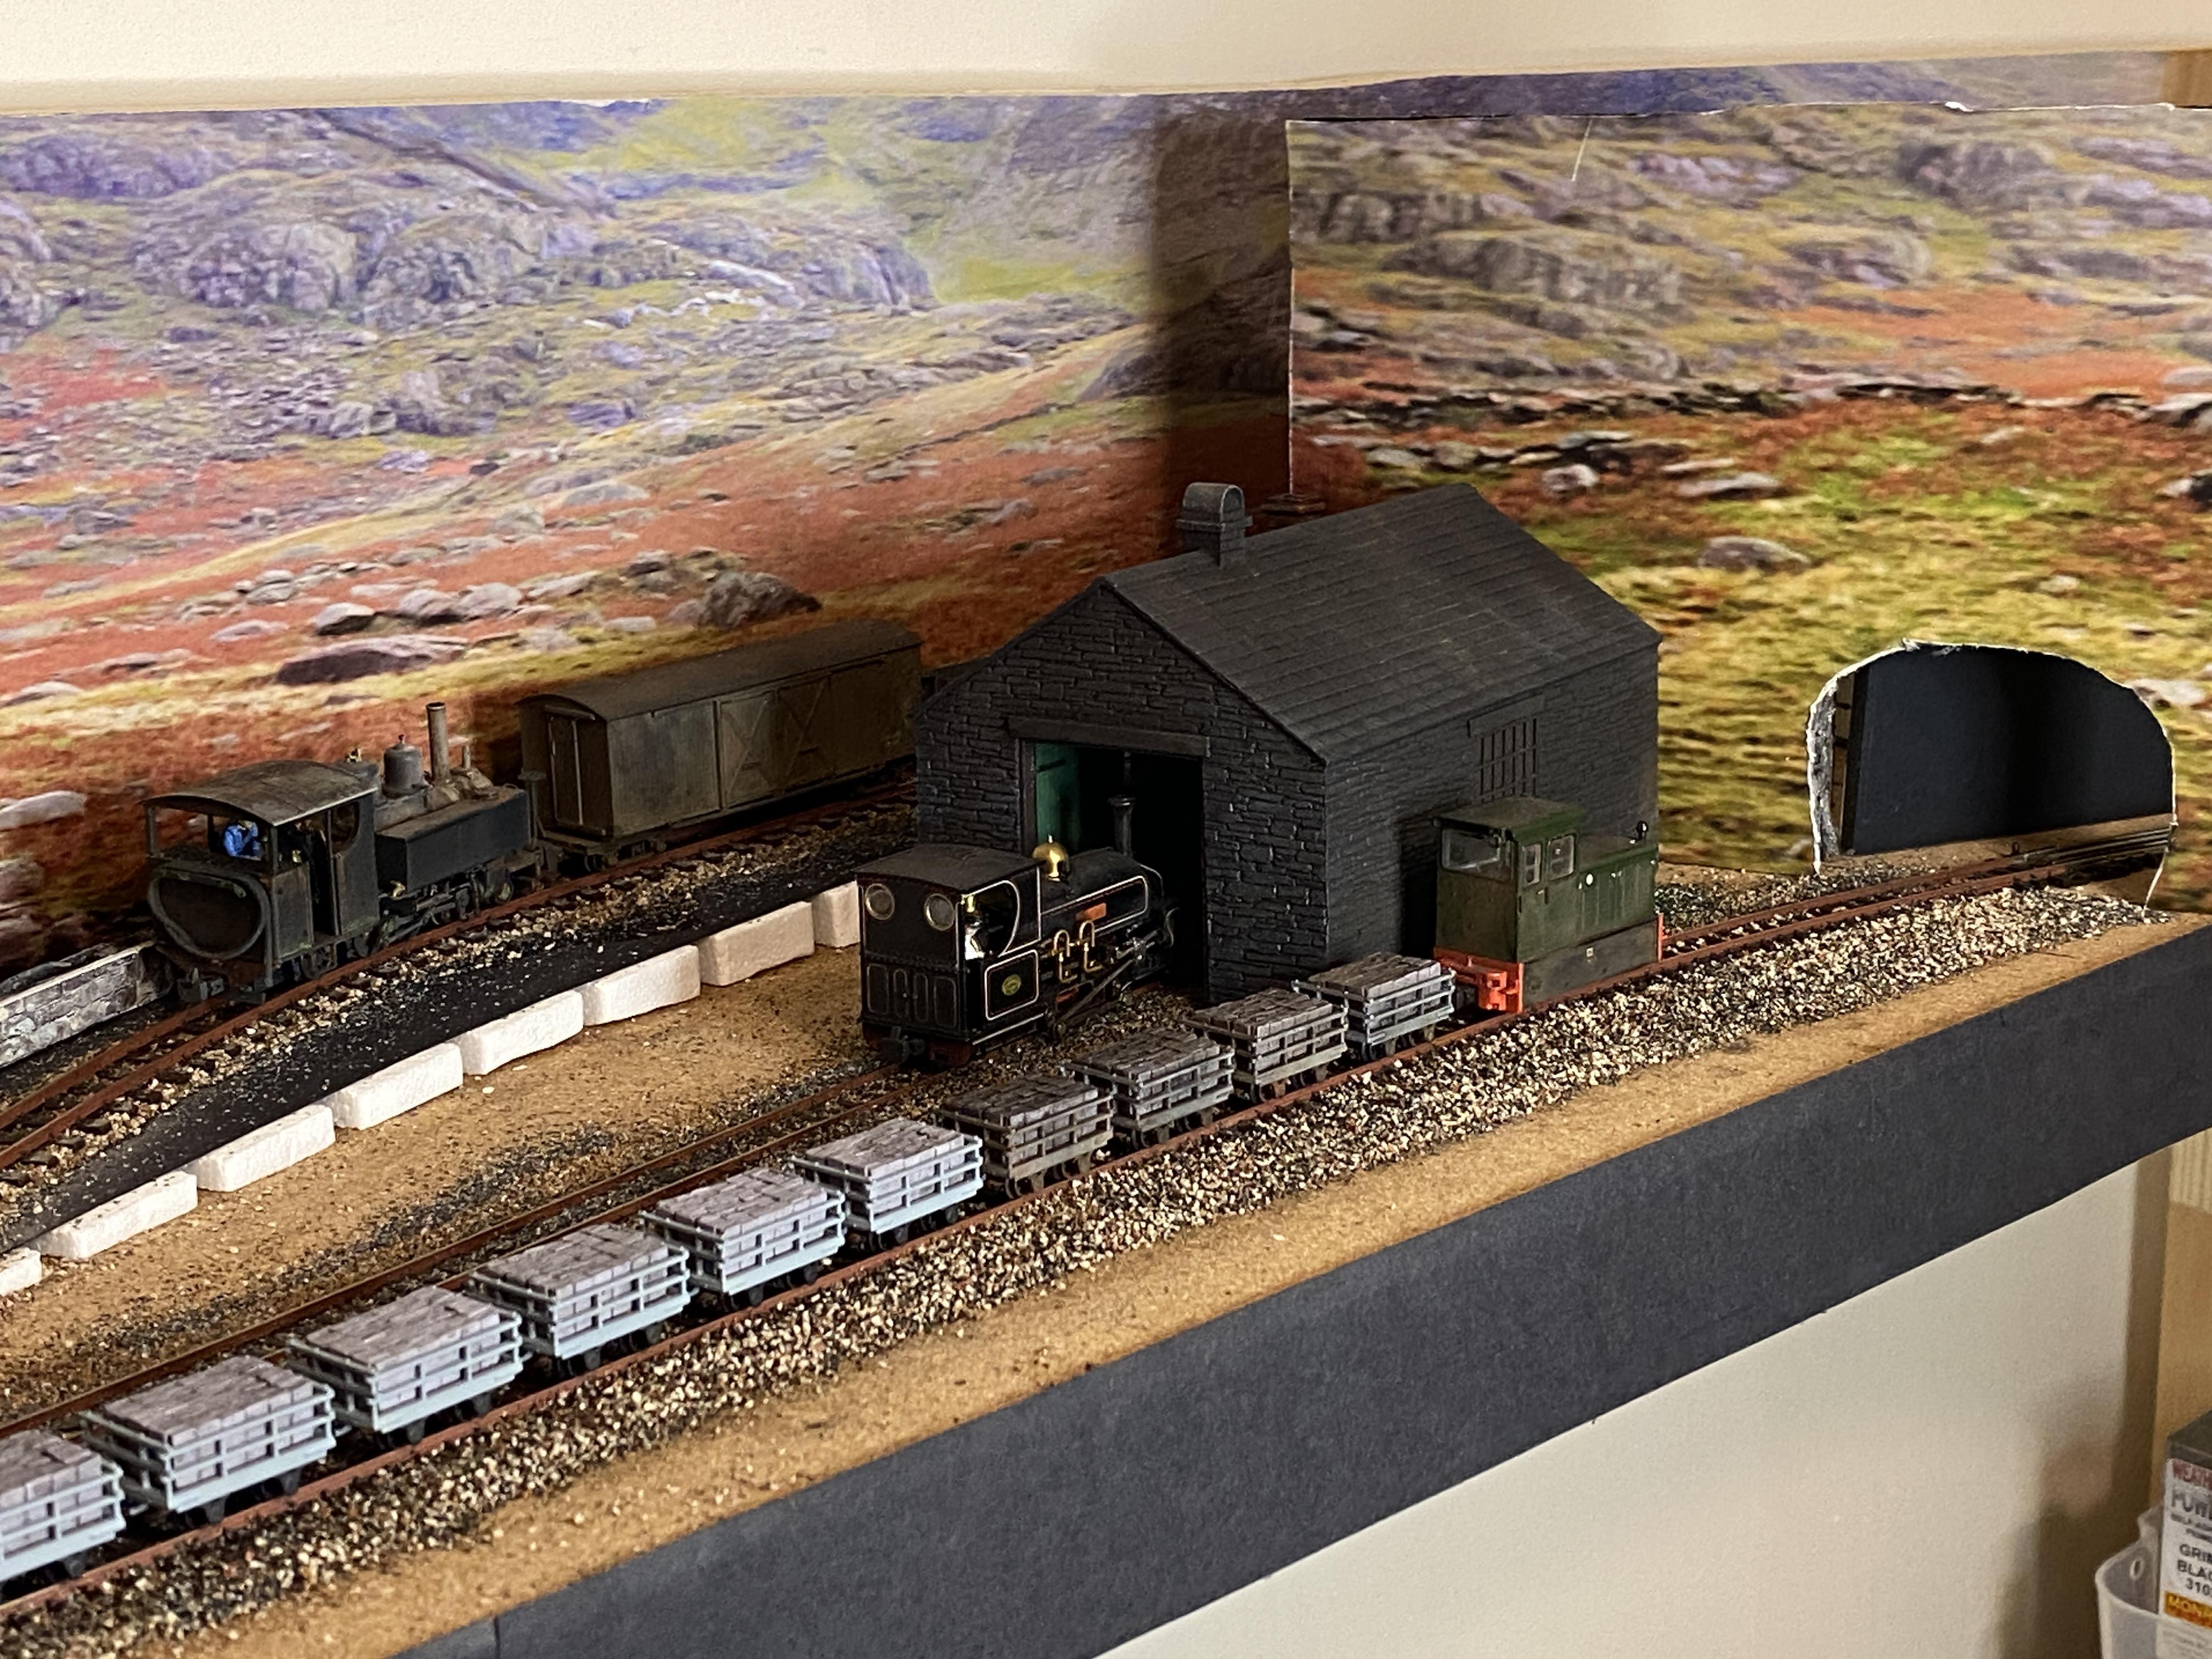
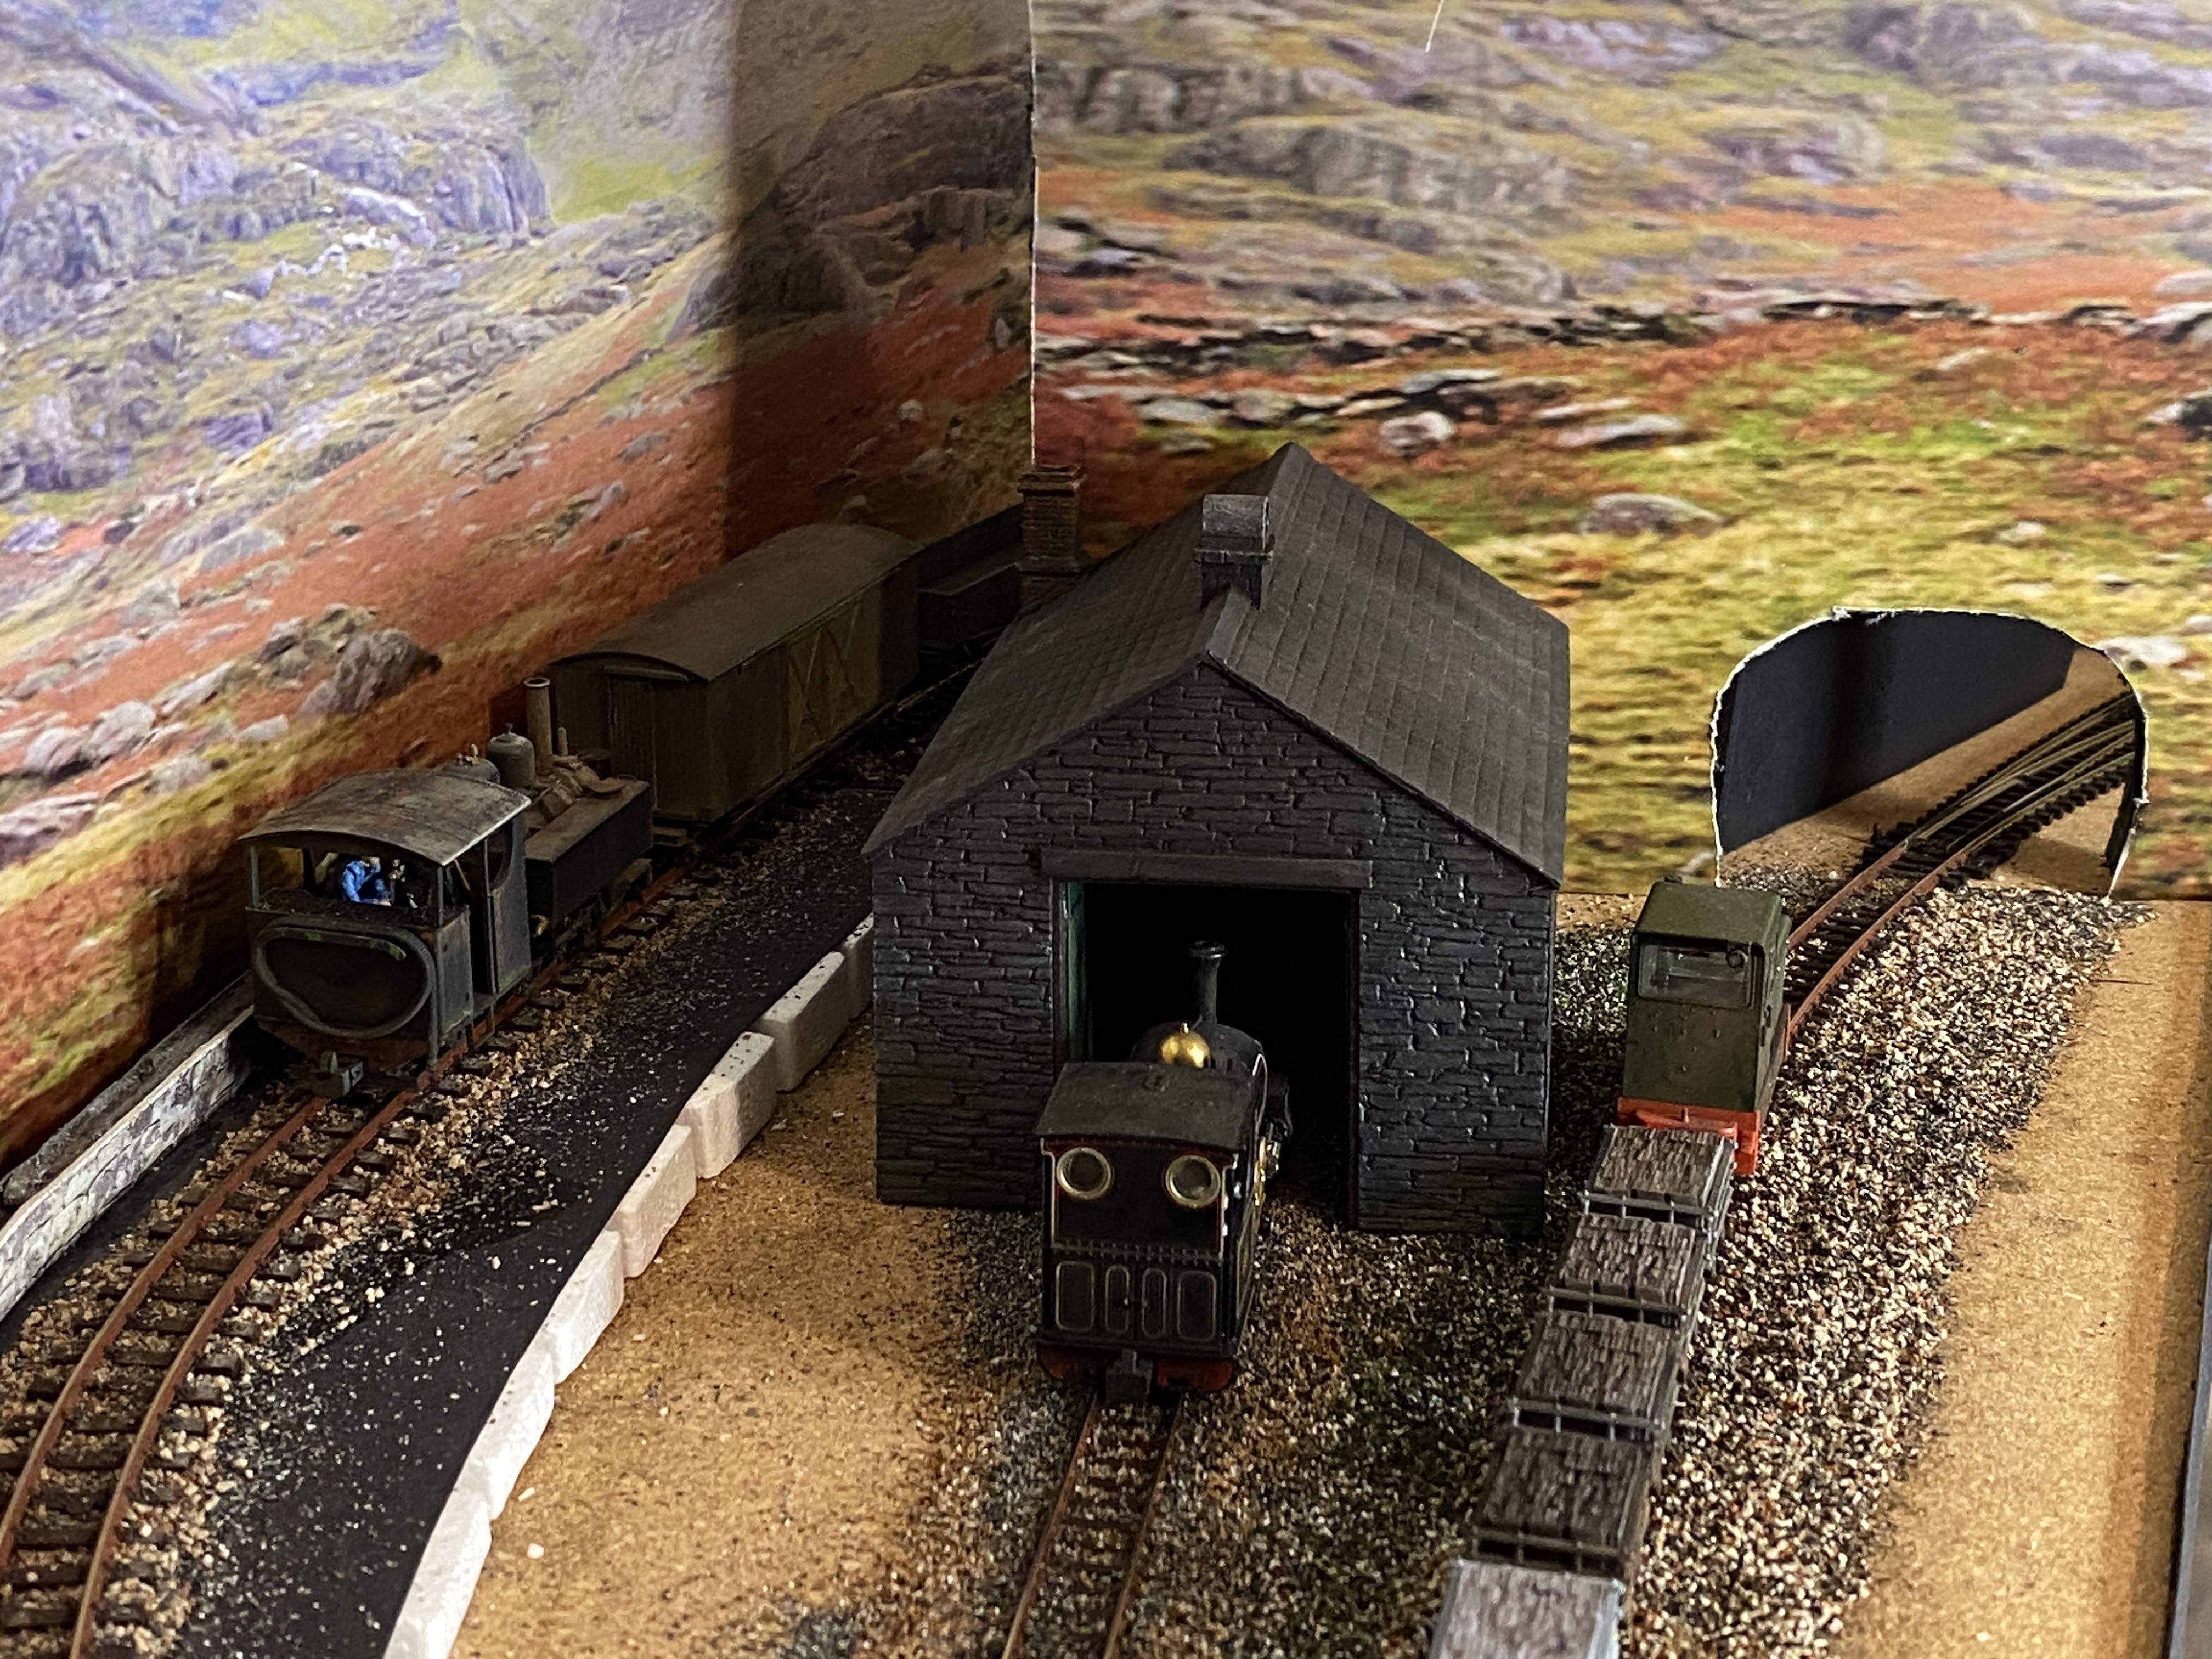
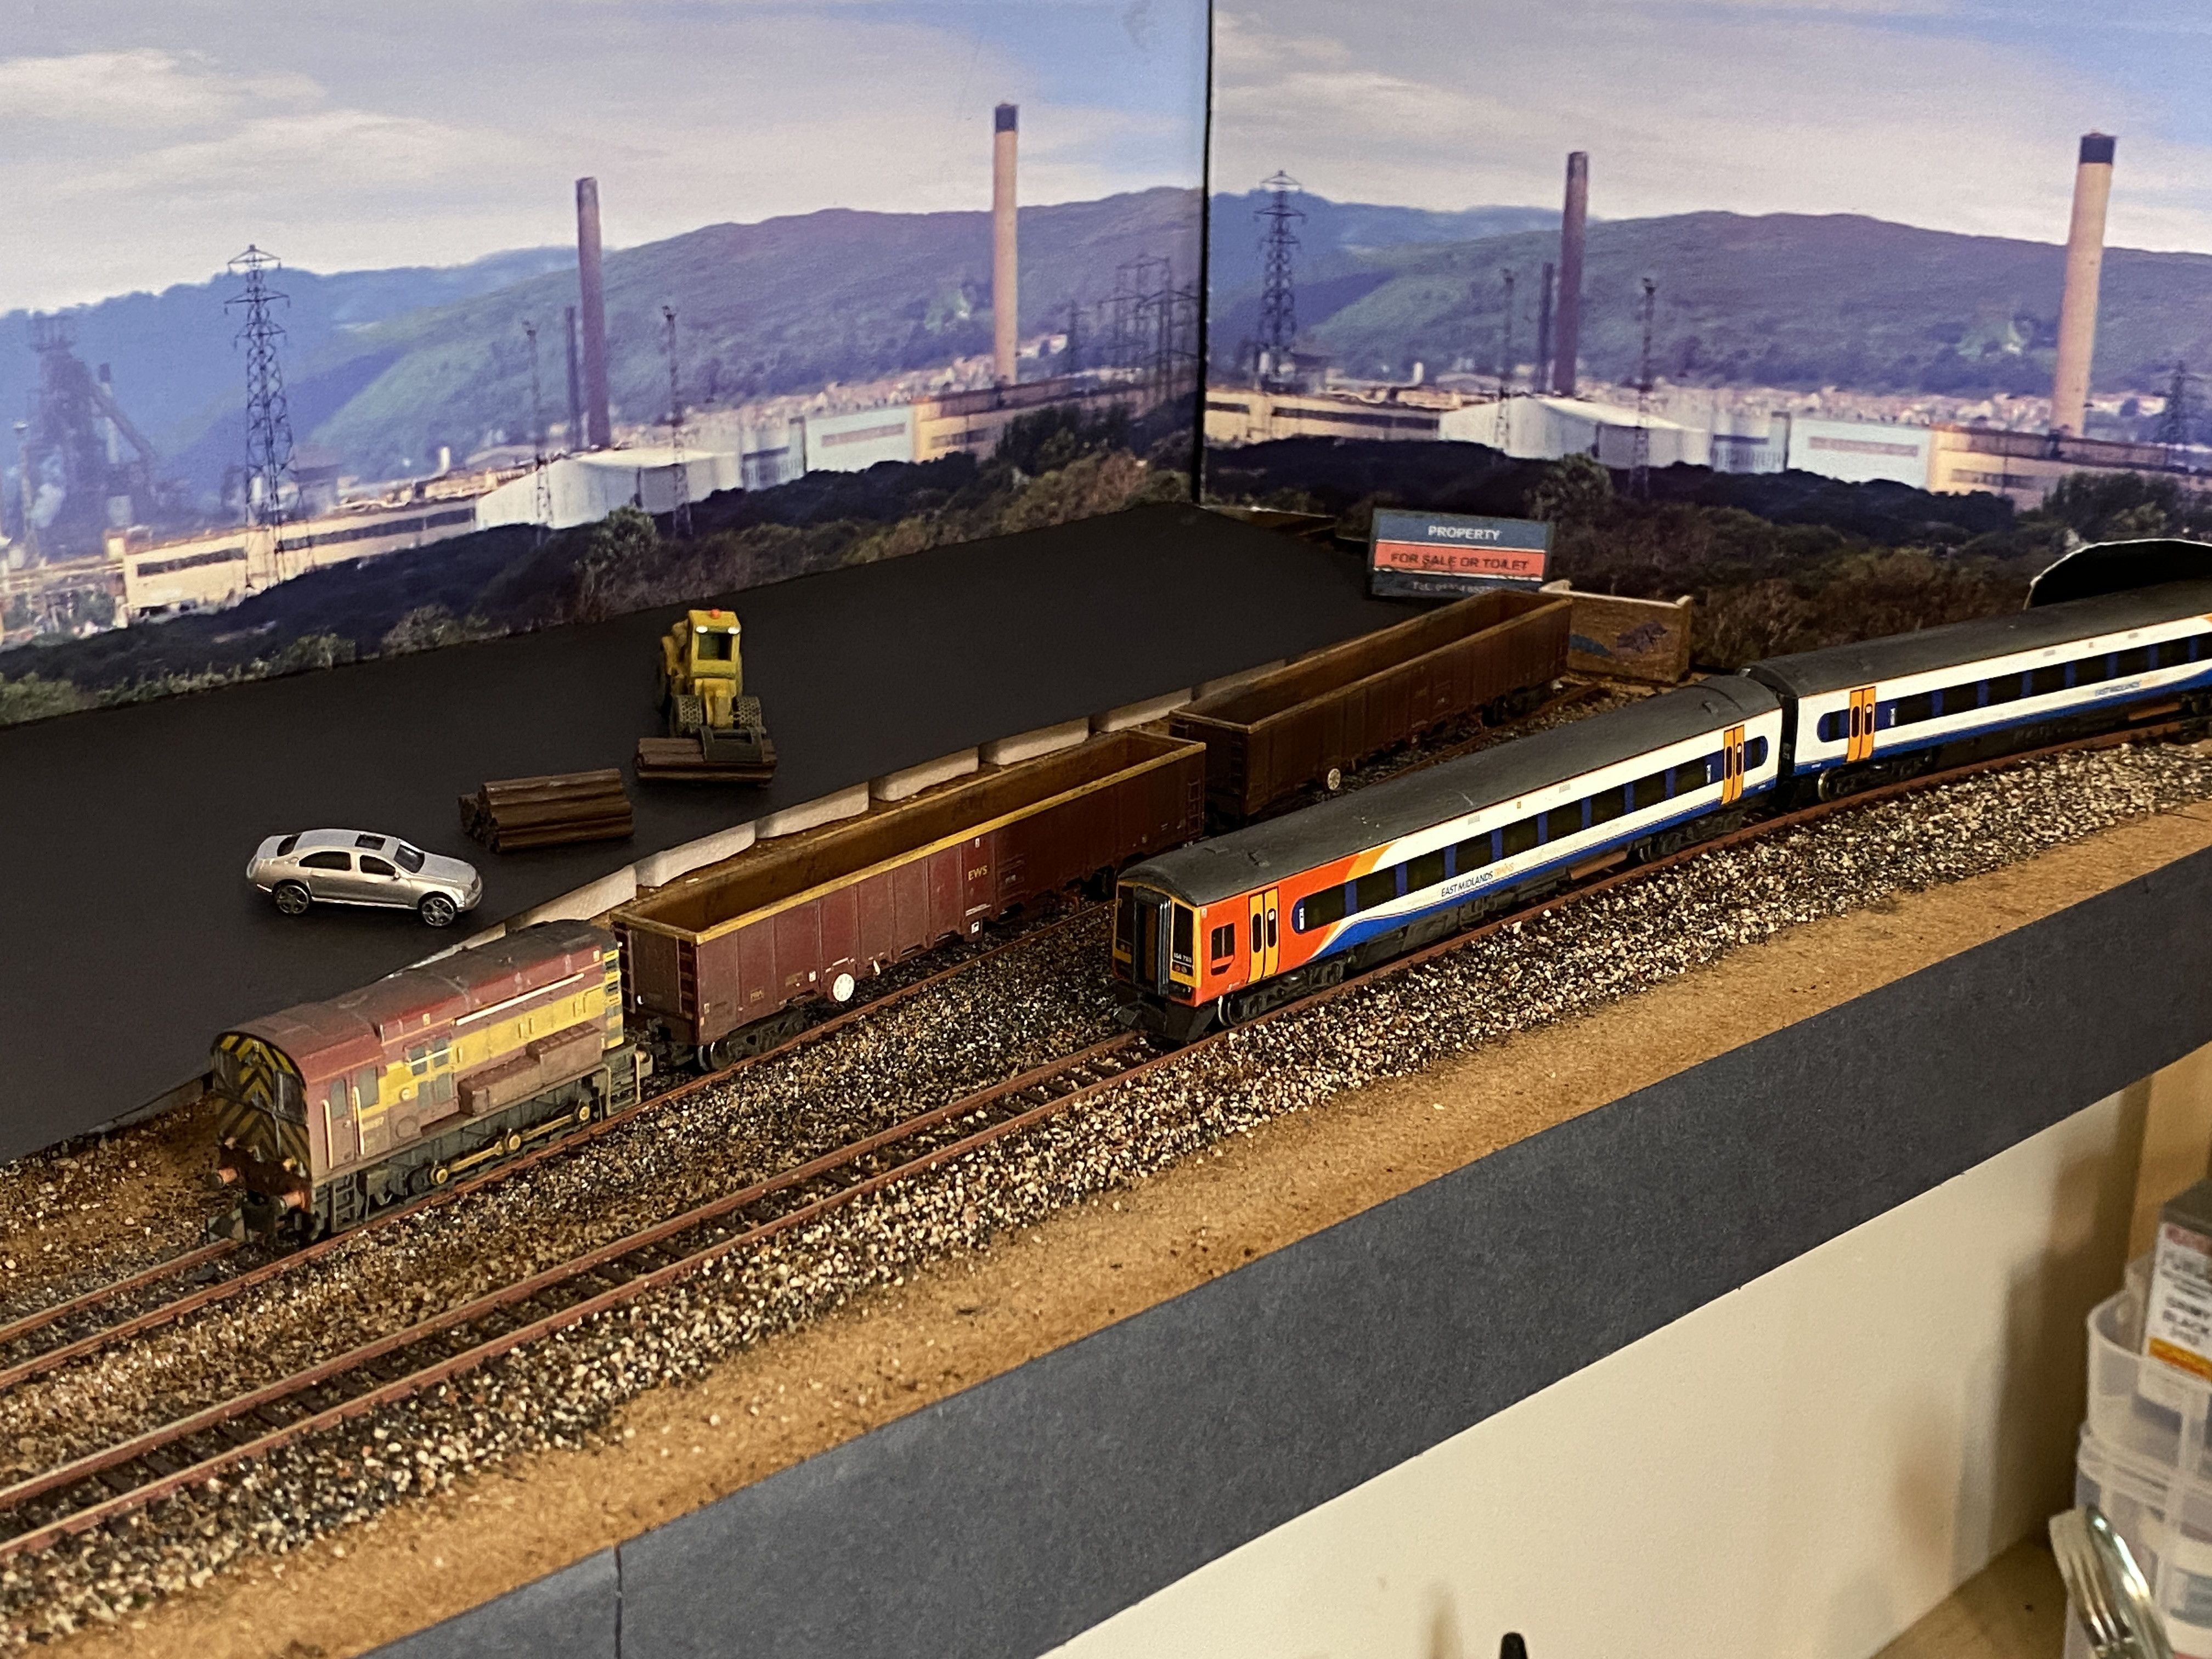
The 009 theme requires the main line to leave the scene “down the valley” and the mountain branch to climb into the distance.
The N-gauge theme does not require a mountain branch but does require a portal which once accommodated two tracks. The disused trackbed is represented and shown in earlier posts.
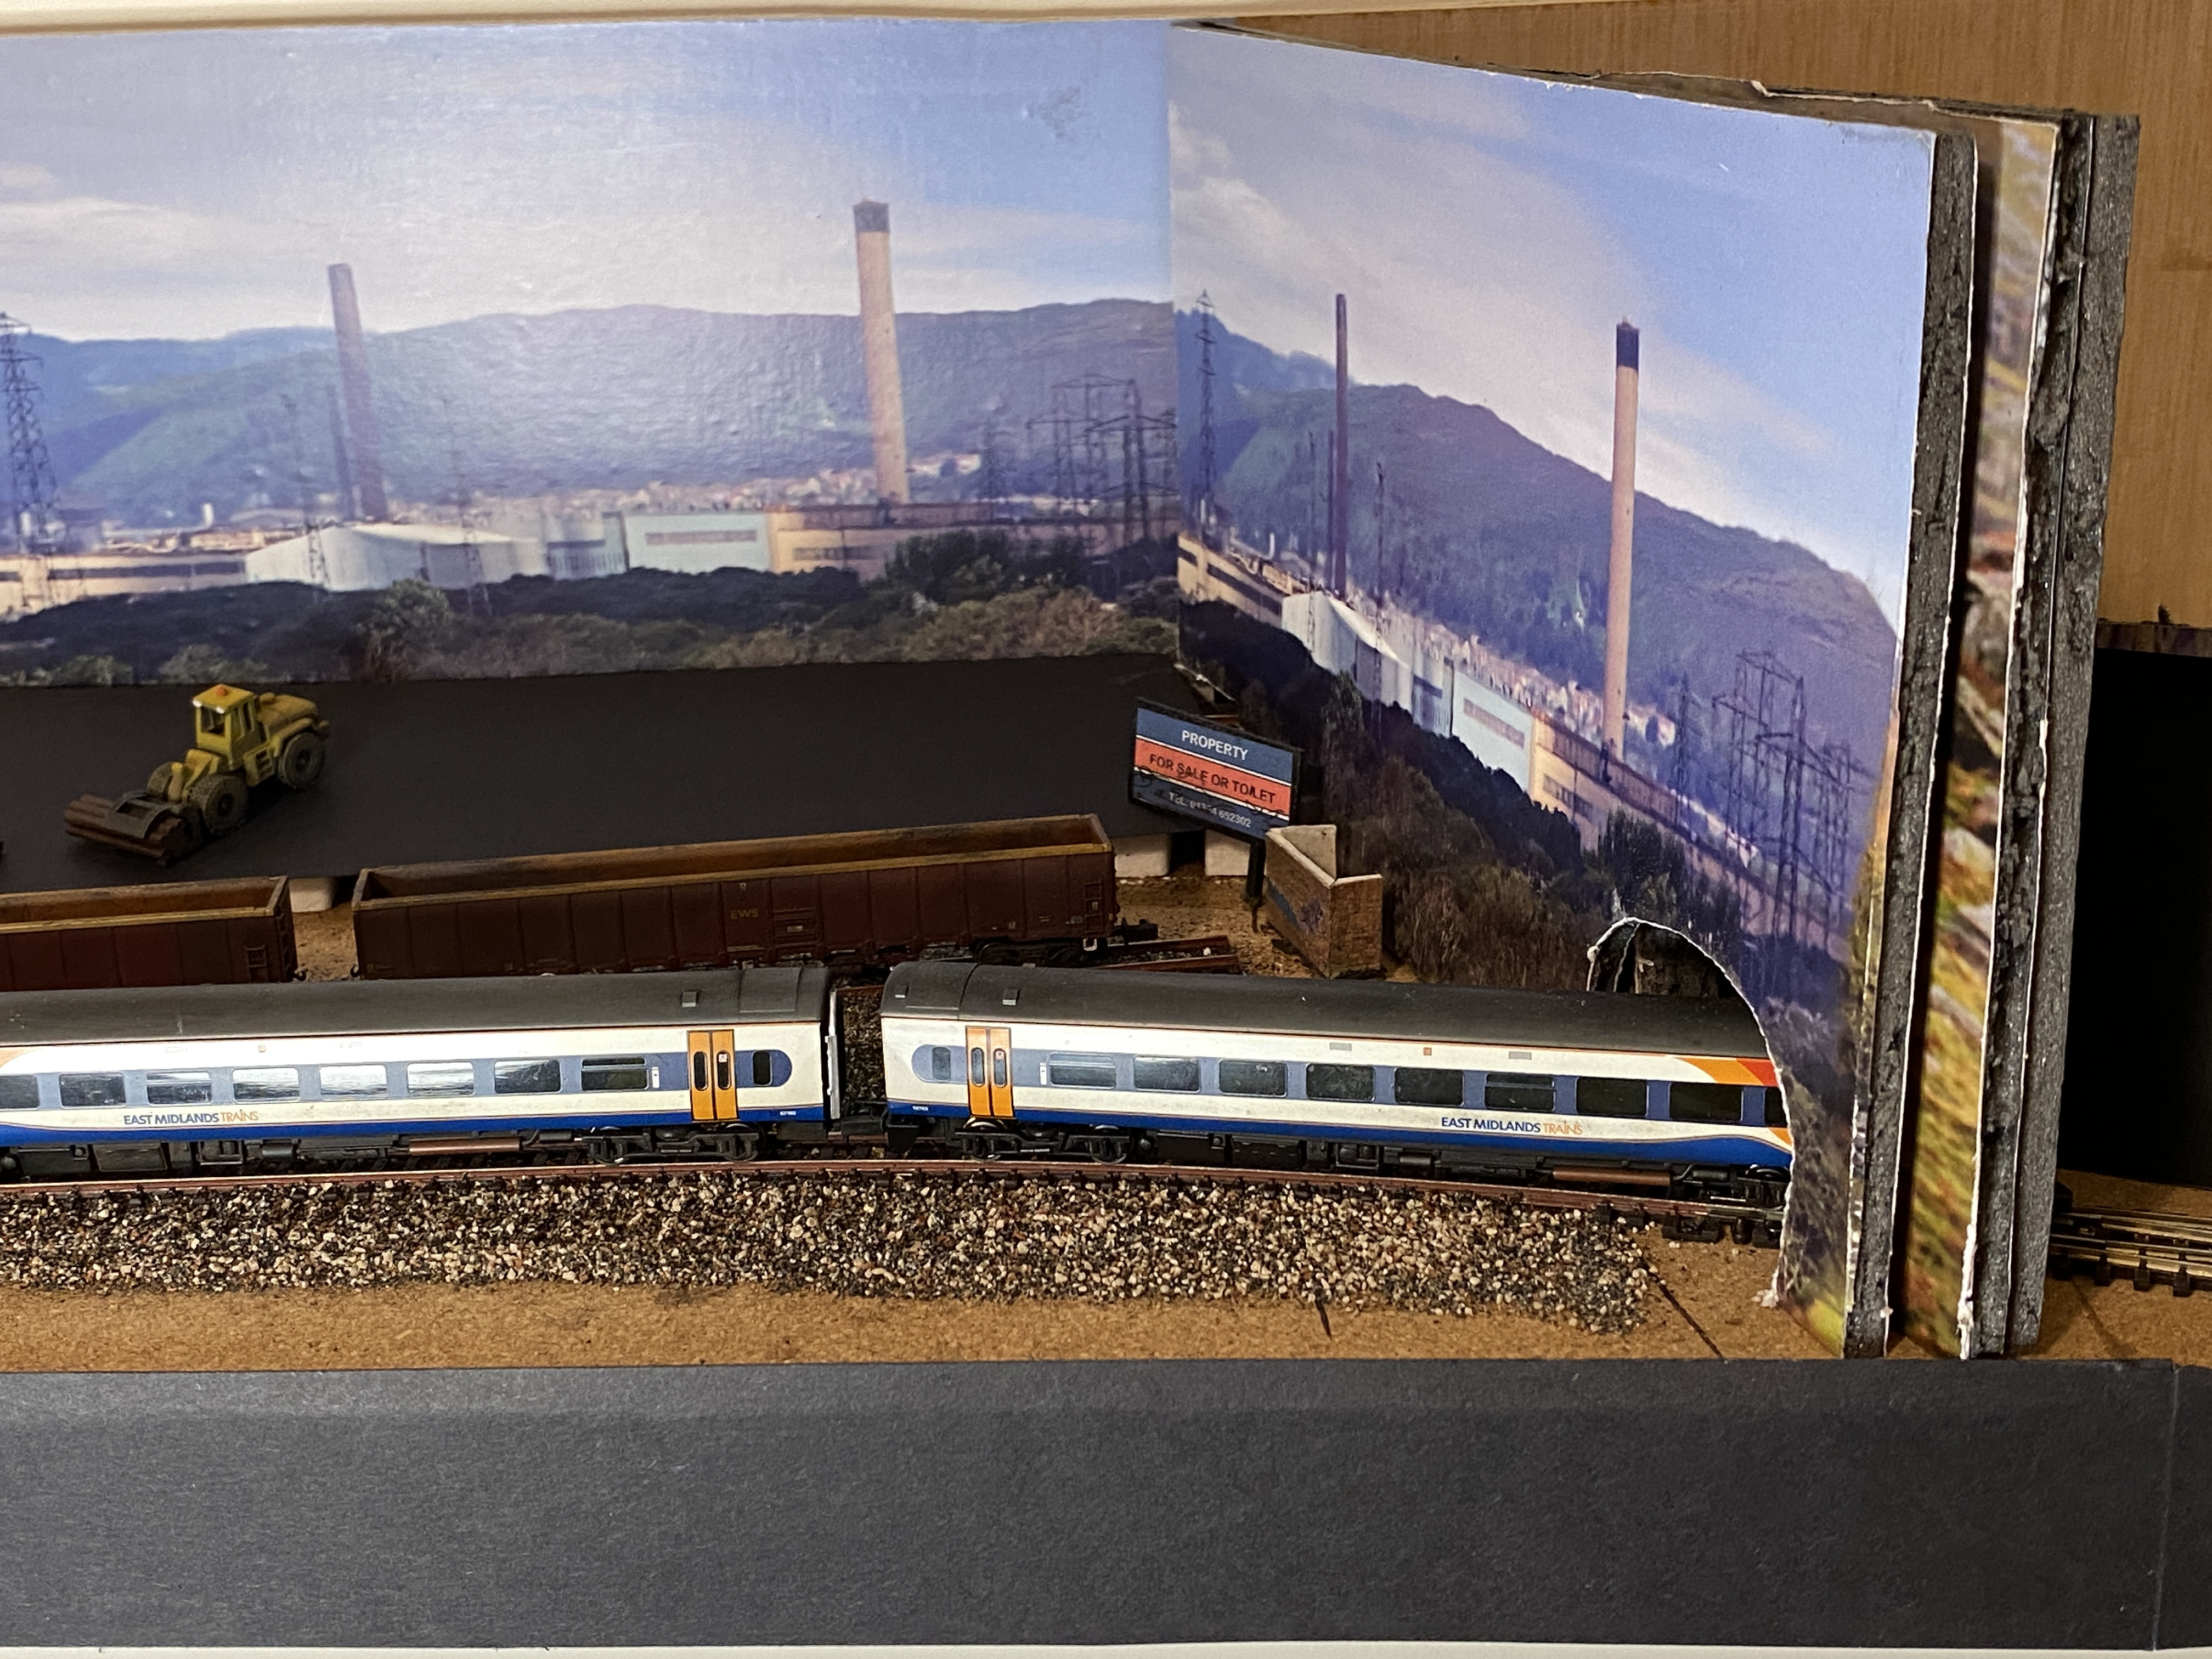
My solution has been to build a semi-permanent panel with a mountain scene and a portal suitable for 009 which sits clear of the branch. And a “drop-in” panel with the industrial scene and a smaller N-gauge portal which both sits in front and is longer so covering the branch. Art card is currently placed over the branch tracks; this will have some N-gauge work built onto it.
Work very much still in progress
Posted

Full Member
Did you just lay the track on top of the ballast or did you spread it over the track and sleepers. I can see you weathered the rails, did you use paint or powder. Thanks.
Posted
Full Member
Gray said
Hi, how have you done the ballasting and what did you use.
Did you just lay the track on top of the ballast or did you spread it over the track and sleepers. I can see you weathered the rails, did you use paint or powder. Thanks.
From “Post #291,030”, 13th January 2025, 8:48 pm
The ballast is a mix of Woodland Scenics fine buff and fine grey with some fine cinders and a little Peco “ash”.
I laid the track first, pinning it into position, before ballasting. That was done by carefully adding the mix a little at a time and brushing it over with a 1” flat brush. Quite big for N / 009 you might think but it needs to be soft and the width of the brush allows for ballasting double tracks at the same time.
Smaller scales require quite a thin layer of ballast meaning it is easy to over-brush and leave bare spots.
Once happy with the spread I then fix as I normally would for larger scales. A spray of “wet water” followed by a spray of PVA adhesive - in my case always Woodland Scenics “Scenic Cement” as it is already mixed to an ideal dilution.
Masking of structures is optional but advised if you have printed paper or card already in use. And / or if you tend to be a bit trigger-heavy when spraying.
Test the spray first (such as on a bit of scrap card) to ensure it is as fine as your bottle will allow and then squeeze the trigger very gently while using a sweeping motion over the job. Too close or too much pressure and the ballast will dislodge. If that happens you can quickly re-brush it into place before the PVA dries.
The lifted track beds with sleeper indentations were done by placing the track (without pinning) and ballasting as normal then - with the PVA well dried after a couple of days - very carefully lifting the track away. Sometimes it works - sometimes not.
The rails have been painted using Railmatch “Rust” mixed with Railmatch “BR Bauxite” and applied with a 000 brush. This takes patience at any scale but more so with these tiny rails. Any paint drying on the rail-heads or the inner faces which make electrical contact with wheels can be removed with your track cleaner of choice.
Don’t paint the inner faces of point blades nor stock rails where contact is required. If using old-style points where power is passed through a small tab from stock rail to blade be sure to not paint anywhere those make contact. Getting paint off from underneath a rail is extremely difficult.
I normally paint the frog parts which are not touched by wheels (on real railways) and check-rails too. Using Unifrog points for the first time here I found the 4-wheel locos stalled on painted frogs (so must rely on electrical contact with both sides of the frog) so the paint has been removed from those areas.
Posted
Full Member
Posted
Full Member
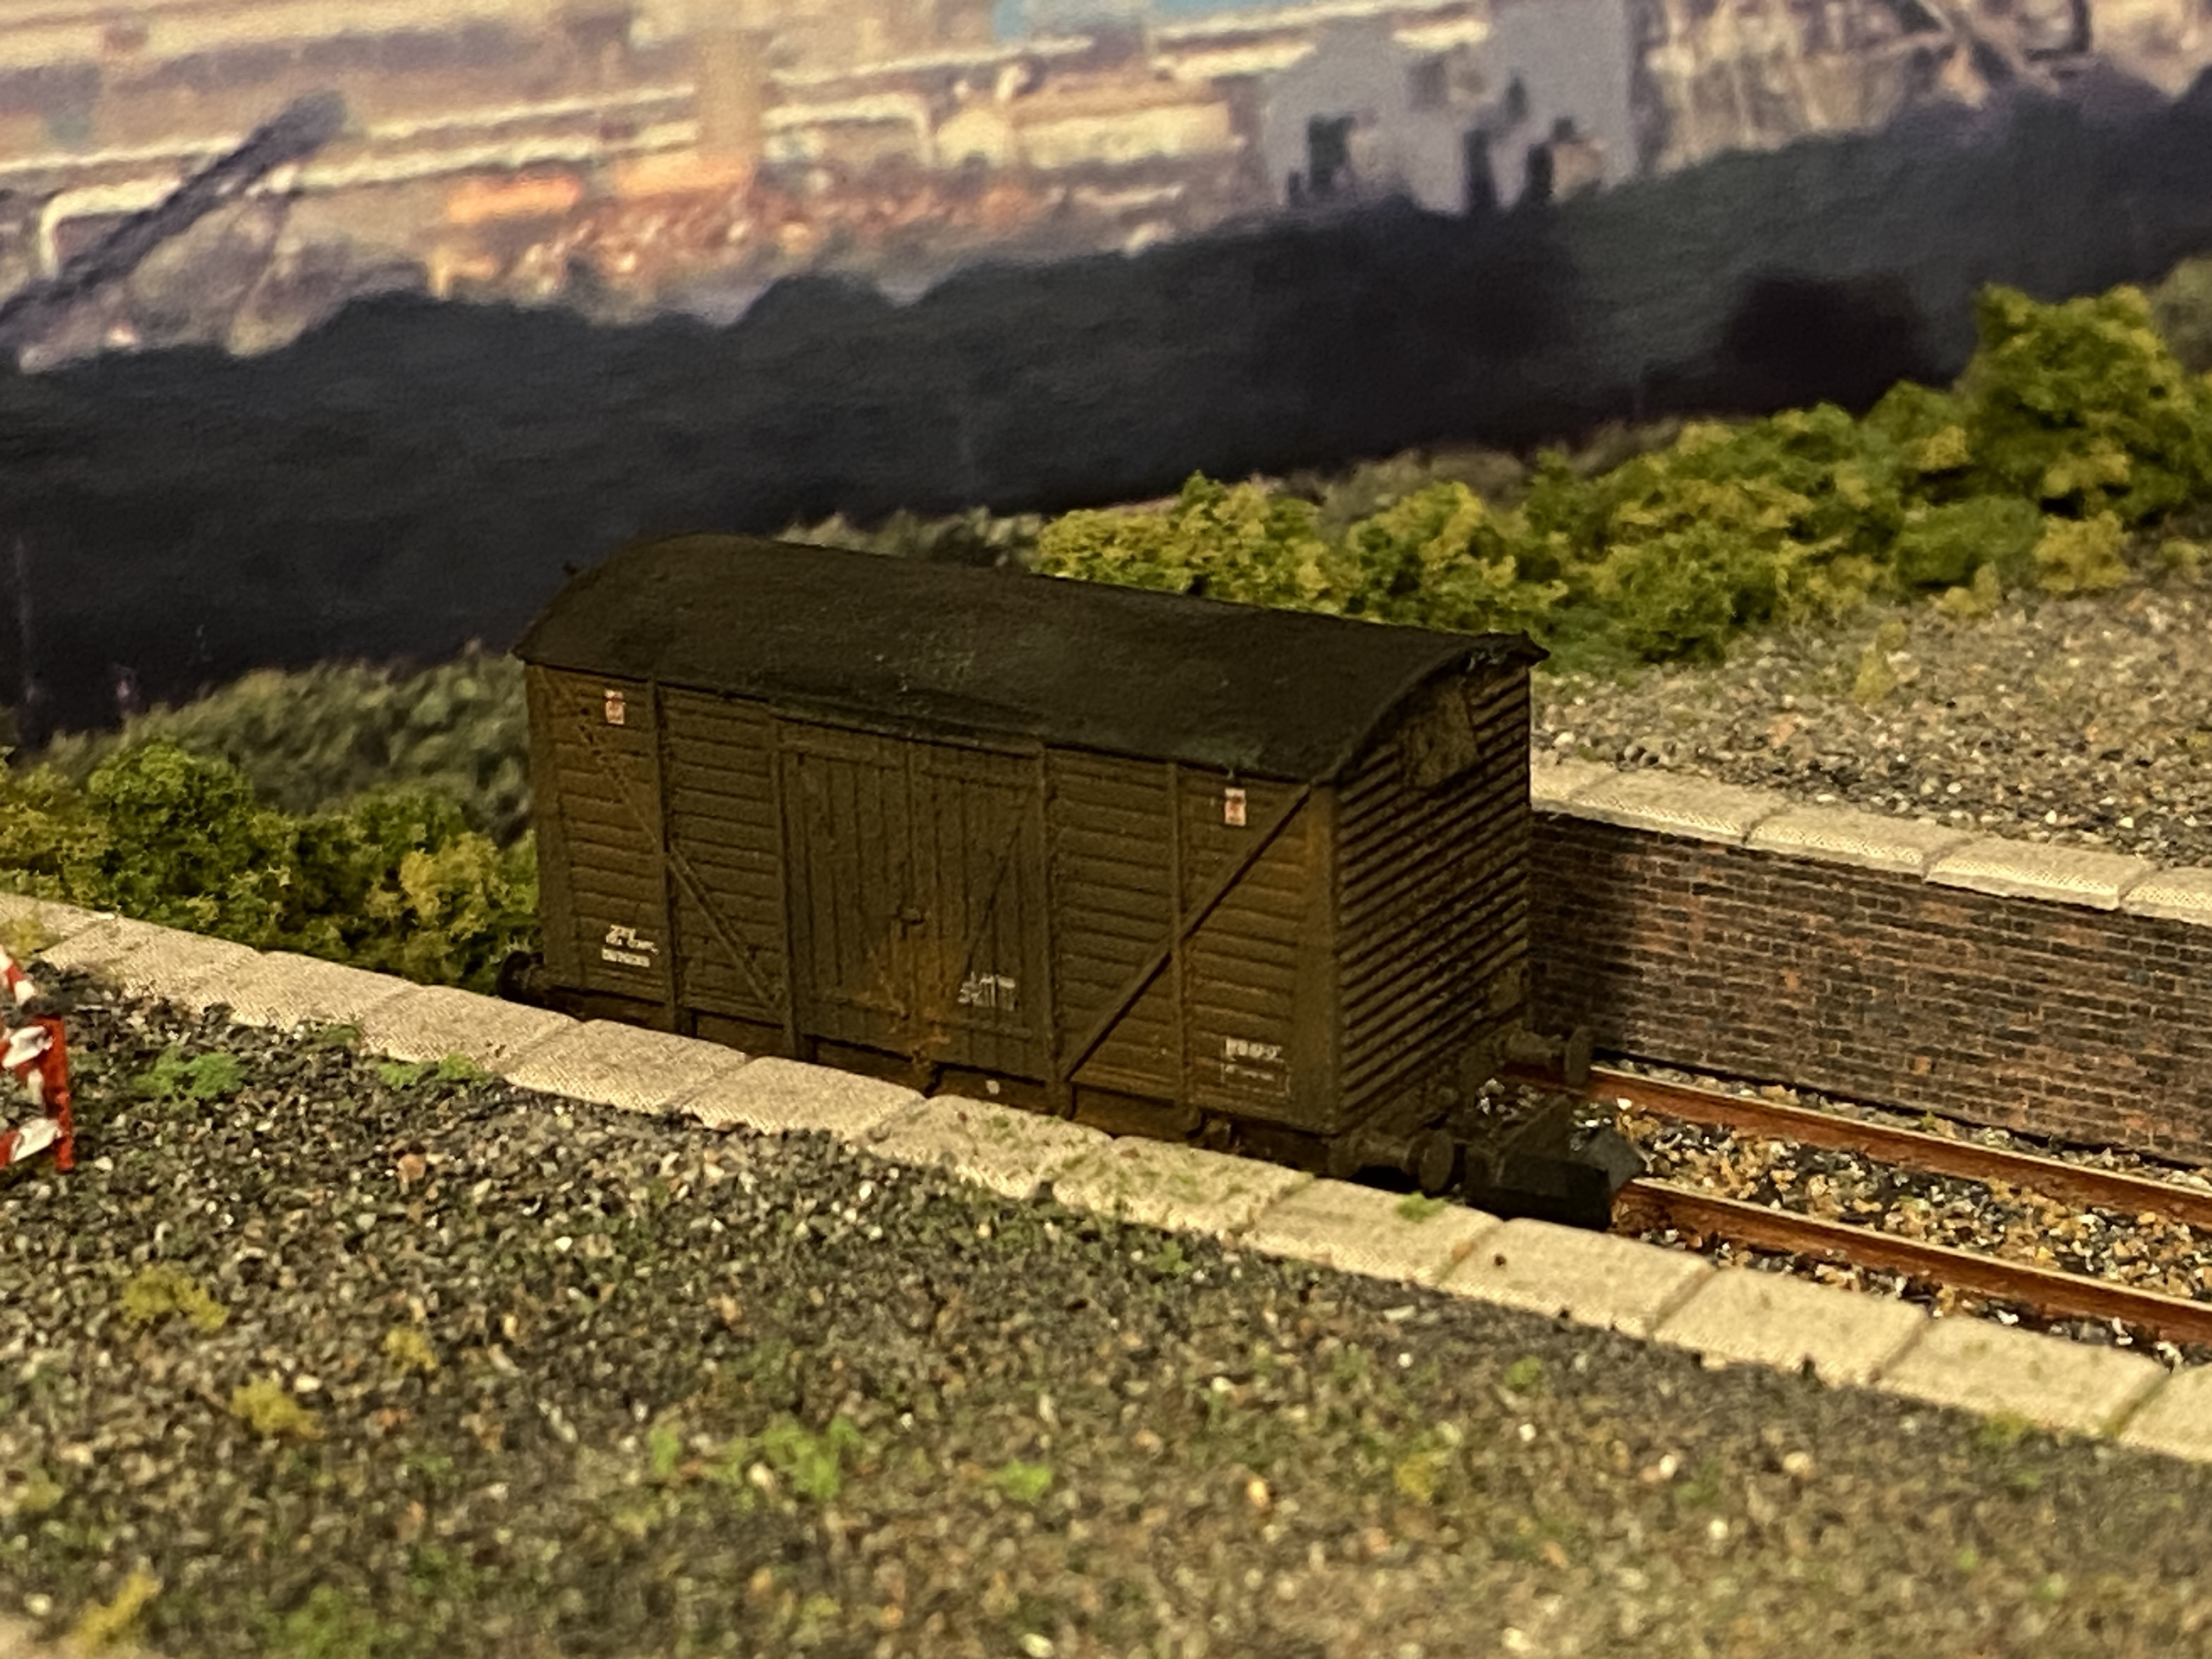
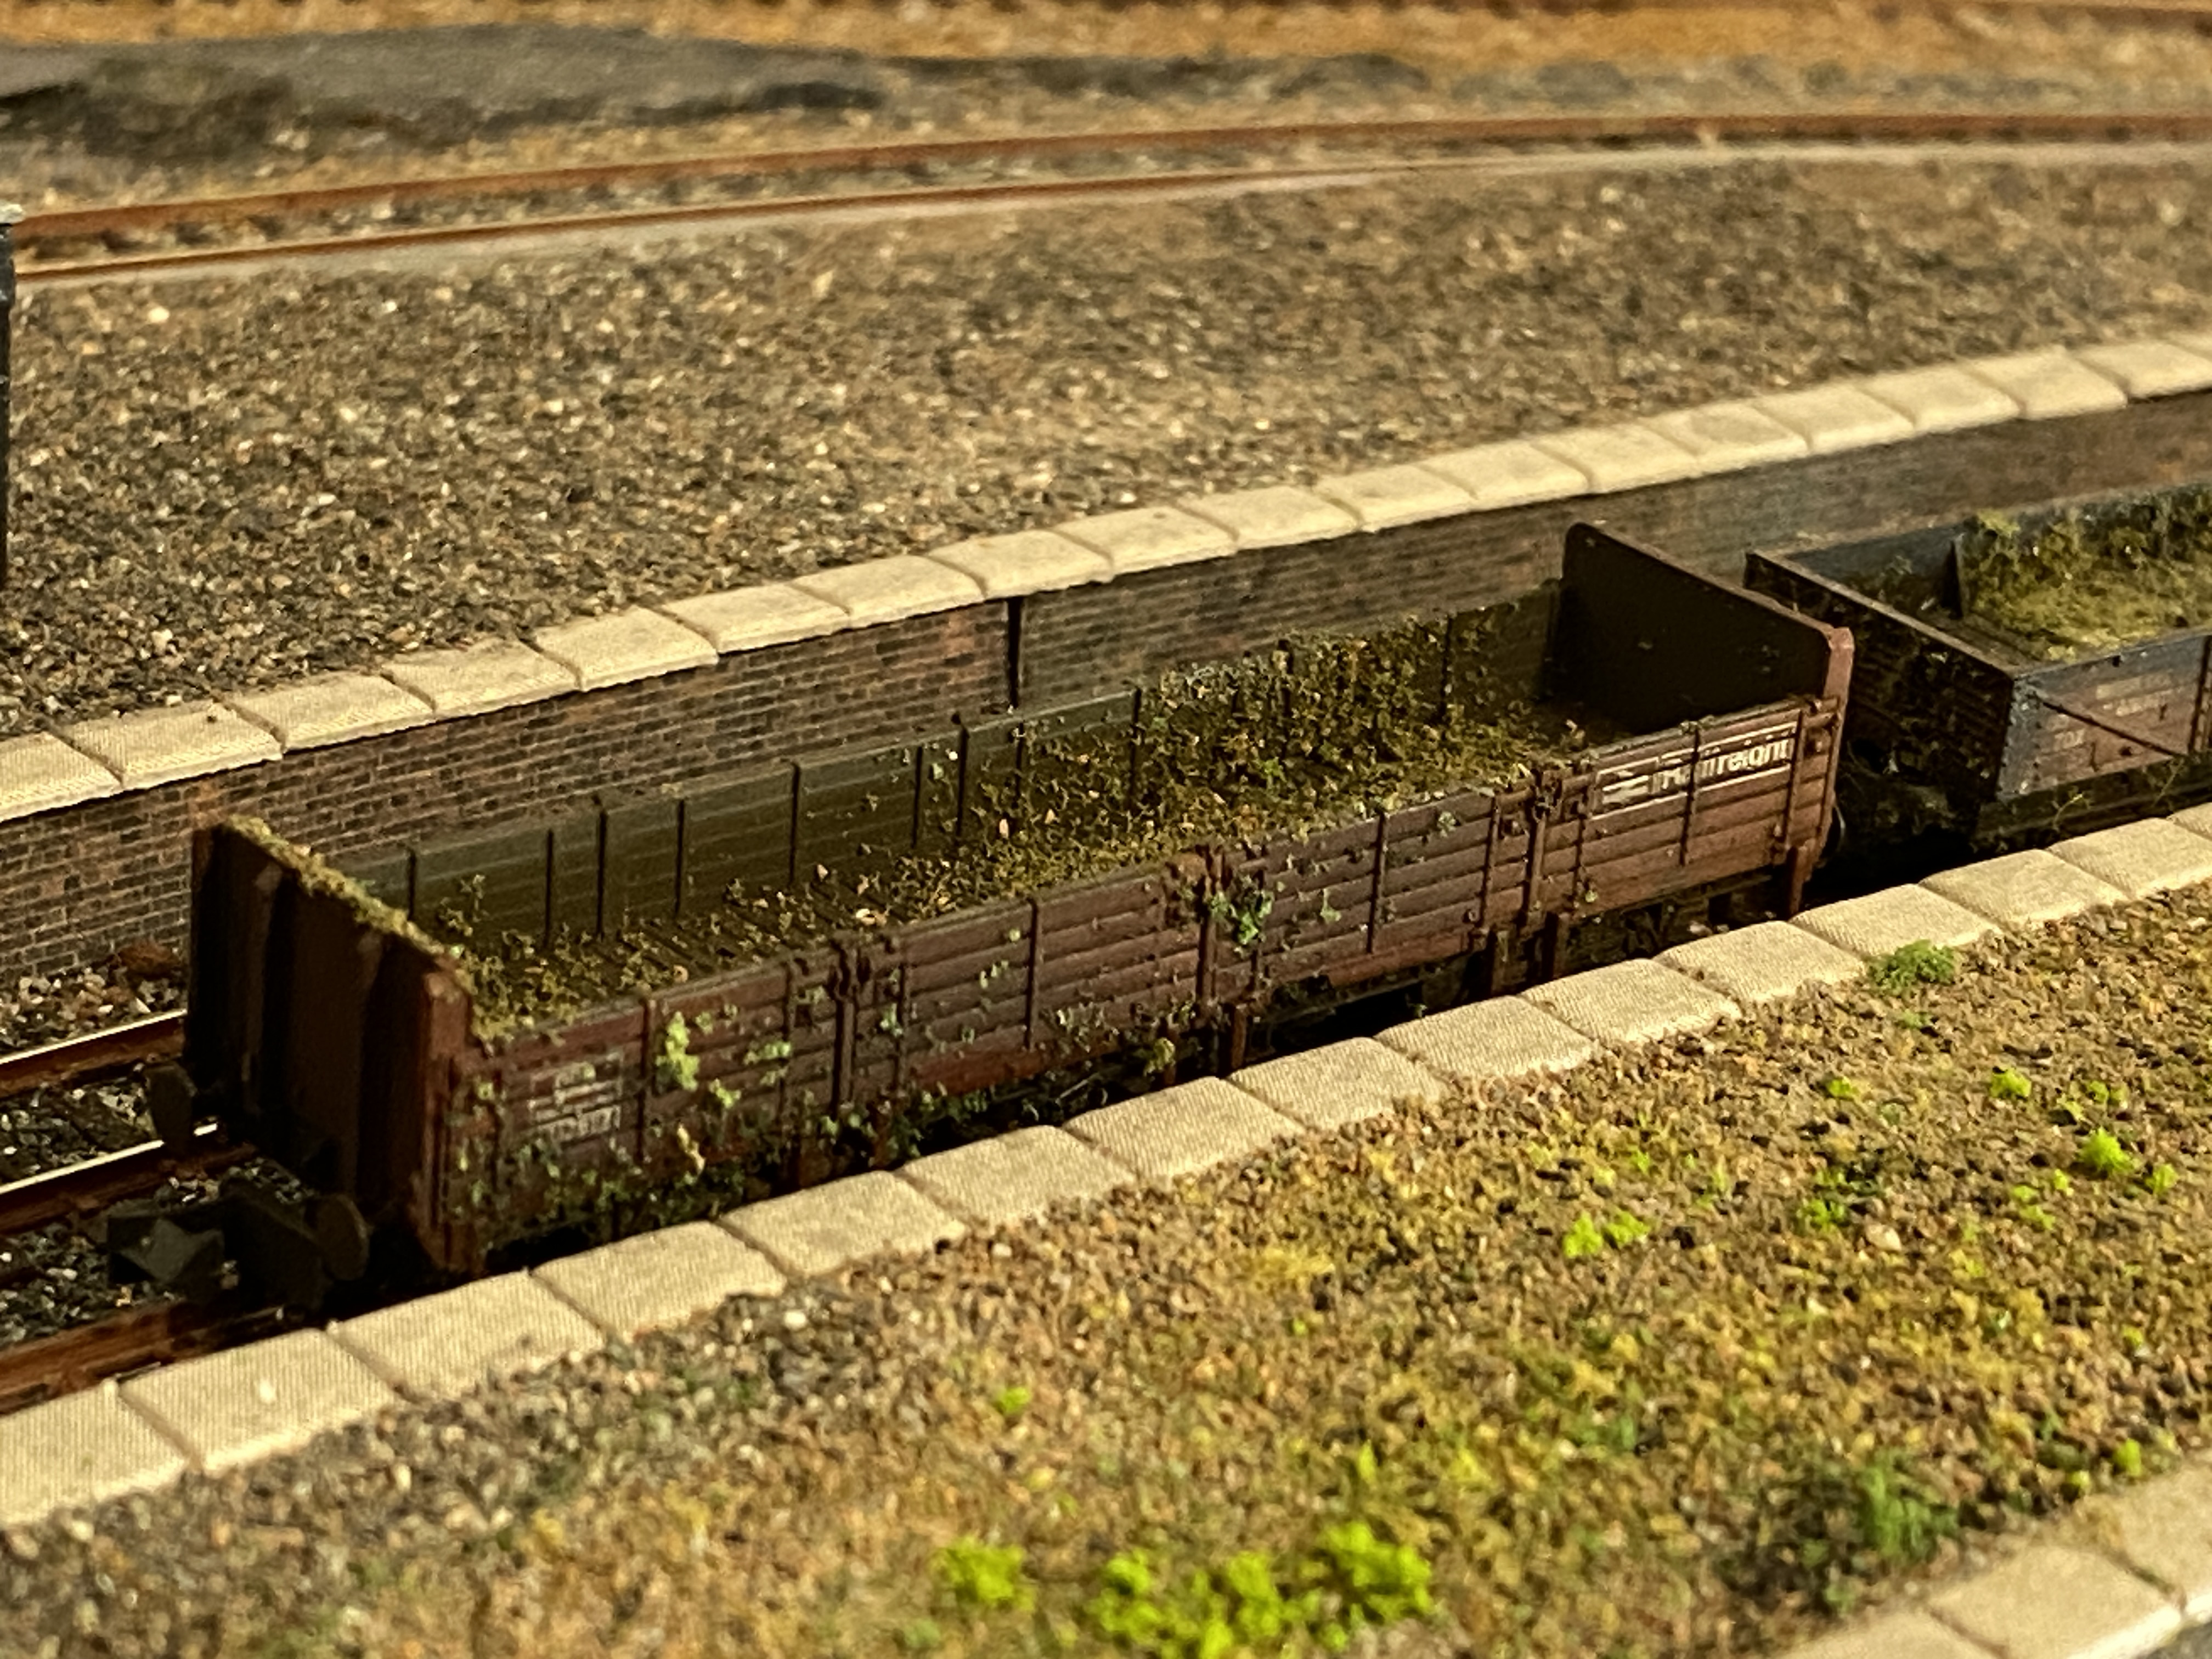
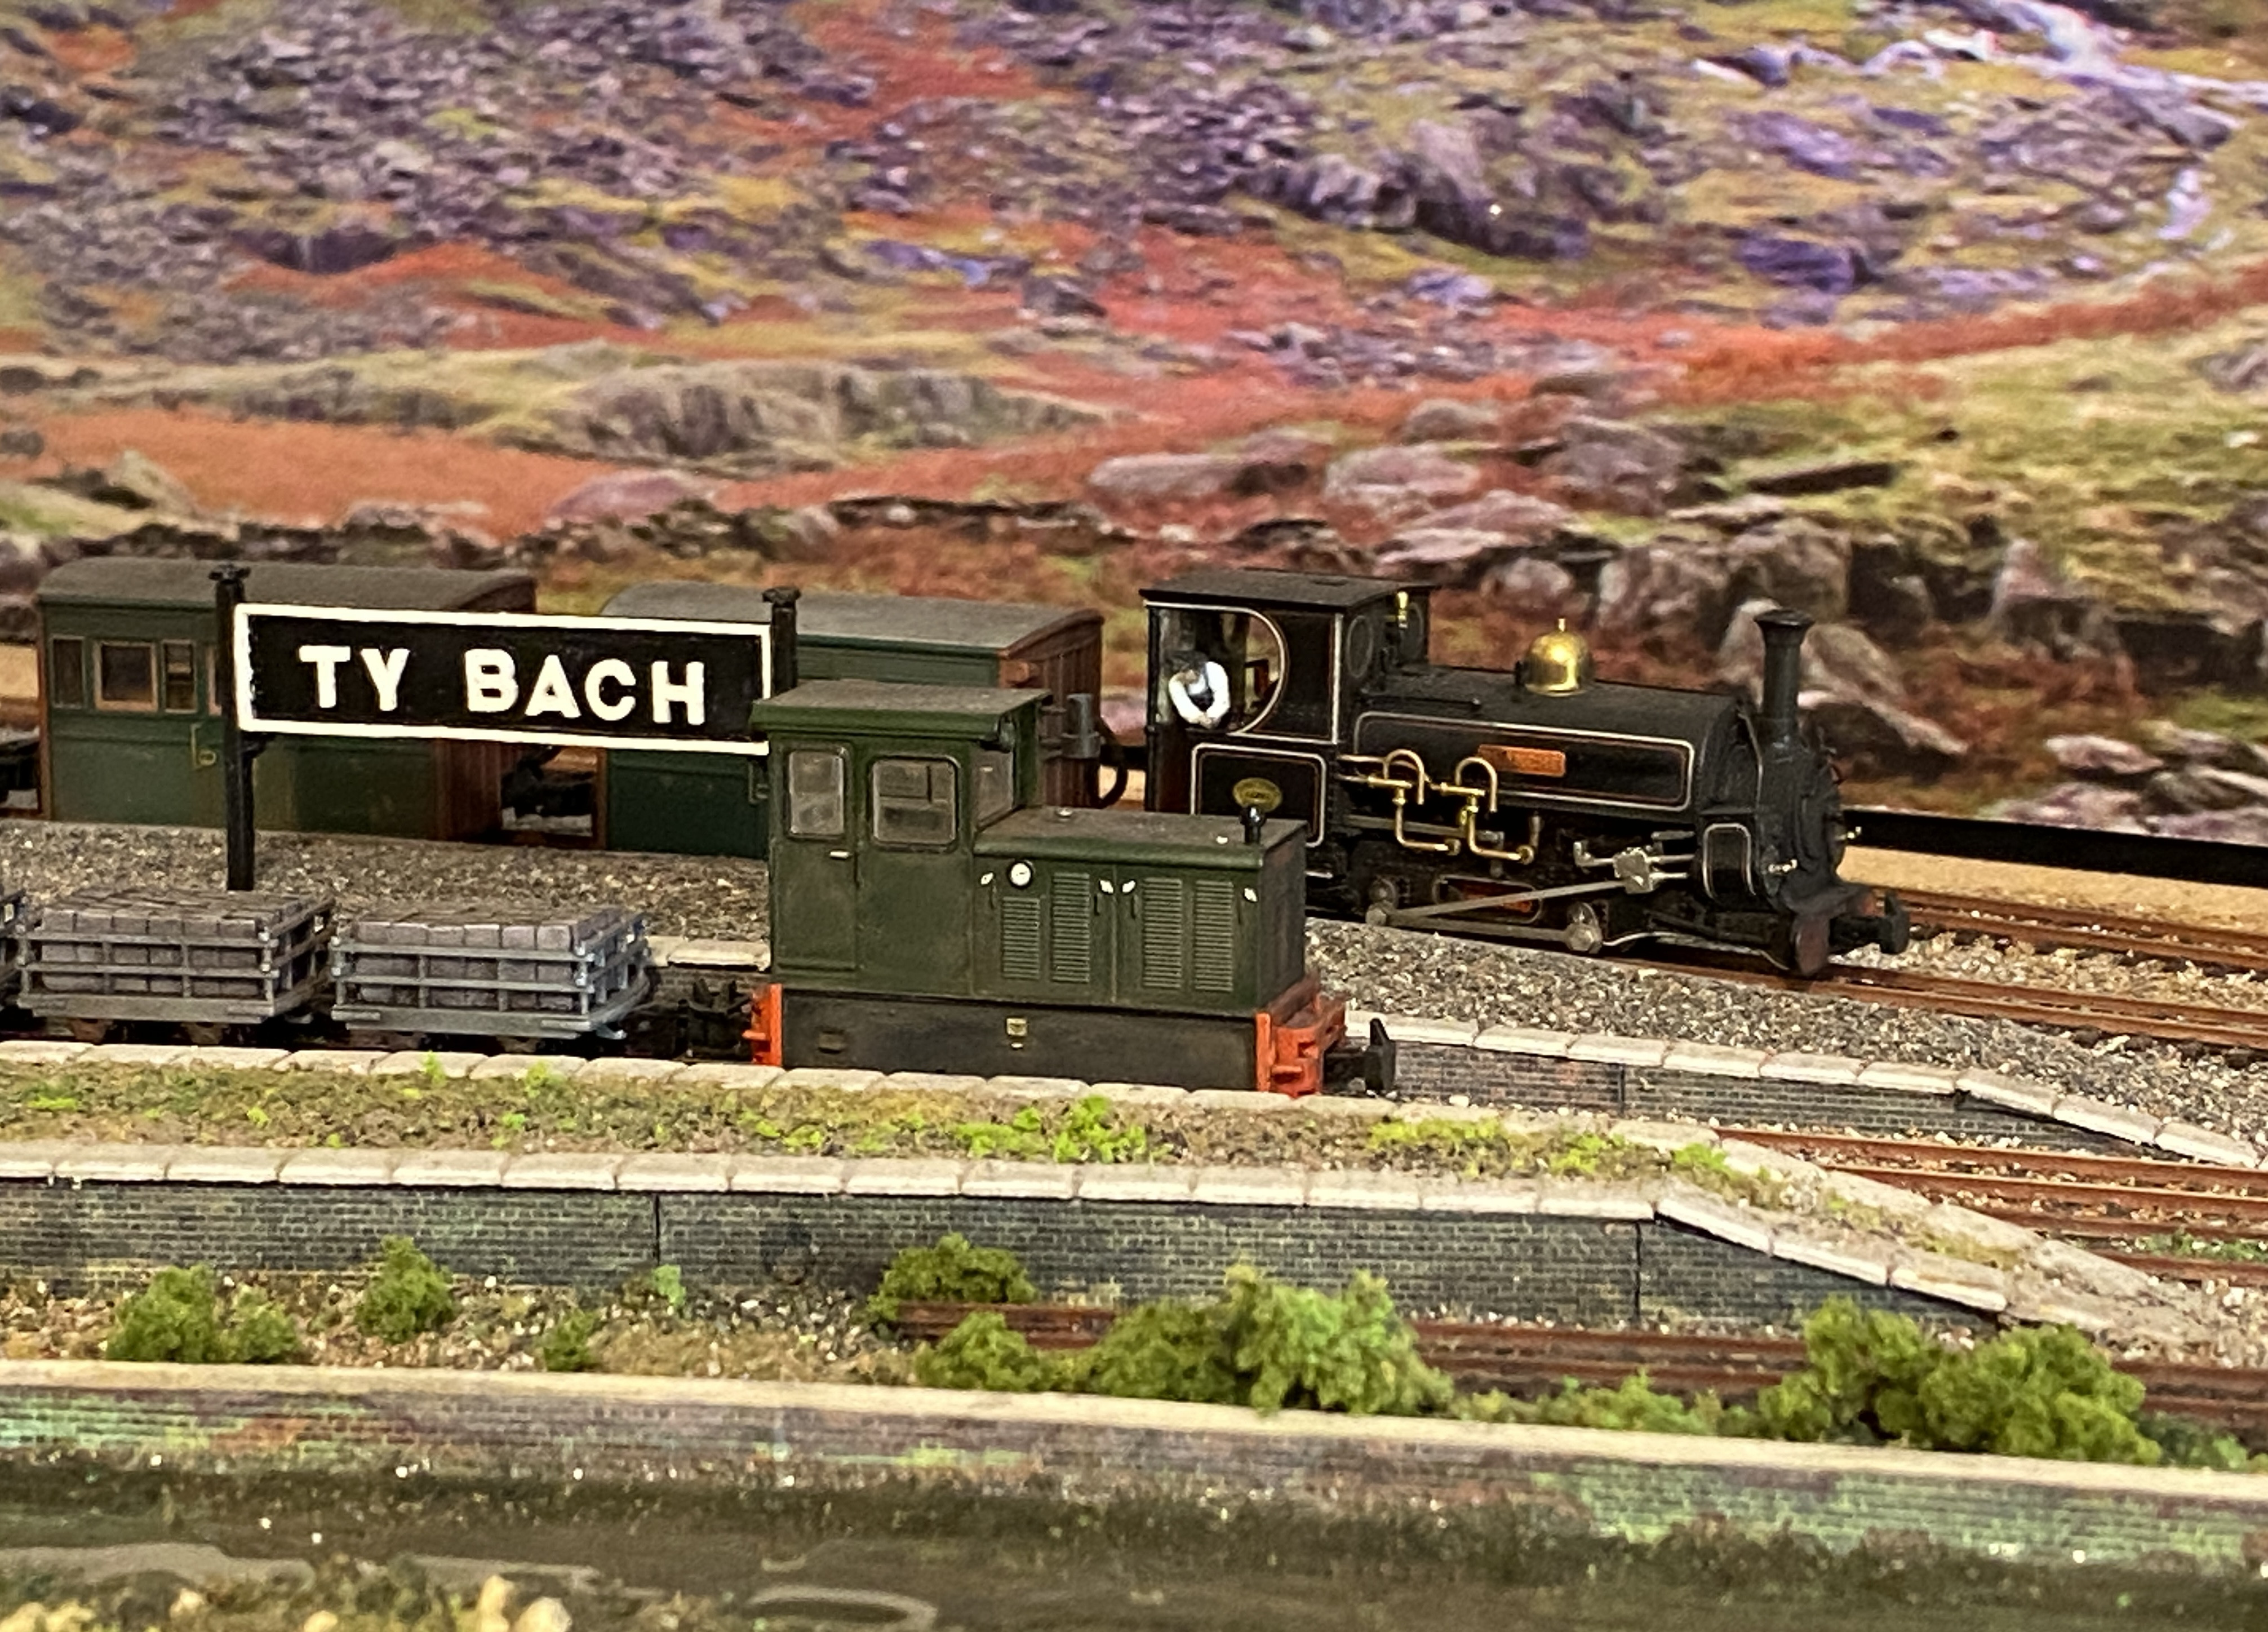
….. in the meantime the engineer’s van left at the end of the disused platform has been weathered. A mix of black, brown, rust and green powders.
In the same session the last remaining pristine N-gauge wagon - the long wheelbase 4-wheeler abandoned farther along the platform - has also been weathered and has grown some weeds.
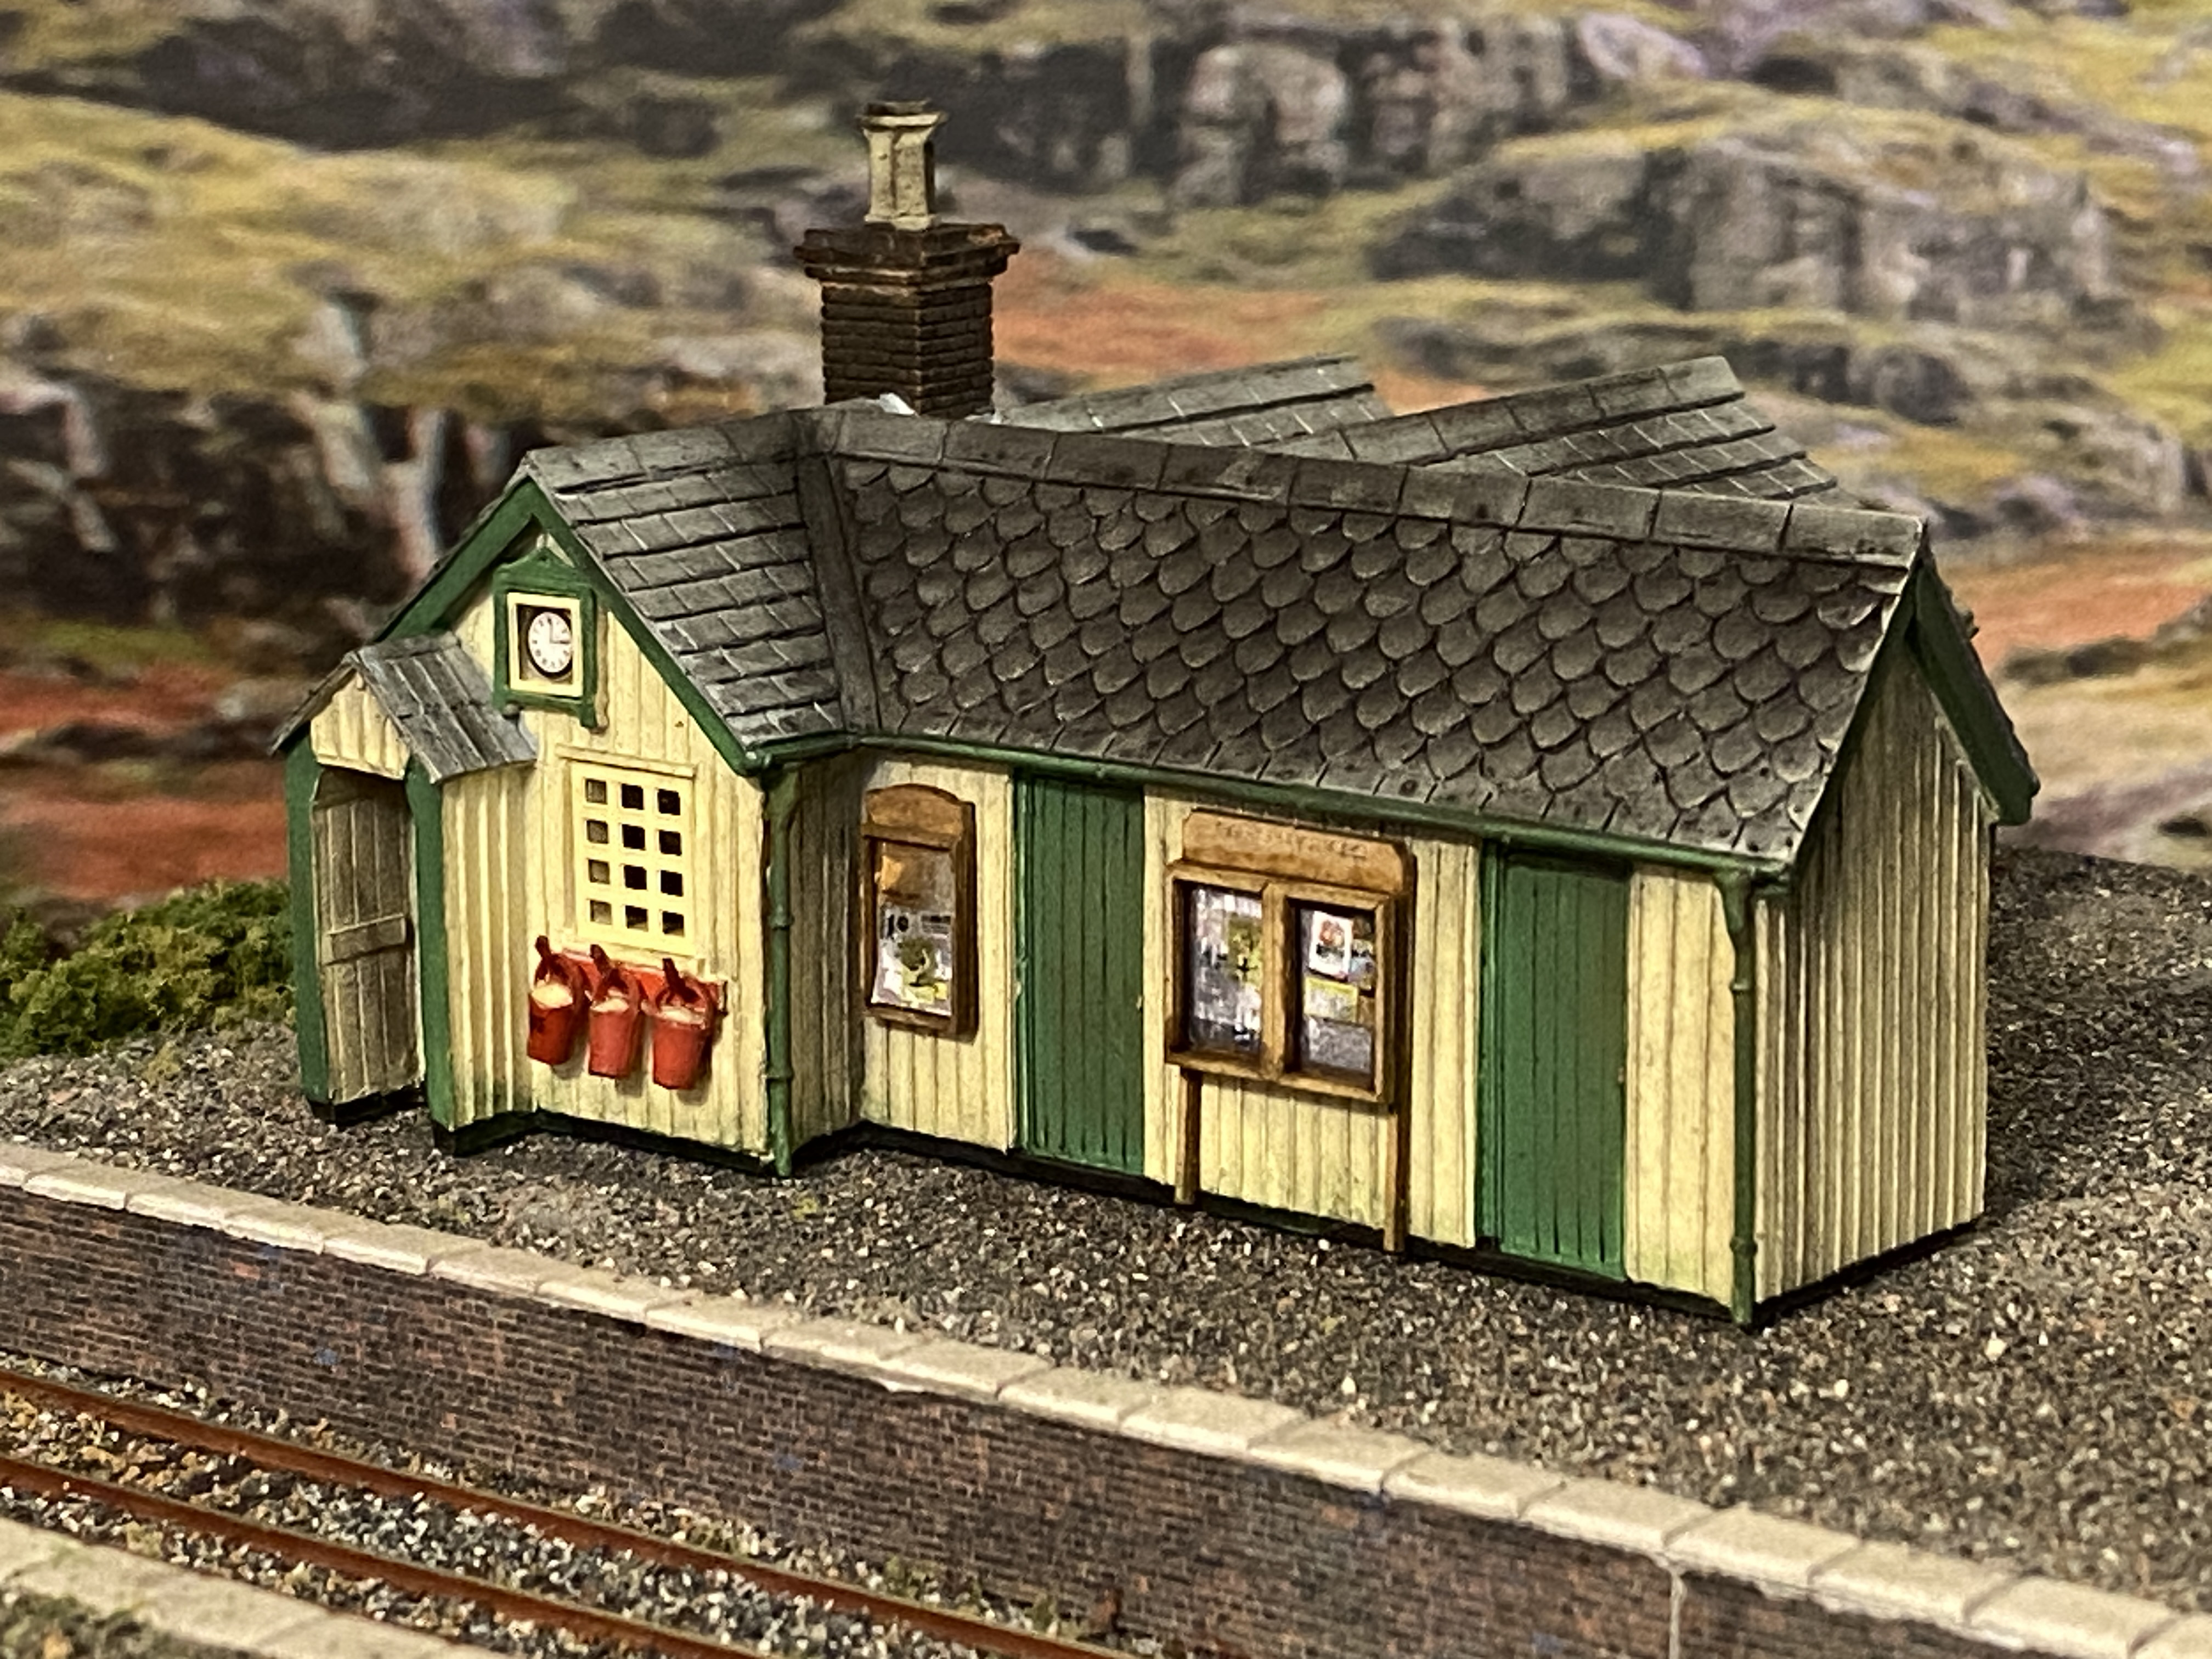
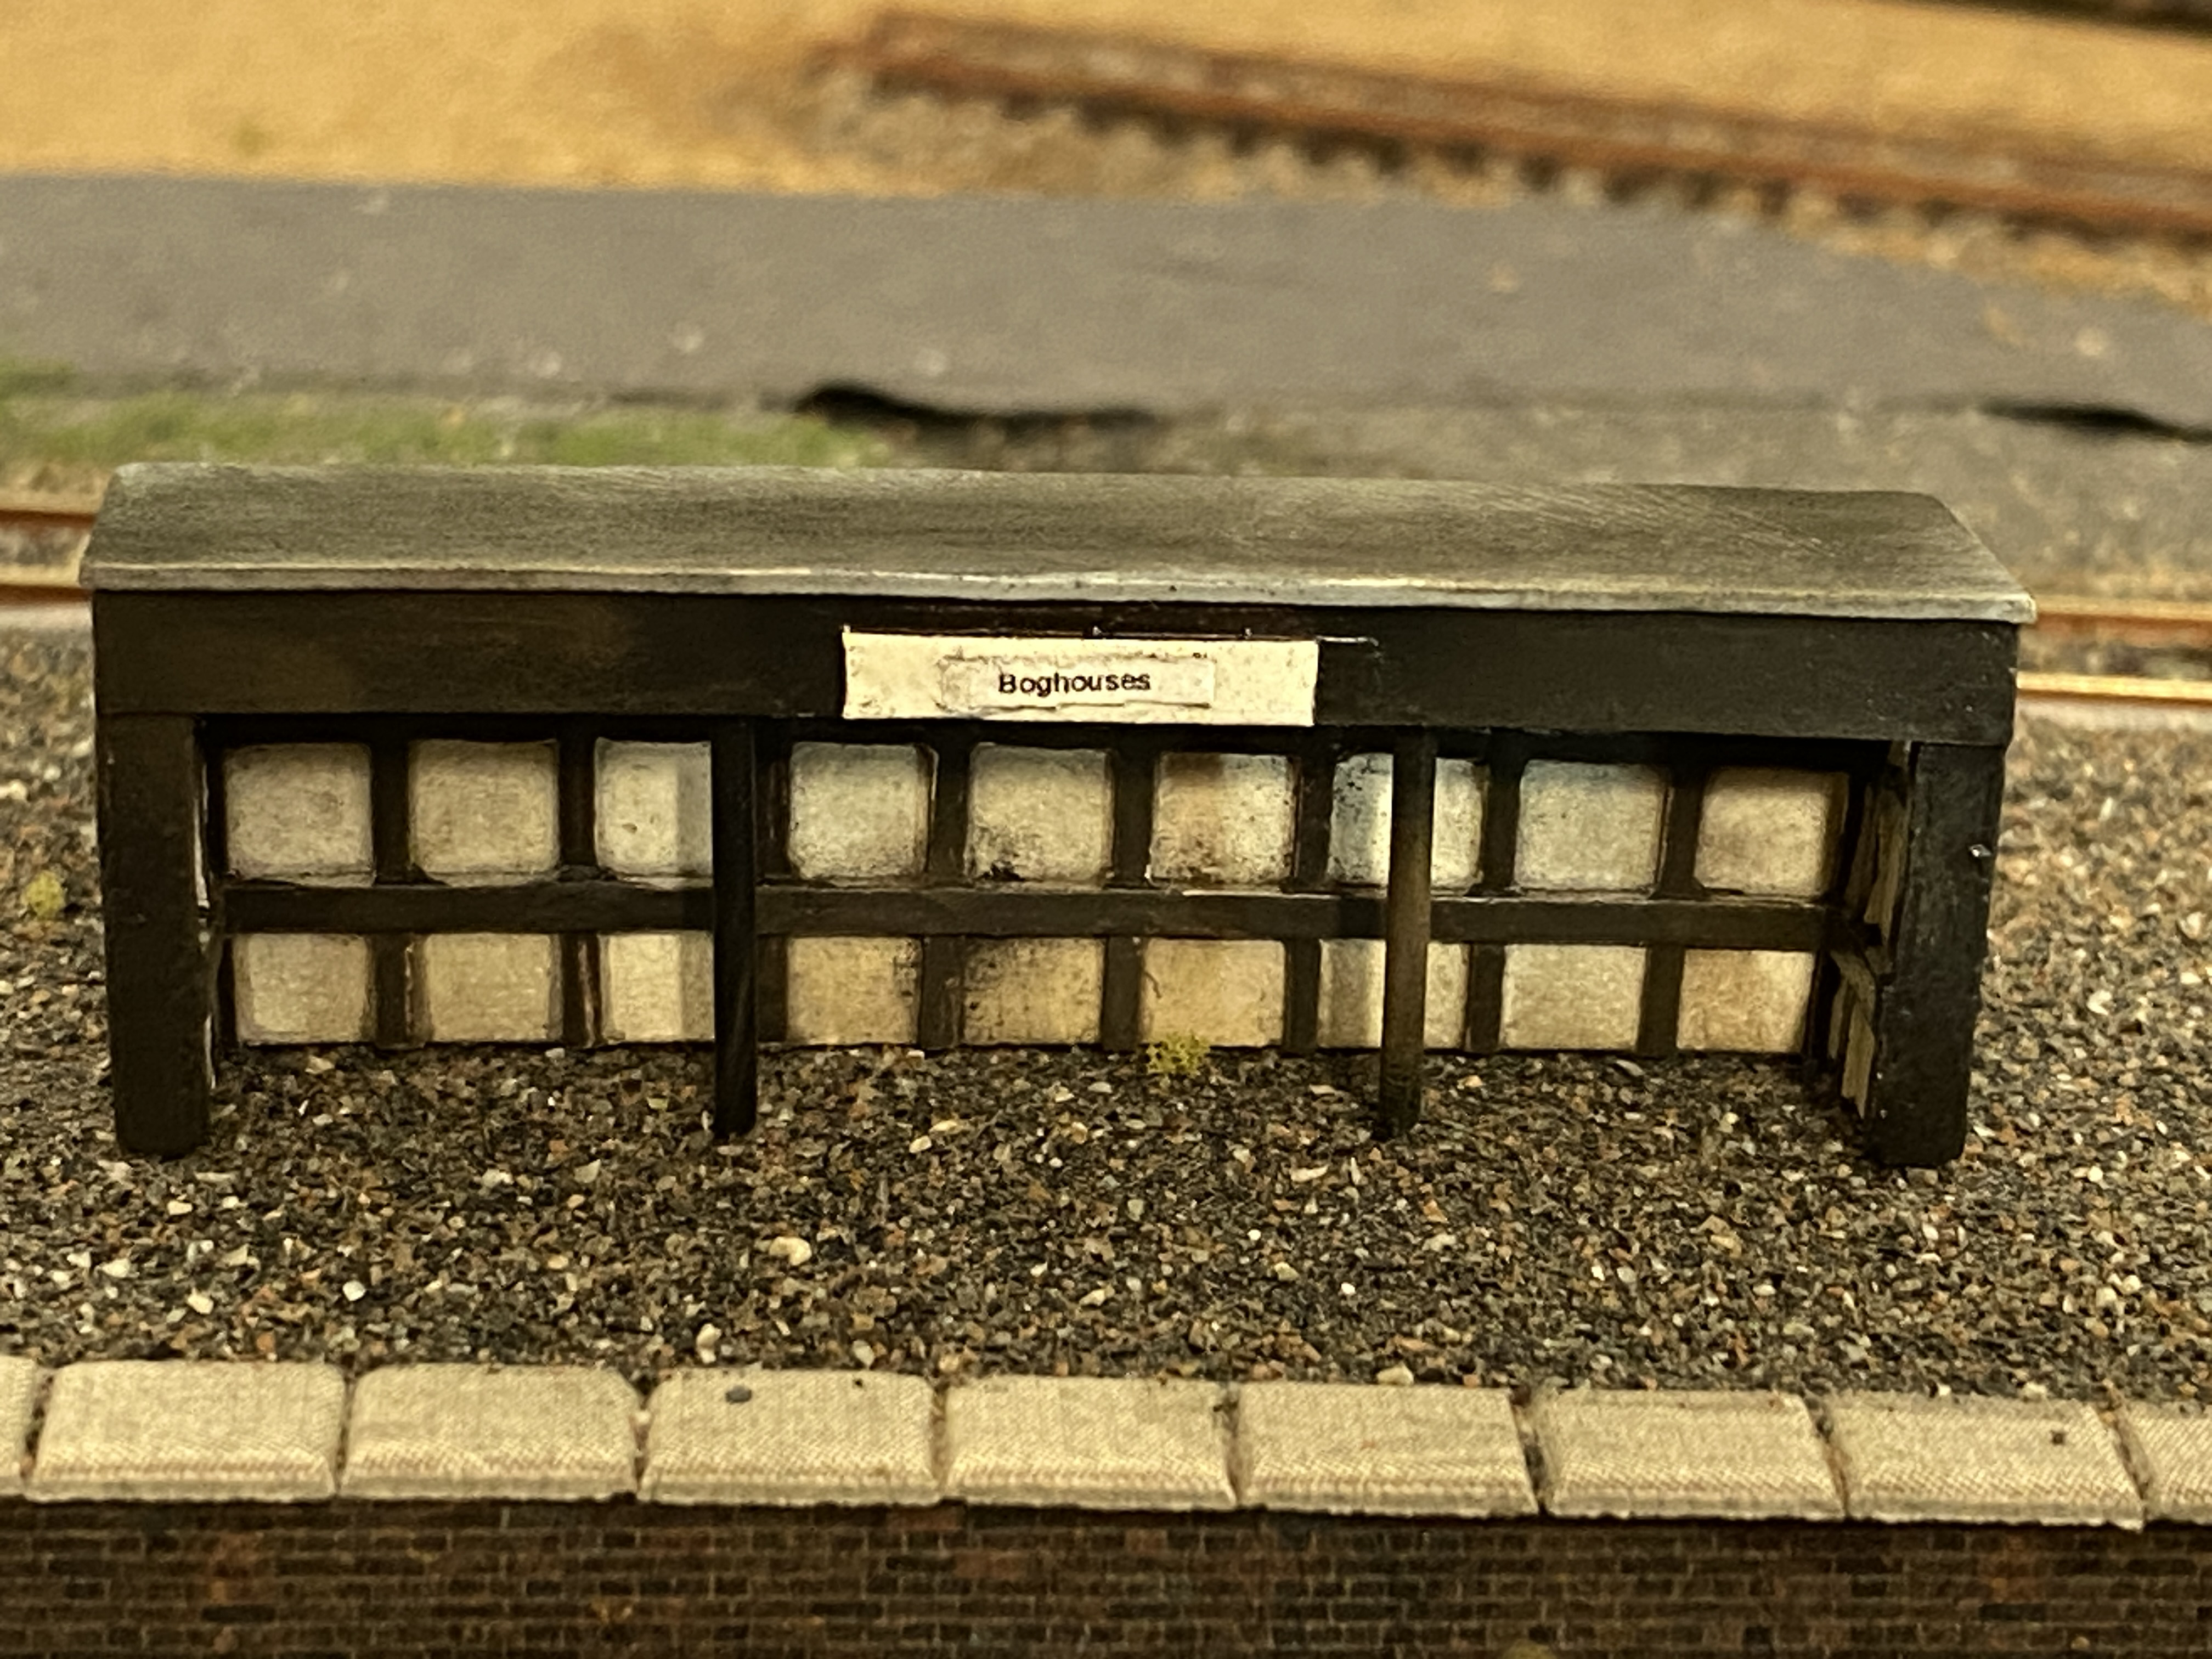
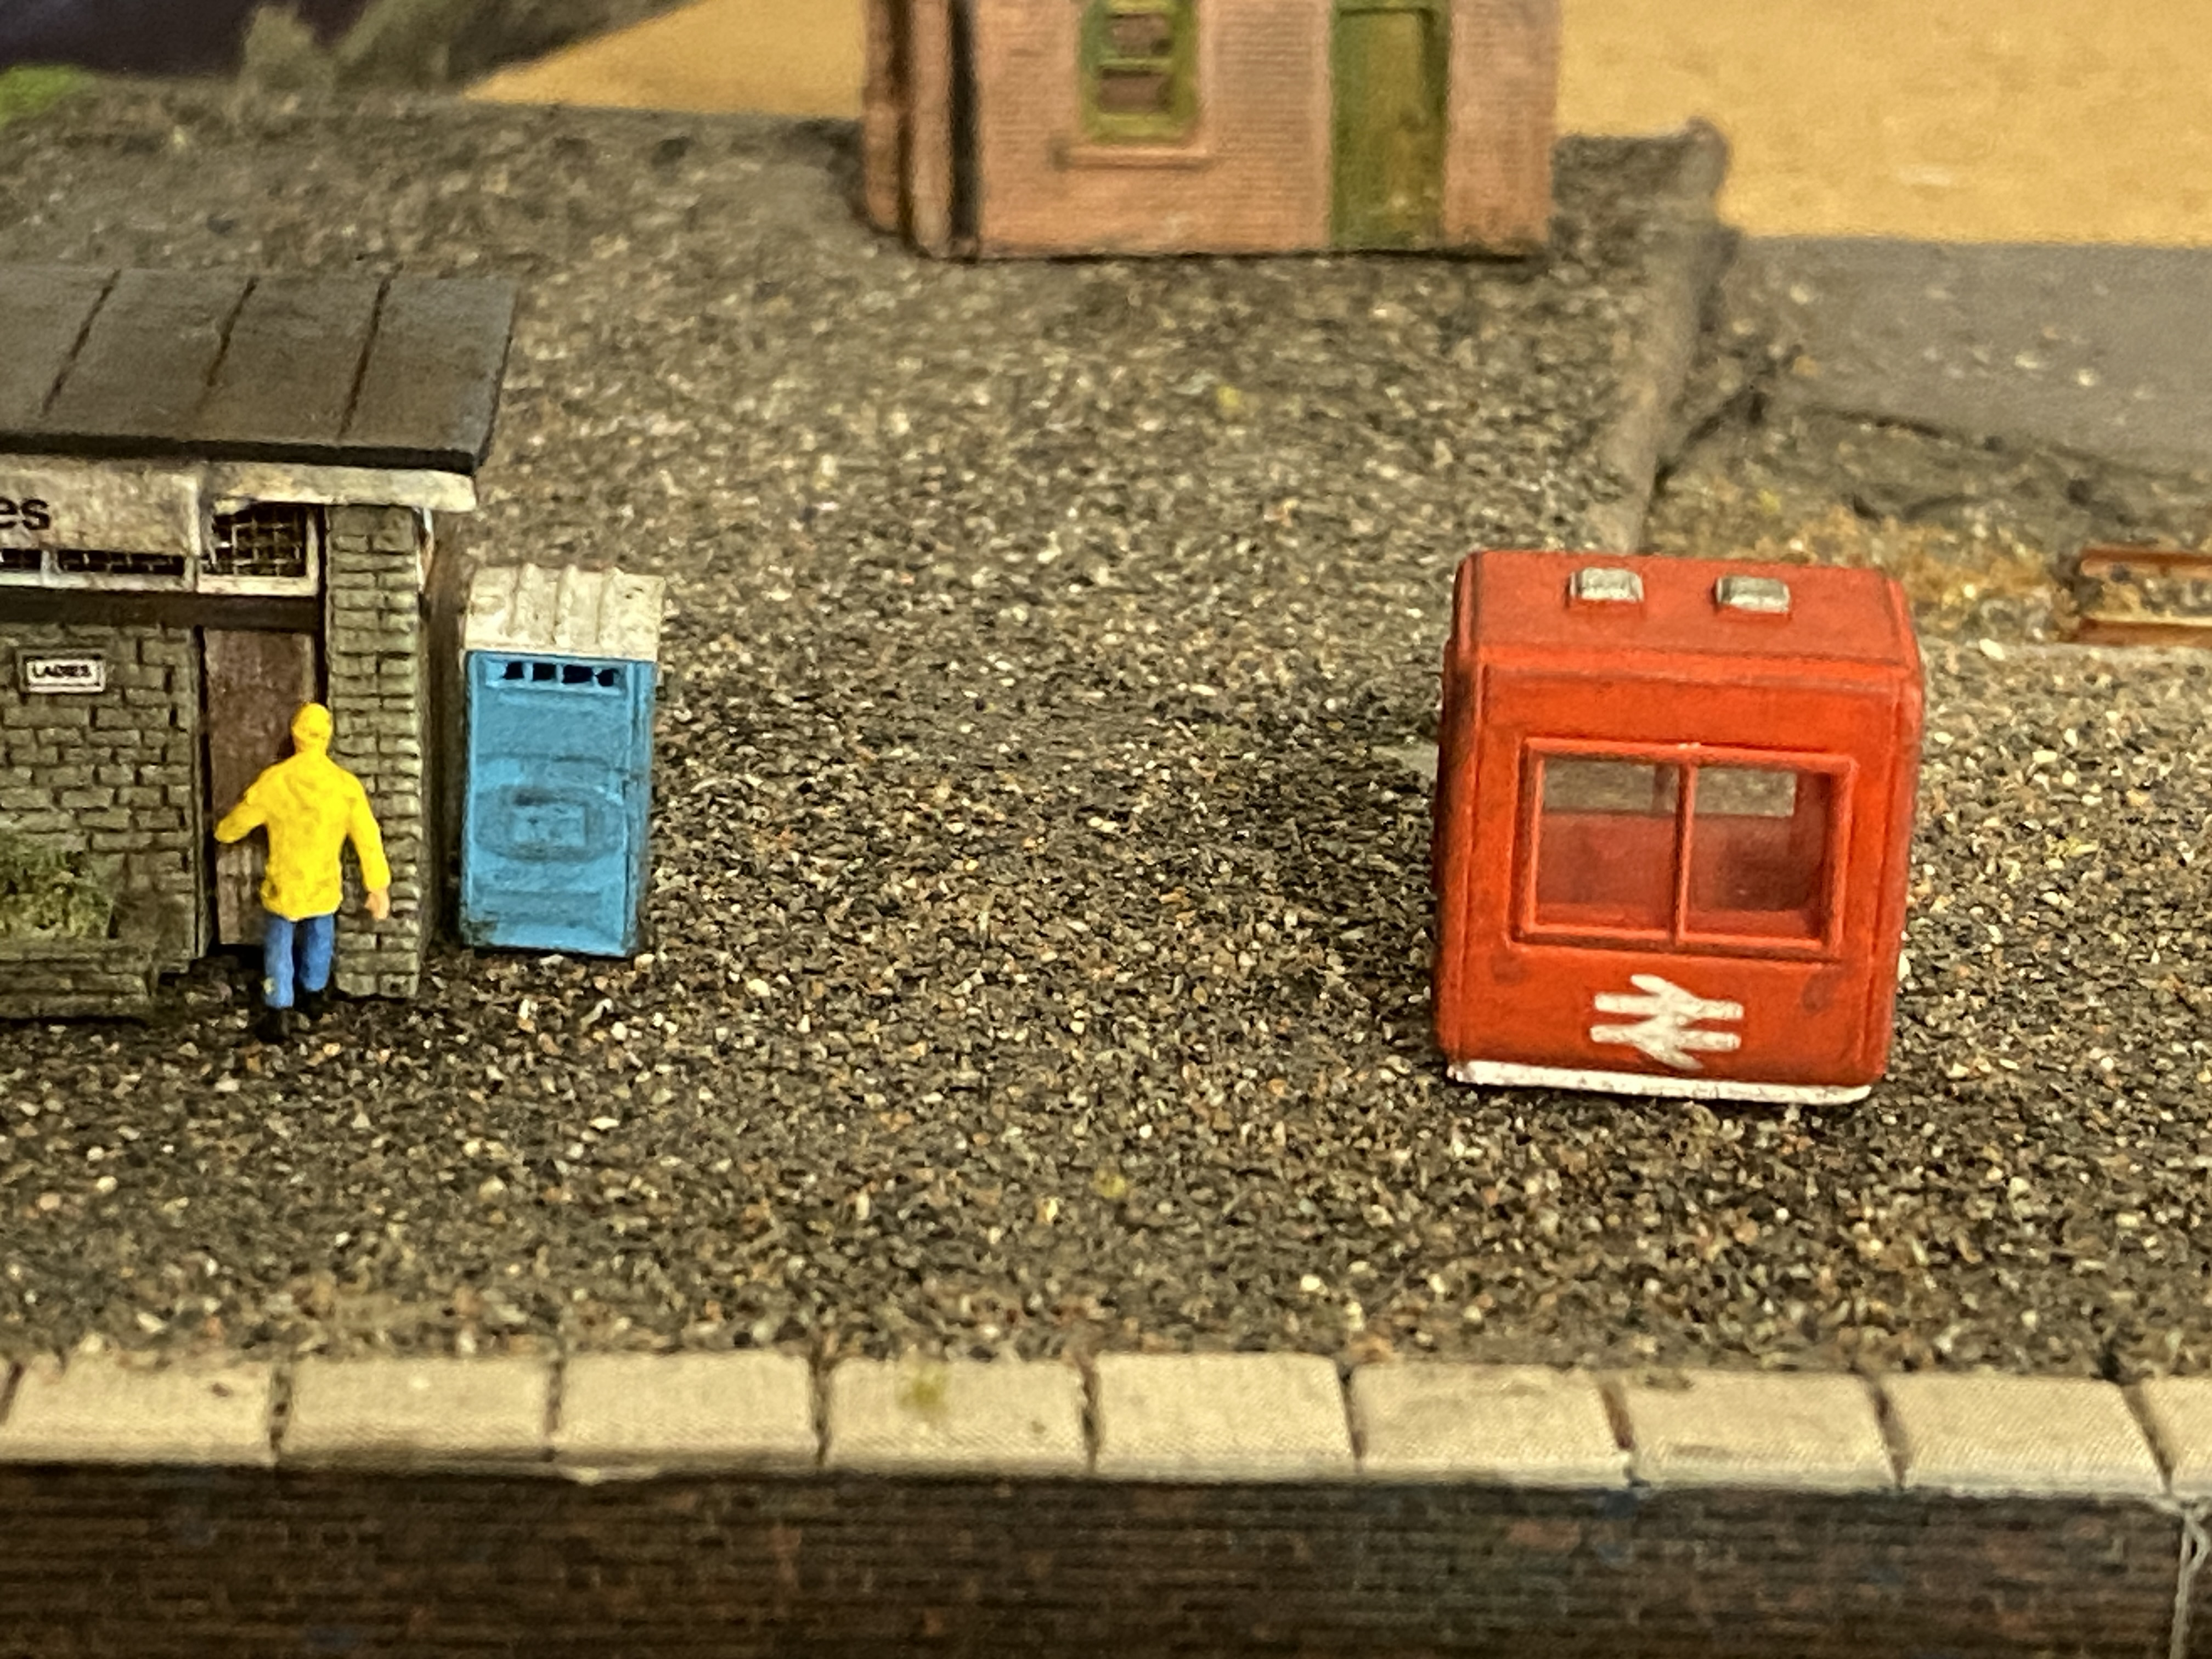
With a little powder left on the brush I “dry-brushed” light weathering onto the Boghouses shelter, BR kiosk and portaloo.
Posted
Full Member
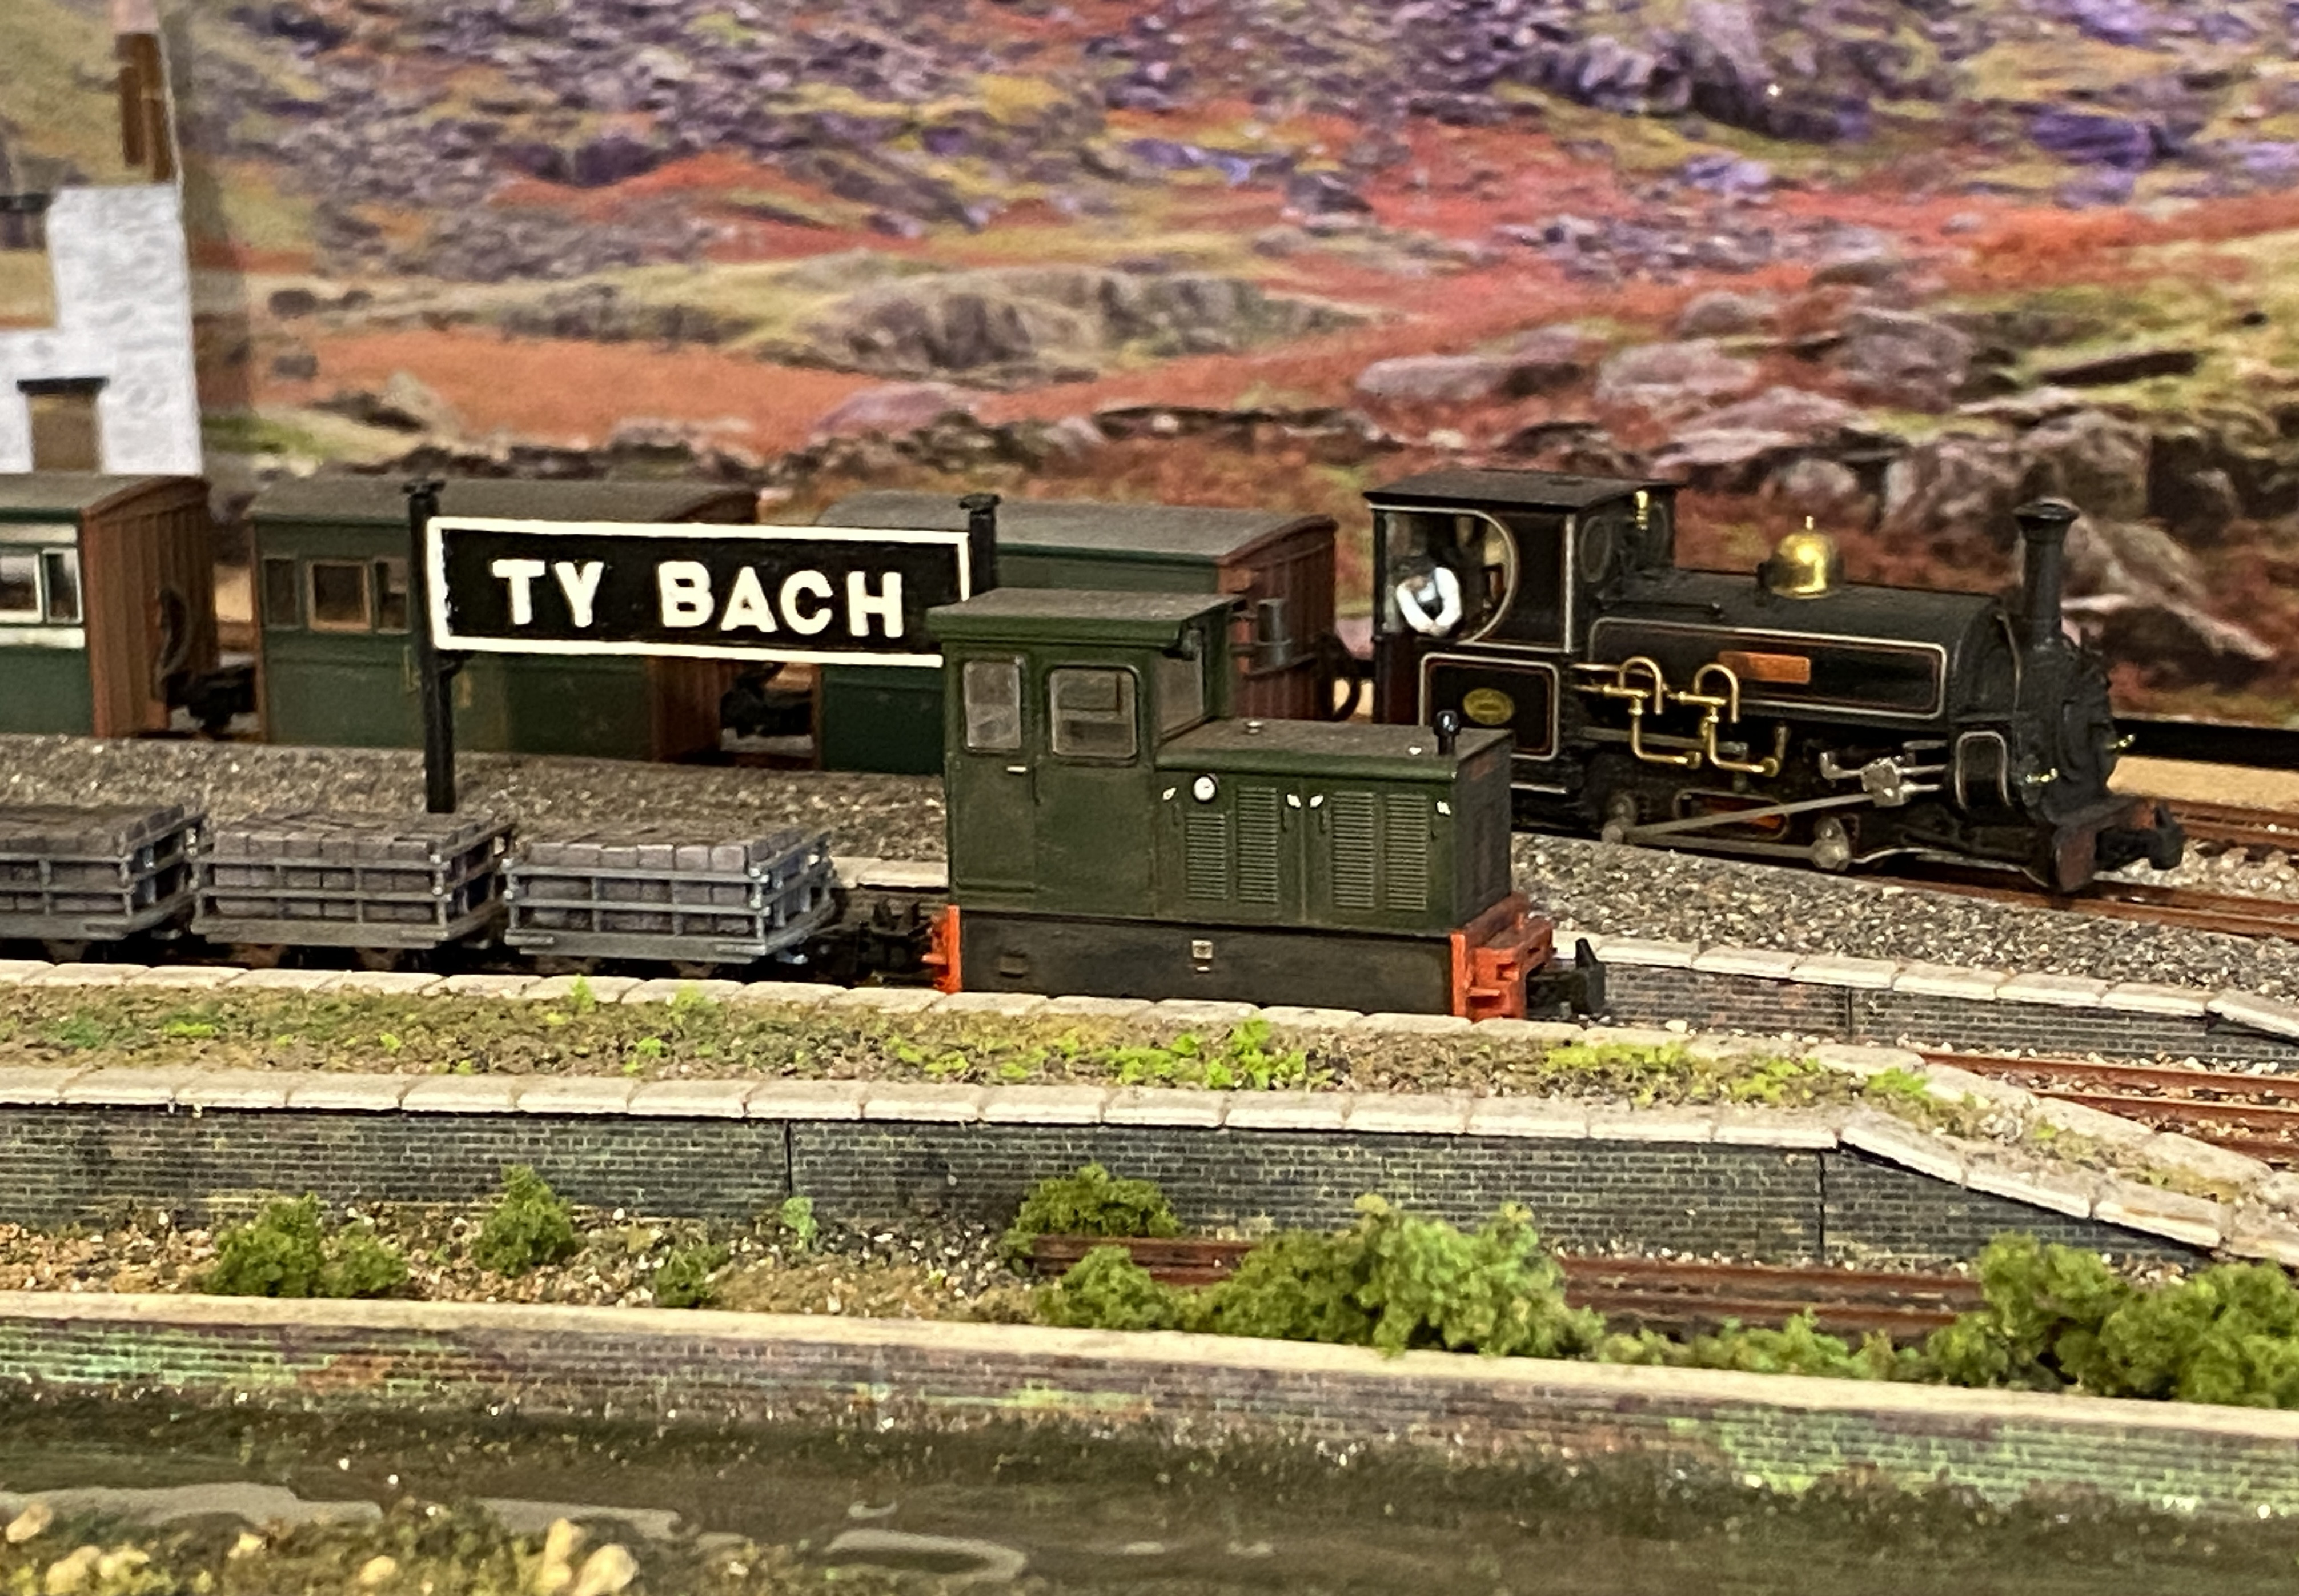
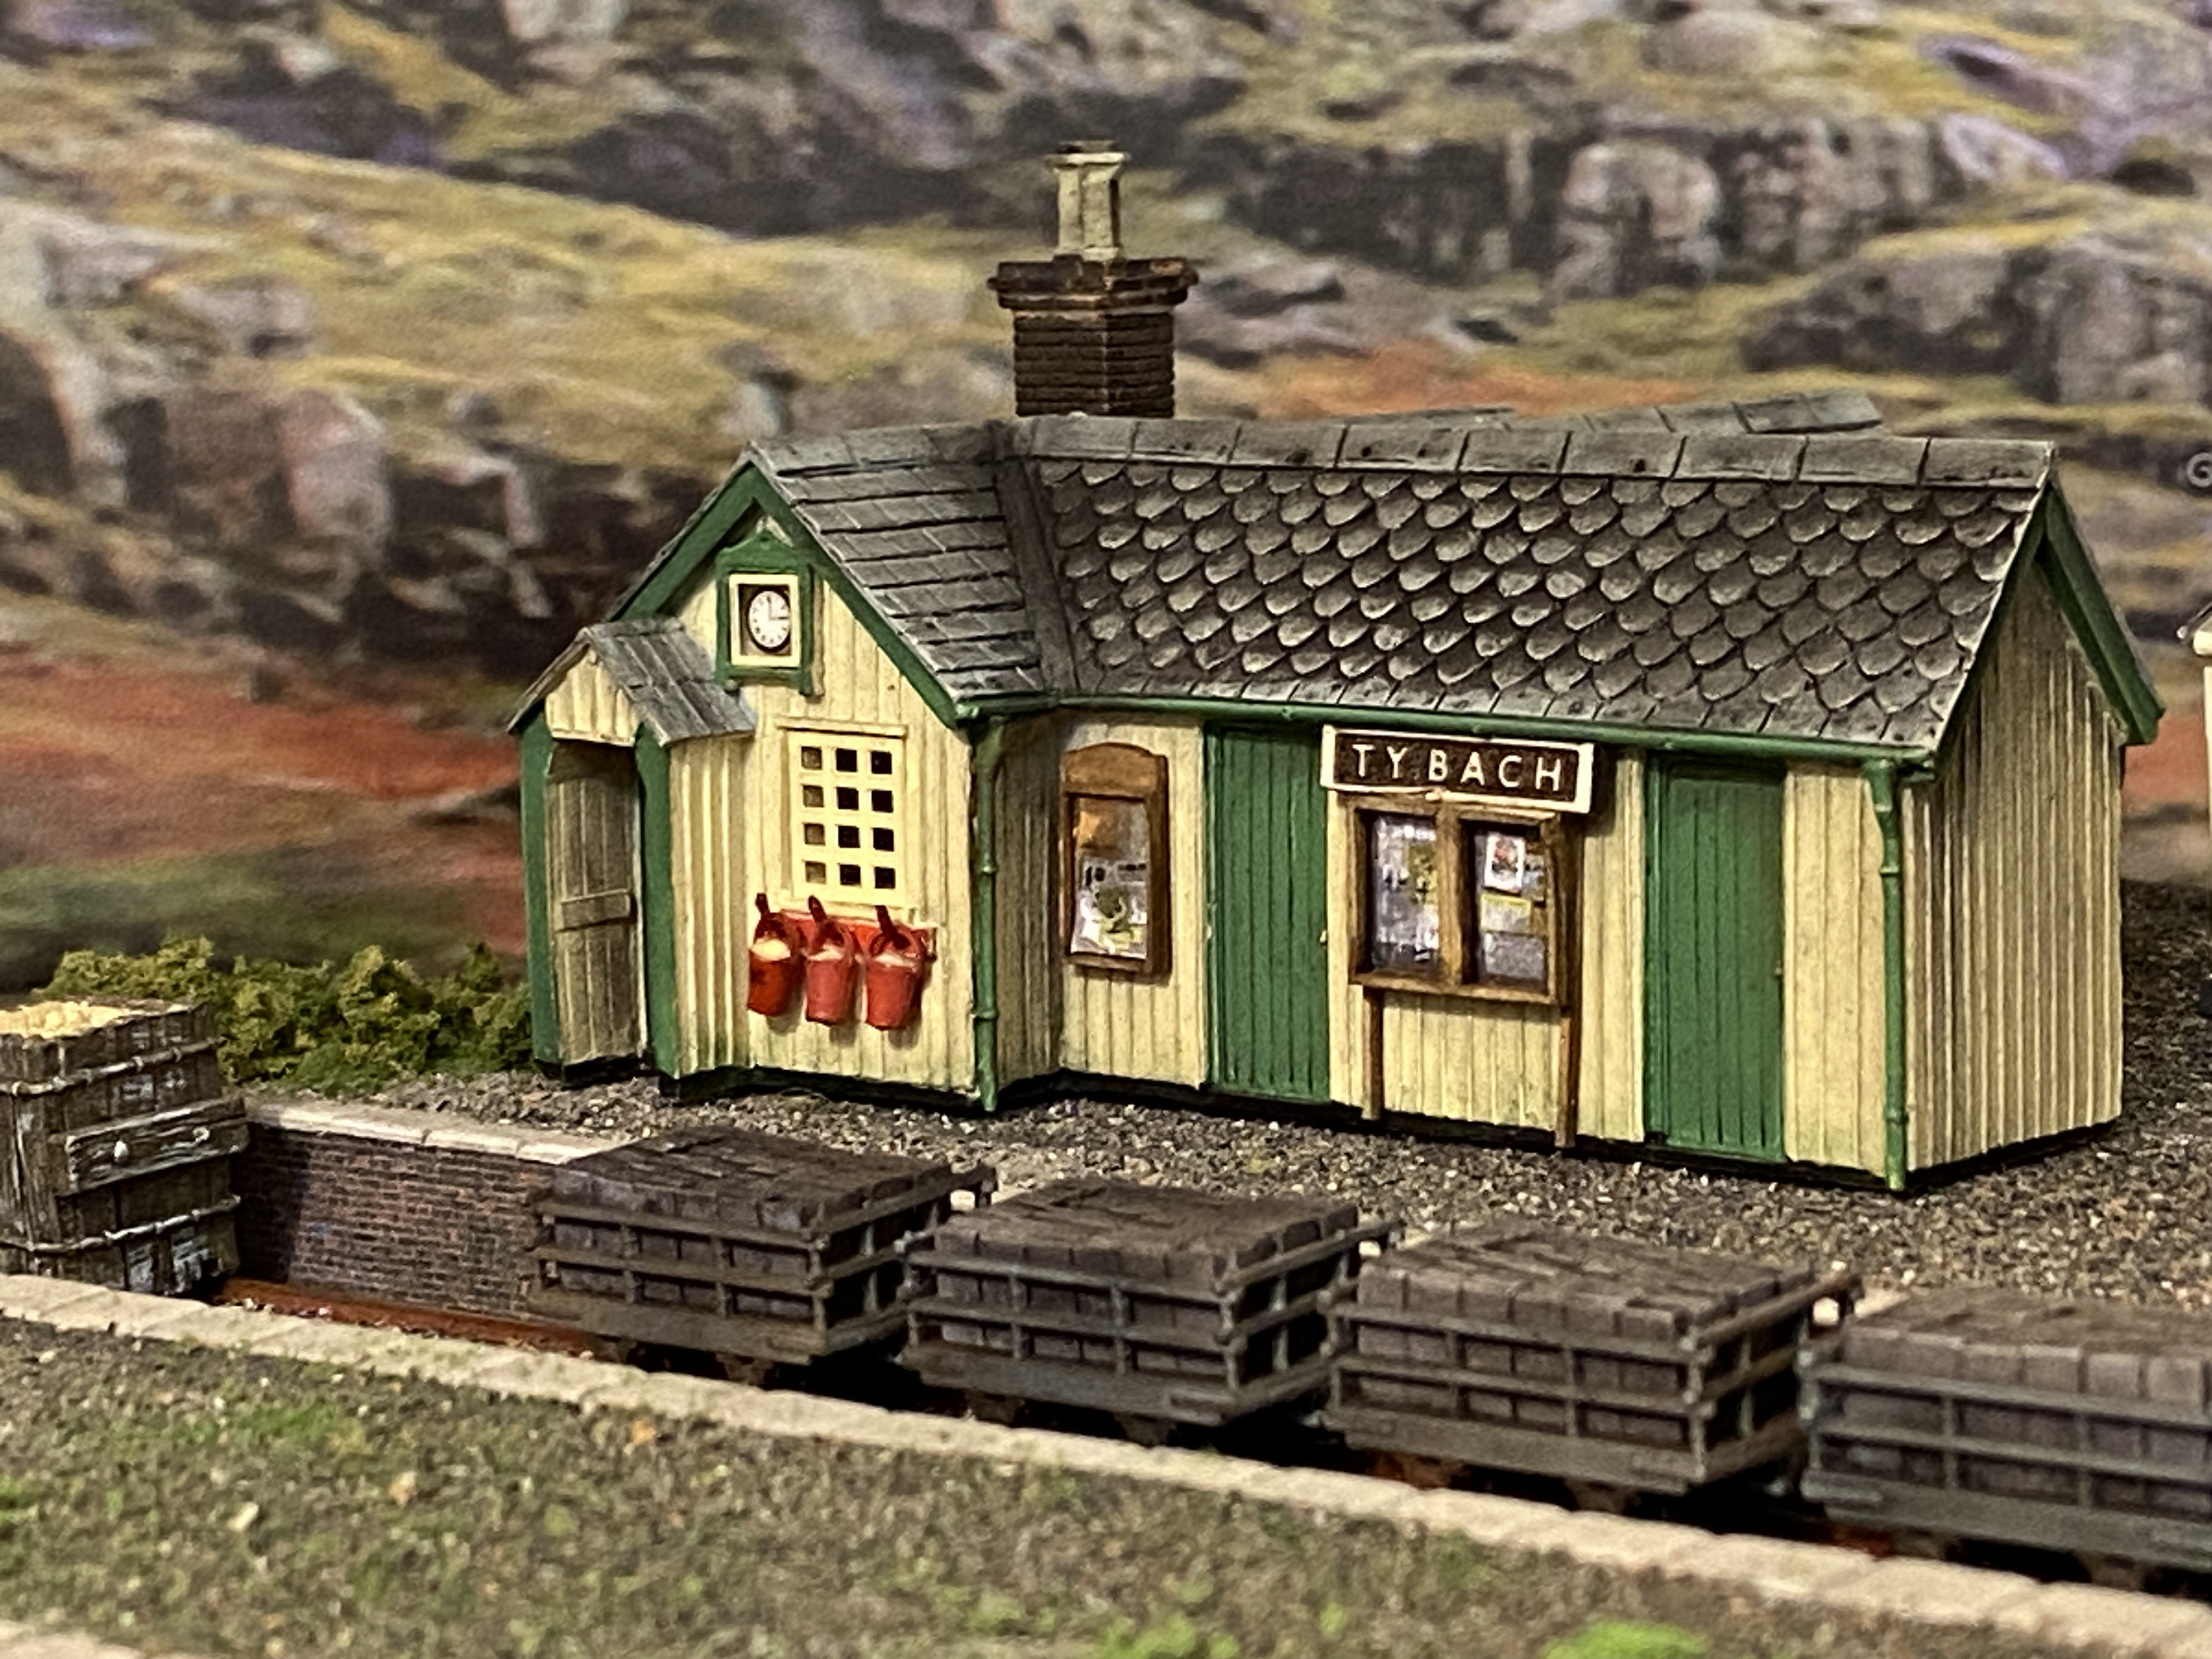
Tŷ Bach has gained a name sign thanks to a Scale Model Scenery kit. It has also gained a couple of what are described as TT120 signs but which, when measured, would be a bit small even for N-gauge. As they are required for 00-9 I have had to think where they might go.
As custom-made items they cannot be returned as being “not as described” but the cost was only a few £ so a little adjustment will see them used anyway. The first has had its legs removed and, with some delicate filing down, has been fitted to the station building above the main notice board.
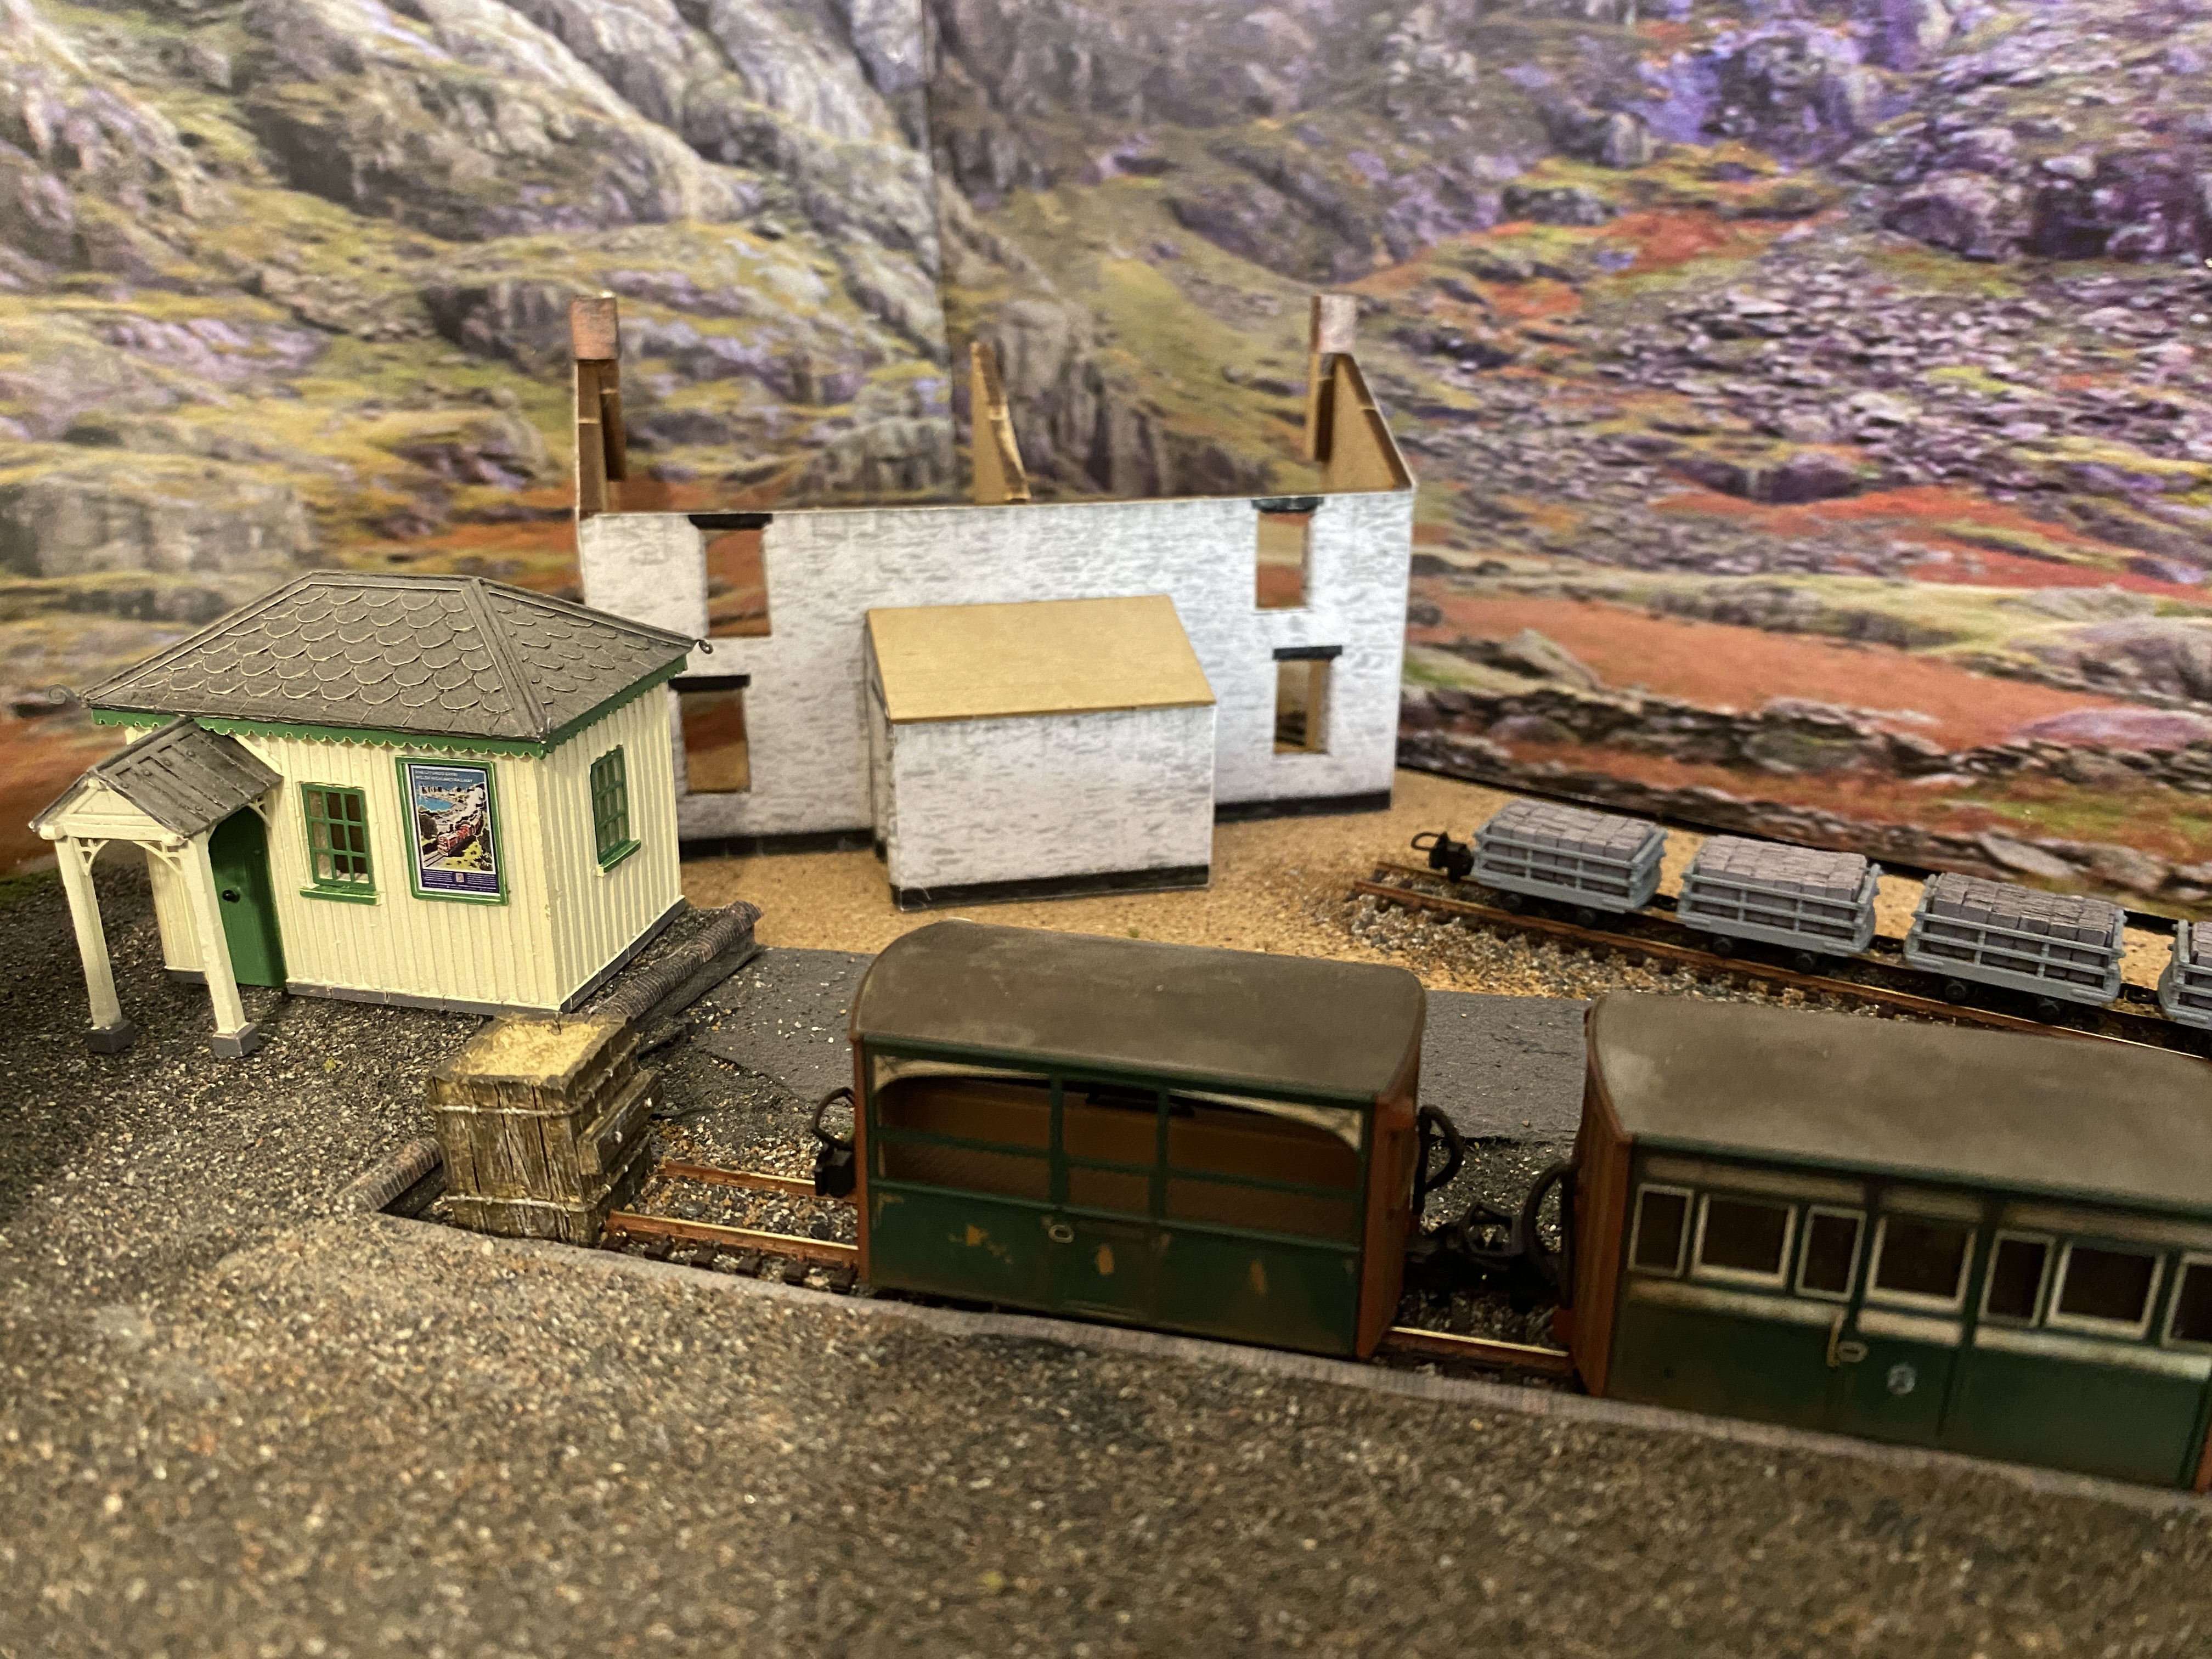
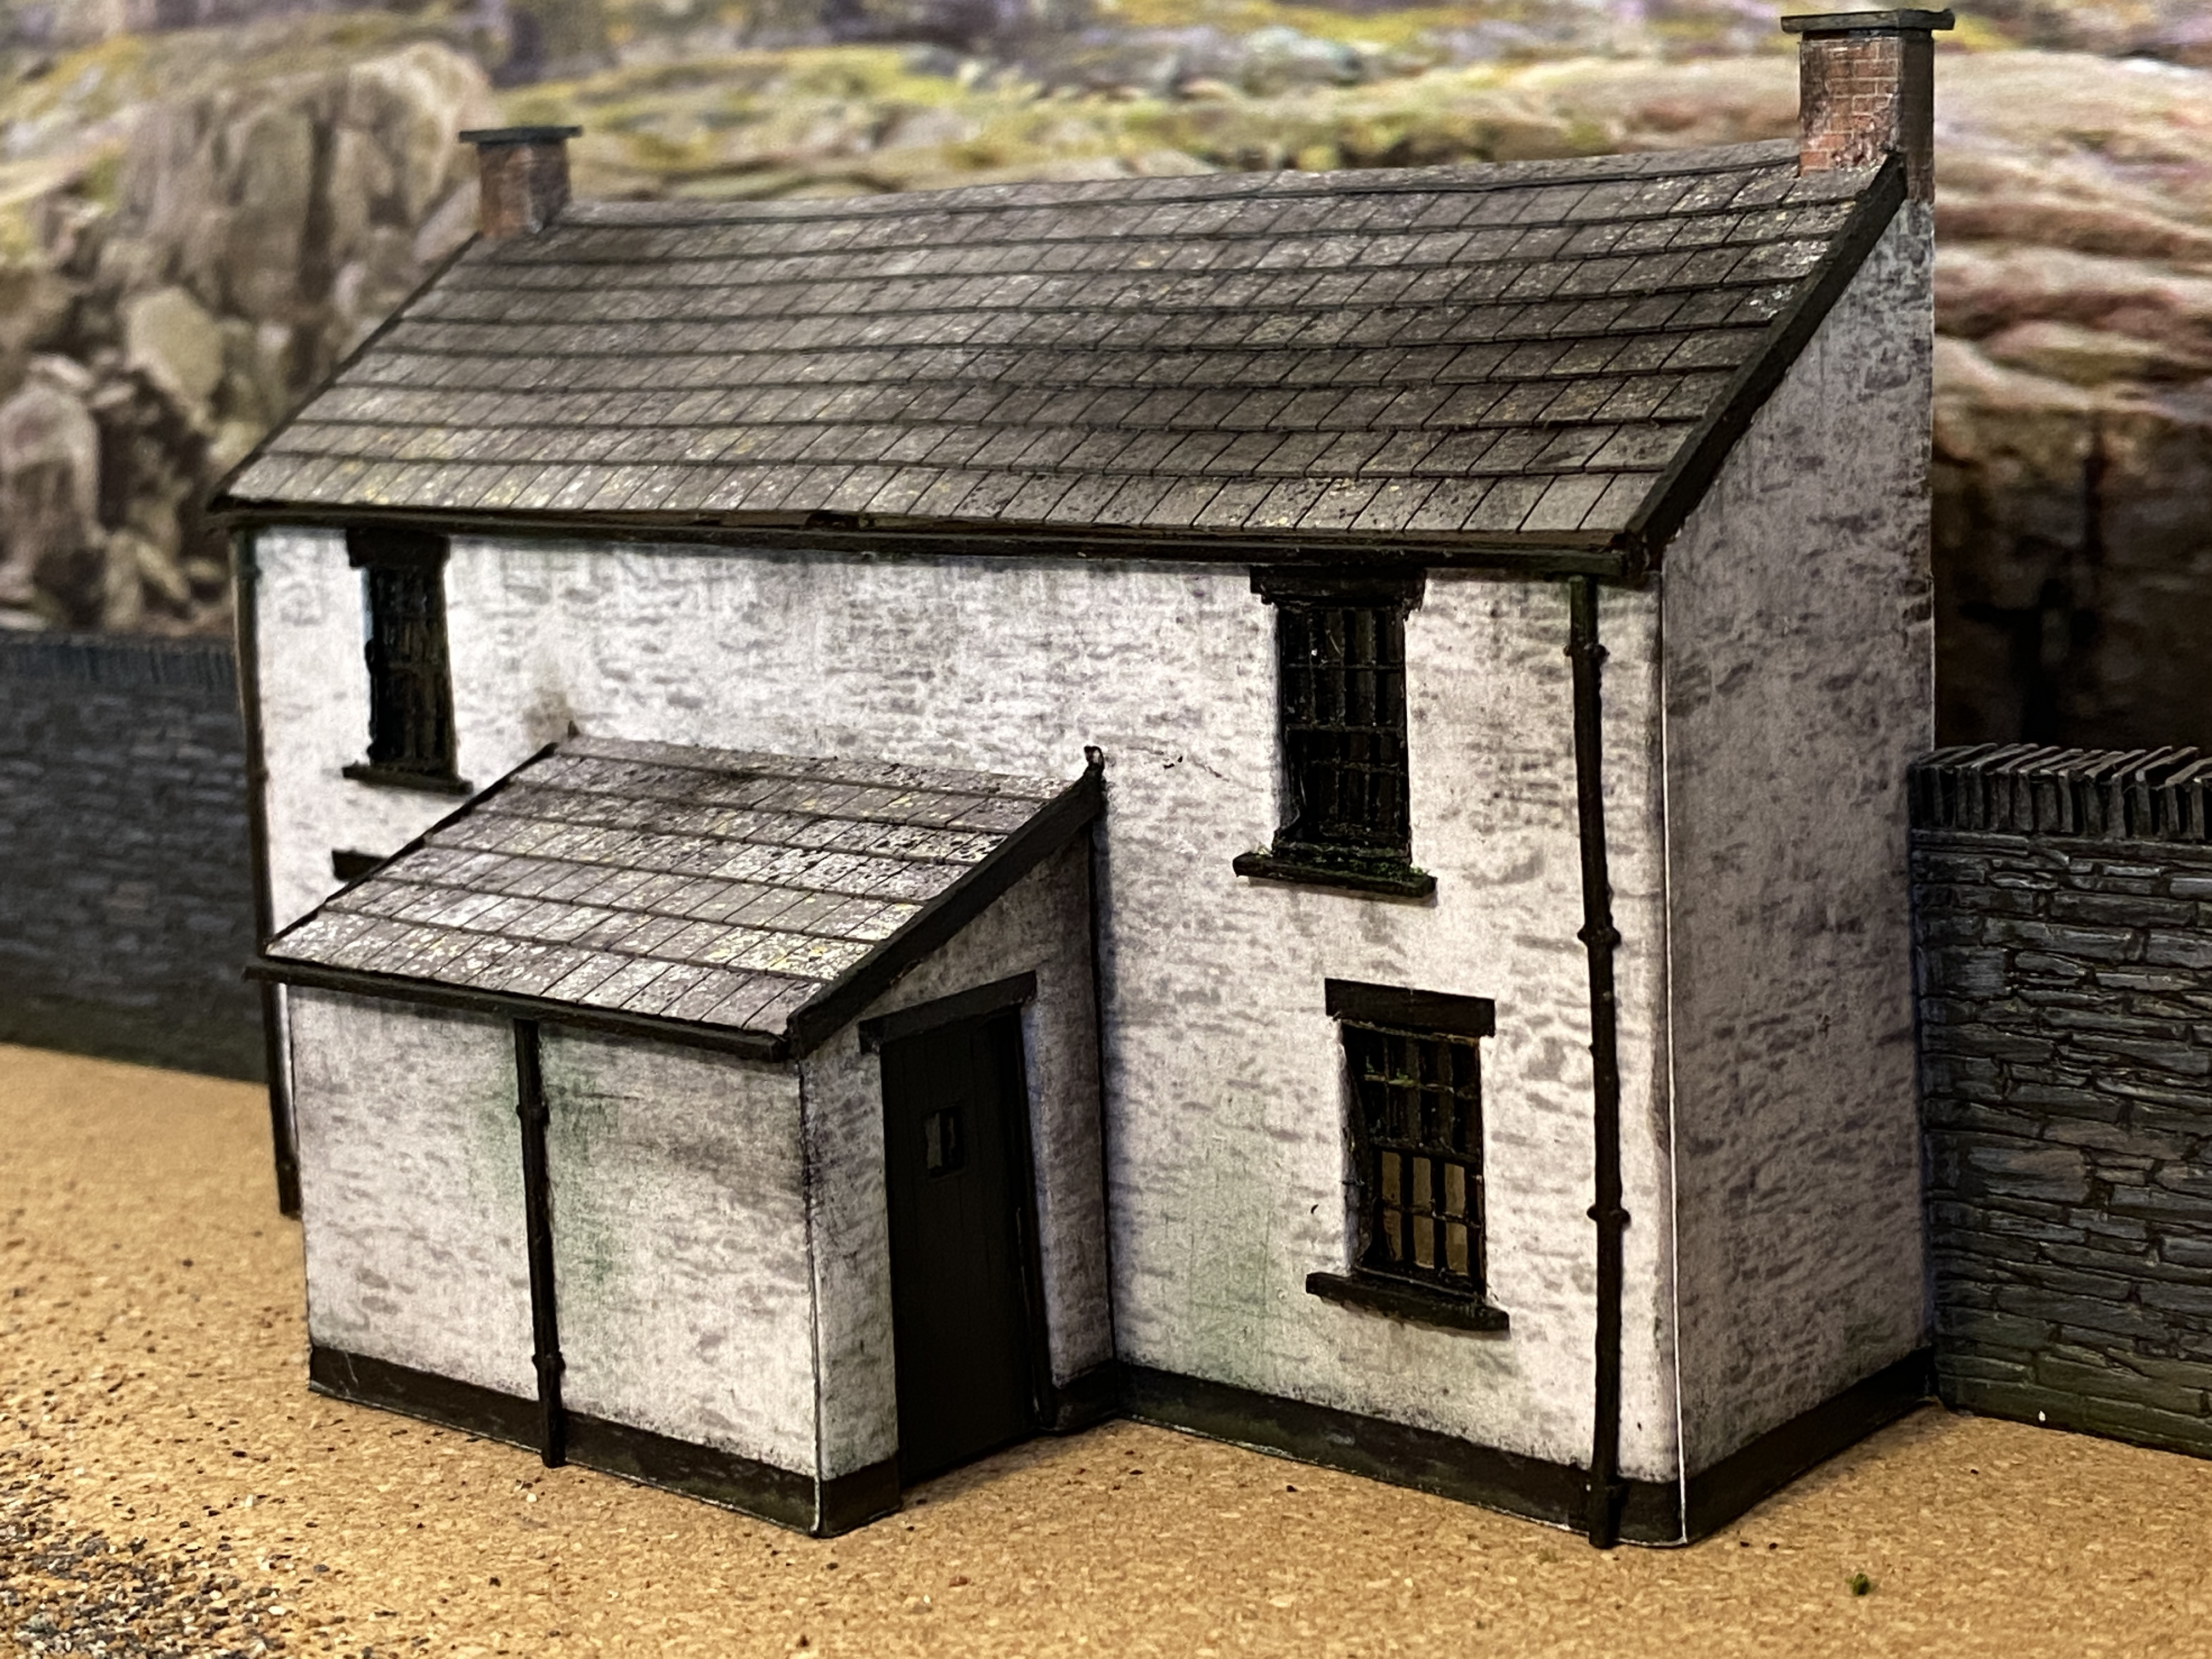
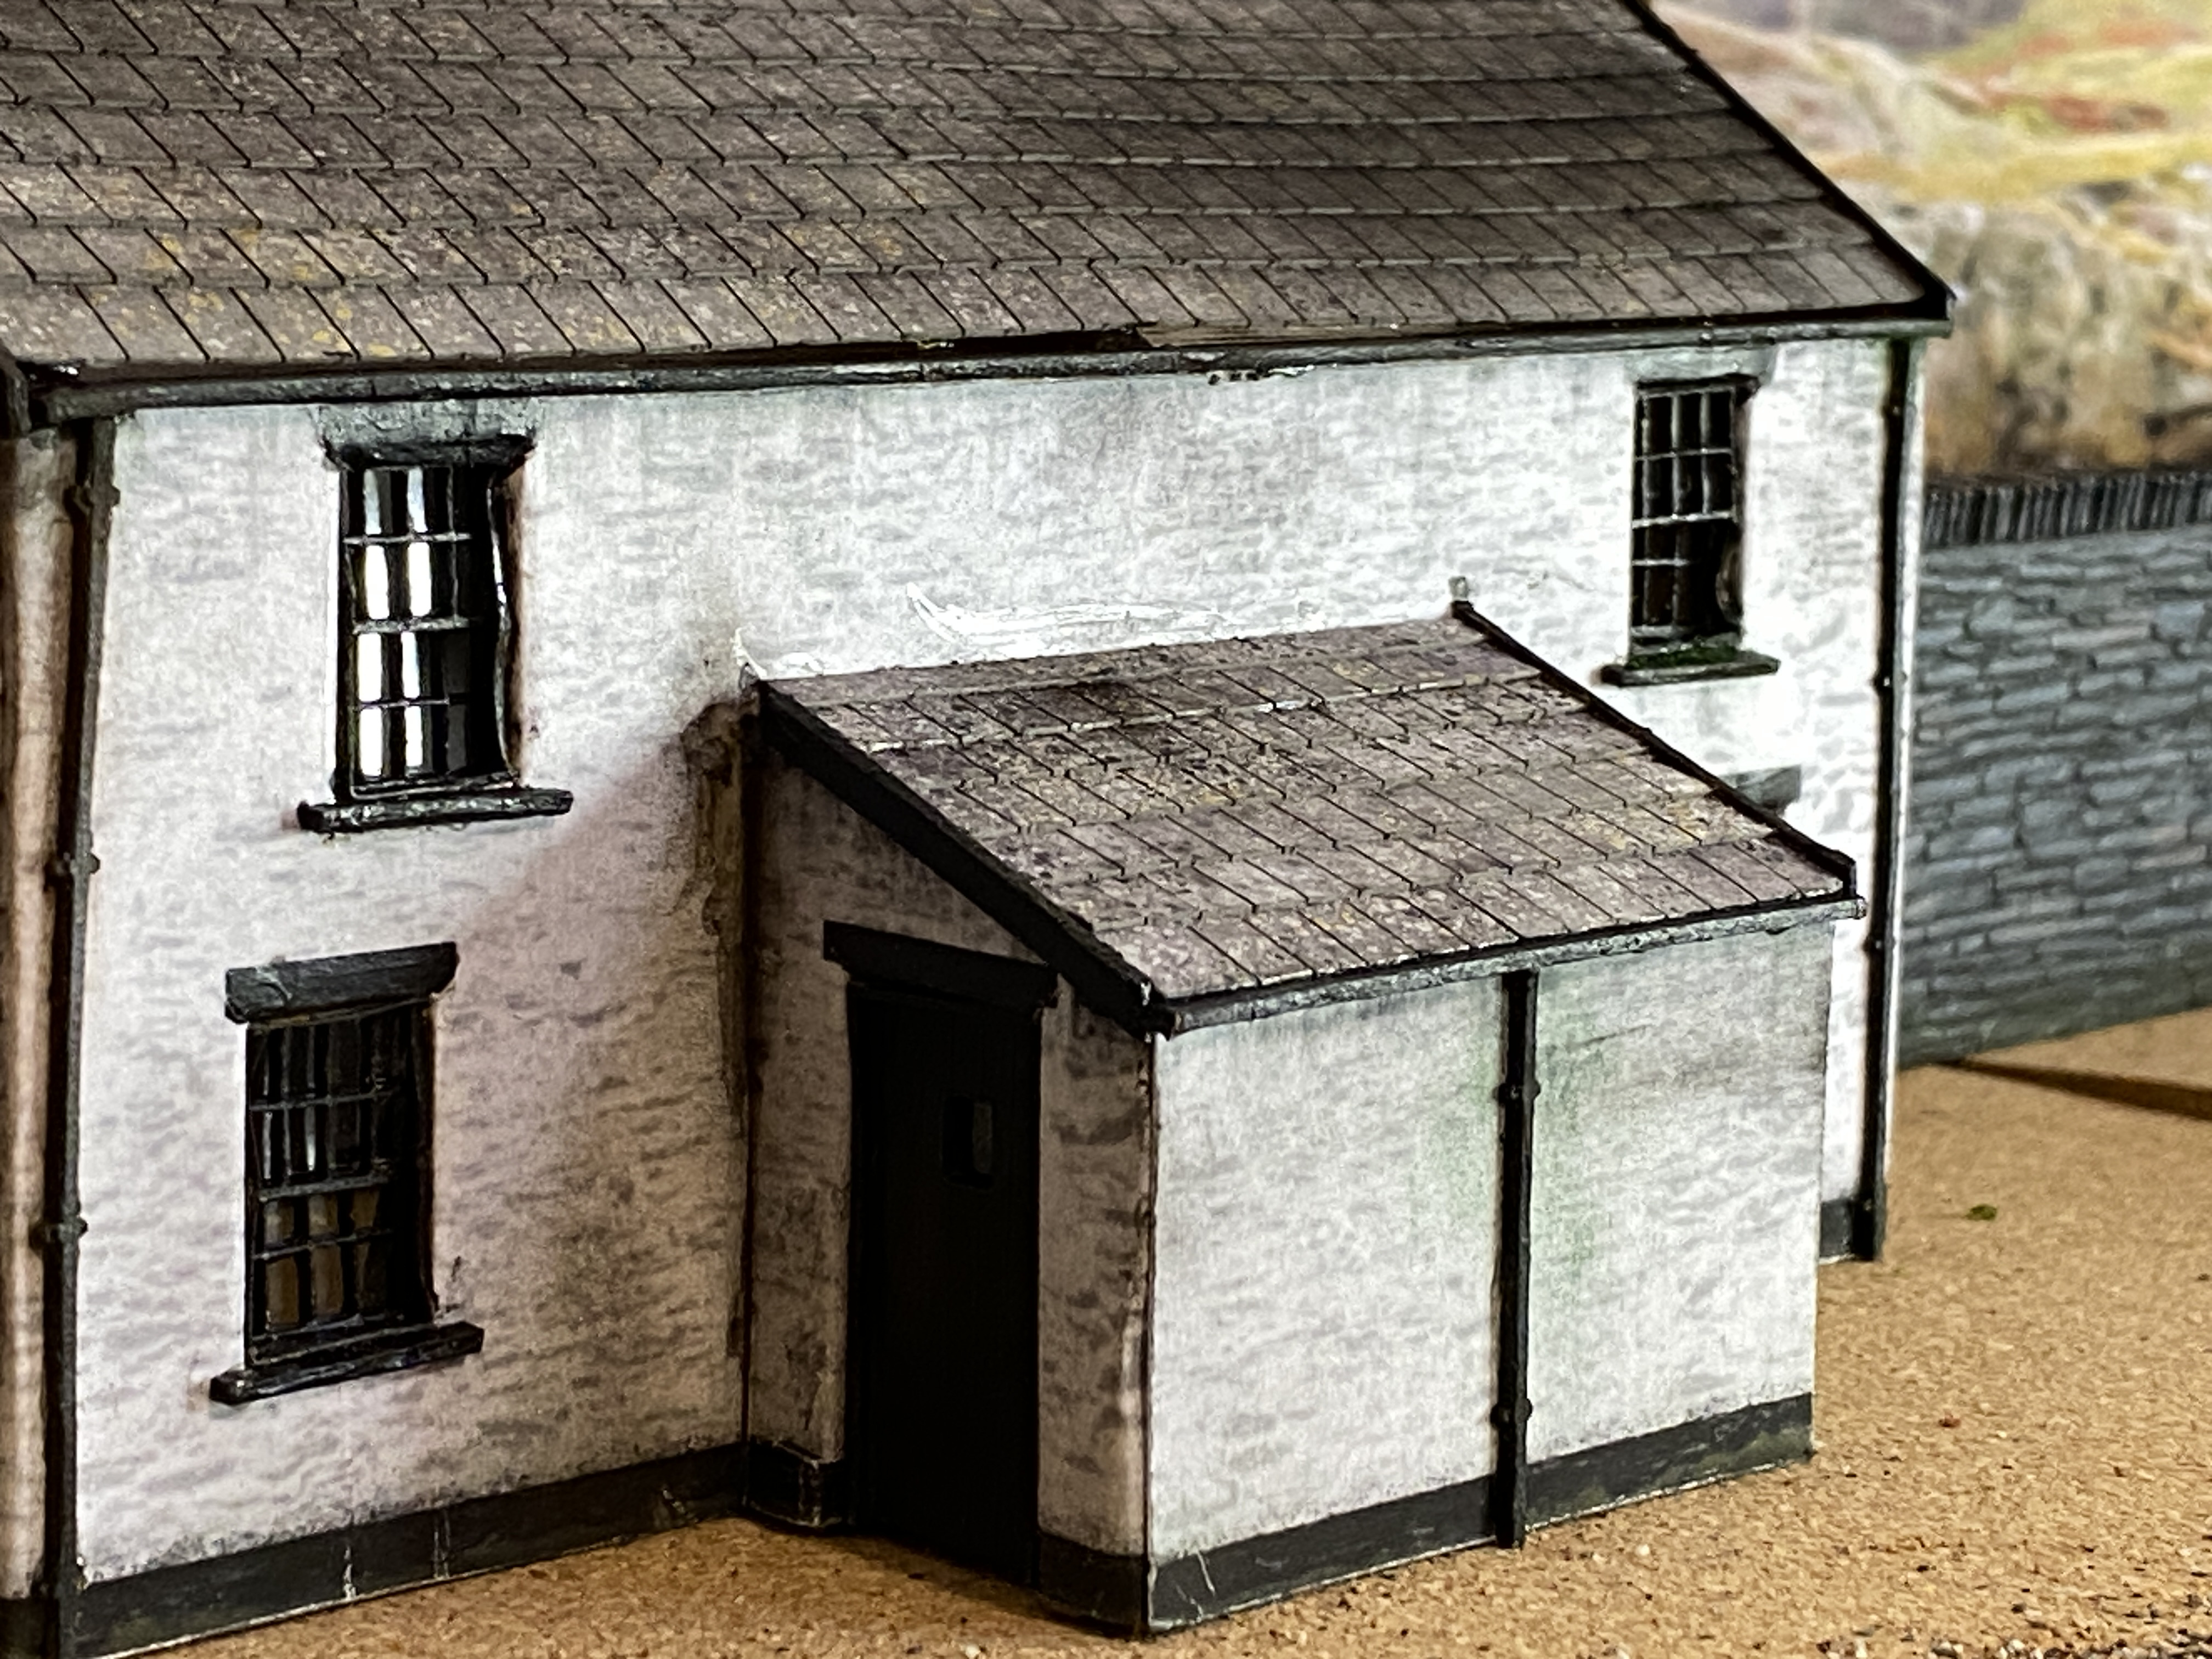
A half-relief stone cottage is under construction from another SMS kit and is placed in one view as a trial-fit.
Posted

Full Member

'Petermac
Site staff
Posted
Full Member
Petermac said
Thank you Peter. Those are Bachmann resin buildings (items 44-0190B and 44-0193G) with, so far only on the larger one, my weathering and my build of Scale Model Scenery village notice boards added. And now the custom-made name sign.
Posted
Full Member
'Petermac
Posted
Full Member
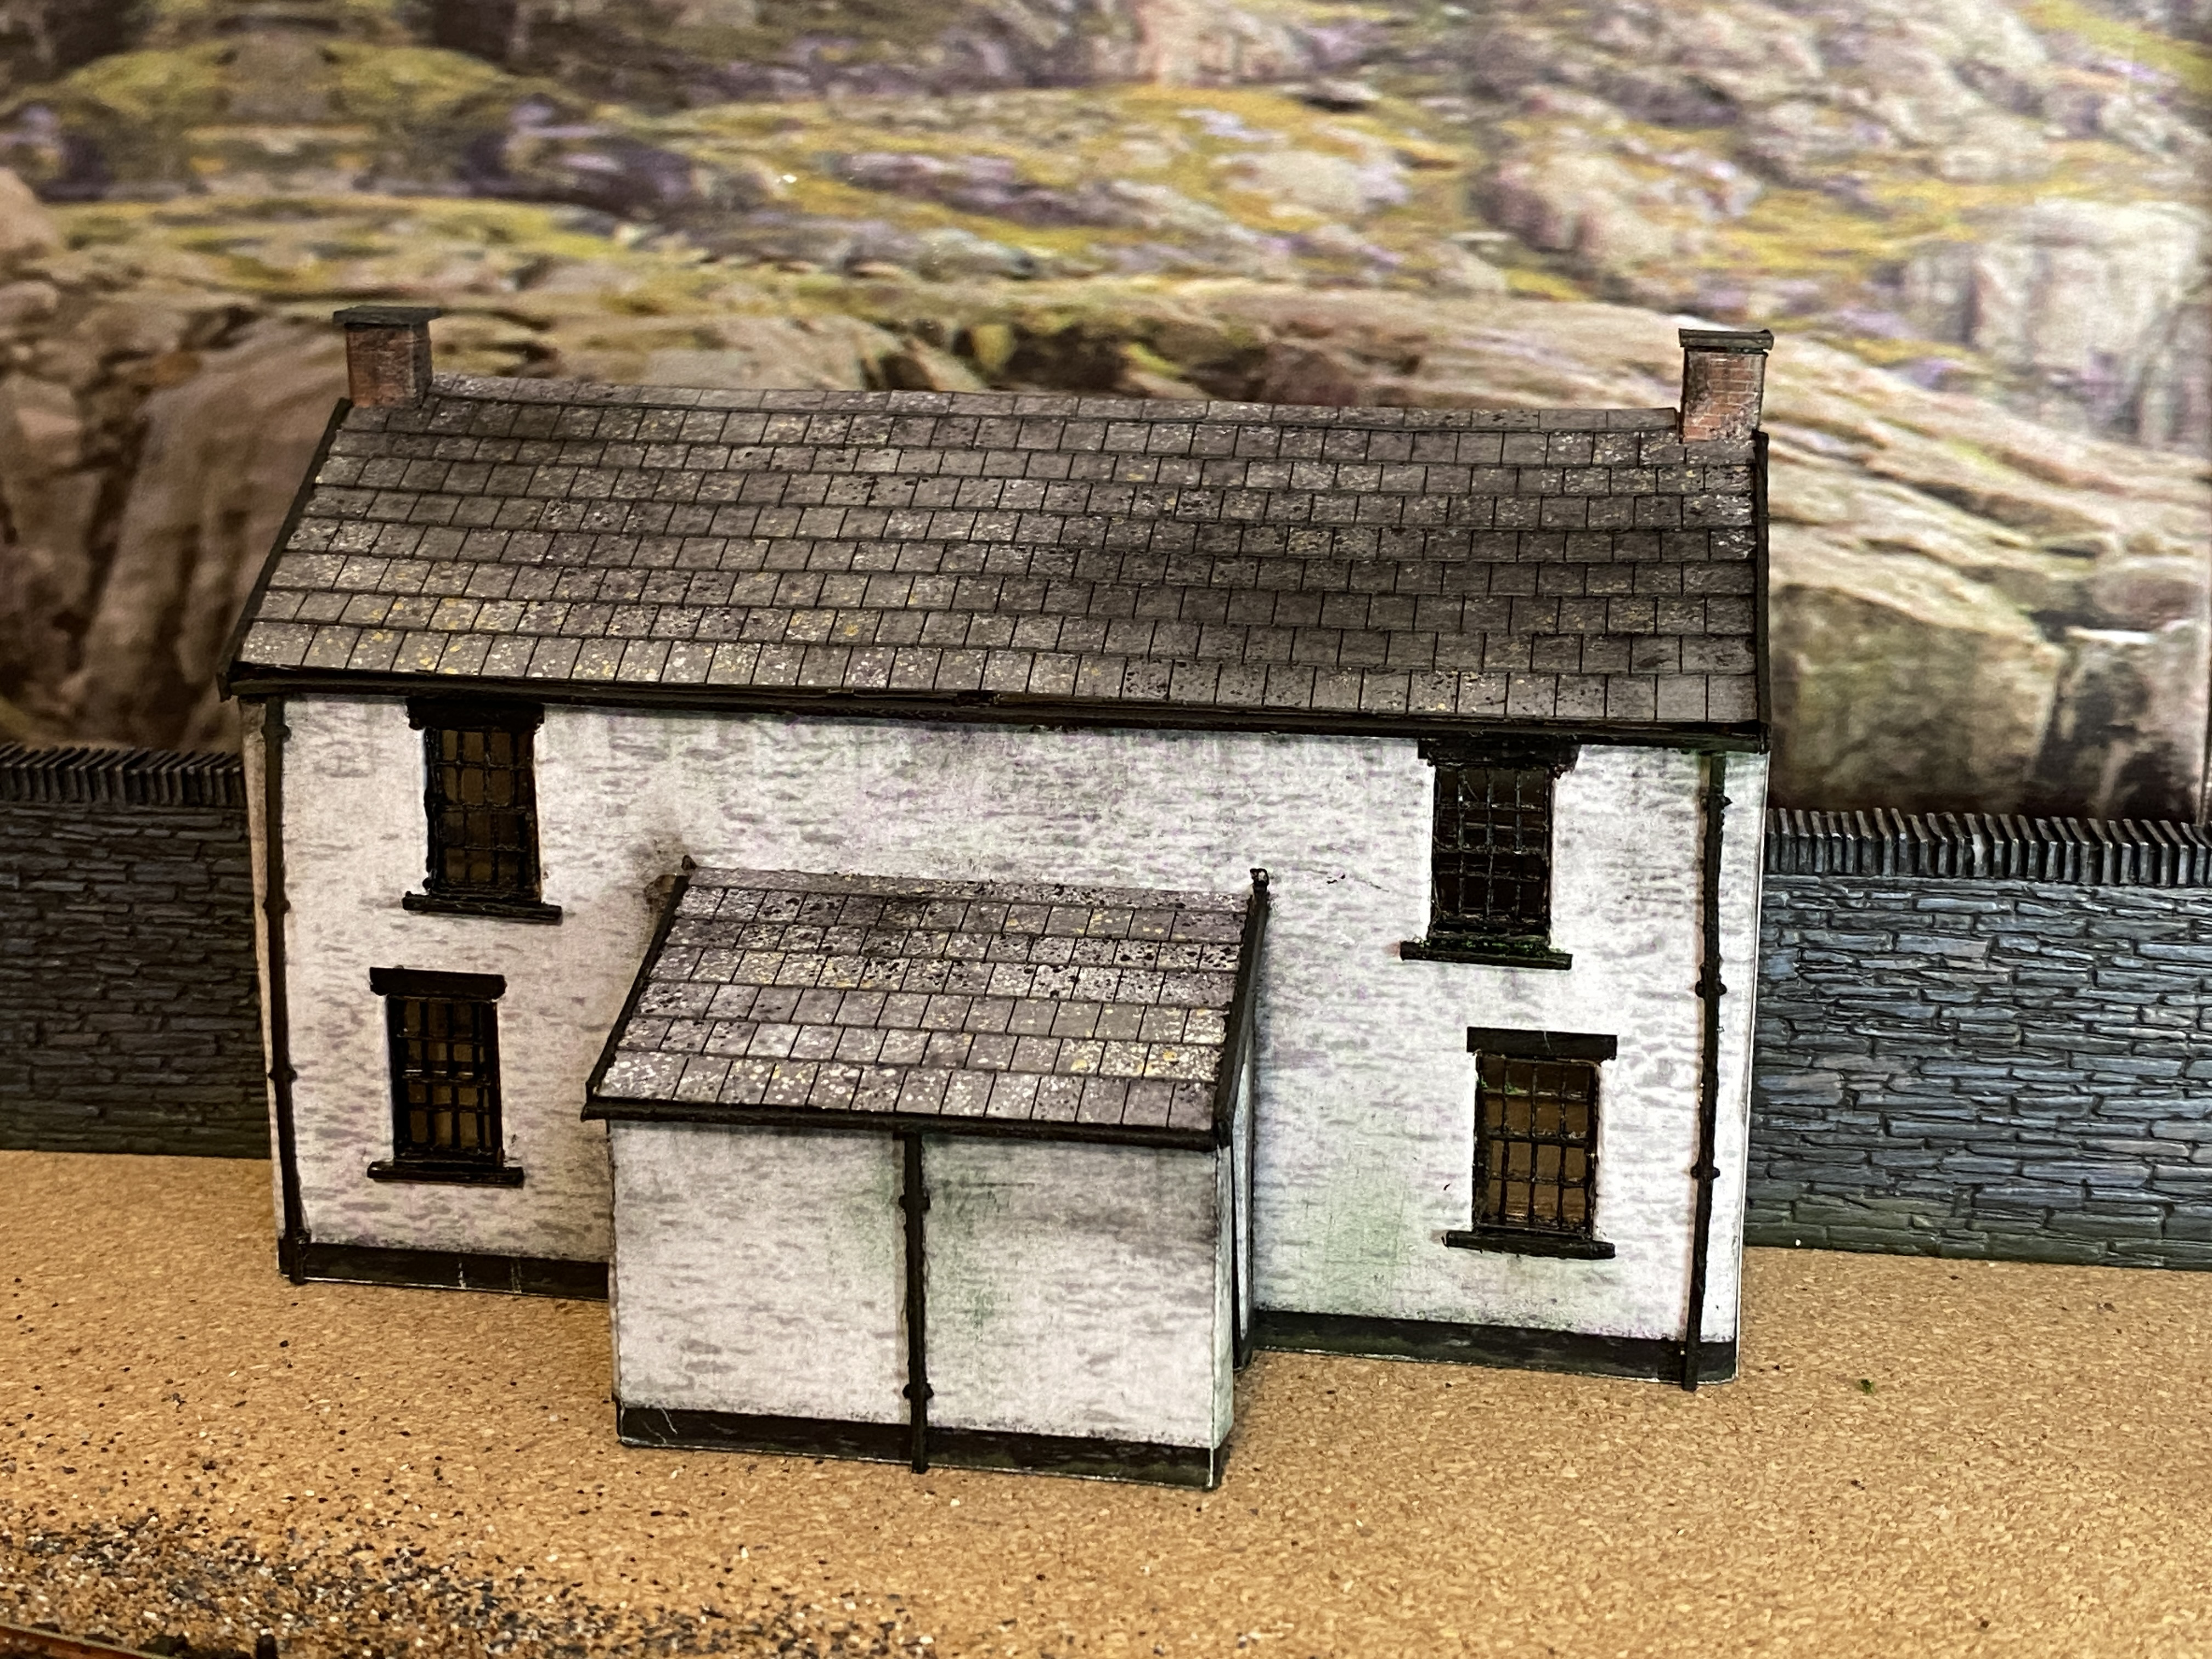
It lacks chimney pots for now.
This was a moderately challenging build as some parts are extremely small. The outer window frames are barely the thickness of a knife-blade yet all were removed (with great care) from their carrier panels safely.
Laser-cutting is a very precise science which allows greater accuracy and precision. The parts are a very tight fit which required careful rubbing down of tiny edges to remove any trace of imperfections.
The instructions are good and easy to follow. Of particular note the windows are four separate parts - two multi-panes, one border and one glazing piece which must be painted and assembled before fitting. Only when fitting is it found that the apertures are extremely tight tolerance meaning very delicate parts must be persuaded quite firmly into place. Not always perfectly in my case. But acceptable for a cottage “with age”.
The roof slates are all individually cut; they are fitted in overlapping strips giving a correct-looking 3D appearance rather than a flat or moulded single sheet. They also come with pre-printed lichen stains.
I have however added a little weathering of my own.
The chimney pots required a tiny piece of printed paper to be rolled around a cocktail
stick then glued to shape. I’m afraid that much defeated me so I shall find some suitable items to fit in due course
Still not sure where this is going to sit in the scene but these things will evolve.
Posted
Full Member
Pattern-matching should not be a problem and that would eliminate the obvious joins in the printed paper stonework. Unless you viewed the cottage end-on but as it’s a half-relief model that is less likely.
Site staff

Ed
Full Member
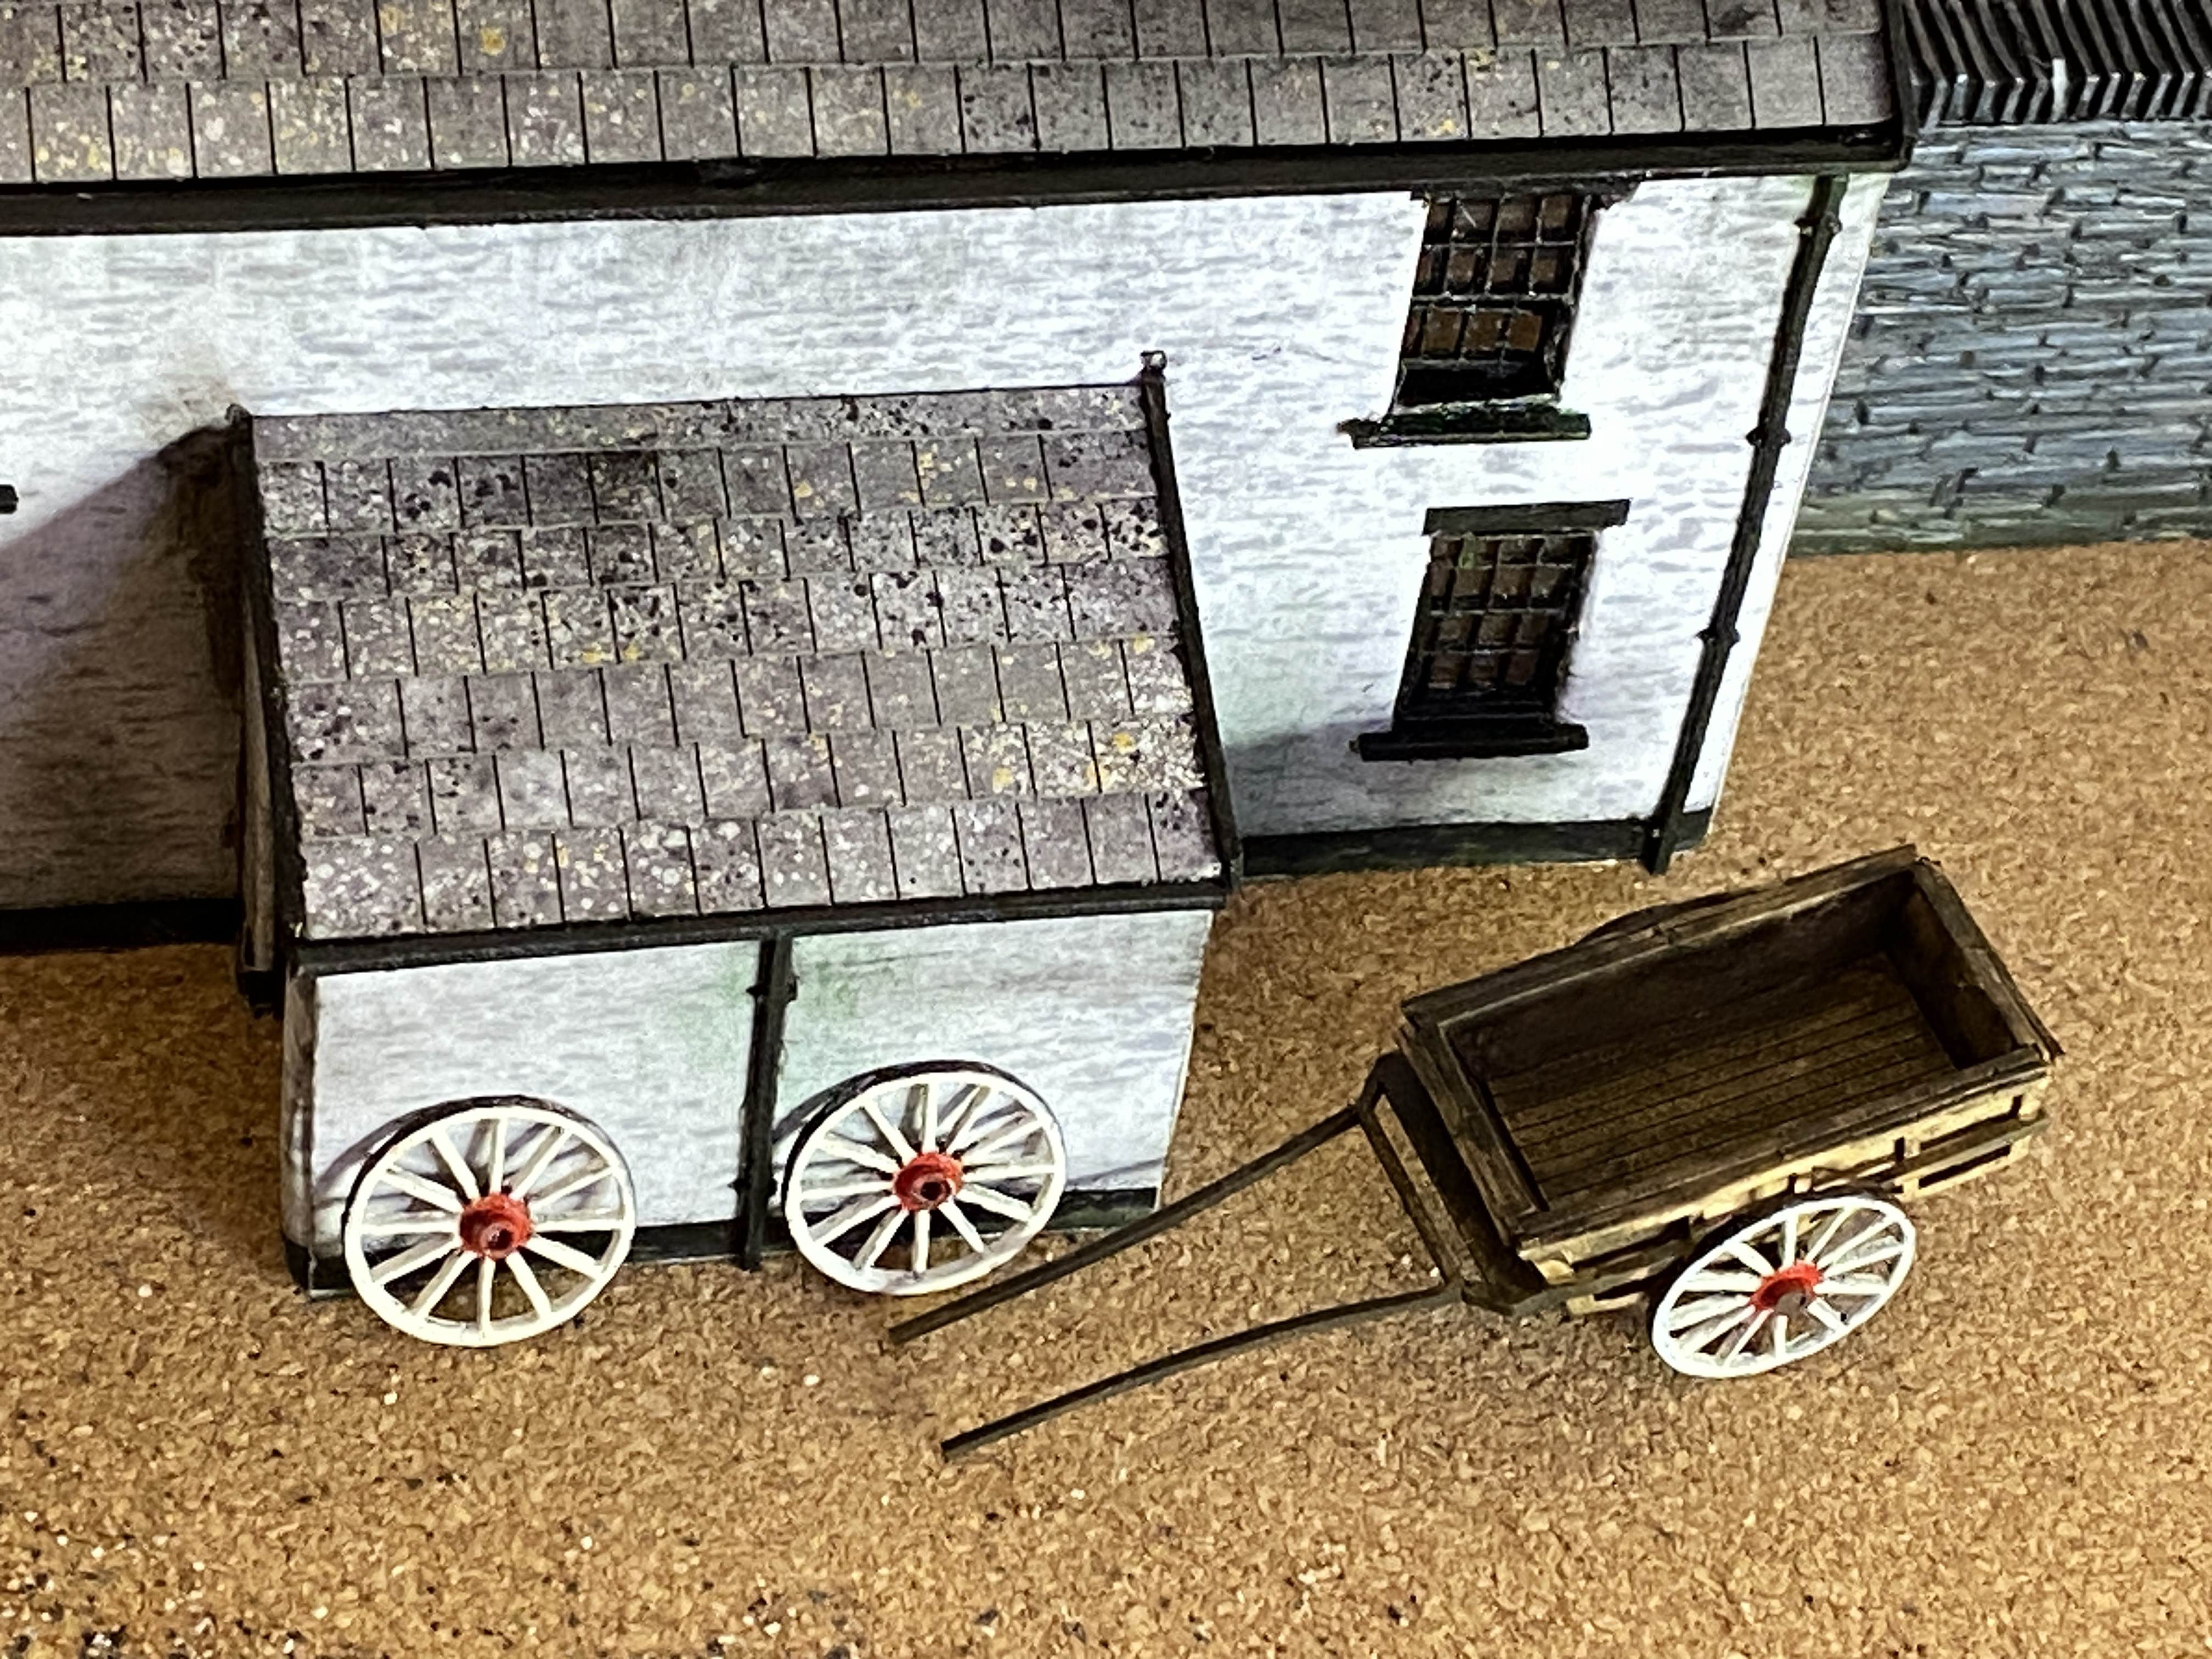
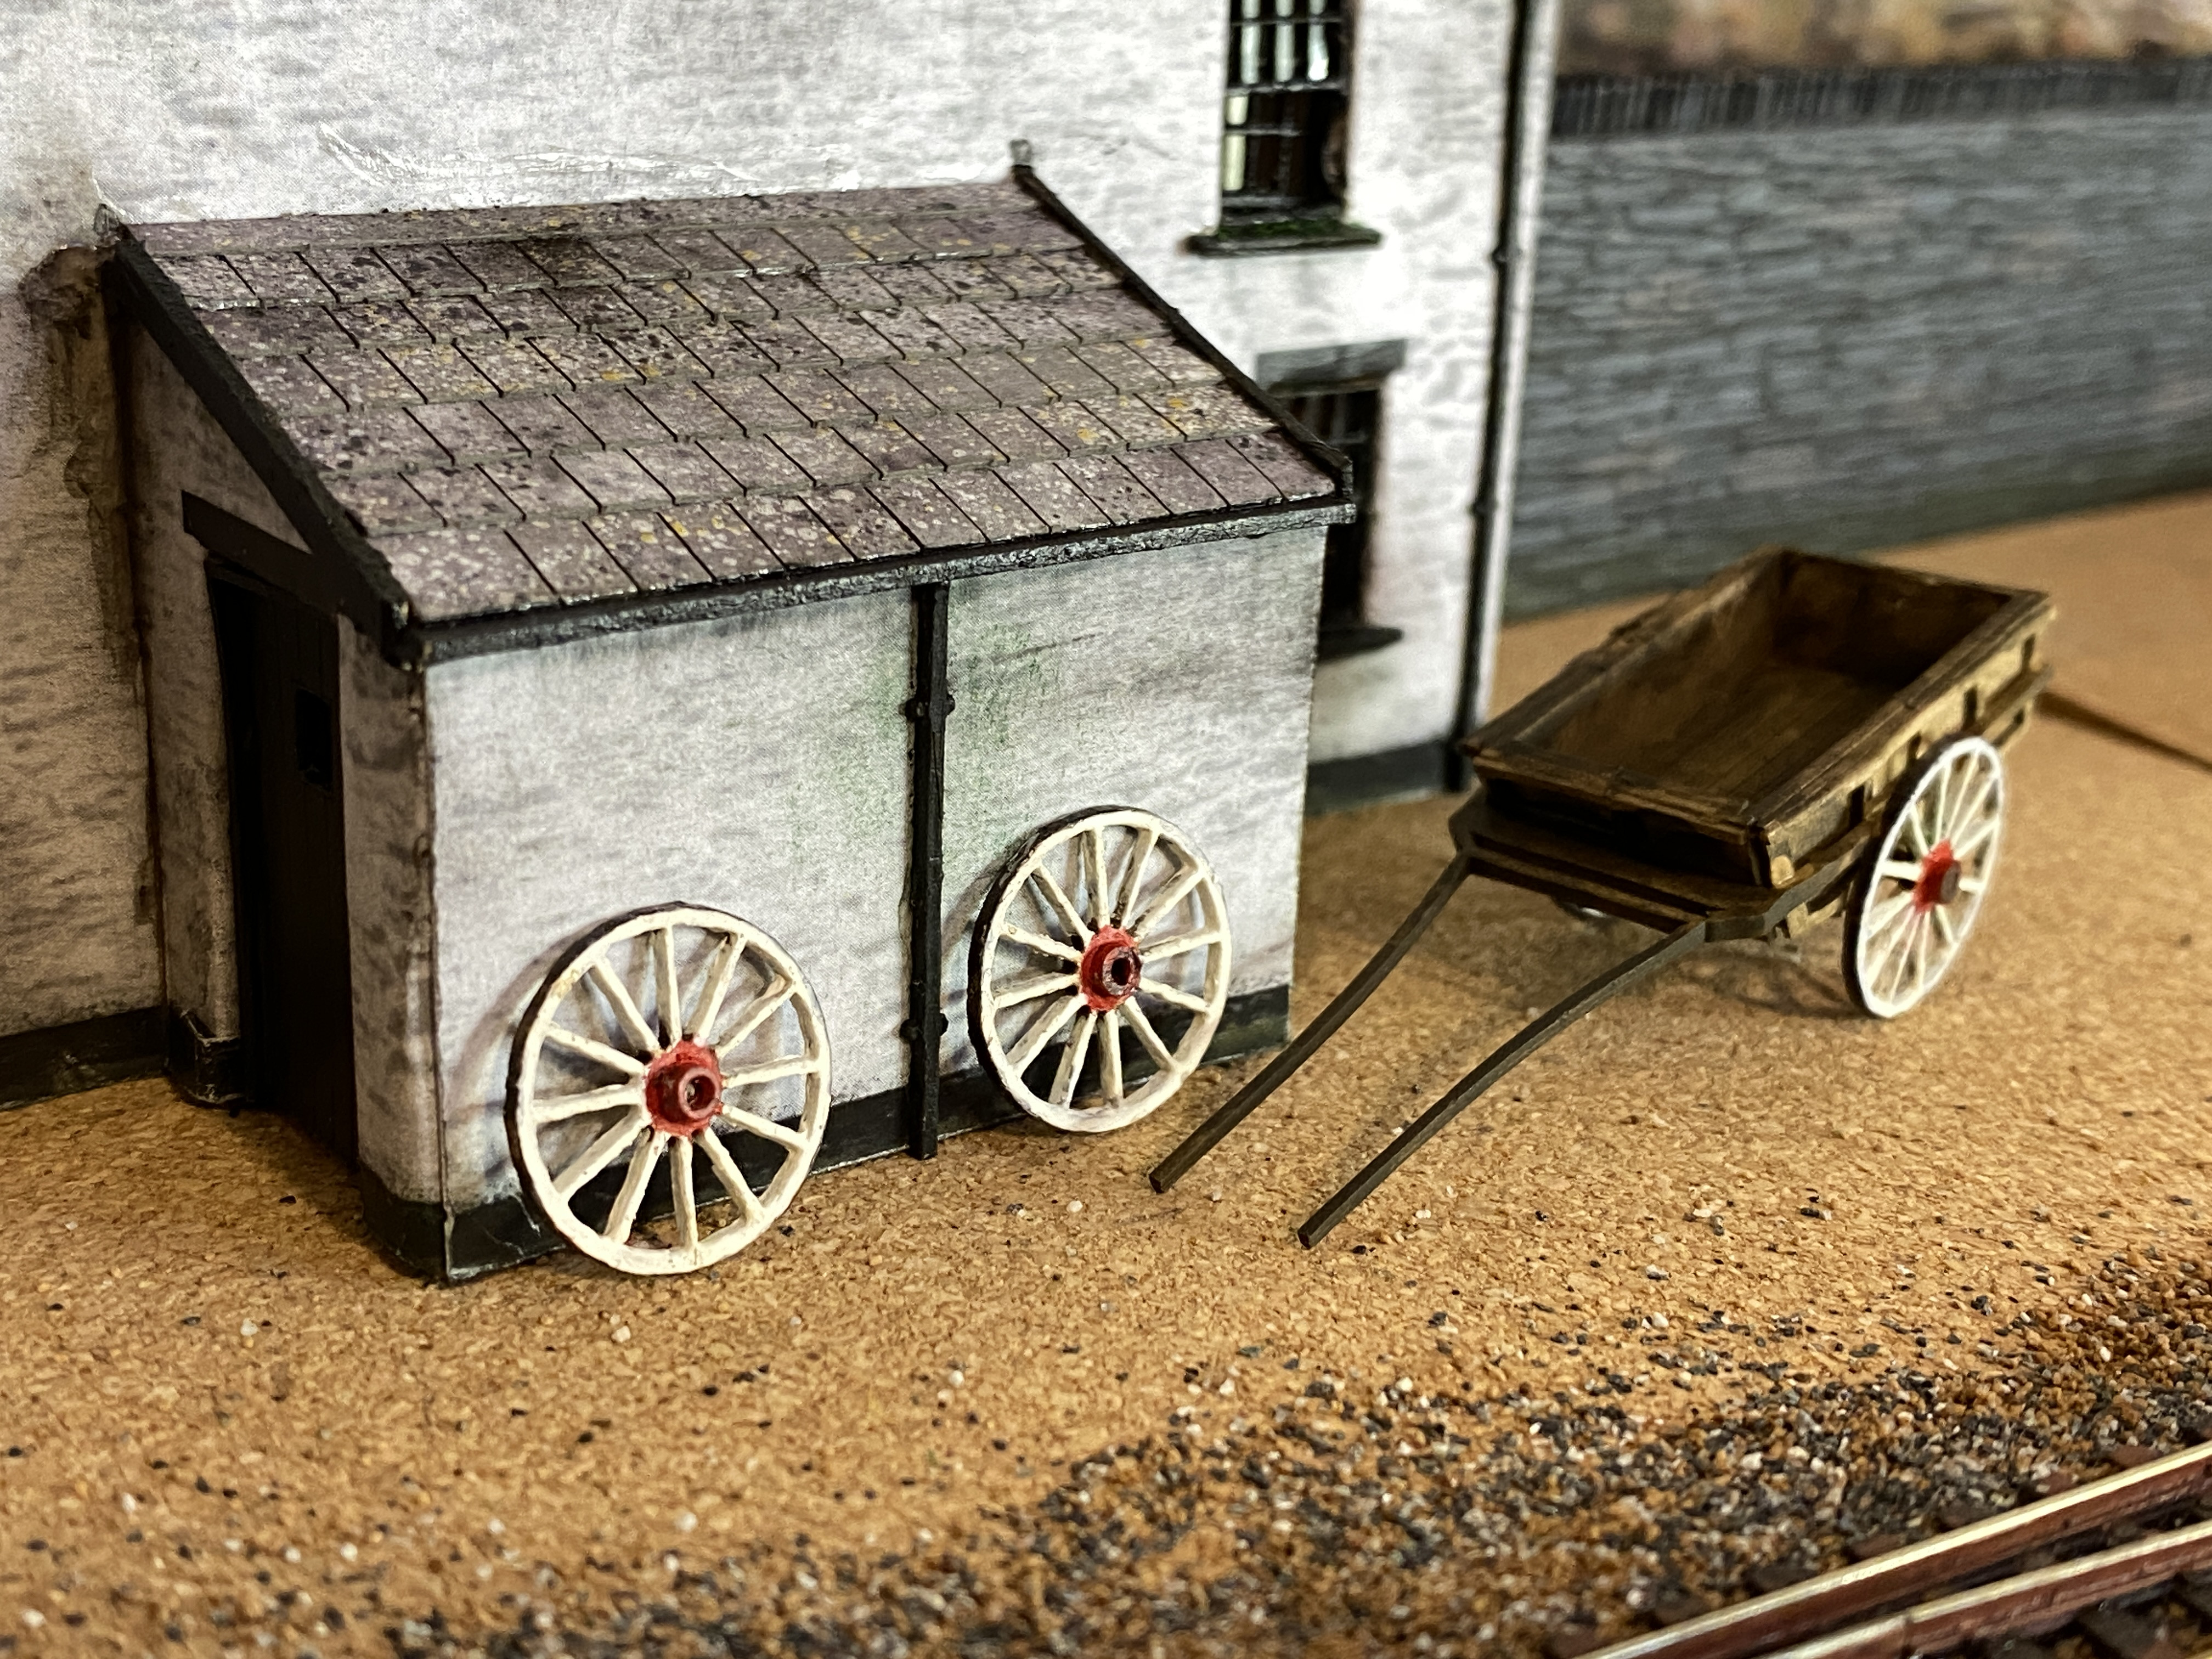
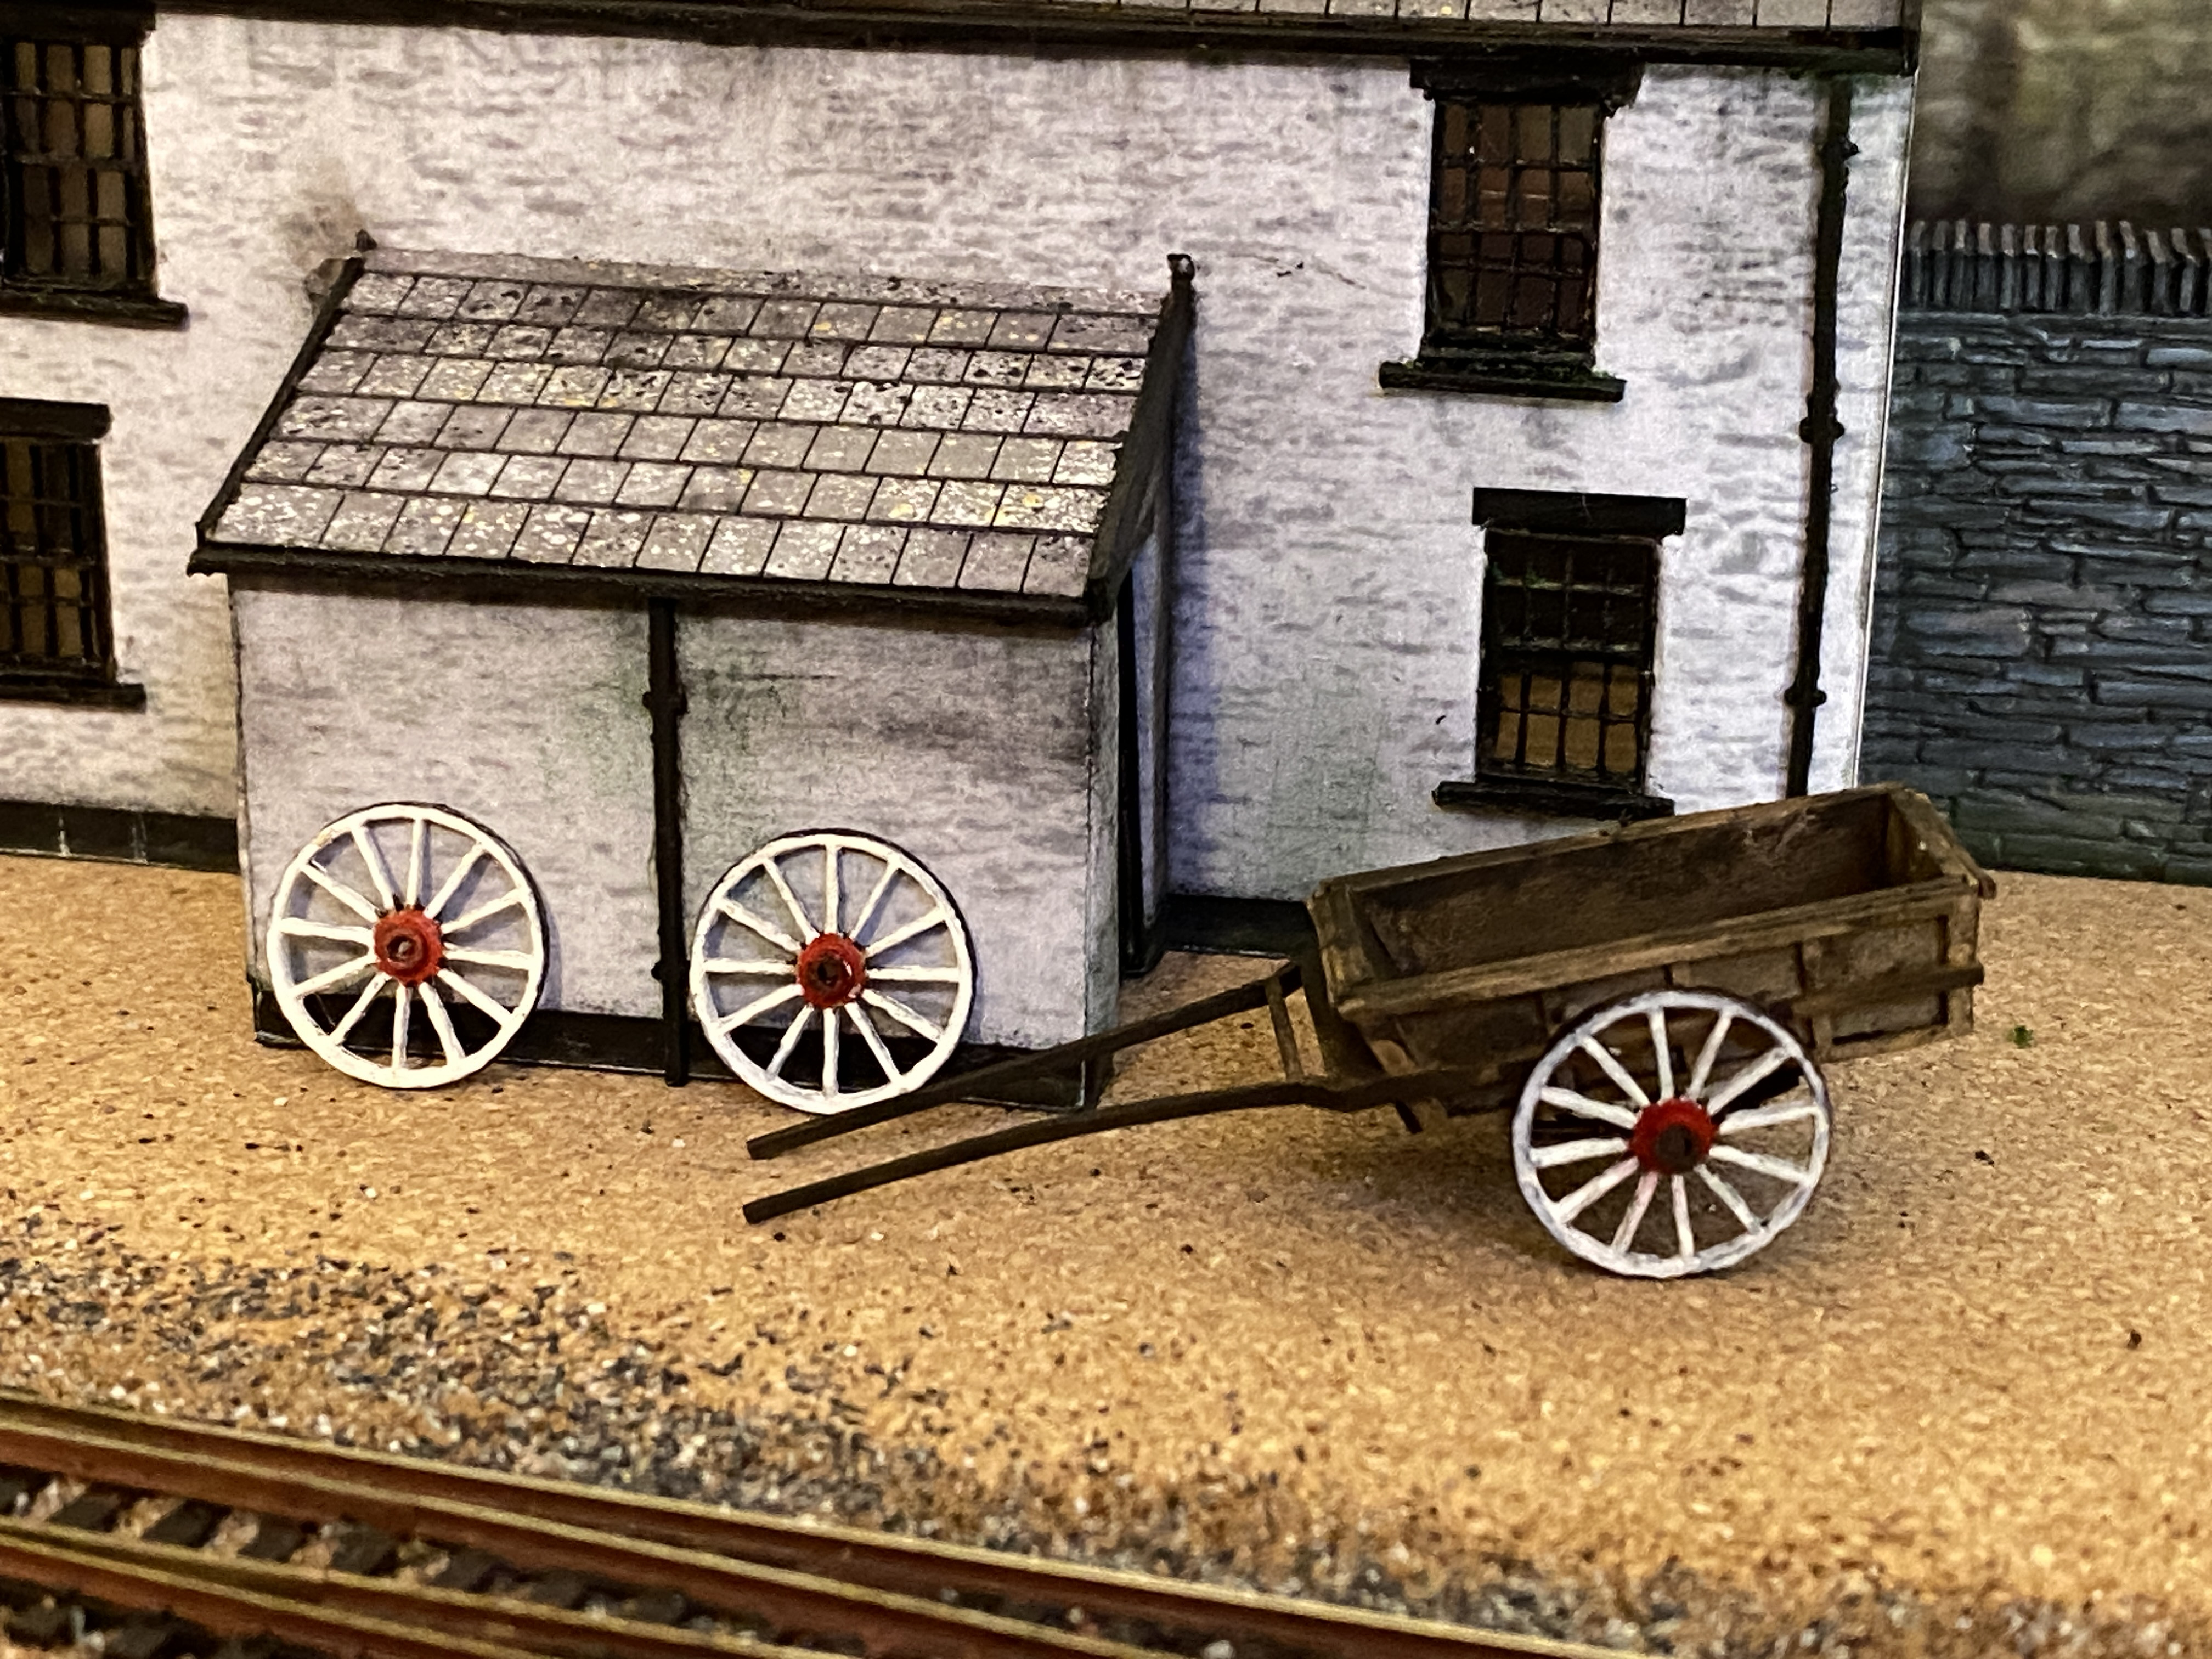
Scale Model Scenery “Small Horse Cart” kit laser-cut in card. Some very tiny parts. Somewhat fiddly assembly. My own paintwork added.
The kit includes spares of some critical fine parts including wheels and hubs. The hubs stand proud of the wheel (as they should) and are tiny separate parts.
So the spare wheels have been used as decorative items as one would often see in real life.
Posted
Full Member
Cheers Pete.
Posted
Full Member
- Darius
1 guest and 0 members have just viewed this.