00 Gauge - The Deene Railway
Posted

Site staff
End to End with Cassette Fiddleyard
All looking good Andy :thumbsEd

Posted

Full Member
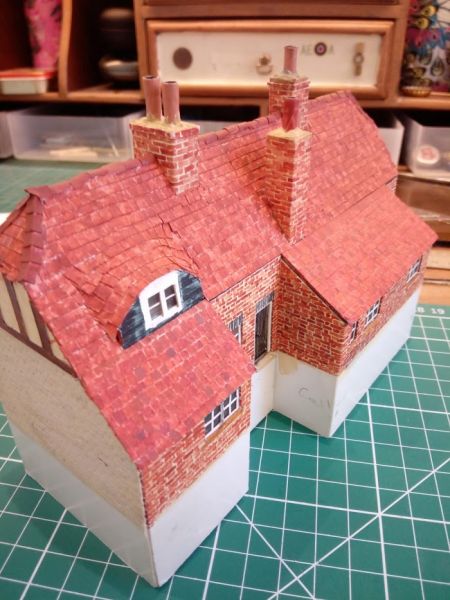
The other single outhouse is now finished for the third cottage.


Cheers
Andy
Andy
Posted

Full Member
Keep 'em coming.
Marty
Posted
Full Member

Next is flashing and then the porch.
Cheers
Andy
Andy
Posted

Full Member
Michael
Posted

Full Member
Staying on the thread Kevin.
Posted
Full Member
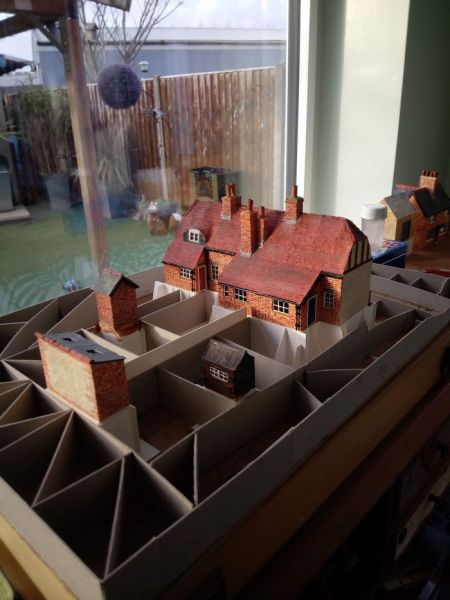
The buildings all have a 30mm cellar base, some may have a lower one depending on the scenery level.
My baseboards are L girder and I only have track base where the rails are, all my scenery is on removable modules or scenic bases.
I make a small base for each building that the 30mm cellar slots into, this base is then installed in position on a larger scenery base or module, the height of the building base can be adjusted to suit the scenery levels, the scenic work can then be done around the base and the buildings slotted into the bases once that is finished, the actual buildings then look as though they are in the scenery not plonked on top.
You can either fix the buildings at the end or leave them removable from the scenic.
This is not my original idea, I borrowed it from how they work at the Pendon museum as its suits my baseboards and removable modules, its far easier to work on and detail a module on the bench rather than trying to reach over other stuff on the actual layout, so far working out fine.
I will post more pictures as I progress so that you can see the method if my description is not clear.
Cheers
Andy
Andy
Posted
Full Member
Staying on the thread Kevin.
Posted
Full Member
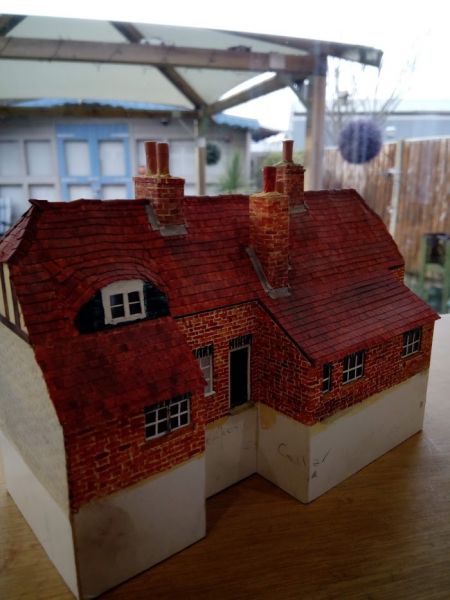
Porch finished, then gutters & downpipes, and I need to make the building base.

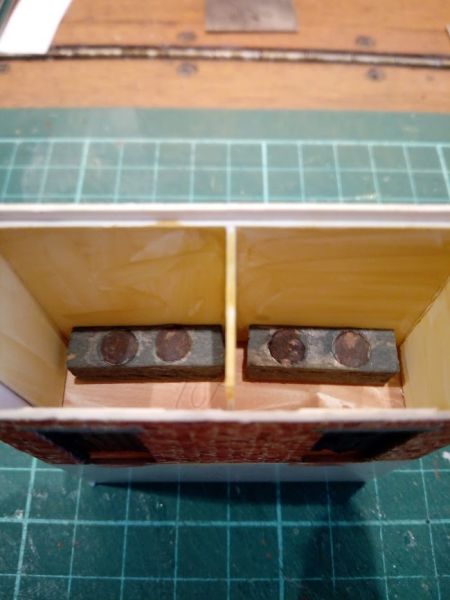
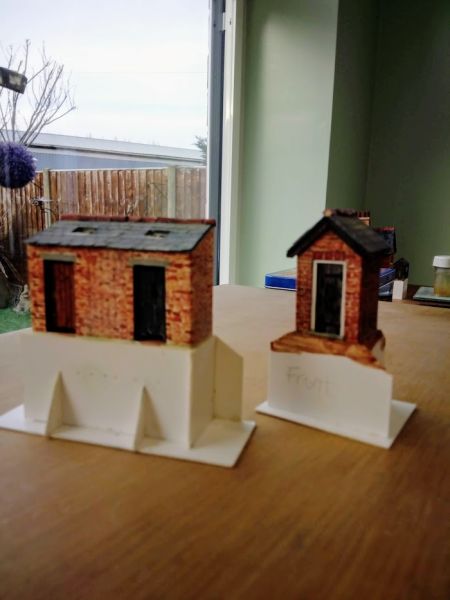
For Kevin, how the building bases work.
The first photo show the buildings and their bases separate.

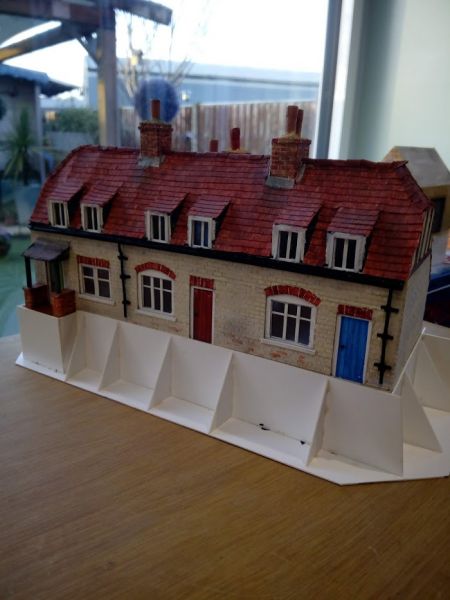
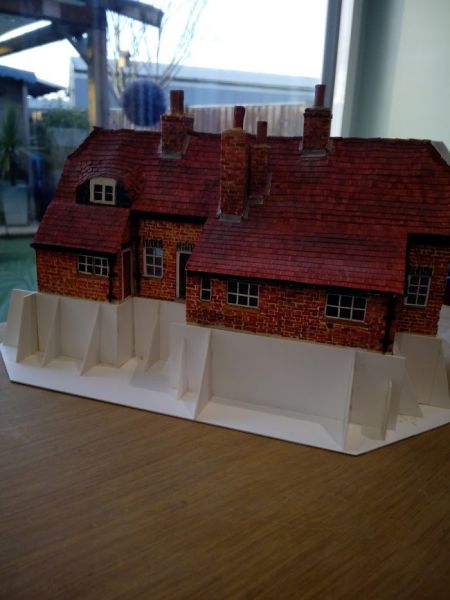
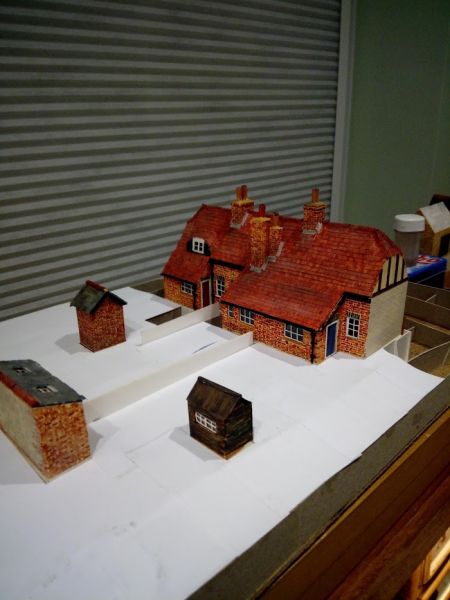
The bases will be glued onto the scenic module, then the scenery is built up around them, and finally the buildings are inserted into the bases as below
The scenery module could be a large one, or a smaller one that is then added to a larger one in the same way that the building bases are added.
 Last edit: by Campaman
Cheers
Andy
Andy
Posted
Full Member
Last edit: by Campaman
Cheers
Andy
Andy
Posted
Site staff
Posted
Full Member
Michael
Posted
Full Member

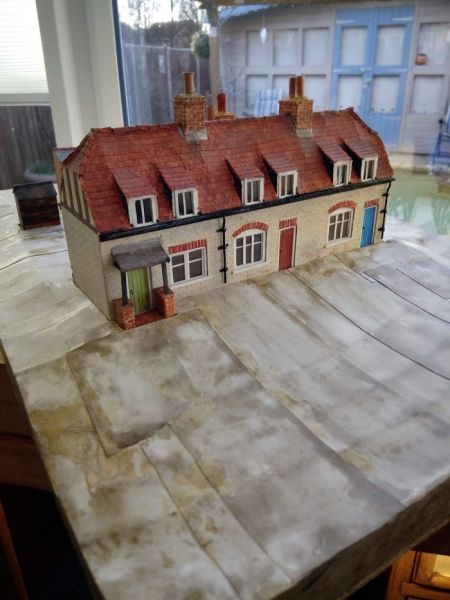
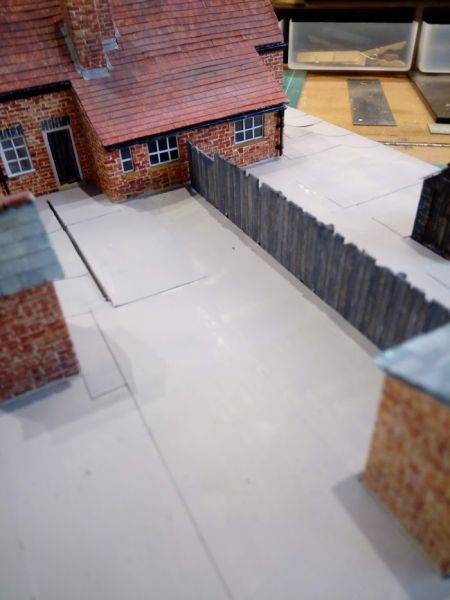
Once fully covered with the thin white card, walls and fence positions will be marked out and made, then the whole lot will get a covering of scenic gloop (Filler, PVA, brown paint & Sawdust) ready for greenery, paths and roads etc.
The buildings will be removed from the base so they do not get damaged while doing the scenic.
Cheers
Andy
Andy
Posted
Full Member
Regards
Michael
Posted

Full Member

Posted
Full Member
Hi ZeldaTheSwordsman. You sound like a magician? Along with Andy ( Andy please excuse my jumping in) and a lot of other members, whereas all my efforts end up in the bin. Best wishes KevinDepending on what's put into it, card can do amazing things
Staying on the thread Kevin.
Posted
Full Member
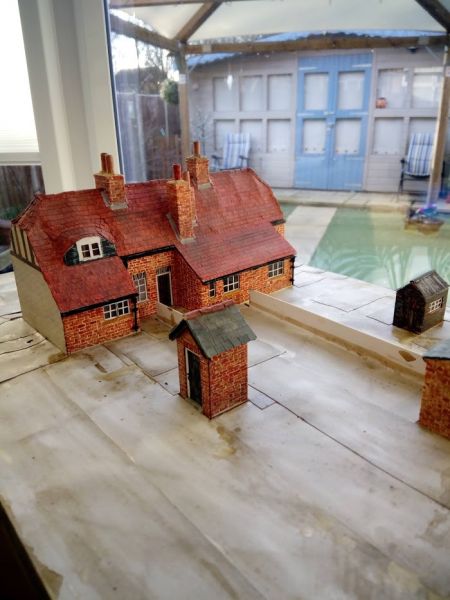
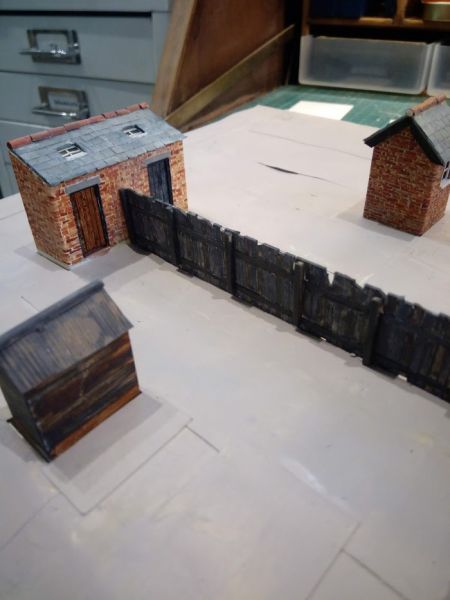
I have started making fences and walls, so they will need to be positioned before I start on greenery.
Cheers
Andy
Andy
Posted
Full Member
Posted
Full Member
Michael
Posted
Full Member
Now had a quick coat of light earth colour, and fencing started.
Cheers
Andy
Andy
1 guest and 0 members have just viewed this.