00 Gauge - The Heatherburn Garden Railway.
Posted
Guest user
Now the bridge and sky background….
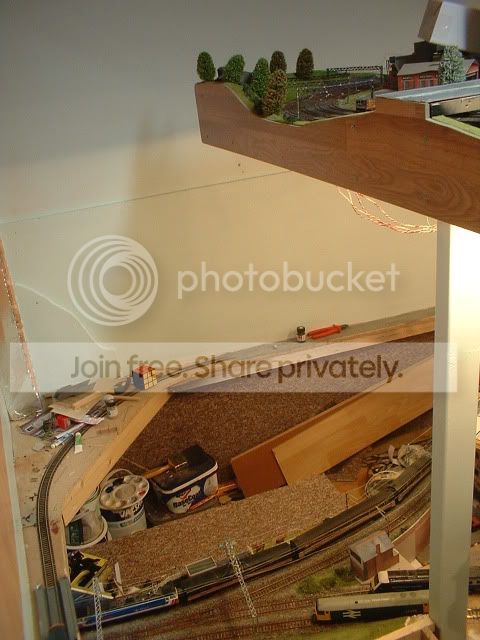
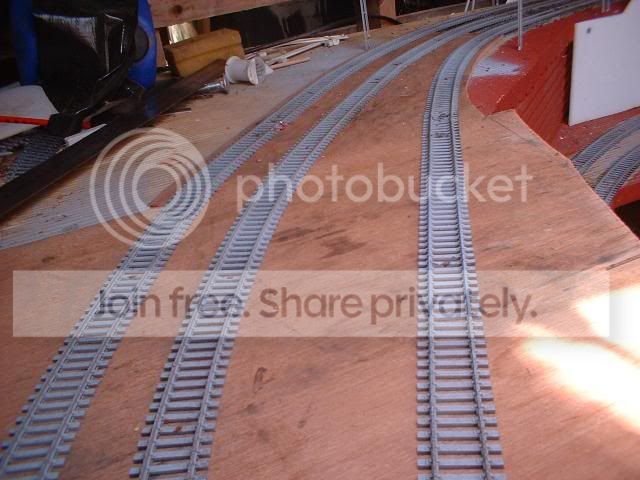
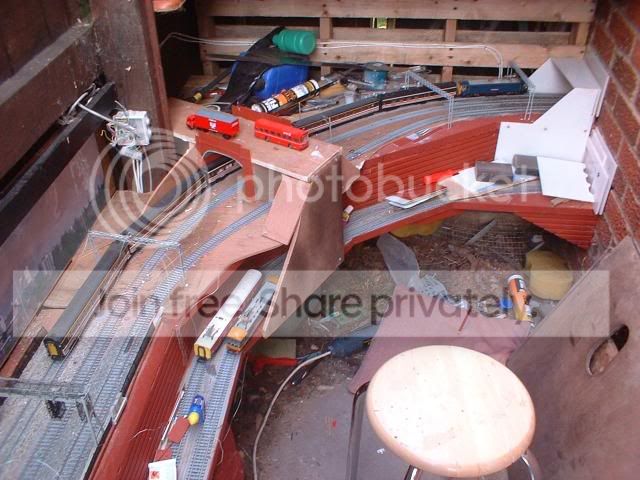
This one shows how the N gauge layout fits above the 00 one…
Posted
Guest user
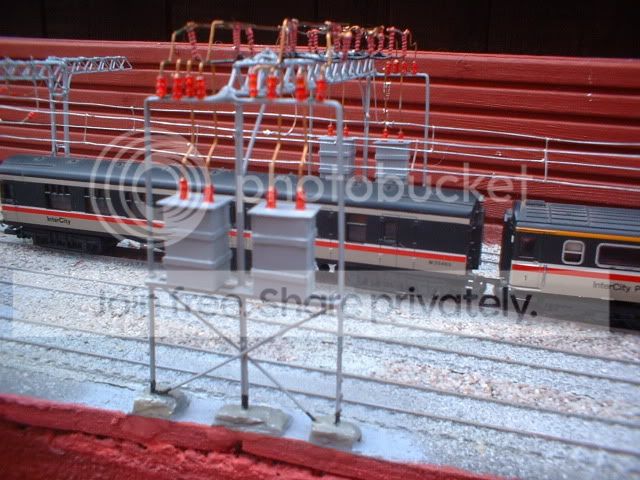
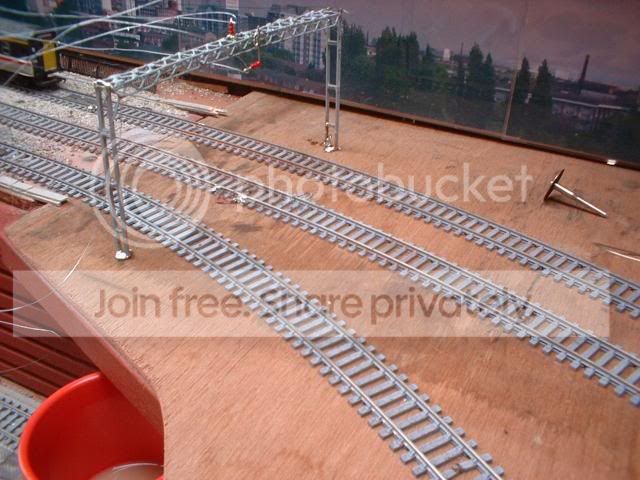
The detail you are putting into your catennary system is extremely good i doubt if you would ever see many layouts with detail like that plus the size of your railway as well its a great achievement
cheers Brian
Posted

Inactive Member
 Last edit: by MaxSouthOz
Max
Port Elderley
Port Elderley

Posted

Full Member
Echo Max and Brian …. aspirational work here, mate.
John
Life is just a bowl of cherries!
Posted
Guest user
:doublethumb:thumbs:lol::lol::cool:
Posted
Guest user
Posted
Guest user
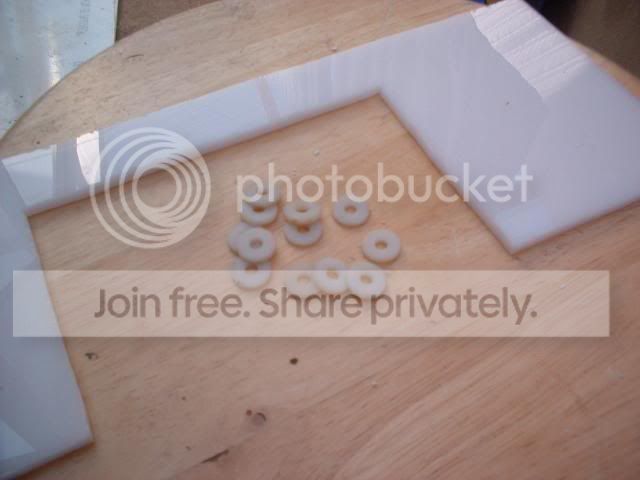
Some plexi glass and washers…..
New garage door….
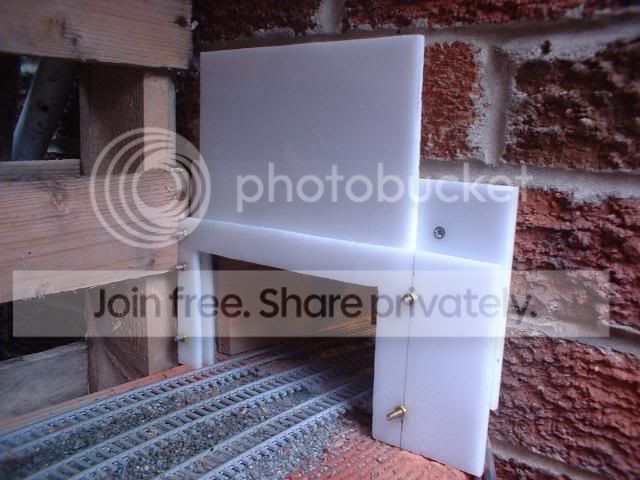
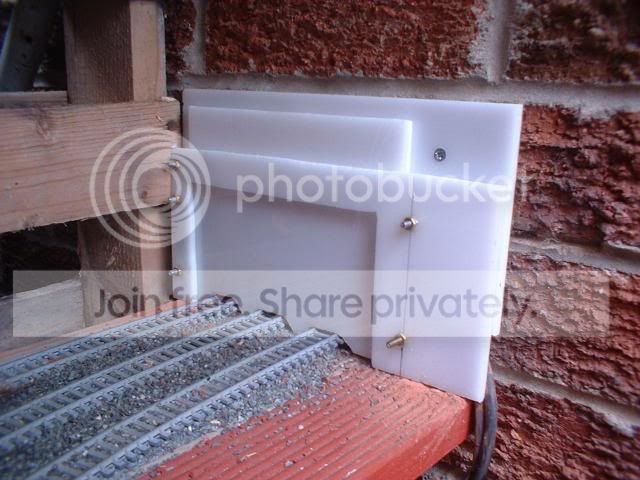
As usual with these things the second one always comes out better. At leastI tapped the holes on the second one!

There now dosn't that look a bit better! :lol:
Posted

Full Member
Very clever Dave and a neat and tidy job too :doublethumb
'Kev
Posted
Guest user

Posted

Legacy Member
Posted
Guest user
:thumbs:thumbs:lol::lol::lol::cool:
Posted
Guest user
Posted
Inactive Member
Max
Port Elderley
Port Elderley
Posted
Guest user
Perhaps it would be a good idea to add a simple hinged flap on the outside to shut down when there's driving wind and rain :question:question
Posted

Full Member
Phill
Posted
Guest user
Posted
Guest user
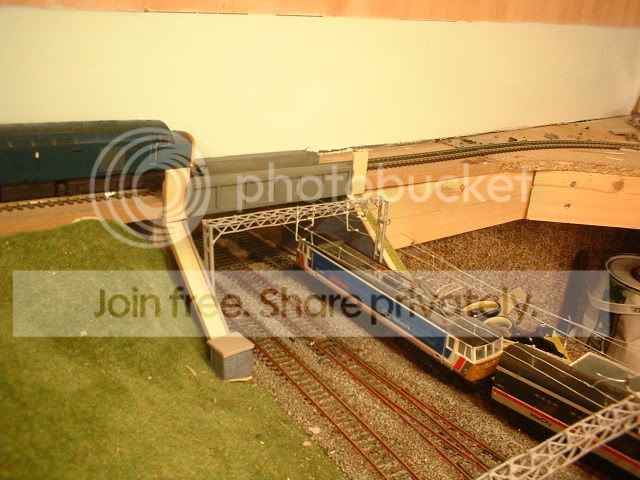
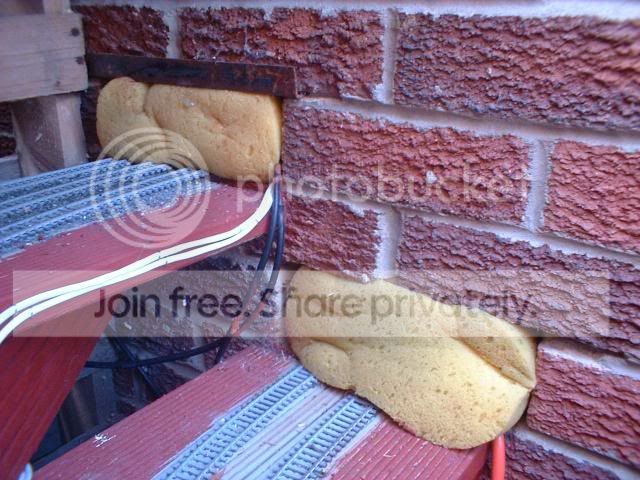
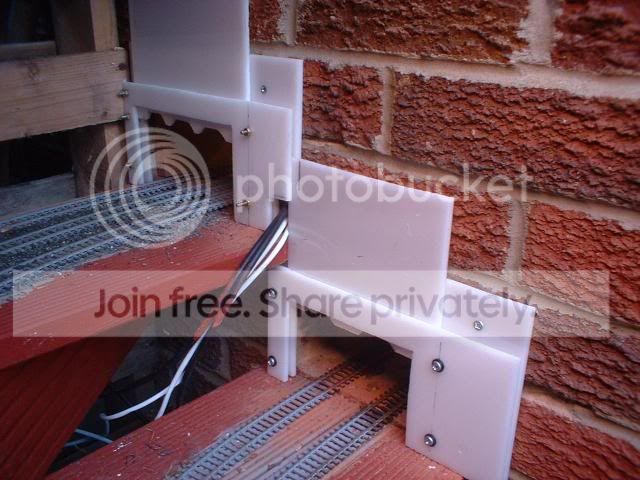
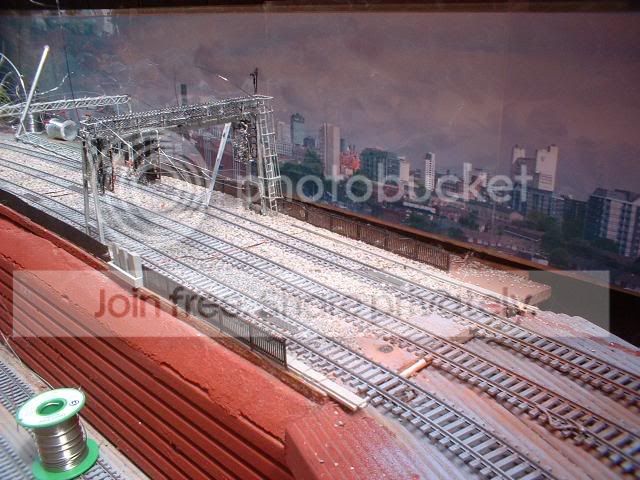
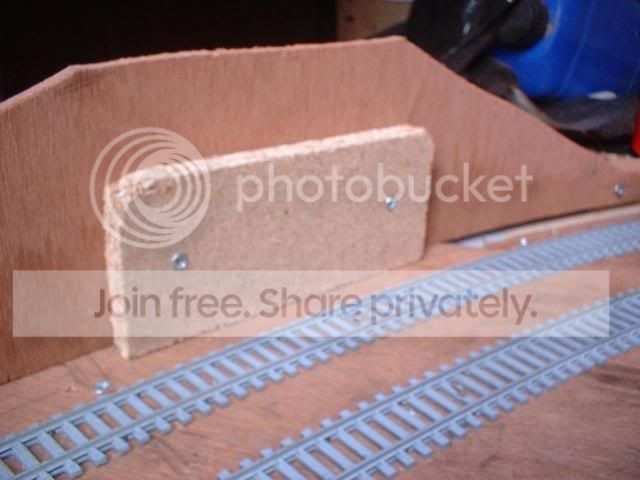
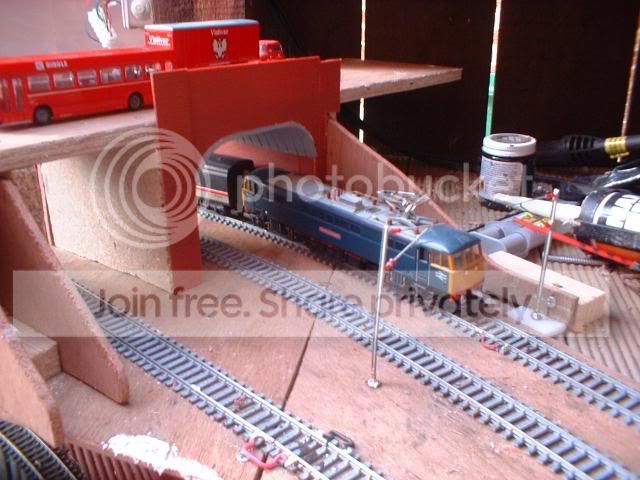
Once painted it will blend in quite nicely and will provide a secure anchor for the OHLE. Moving on to todays build. This is the area in question……
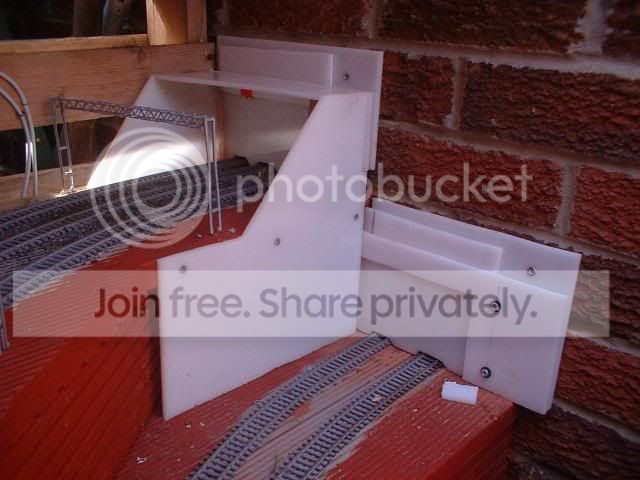
Basicly its the point where the railway comes off the wall and turns to enter the garage. I always intended to build a bridge across here at some point so to get an idea I did a mock up…
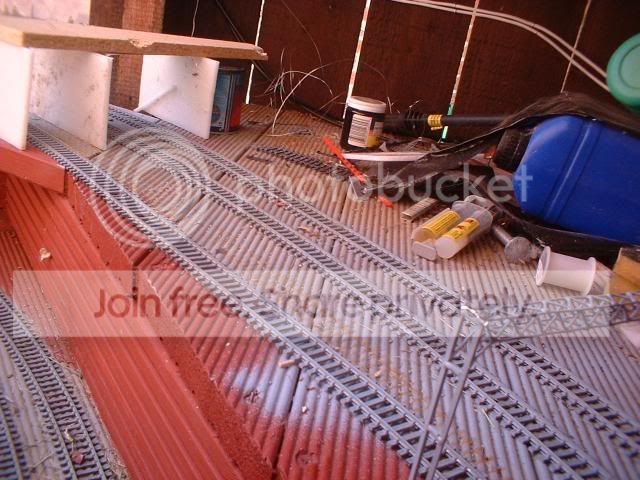
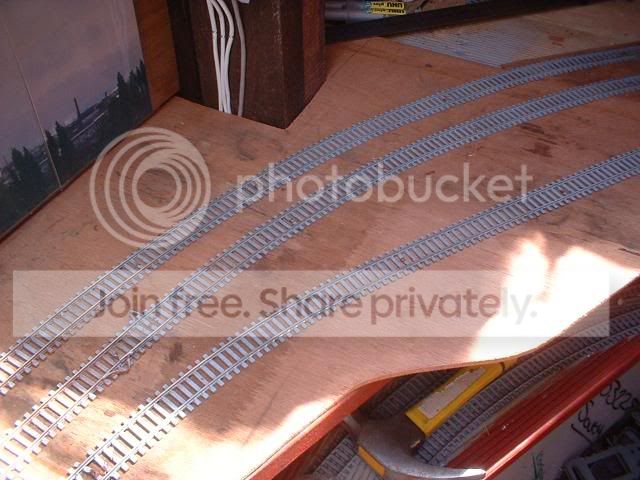
First job was to remove some of the OHLE…
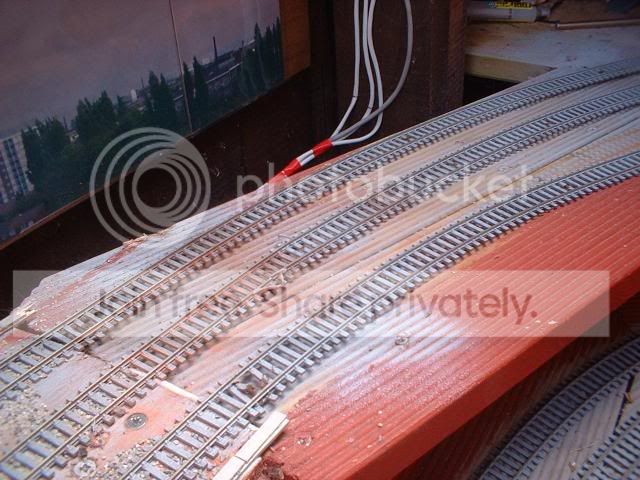
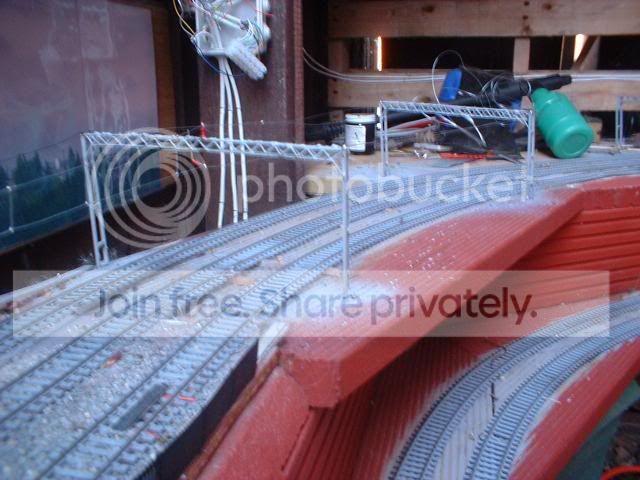
Next all the pins were removed and some 5mm ply slid under the tracks….
The branch line was realigned before being pinned back down. The Ohle supports were then replaced. The two single masts were recycled from the back of the garden…
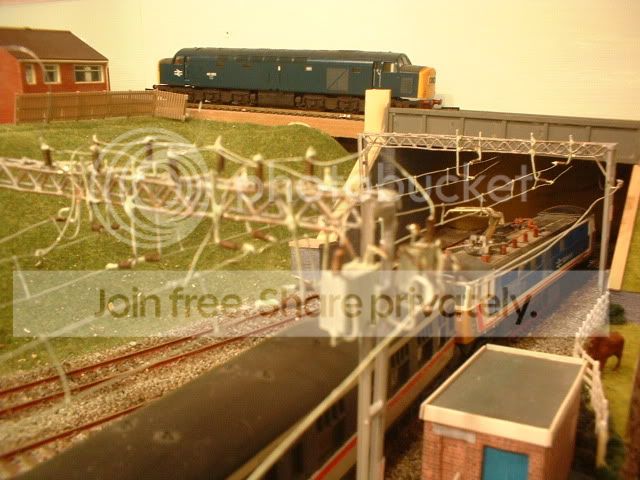
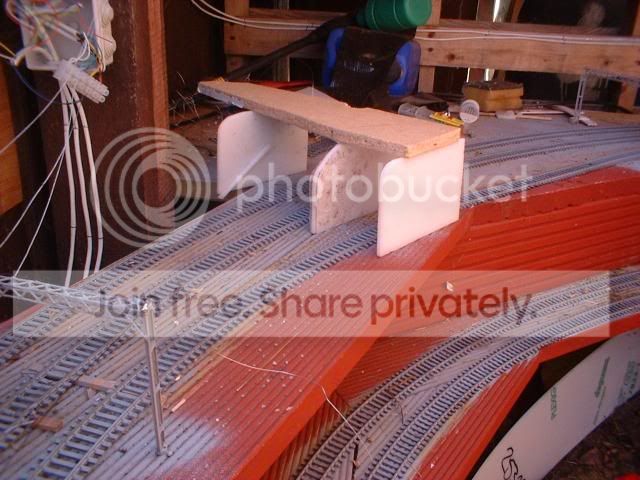
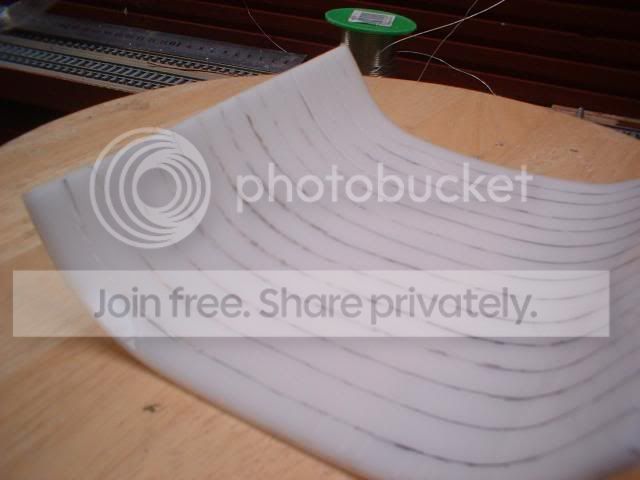
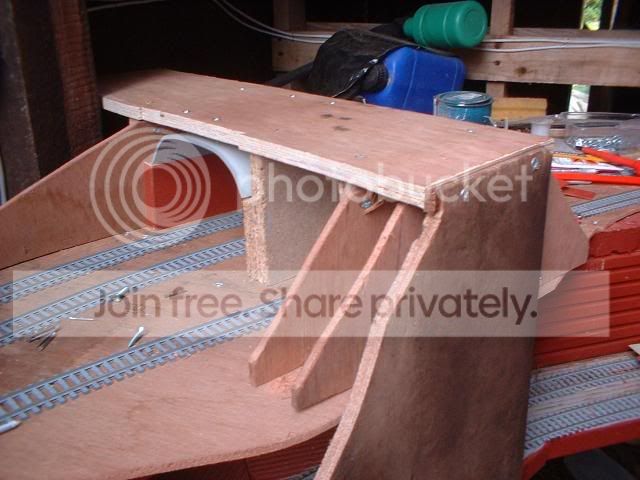
Now the fun part. I wanted the bridge to resemble an electrification rebuild with the distintive concrete arch. After some thought I came up with the following. First heat up some plexiglass sheet on the gas hob and bend to shape…
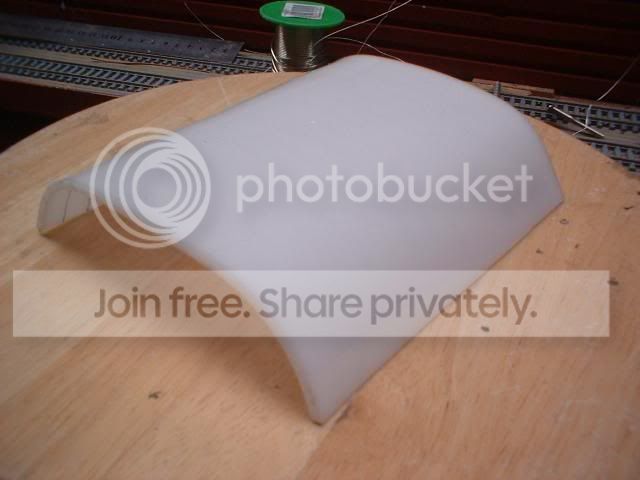
Mark out the underside and then cut some grooves in using a mini drill….
Quick coat of paint. Note I only cut the grooves so far across…
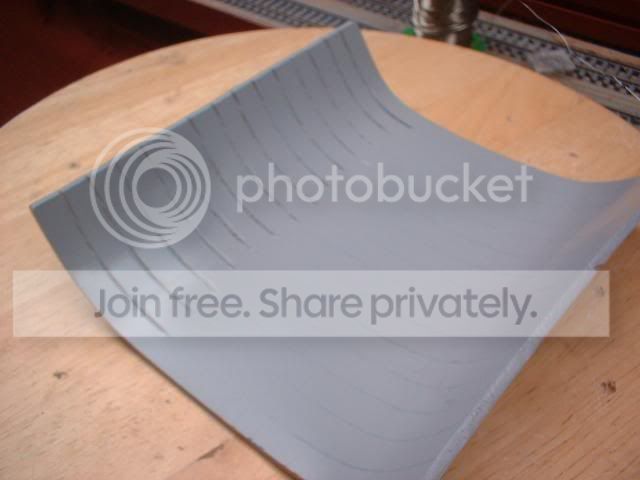
Turn right way up…..
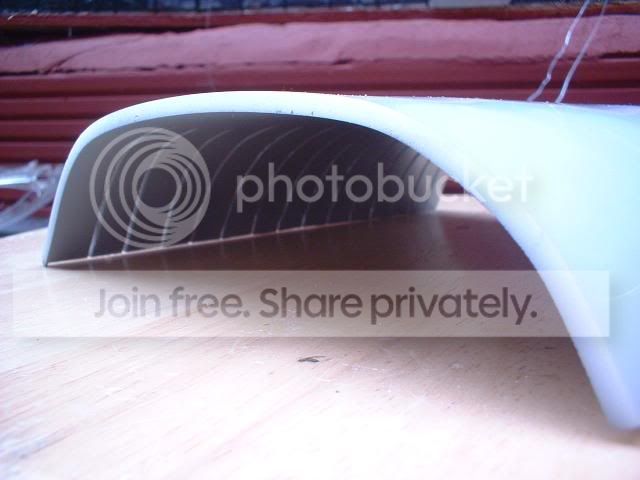
Reason I didn't cut right across is you wont see all the arch. Moving on wooden frame..
Wills brick sheet….
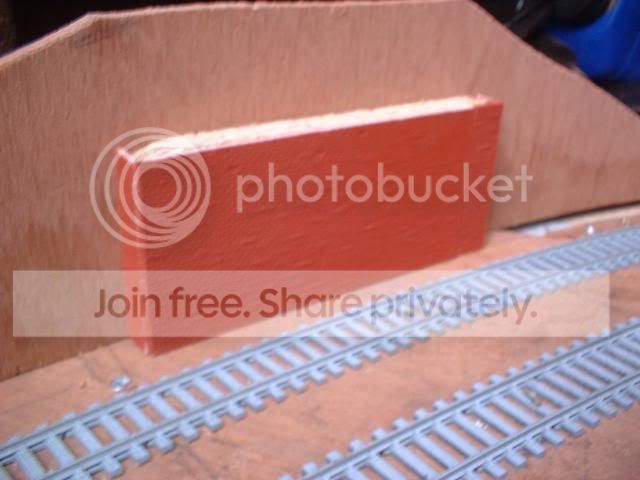
Add arch…
Fit walls….
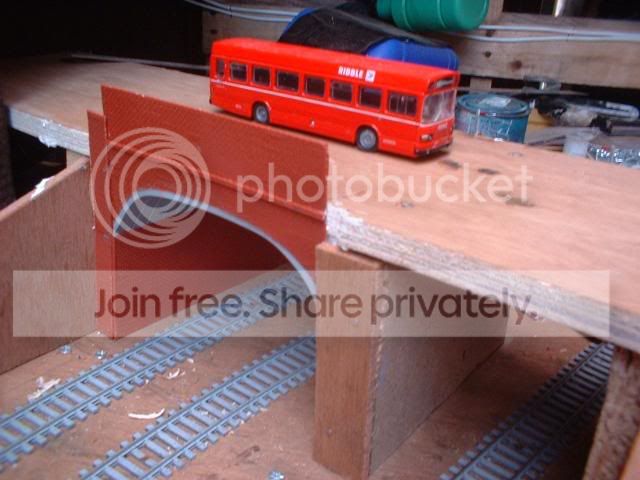
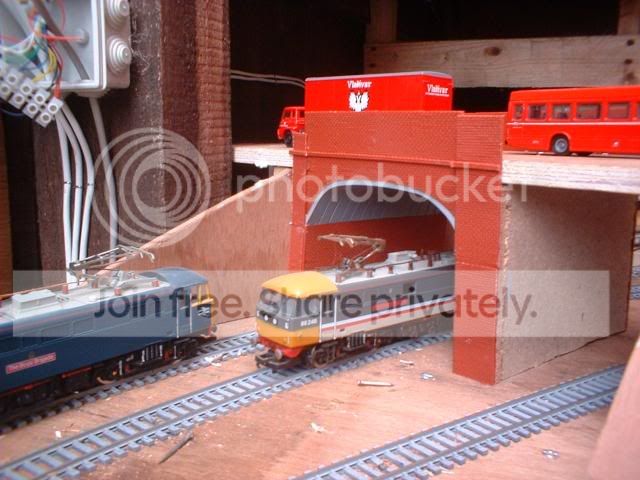
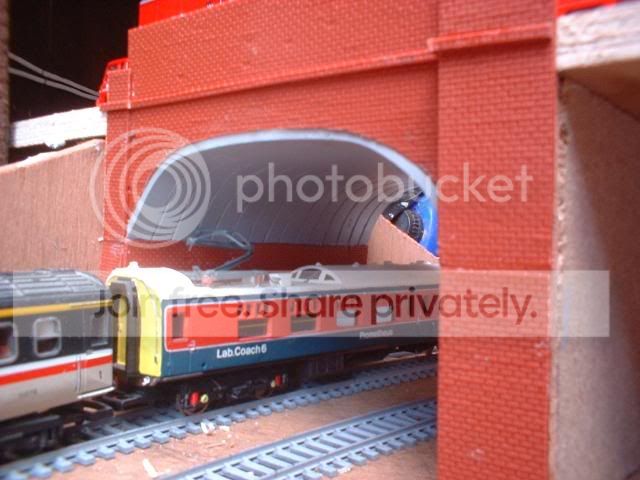
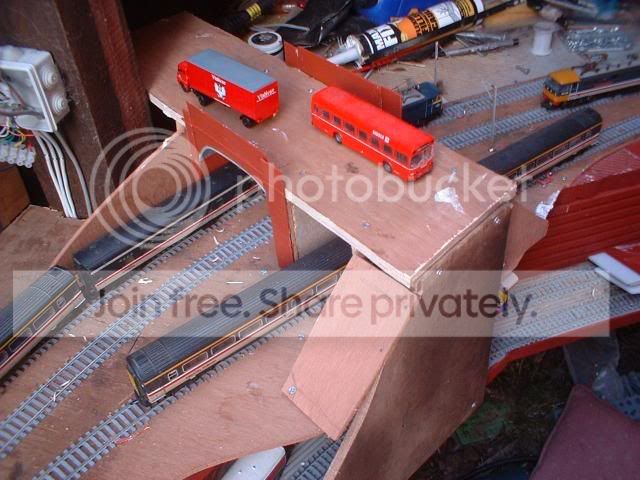
Overall view…
Now with the basic bridge in place the layout when viewed from back up the line realy looks like the WCML. Mission acomplished!
Posted
Guest user
Posted
Guest user
Posted
Inactive Member
Max
Port Elderley
Port Elderley
1 guest and 0 members have just viewed this.