00 Gauge - The Heatherburn Garden Railway.

Post

Posted
Rating:
#39093
Guest user
Great back-scene, love to see more close-up detail, perhaps you will share you production methods for that project.  The layering of the foreground - mid - to ground is outstanding.  This is the effect I was hoping to create on my SDJR - USA.

     Always enjoy visiting you world.
Back to the top

Post

Posted
Rating:
#39094
Guest user
Greetings again:

Just caught up with the Video, very helpful…I was wondering if the back-scene building was on a flat.  The modular assembly is something I will try with my industrial back-drop…thanks.
Back to the top

Post

Posted
Rating:
#39109
Guest user
Thanks guys. The flats still need finishing off. As you have seen I started with the main building that was printed on to A4 sheets then stuck to the backscene. The walkways are made from card that has been bent into a U section. Tonight I have painted all the track in the foreground so tomorrow I can finish off the flats as I have to build out over the line slightly for the ground floor. I still have to add the end sections of walkway and the walls but I thought the video would give an impresion of how the landscape is starting to take shape. As they say watch this space! :thumbs
Back to the top

Post

Posted
Rating:
#39113
Guest user
Just reviewed the pics I took tonight of the painted track and my first attempt at weathering and coulden't resist sticking a few up!


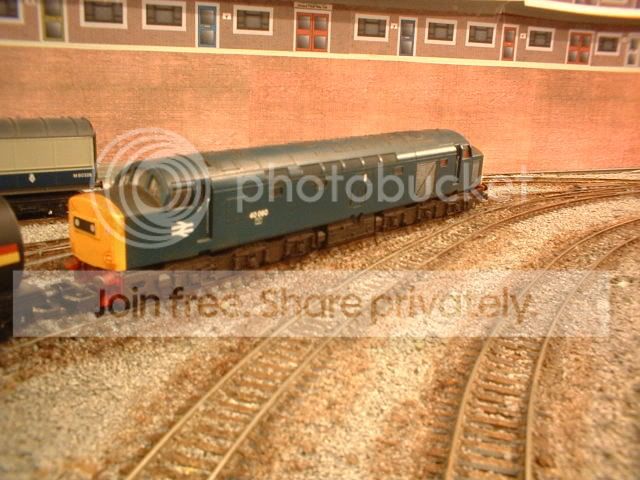
The muck on the 40 has toned the plastic down a bit but i'm now thinking of getting rid of the red buffer beam as the real 40060 was black or at least it was when it took me for my first trip over the S&C. ;-)
Back to the top

Post

Posted
Rating:
#39114
Guest user
That's turning into an excellent corner of the layout Dave.
 I like that loco.

 Mike
Back to the top

Post

Posted
Rating:
#39116
Guest user
Thanks Mike still a long way to go but when the day arrives for me to put the wires up I know that the end will be in sight! :lol:
Back to the top

Post

Posted
Rating:
#39130
Avatar
Full Member
Wonderful videos Dave, including the music, inspirational stuff. Quite a fews hours of dedication put into their production.
I think that the animation works fine and conveys some of the workings of the layout nicely.
Superb stuff, keep it up.

Marty
N Gauge, GWR West Wales
Newcastle Emlyn Layout.
Newcastle Emlyn Station is "Under construction"
Online now: No Back to the top

Post

Posted
Rating:
#39217
Guest user
You've created a real sense of city excitement with that corner.
Back to the top

Post

Posted
Rating:
#39228
Guest user
So much going on in this corner Dave, I reealy like it, it's starting to look and feel just like being on a train into London, great.
Back to the top

Post

Posted
Rating:
#39237
Guest user
Thanks. Alan you are spot on thats the look that I am going for. The WCML is a big subject to model so I am trying to recreate small sections that hopefully join together! Yesterday I decided that I needed a bit of motivation so I started to get the first section of wires up. First job has been to build another couple of gantries from scrap wire and rail…….


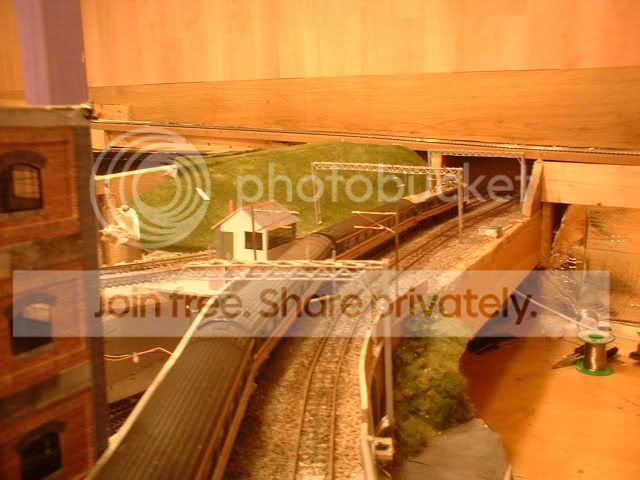
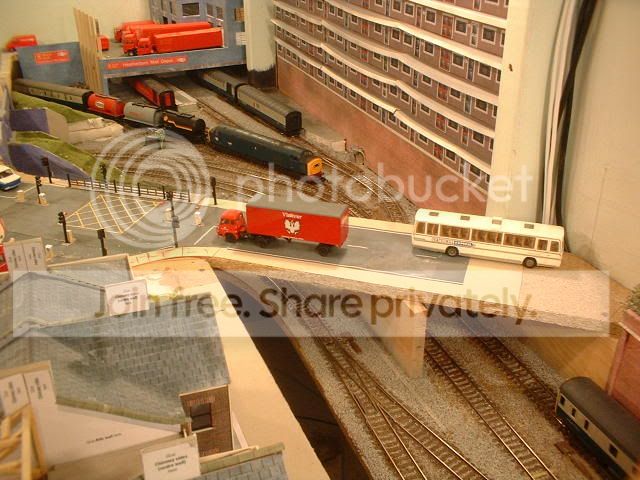
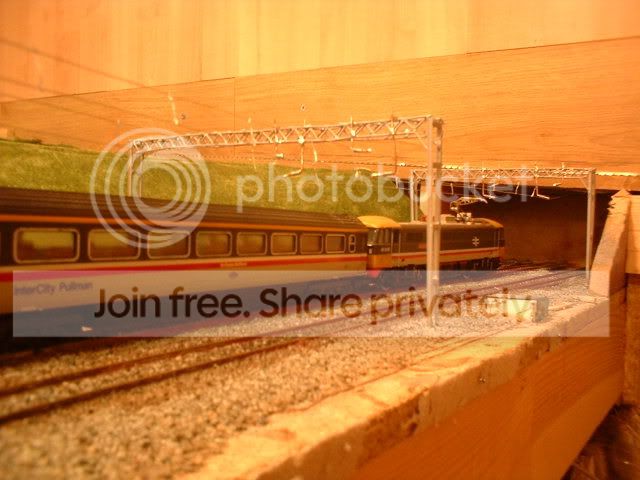
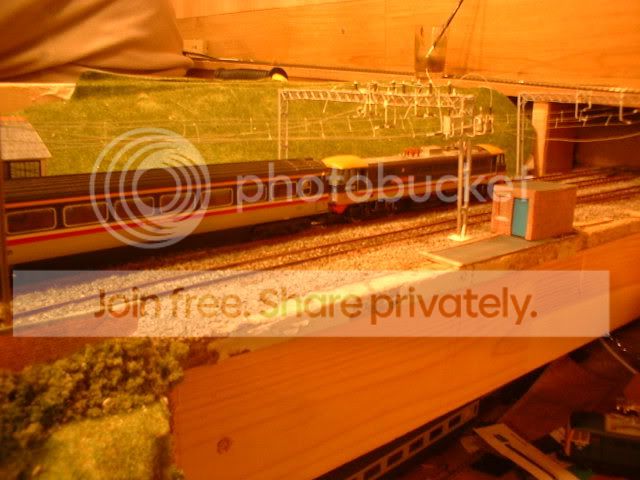
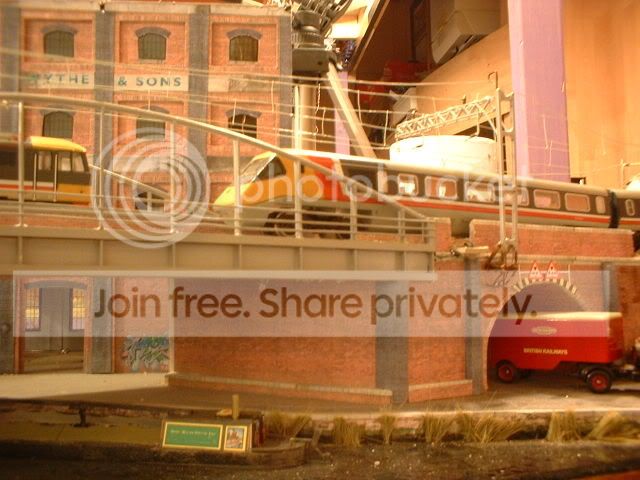
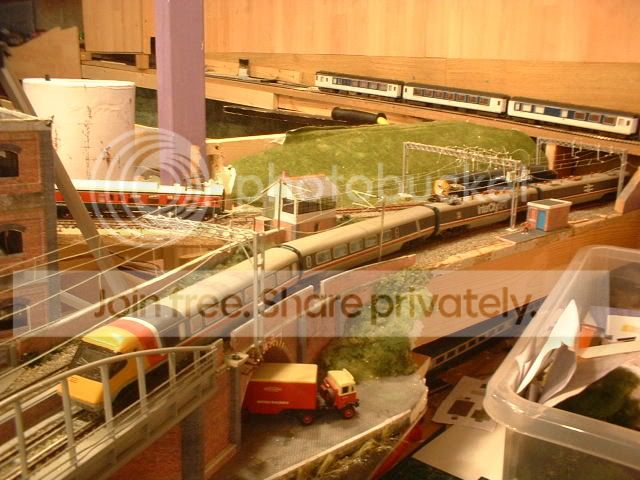
I did another 'time lapse' when building the larger one so this will end up on you tube in due course. Here's another taken further back…..


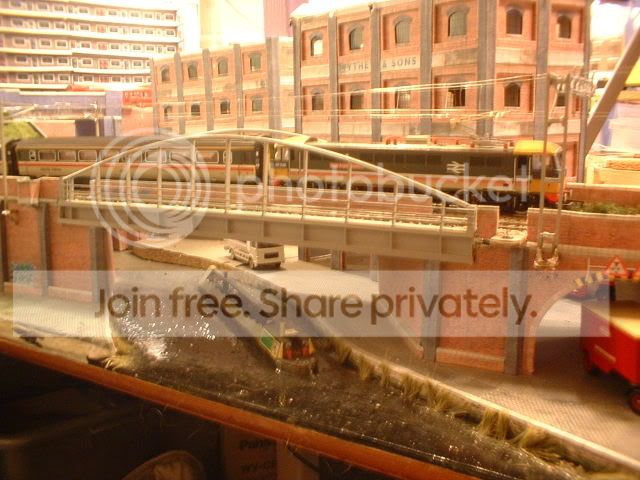
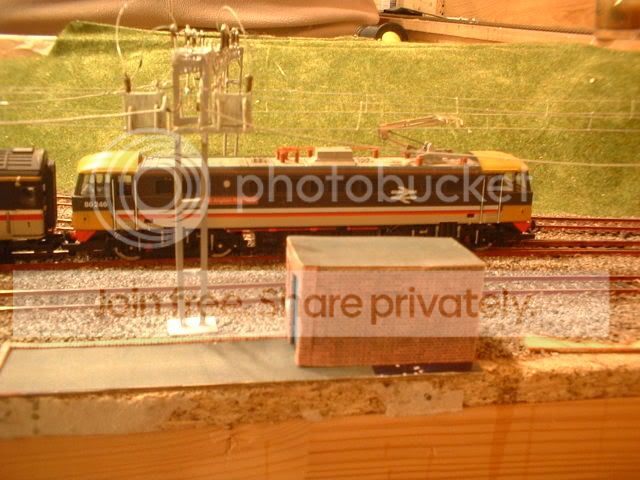
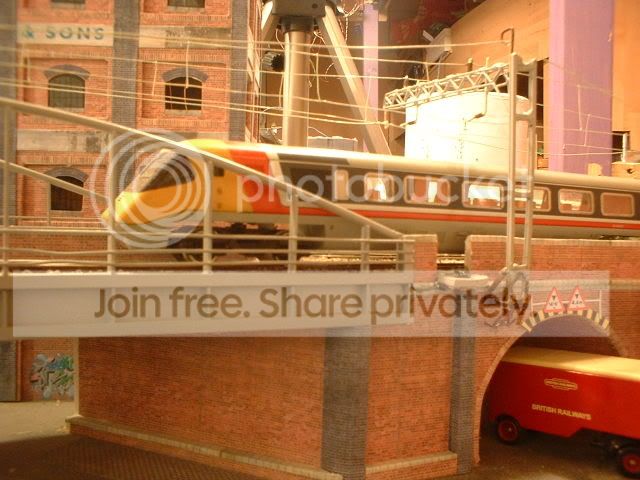
The post at the front left has had the arms changed for longer ones as it is mounted on the side of the bridge. Origanaly this mast was located on the other side but has been made redundent by this…..


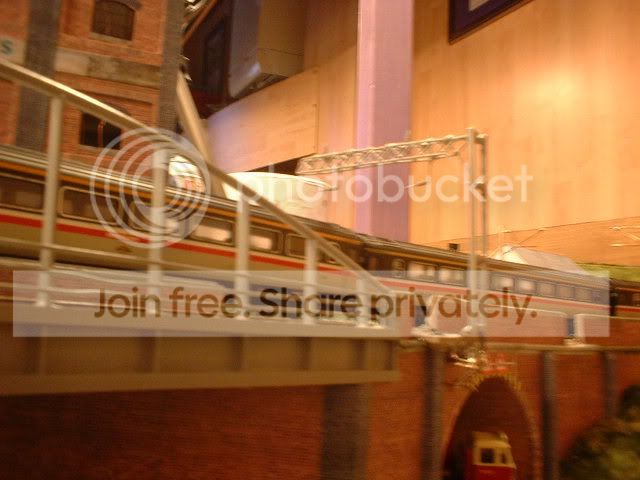
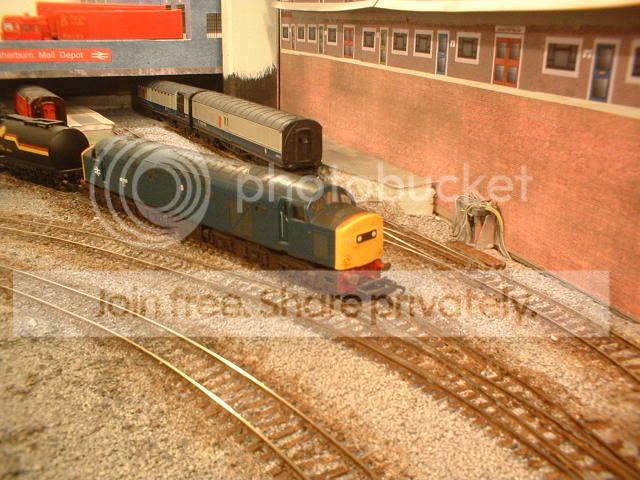
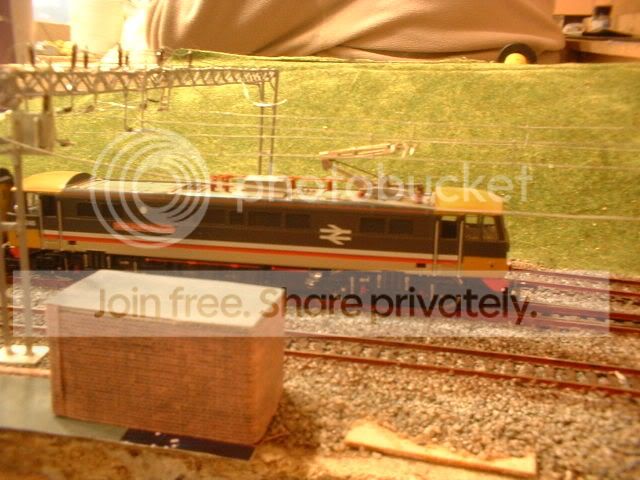
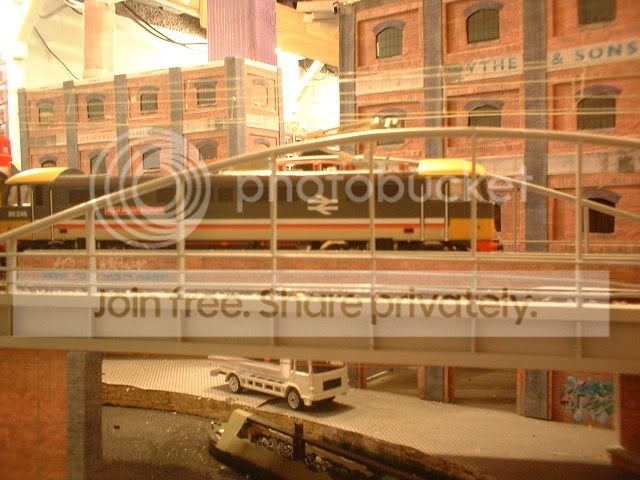
Sorry it's a bit blured will use the tripod next time! This is the reason for the change…


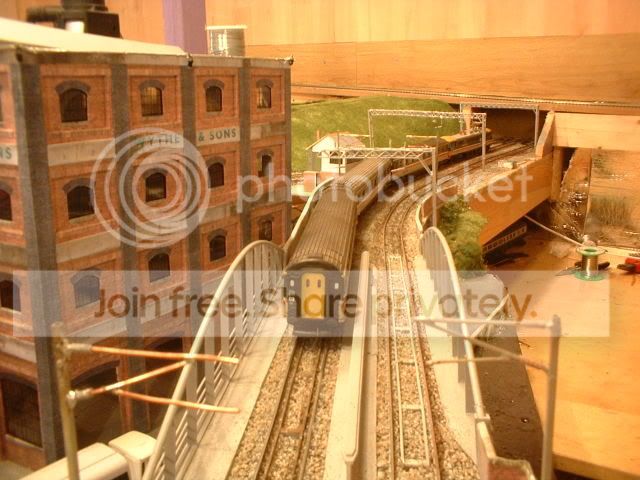
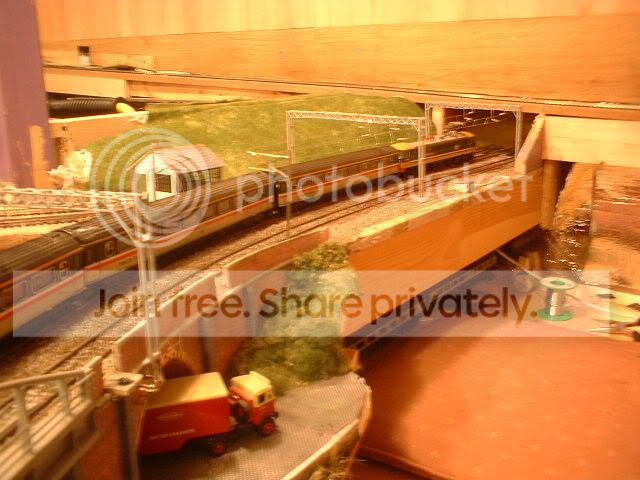
The warehouse is to close to the railway to get the post in where I need it so looking through some of my refrence books I decided to build one of these gantries. Another bonus of using this style is that the signal next to the signal box (got to build it yet!) will be more visable to the drivers. Once I get the whole area finished I might ask my dad to pop over and take some better pics as my camera dosen't realy capture the whole scene. The canal area now is starting to look like my home town Stoke-on-Trent. If only I could get the boat to look like the one my grandad had. Today the wires will be going up between the two overbridges. More later. ;-)

 
Back to the top

Post

Posted
Rating:
#39238
Guest user
Forgot to mention the painted trackbed. The pics dont realy show it up very well but I have painted all the sleepers and rail sides as per the station approch that I did the other week. Once painted I added some muck to the balast by dry brushing acrylic paint. The black line of gunge down the middle that I have seen in pics of the prototype has been done using a white board marker. ;-)
Back to the top

Post

Posted
Rating:
#39263
Guest user
STOP PRESS The first section of OHLE is now up!!!! Wheayyyy!!!! Only waited two years to get the wires up. Now I have completed the first 4 foot section its given me the motivation to finish the layout. I have done some pics for a tutorial later but for now heres some pics…..


:Happy :Happy :Happy
Back to the top

Post

Posted
Rating:
#39276
Avatar
Full Member
Amazing stuff.So much work is going into this layout.A real labour of love.You can be justifiably very proud of it mate!

Cheers,John.B.:thumbs
Online now: No Back to the top

Post

Posted
Rating:
#39388
Guest user
Last night I decided to do a bit of 'research' to make the ohle more relistic. So out came my 1985 railscene cab ride video from euston to lime street! Armed with some new ideas today I set about making the OHLE look a bit more like the WCML. One of the most striking features is the way that the wires and support tubes have gone green over the years. I think this is mainly due to the copper used at the time as northern section and pritty much every other electrification scheme since used alluminum/alloy for the wires and supports. So out came the paint brush and a suitable shade of green was mixed and then painted on. Next I painted the insulators dark brown then stepped back to admire the result. Somthing didn't quite look right then I relized that I had forgot the return cables that run down the sides. These proved more dificult than the catenery as I needed the wires to have a curve in the middle. Then I got creative and decided to have a go at a set of booster transformers! So out came the soldering iorn again and I fabricated some bracket work and fitted some more insulators to the top of the gantry. For the transformers a rummage through the bits box resulted in two squarish capacitors that looked the right size. So these were fitted to the gantry along with the bus bars. Then it was time to cover over the relay at the trackside. So a brick built hut was built from card and some scalescenes leftovers from the scrap box. Anyway heres the pics….


Back to the top

Post

Posted
Rating:
#39389
Avatar
Inactive Member
They look very convincing, Dave - especially the insulators etc.  Well done!
Online now: No Back to the top

Post

Posted
Rating:
#39409
Guest user
great job on those ohle Dave, brill.

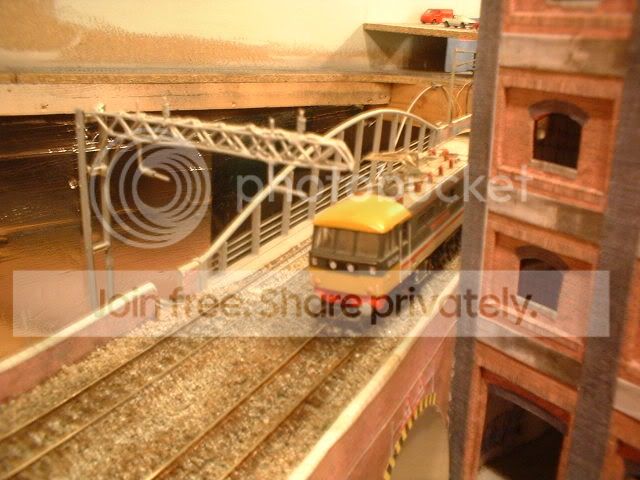
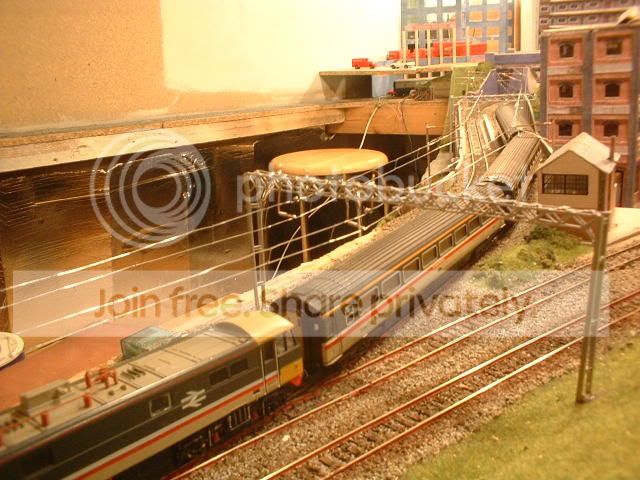
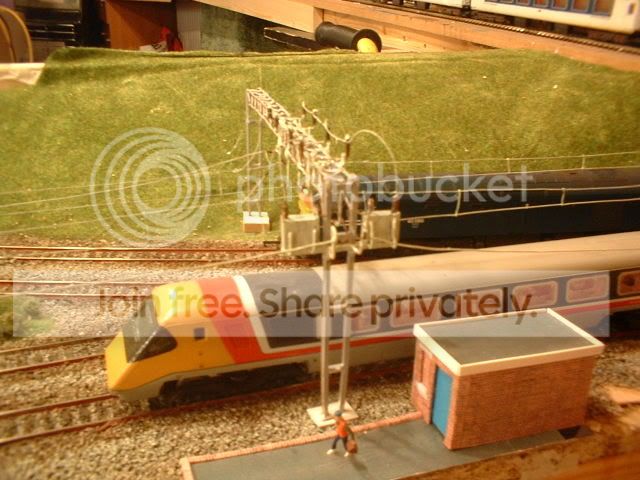
rather taken with pic 5,looks like a War of the worlds machine has lande!!!

:mutley:thumbs:thumbs:lol::lol::lol::cool:
Back to the top

Post

Posted
Rating:
#39411
Guest user
rather taken with pic 5,looks like a War of the worlds machine has lande
:mutley :mutley:mutley Forgot to remove the tripod. DOH!! :lol:
Back to the top

Post

Posted
Rating:
#39434
FS
Avatar
Inactive Member
The OHLE is STUNINNG!:thumbs


Thomas

TUTTO IN GRIGIO ARDESIA
Online now: No Back to the top

Post

Posted
Rating:
#39442
Guest user
Wow-again!  That overhead wire is spectacular and the speed at which you work is remarkable.  When I was modelling electric railways in O-Scale it took me forever to do wire work.  In the end I opted out for Sommerfeldt ready made, very out of scale wire (as can be seen of my South Shore Line pictures on my thread).

Always exciting to visit you world.
Back to the top

Post

Posted
Rating:
#39444
Guest user
Excellent Dave.  Looks good enough to give you a shock if you touch the wires :mutley

 Mike
Back to the top
1 guest and 0 members have just viewed this.