00 Gauge - The Heatherburn Garden Railway.
Posted
Guest user
Now no longer available but it looks similar to Noch 09372
 or even 09371
Posted
Guest user
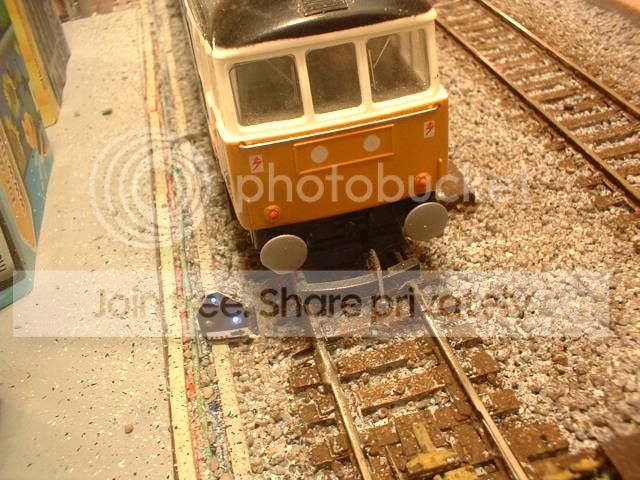


Now that I have a working prototype I now have to refine it!
Posted
Guest user
Posted

Full Member
Wayne

Posted
Guest user
http://uk.youtube.com/watch?v=gEMh6db2_JM
Enjoy.:thumbs
Posted
Guest user
That is a fantasic video you have made there very pro looking video
Your railway should be featured in the railway magazines it would give a lot of people inspiration to have a go outside with 00 gauge
you should send hornby mag and model rail an email with a link to that video and photos
cheers Brian
Posted
Guest user
P.S. I have some original music composed [if that's the right word] on Music 2000 on the PC and Playstation. I might steal your idea and put some to a video one day, but it won't be in the same league as yours!
Mike
Posted
Guest user
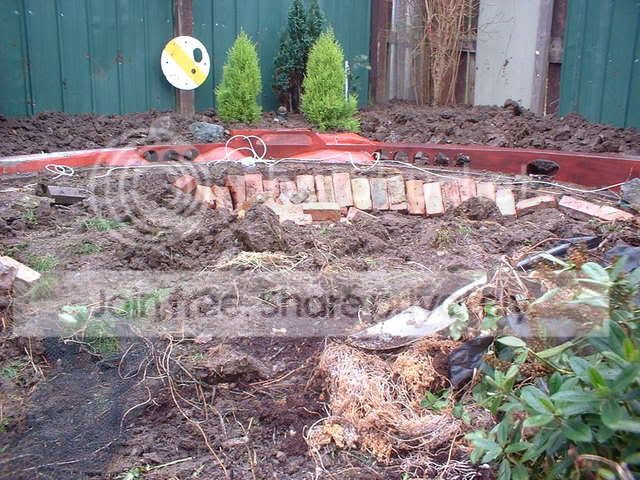
Well big changes at the heatherburn took place yesterday as I decided that it was about time I got all the hard landscaping done. So out came the shovel and away went the lawn for ever. Great no more mowing!! Also to go was all the plants that we inhereted when we bought the house. These were mainly plants that spread underground and poped up wher they liked! Once dug out the rear beds were built up using soil (frozen clay!!) from the excavated lawn. The plan is to replace the lawn with a patio area so that when we have visitors over we can sit out and have a BBQ whilst watching the trains roll by. As you can see from this first pic I need to dig down about a foot to give me a level area……
The next to are taken from the fence looking back across the garden…..
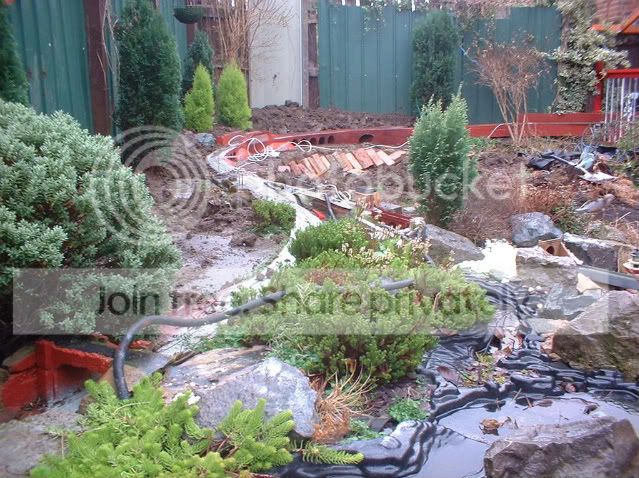
The white cable that is visable is the 6 core 'bus' cable for the down line colour light signals. This will be rerouted along with the repositioning of the junction boxes. I have also repositioned the paving slab behind the station so that I have someware to mount the waterproof box housing the bits to operate the level crossing. ;-)
Posted

Legacy Member
Posted

Full Member
Phill
Posted
Guest user
Posted
Guest user
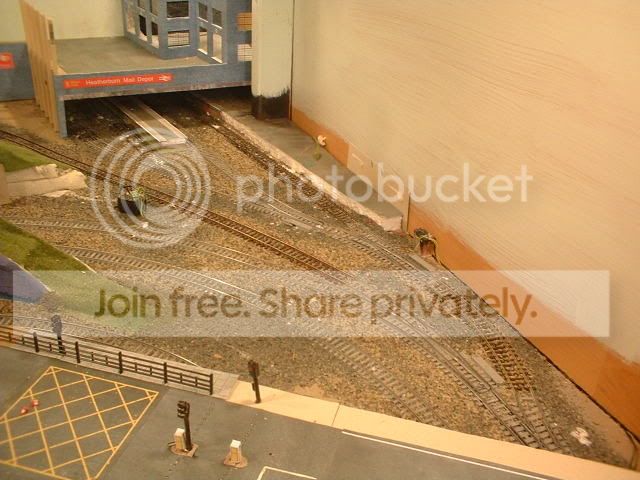
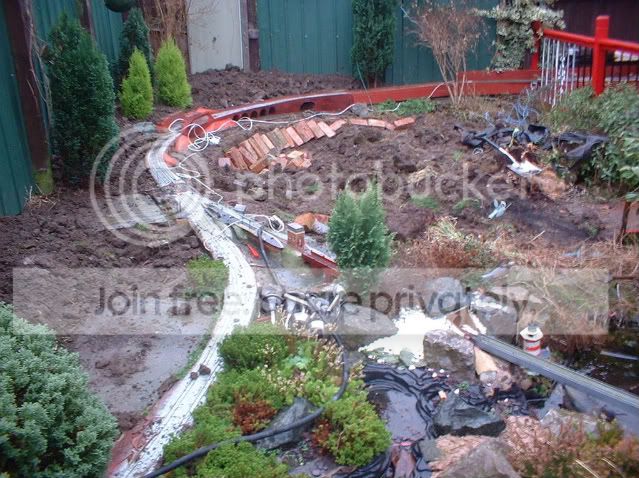
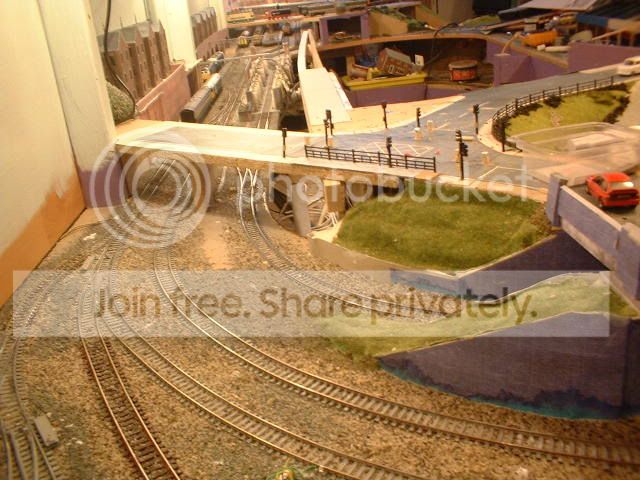
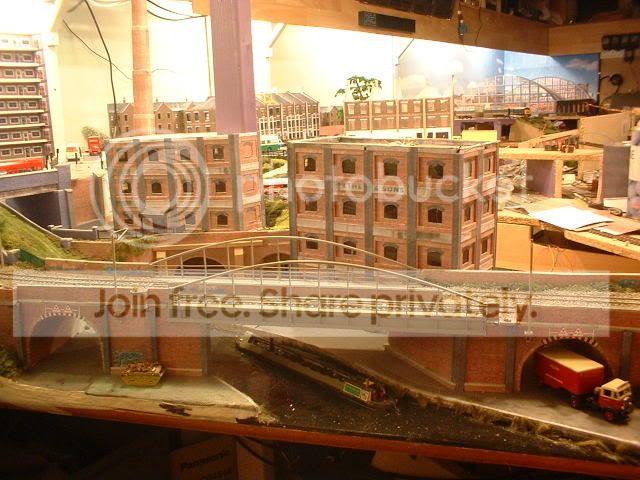
The relays can be seen sticking out of the balast. Again these will be hidden with buildings…
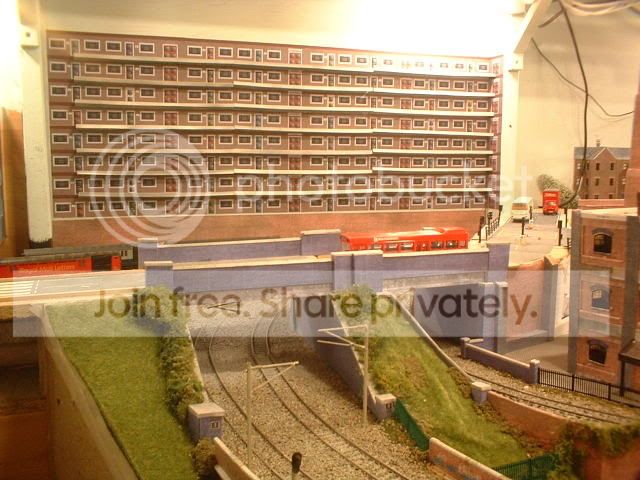
The large area in the background is where the flats will be built. These will be based on trellick towers with the wooden support timber to the right being discuised as the service tower and will have outside walkways…..
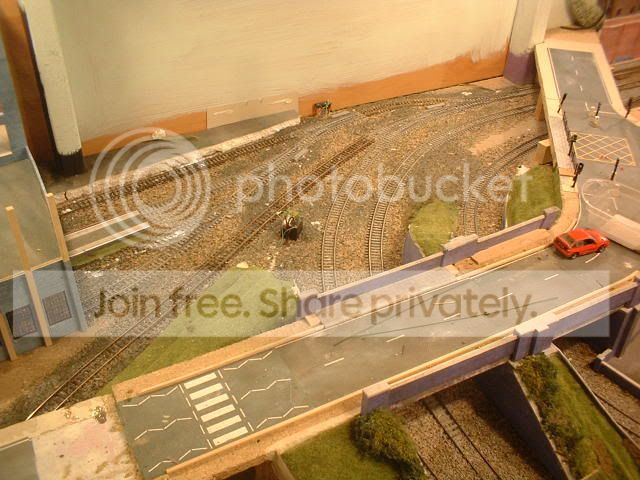
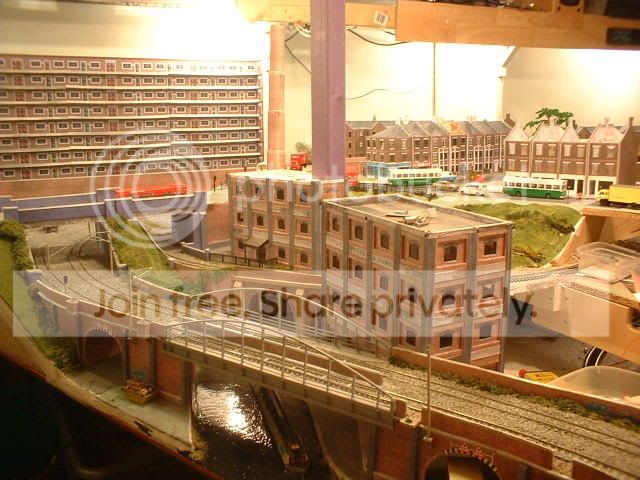
The last two show the tracks curving round towards the terminus.
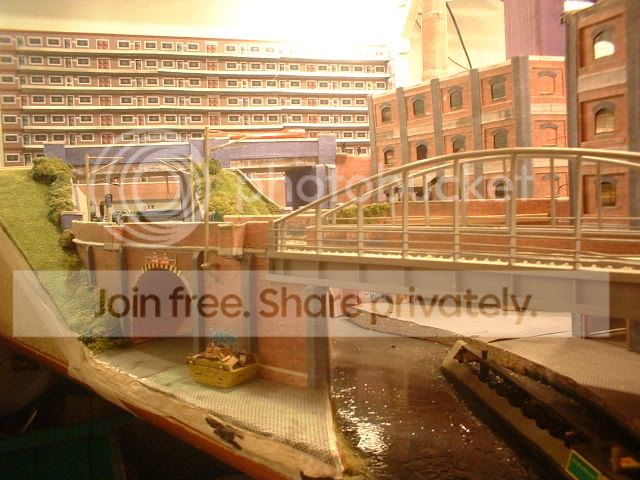
The last one shows the water in the pva mix distroying the bridge wall!! Just as well this side is not normaly visable as the brickpapers used were actualy scalescenes misprints that came out the wrong colour! :roll:
Posted
Guest user
Posted

Full Member
Do you have any living space in your house Dave, as your layout seems to go on for ever (wish it was mine):hmm
'Kev
Posted

Full Member
Your layout is coming on superbly and some serious engineering going on outside too. I should think the recent weather has been a real test for the outdoor bits.
Bob(K)
Posted

Full Member
Thats a great layout,and the video tells the story of how the line was built! Brilliant!
And the music was better than most on professional train videos.Great Stuff.
Loved the shot of the signal box under snow!!!
Cheers,John.B.:thumbs
Posted
Guest user
Want to see it being built?
Click the link below…..
http://uk.youtube.com/watch?v=BnSig9zgRuM
Forgot to mention click watch in high quality as the sound is better. Now to start part 2 ! ;-)
Posted
Full Member
What a VIDEO! How do you do that? I must be missing out somewhere. :roll:
At least it gives me lots more ideas!
Great job!
Wayne
Posted
Legacy Member
Posted
Guest user
A very good video showing how a large area can be sorted with a little effort and not a large amount of money.
cheers Brian
1 guest and 0 members have just viewed this.