00 Gauge - The Heatherburn Garden Railway.

Post

Posted
Rating:
#29742
Avatar
Full Member
 

 That crossing looks really good Dave.

Well done mate :doublethumb :doublethumb

'Kev
Online now: No Back to the top

Post

Posted
Rating:
#29748
Avatar
Full Member
:thumbs What a lovely crossing mate, again the pics show us all so much moire than what you are working on, the detail all around is brilliant, just love looking at your pics.

Phill
Online now: No Back to the top

Post

Posted
Rating:
#29758
Guest user
Thanks guys. After my last post I retired to the garage to build the flashing lights. They were quite fiddly to do but they work a treat! Click on the link to see a video clip……….
leds mounted on some strip board. The assembly is then soldered to a brass post that is soldered to a 1k resistor. Why you ask? Well to keep down the number of wires in the post. I actually use four wires that link the red leds to a kit I got from maplins. On the circuit board one of the red leds is connected to +ve so I have aslo connected the +ve on the yellow led. The other leg of the yellow is soldered to the brass post so to make wiring easy I soldered the resistor for the yellow to the post. The other end of the resistor is soldered to a brass U section. By connecting this brass strip to -ve the yellow leds light up. By wiring this -ve and the -ve lead on the kit to a changeover switch I can switch between the different lights. Eventually this switching will be done automatically via reeds and relays.
Back to the top

Post

Posted
Rating:
#29759
Guest user
Thanks guys. After my last post I retired to the garage to build the flashing lights. They were quite fiddly to do but they work a treet! Klick on the link to see a video clip……….

 
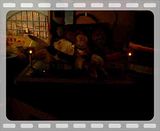
Sorry about the poor quality but hopefully it gives an idea of the end result. The lights are made from 1.8mm leds mounted on some strip board. The assembley is then soldered to a brass post that is soldered to a 1k resistor. Why you ask? Well to keep down the number of wires in the post. I actualy use four wires that link the red leds to a kit I got from maplins. On the circuit board one of the red leds is conected to +ve so I have aslo conected the +ve on the yellow led. The other leg of the yellow is soldered to the brass post so to make wiring easy I soldered the resistor for the yellow to the post. The other end of the resistor is soldered to a brass U section. By conecting this brass strip to -ve the yellow leds light up. By wiring this -ve and the -ve lead on the kit to a changeover switch I can switch between the diffrent lights. Eventualy this switching will be done automaticly via reeds and relays.
Back to the top

Post

Posted
Rating:
#29760
Guest user
HELP!!!!!!!  As you can see I messed that up a bit. It was going ok untill I used the spell checker when half the post and the video disapeared. Now im stuck with two post one half complete the other with spelling mistakes in! I GIVE UP!!!!:thud
Back to the top

Post

Posted
Rating:
#29762
Avatar
Legacy Member
The video is fine Dave, shows exactly what the lights are doing.
Online now: No Back to the top

Post

Posted
Rating:
#29763
Avatar
Full Member
Amazing, Dave, and outside as well. Given you live just down the road, figuratively, from me, how do you manage to run a layout partly outside when Northumberland just seems to be being washed away? I know, if it rains it gets wet but I'd like to know if you do anything to protect the track etc. Also, where did you get the gantries from as they look finer than some I've seen around?

'
Online now: No Back to the top

Post

Posted
Rating:
#29764
Guest user
Very productive day Dave at tis rate you will have loads done by this time next week

cheers Brian
Back to the top

Post

Posted
Rating:
#29765
Guest user
Thanks for the feedback. Mojo1 the gantries are scratch built from old lengths of rail and the latice work is made from copper wire. There is a tutorial on here somewhere showing how I made them.;-)
Back to the top

Post

Posted
Rating:
#29766
Avatar
Legacy Member
Online now: No Back to the top

Post

Posted
Rating:
#29767
Avatar
Full Member
Thanks, Bob, and Dave, I'm looking to build a couple of signal gantries so will follow your methods and see what I manage to produce.

'
Online now: No Back to the top

Post

Posted
Rating:
#29795
Guest user
Great stuff, Dave. I have some crossings to do - I must try the car body filler!

 Mike
Back to the top

Post

Posted
Rating:
#29817
Guest user
Looking out of the window I can see the tarpaulin sheeting making a comeback!! Its windy and chucking it down. And I have to wait untill the weekend to get some brass for the crossing. Looks like a day indoors tidying up the garage!
Back to the top

Post

Posted
Rating:
#29818
Avatar
Full Member
Oh dear Dave,
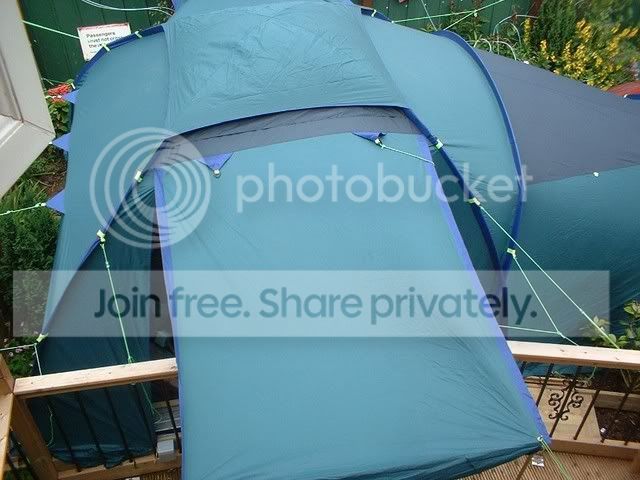
Not good weather for outdoor soldering.

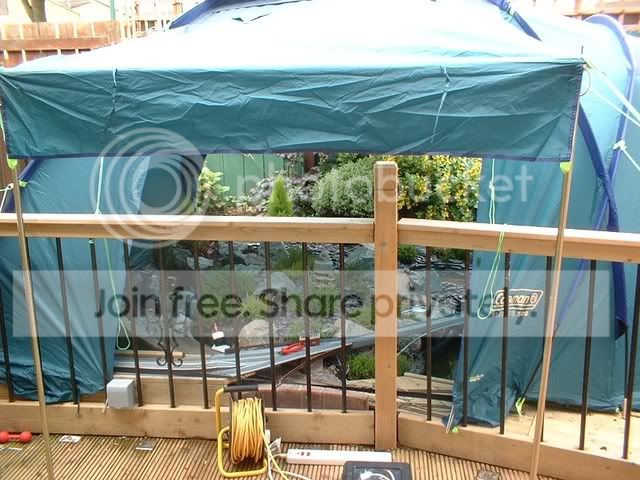
Improvise, adapt and overcome…. make up a little portable soldering tent with a couple of 150 watt spotlights inside it to help you see what you are working on and to keep yourself warm.

After all, how are we going to cope without a progress report from Heatherburn!

Marty
N Gauge, GWR West Wales
Newcastle Emlyn Layout.
Newcastle Emlyn Station is "Under construction"
Online now: No Back to the top

Post

Posted
Rating:
#29822
Guest user
Soldering tent…Ah yes I remember……Last years summer…….


:mutley


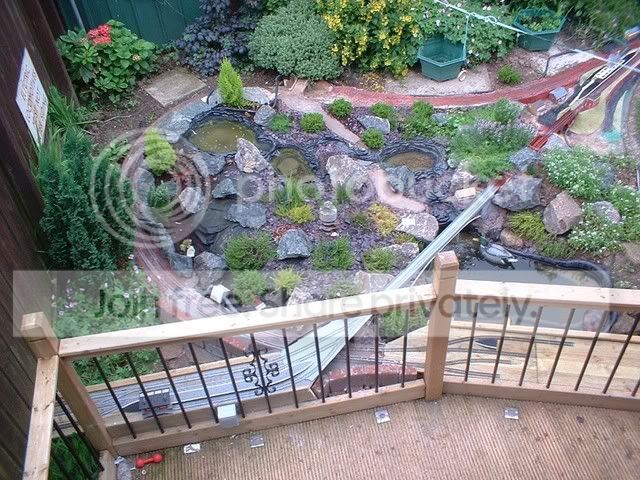
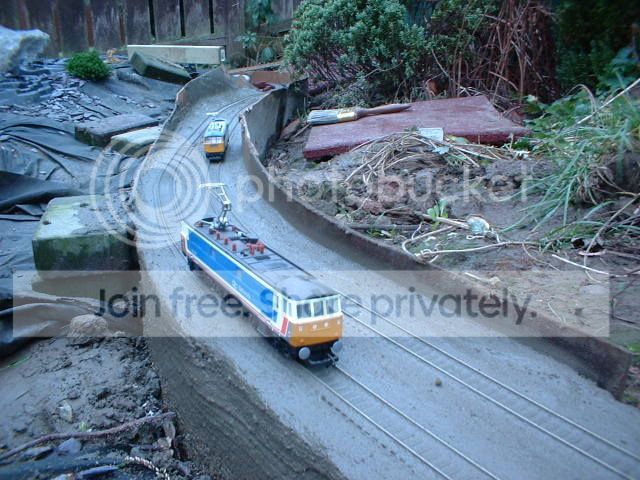
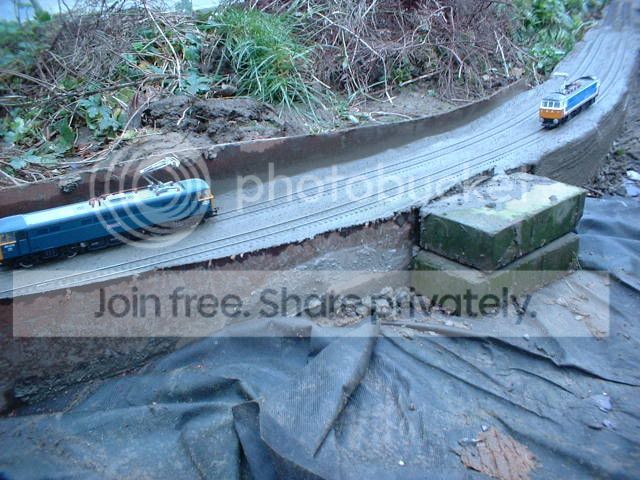
Heres a couple from the early days of the first section…..


Back to the top

Post

Posted
Rating:
#29829
Avatar
Full Member
Now there is dedication for you.
I can see why you need it from the photos without the tent.
Well done that man…
Just one thing… How did the duck go under the tent?

Last edit: by Marty


Marty
N Gauge, GWR West Wales
Newcastle Emlyn Layout.
Newcastle Emlyn Station is "Under construction"
Online now: No Back to the top

Post

Posted
Rating:
#29832
Guest user
i have done that repairing cars,would never have thought of it for a model job,
well done that man.

:doublethumb;-):lol::lol::lol::cool:
Back to the top

Post

Posted
Rating:
#29893
Guest user
How did the duck go under the tent?
I bribed it with chocky bickys !:mutley

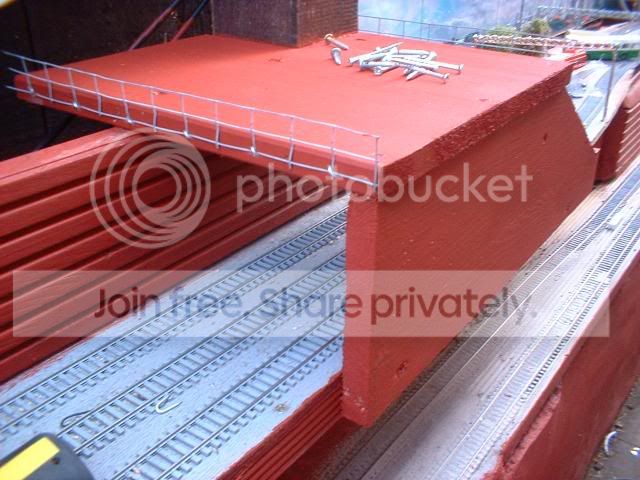
Well work on the garden section has come to an end due to the high winds. I did wrestle with a tarpaulin sheet and got very anoyed with it…….


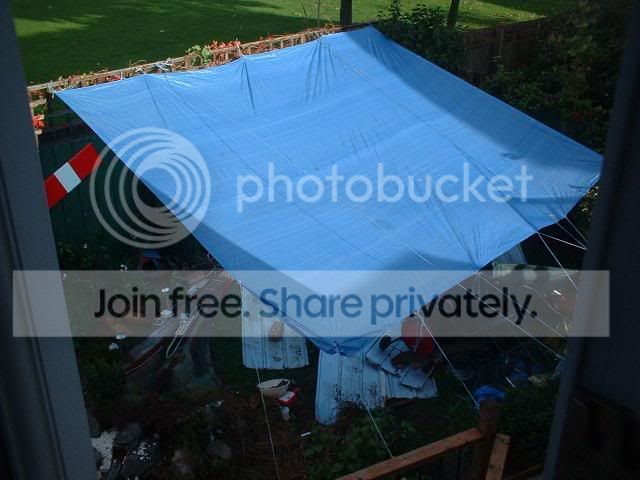
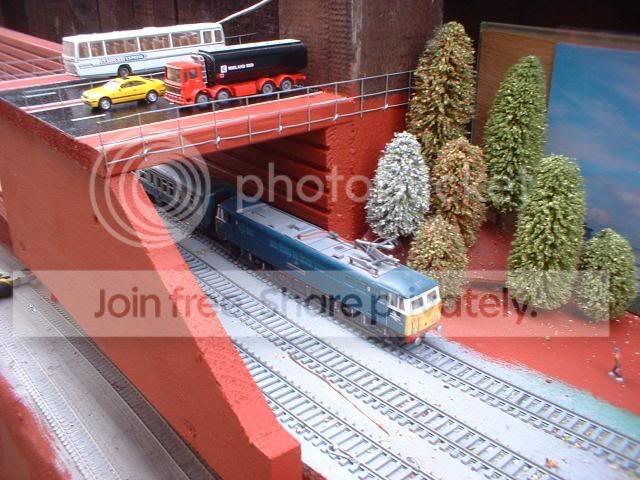
It stayed up for a couple of hours before the wind ripped it to bits damaging the layout in the process! I then dicided to do a bit more on the 'new' scenic section starting with……..


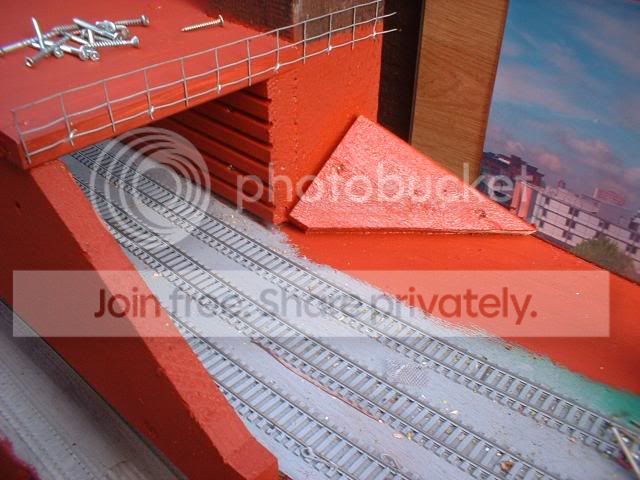
That lead to this…….


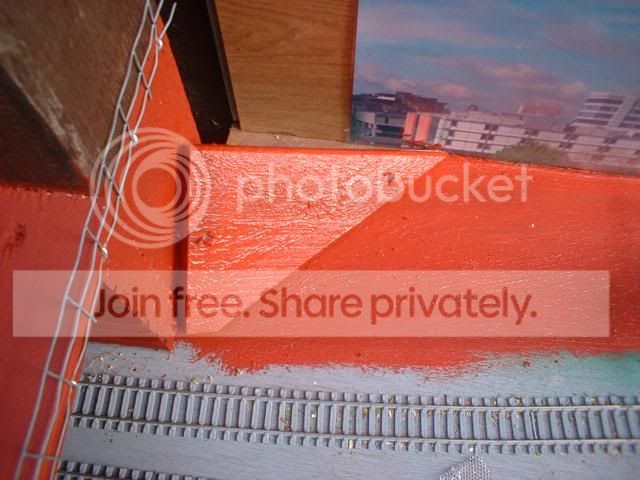
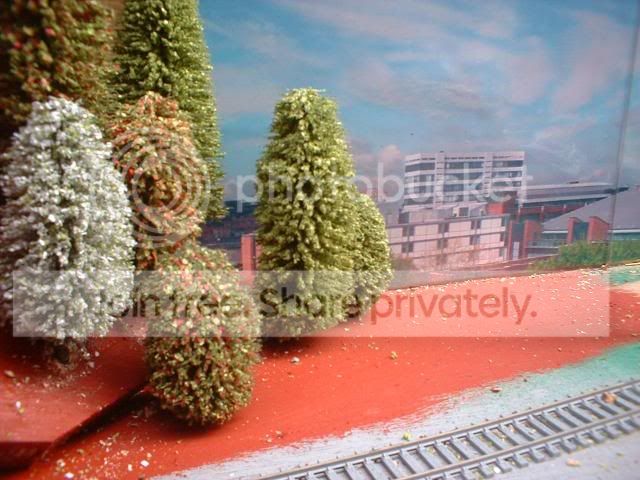
Any ideas what comes next?……


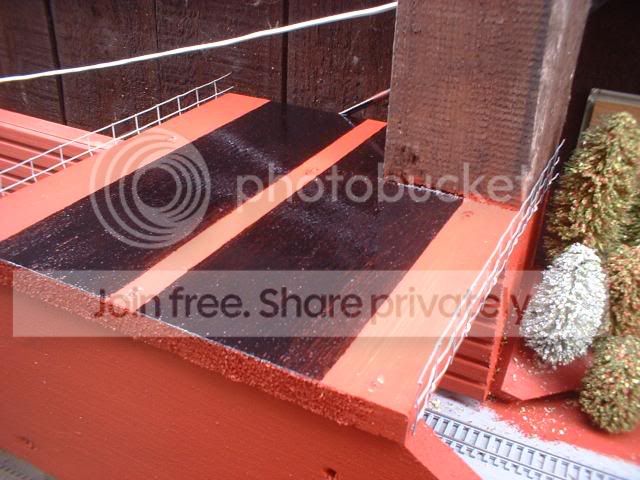
I see black stripes!………..


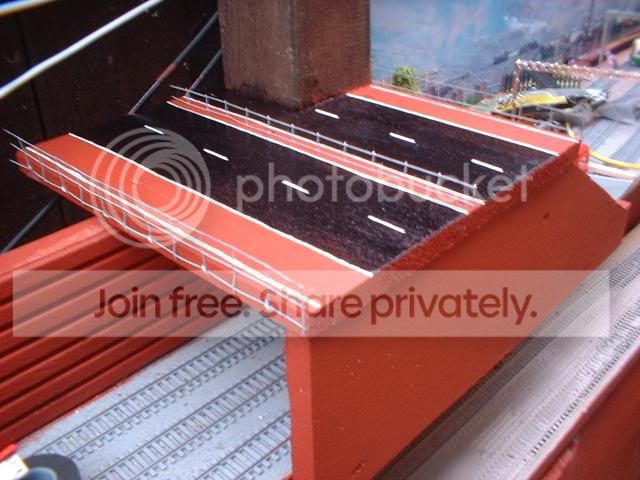
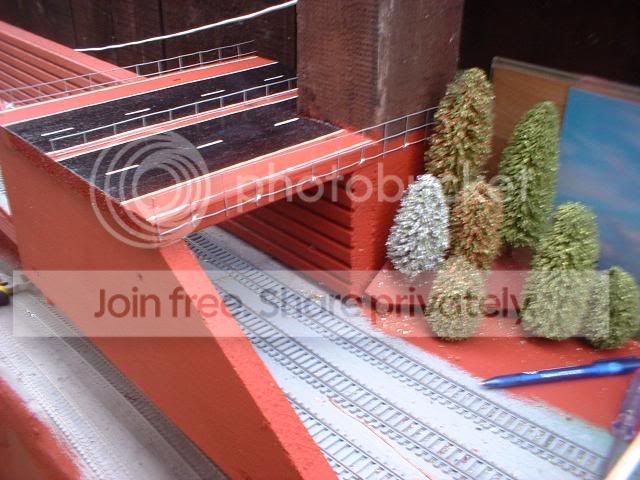
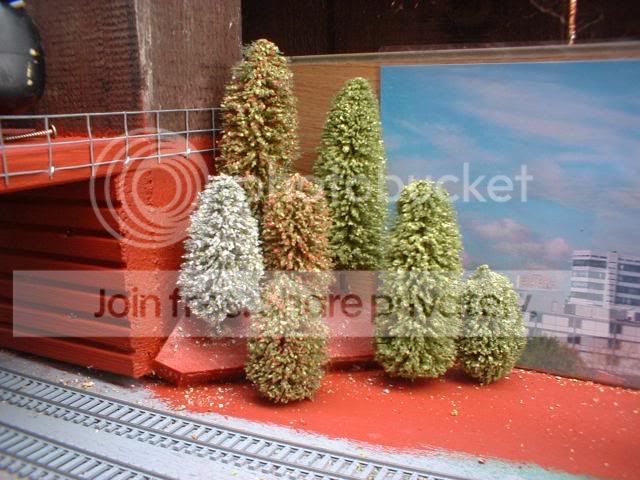
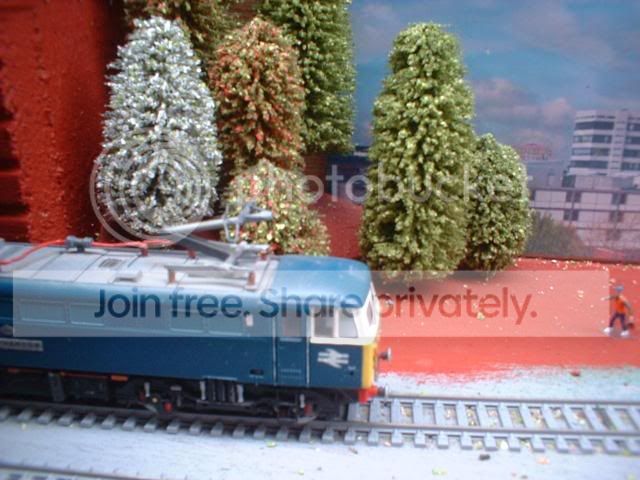
Ah thats better now there's somthing still missing…………….


Now that I've copied my cameras memory card to the PC I can now go back to the 'great outdoors'. See you later gents.:cool wink
Back to the top

Post

Posted
Rating:
#29926
Guest user
Dave, I love the way your wig-wag lights work just like the real thing, even to the extent of both red lights coming on together before they start flashing.  Brilliant!

Looking forward to seeing the barriers next…
Back to the top

Post

Posted
Rating:
#29934
Guest user
Thanks Chris work on the bariers will resume when the weather settles down oh and also when I get some more brass! Well after posting up the last lot of pic's I thought that the motorway was missing somthing other than a jam. So a rumage through the remaining bits of brass and rail resulted in this……


Back to the top
1 guest and 0 members have just viewed this.