00 Gauge - Jeff Lynn / SRman's New Layout
Posted

Full Member
Progress (or otherwise) on Jeff's new layout
Thanks Max. Progress is not as rapid as I really want but I am determined to "do it right"! :cool:Agnes is well and I am slowly mending - it's one of those cold/flu' things that keeps hitting back.
Jeff Lynn,
Amateur layabout, Professional Lurker, Thread hijacker extraordinaire
Amateur layabout, Professional Lurker, Thread hijacker extraordinaire

Posted
Full Member
One thing I wil say though: it is very tedious putting those chairs on to each rail individually!

Jeff Lynn,
Amateur layabout, Professional Lurker, Thread hijacker extraordinaire
Amateur layabout, Professional Lurker, Thread hijacker extraordinaire
Posted

Site staff
It keeps you from getting into mischief Jeff, stuck home threading chairs instead of prowling the pubs of Melbourne!One thing I Will say though: it is very tedious putting those chairs on to each rail individually!

Ron
NCE DCC ; 00 scale UK outline.
NCE DCC ; 00 scale UK outline.
Posted
Full Member
Jeff Lynn,
Amateur layabout, Professional Lurker, Thread hijacker extraordinaire
Amateur layabout, Professional Lurker, Thread hijacker extraordinaire
Posted
Full Member


I am not entirely happy with that lower junction - I filed too much of a taper on the curved rail so I may have to redo it. We learn as we go … :roll:
 Last edit: by SRman
Jeff Lynn,
Amateur layabout, Professional Lurker, Thread hijacker extraordinaire
Amateur layabout, Professional Lurker, Thread hijacker extraordinaire
Posted

Full Member
'Petermac
Posted
Full Member
What it does mean is that I can continue painting the third and fourth rails without getting loose ballast particles stuck to the brush.
Jeff Lynn,
Amateur layabout, Professional Lurker, Thread hijacker extraordinaire
Amateur layabout, Professional Lurker, Thread hijacker extraordinaire
Posted
Full Member
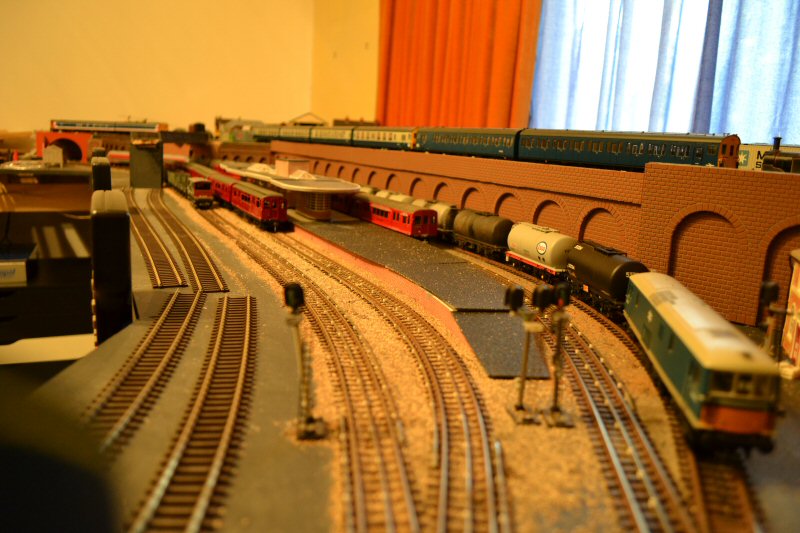
I have, of course, continued the ballasting and started the third and fourth rail laying since this vid was taken (see my pics in previous posts).
While there is still a lot of work to do, as you can see, I have managed to obtain good smooth running, notwithstanding the tight (for me!) curves.

Last edit: by SRman
Jeff Lynn,
Amateur layabout, Professional Lurker, Thread hijacker extraordinaire
Amateur layabout, Professional Lurker, Thread hijacker extraordinaire
Posted
Full Member
I really like the "clickety-click" - is that just how it goes or have you notched the track ?
'Petermac
Posted
Full Member
The clarity of the clickety-clacks is also a tribute to the silence of the modern motors and gear trains too.
Jeff Lynn,
Amateur layabout, Professional Lurker, Thread hijacker extraordinaire
Amateur layabout, Professional Lurker, Thread hijacker extraordinaire
Posted
Full Member

Jeff Lynn,
Amateur layabout, Professional Lurker, Thread hijacker extraordinaire
Amateur layabout, Professional Lurker, Thread hijacker extraordinaire
Posted
Full Member
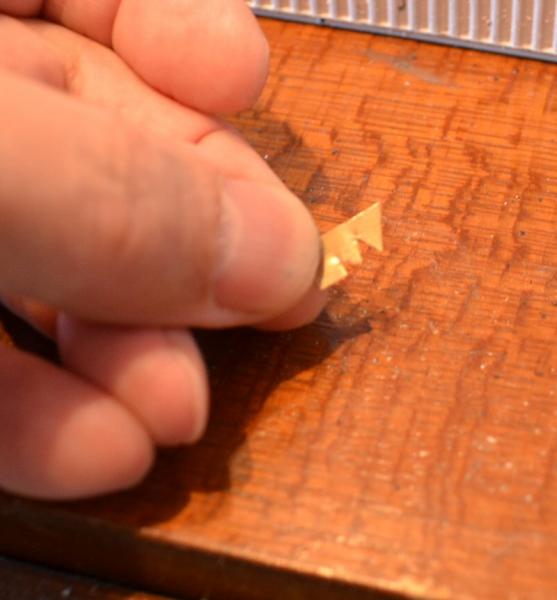
With that in mind, I created a skrawking tool (a sort of scraper and gouger in one!) out of a bit of scrap brass etch to mark out the platform edging with two grooves parallel to the platform edges. I then scraped off the textured bitumen paint along the marked lines and painted the edges a light grey. Little bits of left-over black show faintly through the grey paint to add a little texture to that as well. I did make the skrawker a little too short - I should have cut it with a little more of a handle but it worked quite well, albeit a little hard on my fingers! Another piece of the same brass strip formed the scraper to remove the paint.
Because of the sore fingers, I achieved only about two-thirds of the platform length tonight (double-sided though!) but I will persevere and get the rest done tomorrow. Then I can actually glue the platform surfaces down at long last.
I will take some pictures and post them in the next day or two.
Jeff Lynn,
Amateur layabout, Professional Lurker, Thread hijacker extraordinaire
Amateur layabout, Professional Lurker, Thread hijacker extraordinaire
Posted

Full Member
http://www.olfa.co.jp/en/body/detail/156.html
I have one and find it extremely useful for scribing lines in plastic (most recently scribing the paving and edging into a station platform).
Cheers
John
John
Posted

Inactive Member
Have you seen them on any websites?
Max
Port Elderley
Port Elderley
Posted
Full Member
John
Posted
Inactive Member
Wendy and I both use them. They are great for styrene.
Max
Port Elderley
Port Elderley
Posted
Full Member
:cheers
Jeff Lynn,
Amateur layabout, Professional Lurker, Thread hijacker extraordinaire
Amateur layabout, Professional Lurker, Thread hijacker extraordinaire
Posted
Full Member
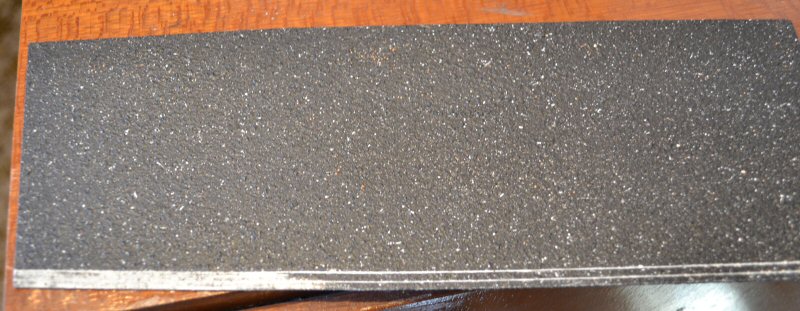
1. The skrawking tool cut from a bit of scrap brass. The square edge runs against the platform edge and the two "saw teeth" each scratch a line along the platform parallel to the edge and each other.
2. A platform segment (40 thou plasticard) with one edge skrawked and partially scraped to remove the textured paint.
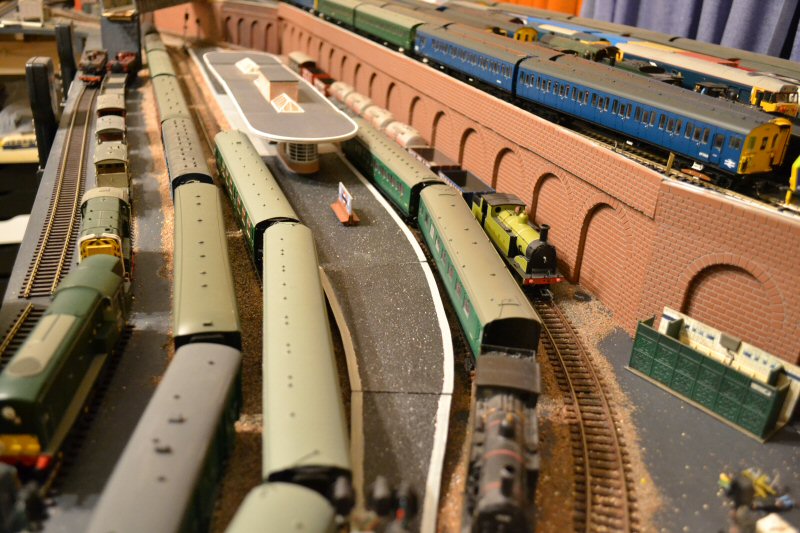
3. A pic showing the platform segments in both treated and untreated forms. The edges have been painted with Humbrol matt pale grey #64.
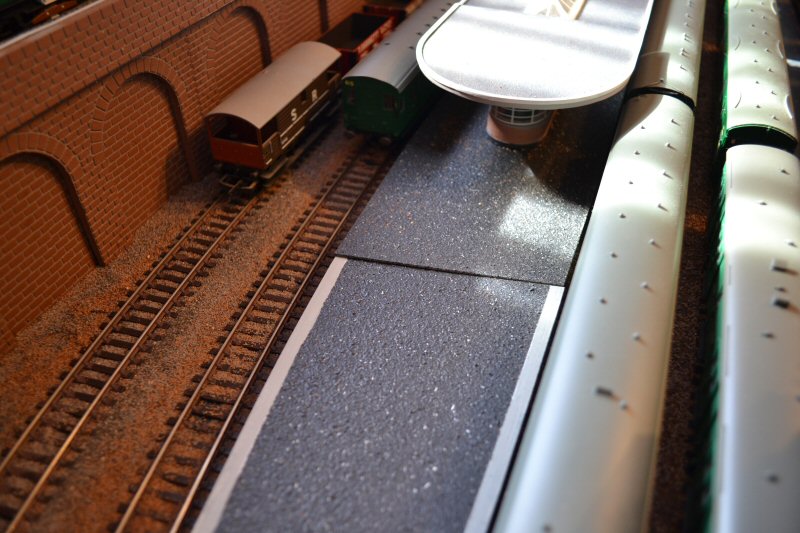
4. Two pics showing the segments now treated but not yet glued down.

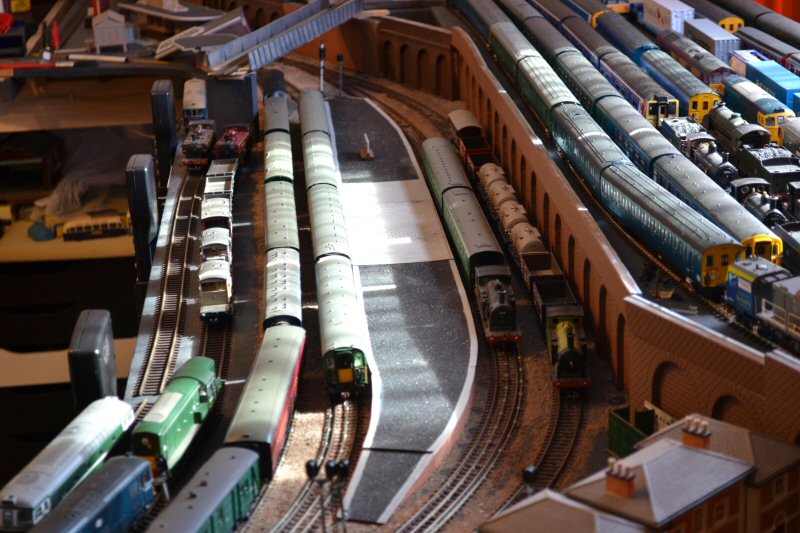
5. Platform segments now glued down and aligned properly. there are a couple of joints to fill and level, plus the remaining paved section to complete, then I can level the buildings and canopies properly. Overall, I'm quite pleased with the way it has come out, though.
The last thing to do after all that will be to add the corbelling - two courses of brickwork just below the platform edges.
Jeff Lynn,
Amateur layabout, Professional Lurker, Thread hijacker extraordinaire
Amateur layabout, Professional Lurker, Thread hijacker extraordinaire
Posted
Site staff
In my case, I have declared the D&S to be a privately owned & run Railway so what I say/do is the Rule.
Ron
NCE DCC ; 00 scale UK outline.
NCE DCC ; 00 scale UK outline.
Posted
Full Member
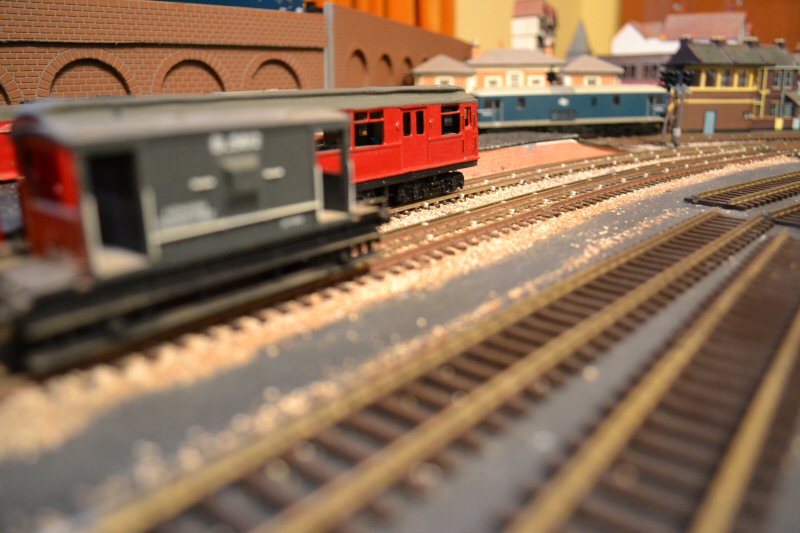
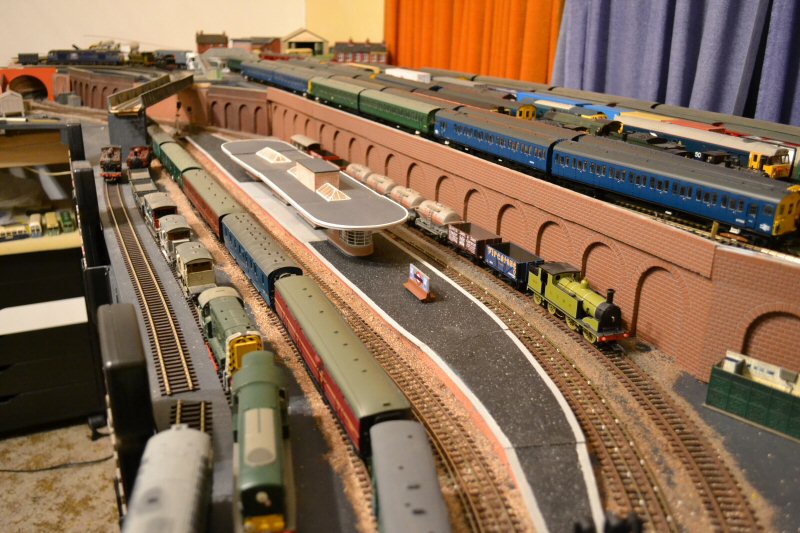
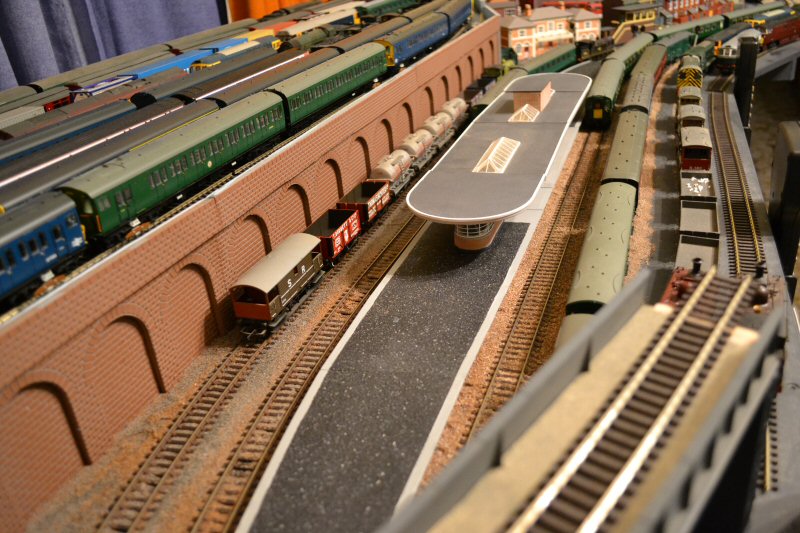
Speaking of nit-picking, I'll do a bit of my own here: I know there are a few anachronisms in that 'period' train behind the LSWR M7, not the least of which is the Firestone wagon - Firestone didn't open its Brentwood factory in England until 1928 so the M7 would probably not have been in LSWR livery by then! The SR-liveried brake van could overlap the early years (post-1923) during livery transitions, although it is really an LBSC one! I could go on …
On the above subject, can anyone here tell me what period those Shell Mex tank wagons represent? I really have no idea with those except to say I strongly believe them to be pre-WW2.
On the subject of corbelling, I have now done the brick strips below the edges on the side nearest the edge of the layout. To be honest, at the moment, with clean brickwork, you can't really see it at all, so I'm wondering whether it was worth the effort! Maybe when I weather it a bit it will come out better. That leads to one more question: I had each strip with one row of standard bricks and one of half bricks; would the half-brick row have gone at the top or the bottom of the raised corbels? I guessed and put them at the bottom, so the platform surface is 'resting' on the full bricks.
It is amazing what questions a bit of modelling can raise, particularly with historical items where no colour pictures exist and even monochrome ones are rare (pre-grouping Private Owner wagons), or where people just would not think to take any photos at all (who wants to photograph the support walls of a station platform??).
Jeff Lynn,
Amateur layabout, Professional Lurker, Thread hijacker extraordinaire
Amateur layabout, Professional Lurker, Thread hijacker extraordinaire
1 guest and 0 members have just viewed this.