
The Hatchette Partwork LNER A4 Mallard
Posted
#247156
(In Topic #13651)

Full Member
I patiently collected every issue over two years and made a start on the chassis in February 2019.
My intention has always been to make an exhibition standard fully working robust model , but using solder wherever possible and fitting a quality motor and gearbox.
The only parts needing total replacement have been the main loco drivers, lost wax lamp irons in place of the whitemetal parts supplied and a lost wax whistle.
So taking up the build again this September I made a start on the loco body by drilling over forty various size holes in the cast `mazak` body assembly
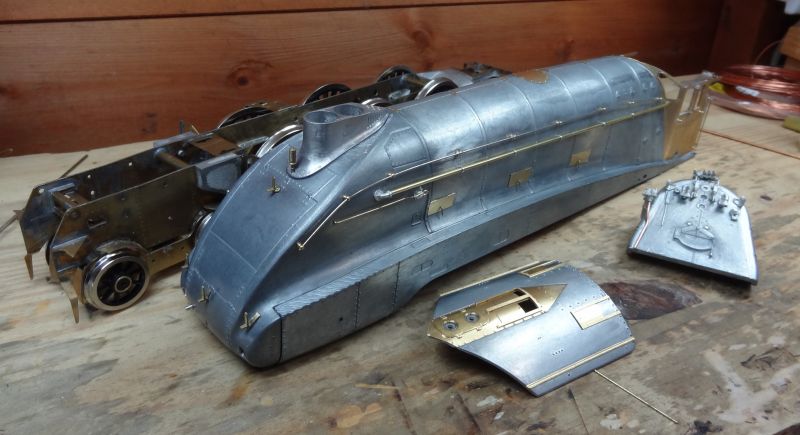
and fitting all the details and replacement lamp irons. The `mazak` roof section also had it`s details applied using a very thin quality superglue and was attached to the soldered brass cab section using Gorilla Glue.
The chassis was competed and then de-constructed to be painted and reassembled as a fully working unit.

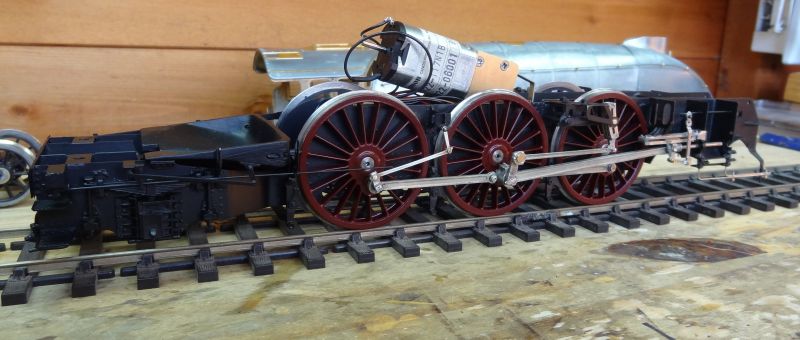
The main drivers are Slaters replacement as the partwork wheels were not a good enough quality for a working model. I used Premier Components 30.1 Helical gearbox and a Canon 1833 motor.
She past her first test bench trials:-
https://www.youtube.com/watch?v=qplYANULJi0
https://www.youtube.com/watch?v=f0Gww0ki_jQ
And then I had a rest………………………………….
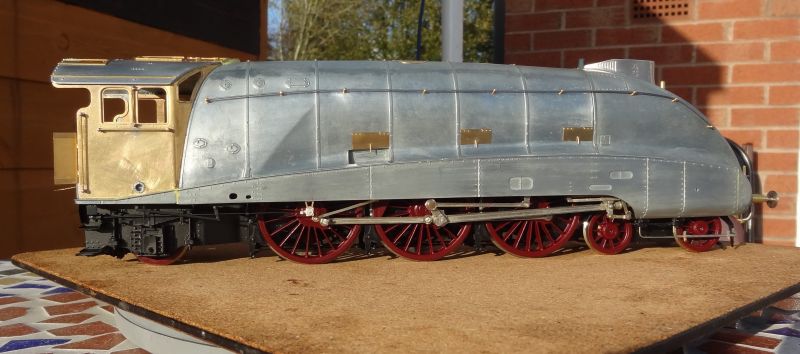
 Last edit: by Twobolt
Twobolt John


Posted
Inactive Member
Posted

Full Member
Michael
Posted
Full Member
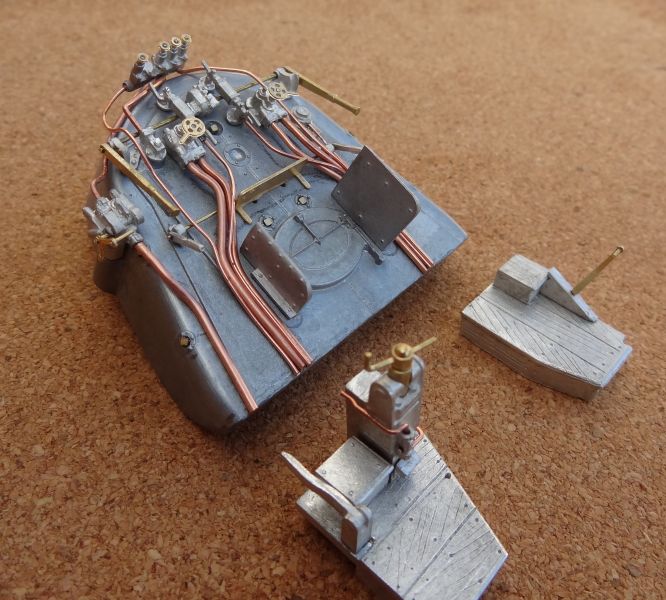
After my rest, I got on with some of the cab details particularly the backhead where I used soft copper wire instead of the harder brass supplied.
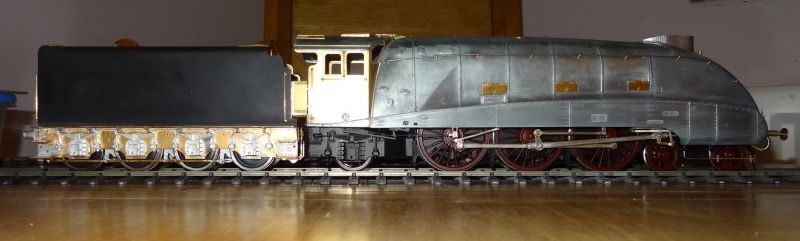
Then on to the tender assembly. The tender footplate and below has been a solder construction and has been fairly straight forward.
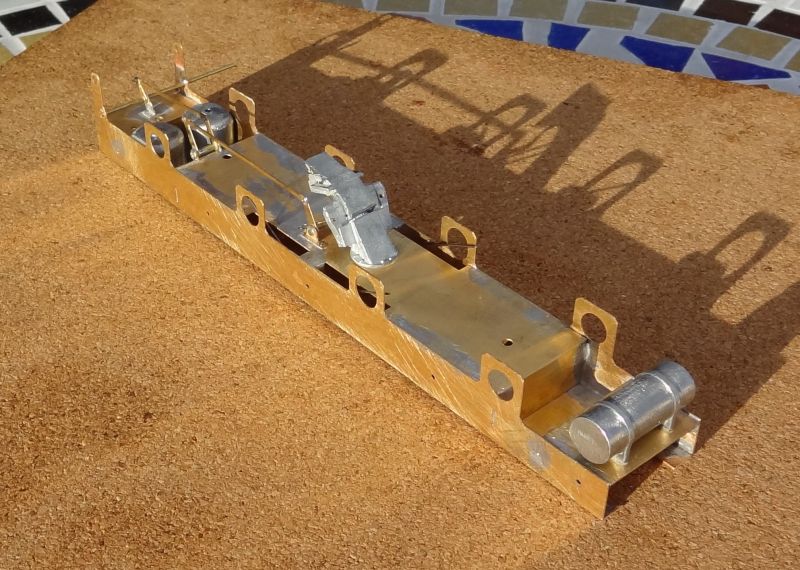
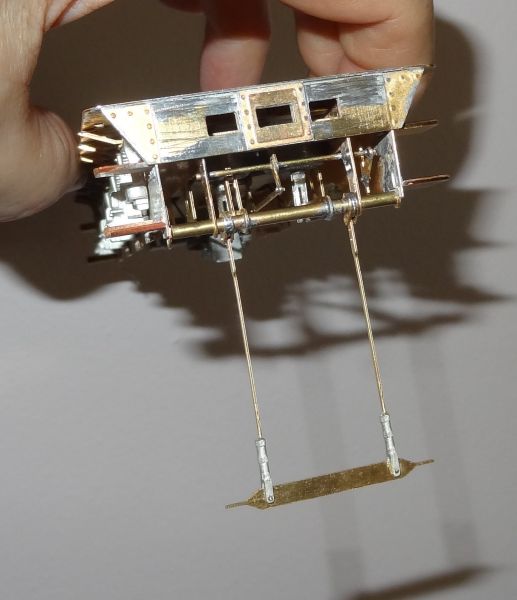
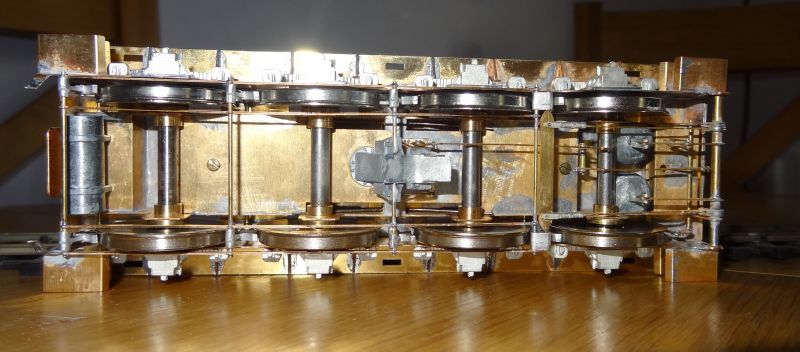
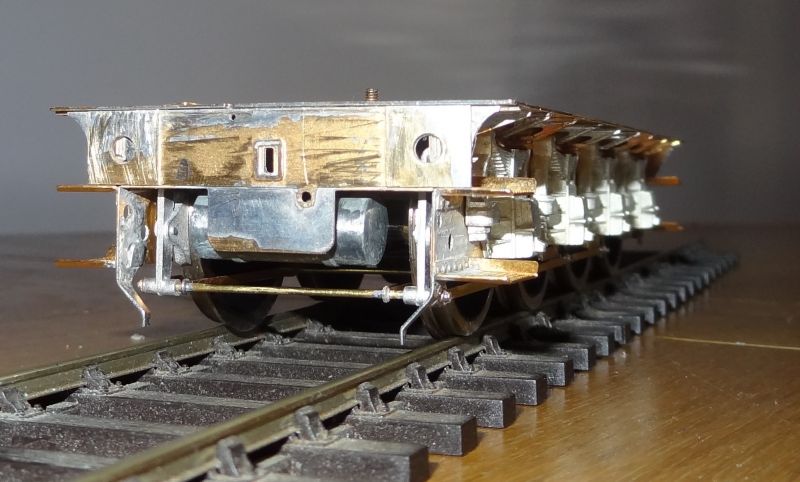
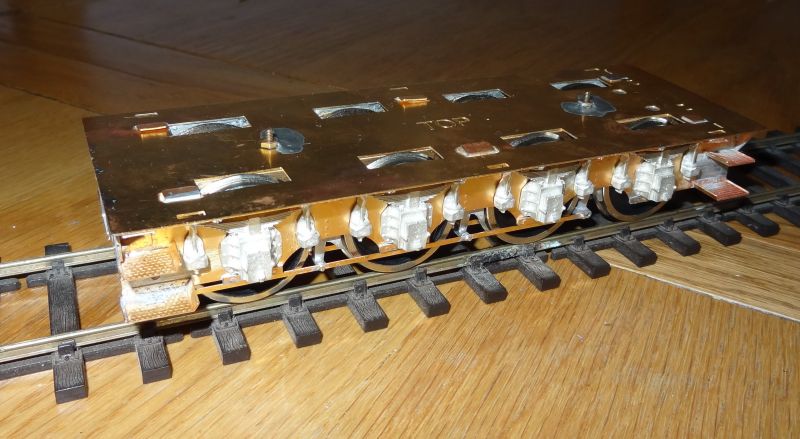
The tender body is a plastic moulding and so I detailed that using a very thin quality superglue. This turned out to be slow and fiddly.
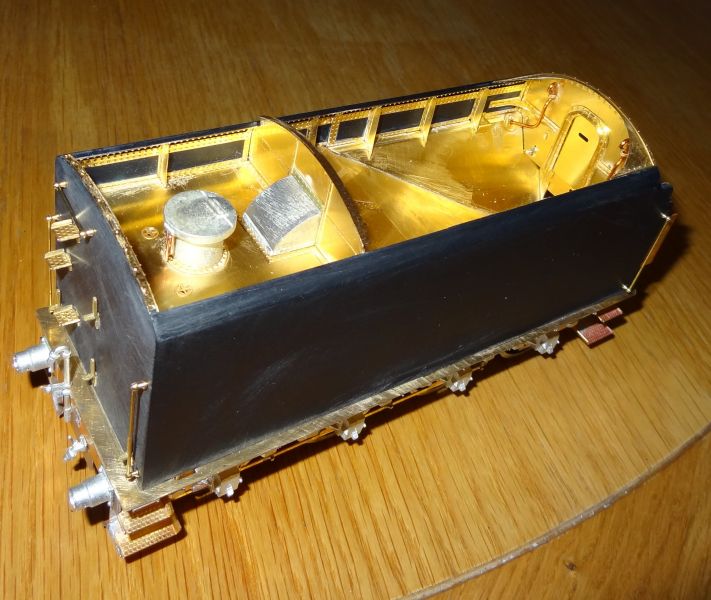
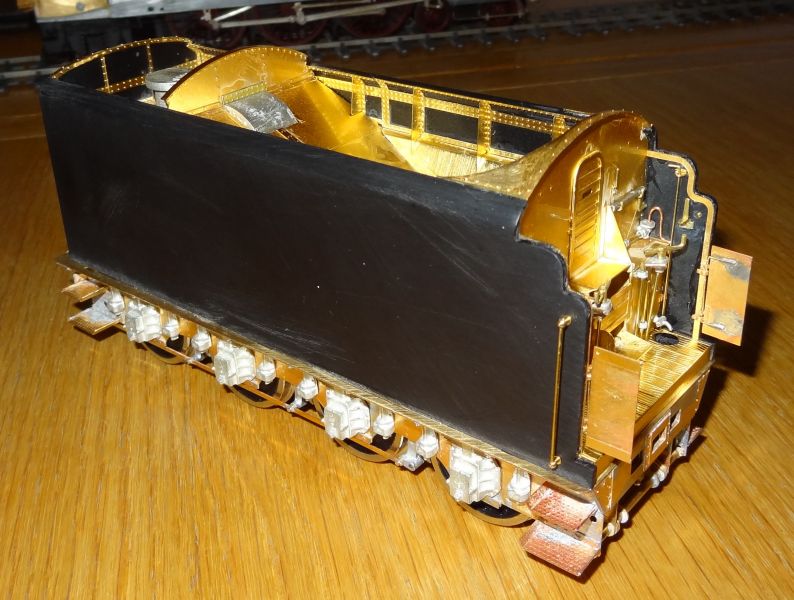
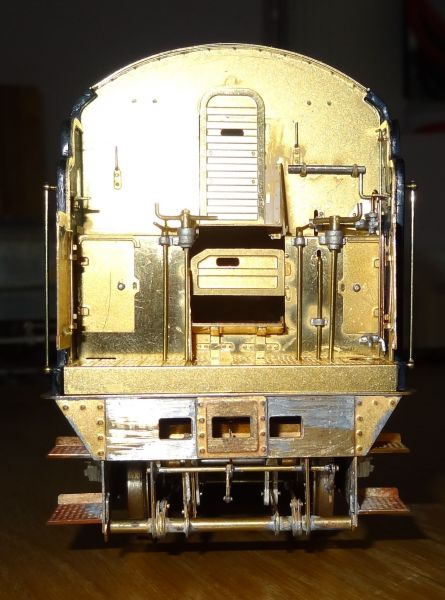
So, my LNER A4 Mallard has been built and now will await her 1930`s Garter Blue livery……..
Last edit: by Twobolt
Twobolt John
Posted

Full Member
I do like your comment "this turned out to be quite straightforward" - I wonder what "complicated" looks like ………………. :hmm
Have you costed it at all - often these part-build models turn out to be eye-wateringly expensive …………………..
'Petermac
Posted
Full Member
Yes I did look at the cost back in 2014.
130 issues over 32 months came out at £ 1022.72 including a Chinese version of Slaters wheels.
with ,if you chose to do so, an extra £99 for the Hachette motor/gearbox unit. Useless for a working model.
also with the best illustrated, hold your hand at every move, instructions you will ever get with a kit. designed for an absolute novice to assemble with glue
Compared to the DJH A4 kit version which the Hachette was based on £695 without wheels and motor
Slaters wheels £150
Proper Motor/Gearbox £108
Below average instructions not for a novice £ 0
No monthly instalments £953 in one payment only
John
Twobolt John
Posted
Full Member
.
'Petermac
Posted
Full Member
There was an emotional connection to both Hachette Partworks and Mallard as my much older brother died prematurely in 2010 and in the last two months of his life we shared a humorous moment when I finally admitted to him that his favourite Hornby-Dublo 3 rail Mallard loco and coaches and trackwork bought for him by Dad during WWII was pawned by me in 1971 for a SLR Camera I needed for College. Also , my brother made many a Hachette Partworks project, mainly ships and planes, during his retirement years and he would have most definitely had ago at The Mallard.
So it will always remind me of him.
John
Twobolt John
Posted
Full Member
20230809_143025.jpg
I`ve recently ressurected this topic because I discovered, after painting it all, I had assembled the loco cab window frames the wrong way round
Also, the overall paint finish has been the worst I`ve ever done.
And so, this year I`ve decided to rebuild the cab and of course strip the paint off and start again……….
Twobolt John
Posted
Full Member
If you study the window frames before strip down , you can see that the framed window should have been the leading window and not the trailing window.
20260324_204114.jpg
Twobolt John
Posted
Site staff


Posted
Full Member
Cheers Pete.
Posted

Full Member
I think I can make out the difference in windows that youre describing.
- Darius
Posted

Site staff
Wasnie me, a big boy did it and ran away
"Why did you volunteer ? I didn't Sir, the other three stepped backwards"
"Why did you volunteer ? I didn't Sir, the other three stepped backwards"
1 guest and 0 members have just viewed this.