Going large - building large layouts
Posted

Full Member
Please keep posting. I read them all.
Cheers,
Claus
Cheers,
Claus
www.flickr.com/photos/ellef/
Claus
www.flickr.com/photos/ellef/

Posted

Site staff
Ed
Posted

Full Member
I was beginning to think I had said something….!!
Shed dweller, Softie Southerner and Meglomaniac
Full Member

Long time no post!
A quick view along the branch from Butterbump to Blowick Lane showing the scenic development in this part of the layout. About 6 or 7 layers of scenery here. More trees required and the bushes need detailing - they are just lichen and poly-fibre bases at present.

At Yarslow, the corner is filled with Two Birches Cottage - a ScaleModelScenics model - MDF with paper wraps. The scenic treatment includes a driveway made from grit and shaved (yes, shaved!) static grass. The shaving, using an old battery operated hair-trimmer allows the grass to be cut down really short to look like weeds and scrub.

The CCTV is now fully installed and working to allow operators to see over the central divide - very useful to ensure that the correct train is moving!!
More to follow
Shed dweller, Softie Southerner and Meglomaniac
Posted

Full Member
Posted
Full Member
Its been a little over 2 years (at 3-4 days a week) but I am now getting to a point where the light at the end of the tunnel is not another train coming the other way!!!
Barry
Shed dweller, Softie Southerner and Meglomaniac
Posted
Full Member
Posted
Full Member
Don't apologise for forgetting why I'm doing this - I forget all the time !!!!!
The end goal is to have a layout where I can run trains, do a bit of shunting, chat to some friends, have a coffee/beer. The idea of a "perfect" layout was to be able to do all that but mainly, to run the layout to a proper timetable so that I can represent a day's workings. Not all all trains will feature, just enough to represent the early morning, rush hour, afternoon lull and later rush hour followed by the evening freights. I like the idea of having different trains for each session hence the 50+ trains in storage. There are, for example, 3 coal trains of which 2 will run each "day". On the next day, 2 more will run bu they will be different from those that ran yesterday. Another variation on day 3 before it reverts to the original pair on day 4. Meanwhile, different fitted and unfitted freights run each day to create a whole mosaic of trains that differ each day.
I love reseaching "operation" and collecting Working Timetables to try to get my layout to feel like a real line so there will be changes as I find out more.
The whole layout is coming together by a small step every day. The 28 buildings at Trinity Sqaure have been a slog but I am getting them painted and fitting windows. Every day, the end is getting closer!
Barry
Shed dweller, Softie Southerner and Meglomaniac
Posted
Full Member
From memory of the Newcastle Emlyn timetable before the Great War, a full days timetable would give me 5 passenger turns and two goods turns a day, plus specials. More than enough on a single line branch with plenty of shunting opportunities.
Posted
Full Member
Shed dweller, Softie Southerner and Meglomaniac
Posted
Full Member
I have to see the funny side of a recent development. The 28 buildings that form the urban backscene of Trinity Square all required windows. These are cut out from the 1mm framers card backing and the plastic card facing. In some cases, where 2 layers of card are used, 2 apertures are required to be cut. I haven't added them up but I reckon I have cut out north of 100 windows, each with a scapel and steel rule. As a result, I now have a Repetitive Strain Injury - namely, a slight tear in the tendon in my upper right arm. It's bl**dy painful and prevents a good night sleep as well as being a nuisance when it comes to driving and doing all that day-to-day stuff. It is also restricting what I can do in the shed as I can't reach out, twist or grab anything without my arm collapsing.
Could be worse - two guys I know both lost parents recently - they are much worse off than me so I shouldn't complain.
Restricted to painting and a bit of scenery work, I have made progress on a number of fronts.


These two views show the offending buildings at Trinity Square now added behind the retaining walls. A few finishing touches required to complete this area. Cork glued down to complete the groundwork. Stoneybridge Structures NER water tower now in place where the old Dapol one used to be. Since joining the NER Association, I have started to make the layout more NER-like.


To that end, the coal stage is very NER. The Wills crane has been modified for this use and a small coal tub scratchbuilt to transfer coal from the wagons to the loco. Such seemed to be the facilities where a coaling tower was not evident. On the right, a coat of paint and some windows make the TSQ station building look a bit more lived in. The offices on the right have also been done. I need to do a roof but as cutting stuff hurts (yes really
 ), this will have to wait.
 Last edit: by Barry Miltenburg
Shed dweller, Softie Southerner and Meglomaniac
Posted
Full Member

The point at the end of the branch (just before the junction with the main line) packed up over the weekend. One of the bridging wires between the stock rails and blades had become detached. A bit of a fiddle (in my current state) but I mended it and it works better than ever. No doubt the joint was "dry" before and was making/breaking as it saw fit. Replacement ballast hasn't been weathered in, just a pile of new stuff left at the side of the track as if the local trackgang had been by.


Along the branch, flowers have started to appear. Dabs of PVA and varous coloured flock used for buddleja and other bushes. I'm no gardener so a lot of them are just "red or yellow ones". On the right, the Airfix station canopy kit is the basis for the TSQ goods platform canopy. The actual canopy is poor as the kit is so old and the mouldings clearly don't allow a decent model to be made. I will use the ridge pieces and the lower roof sections but substitute the struts with Evergreen strip over a clear glazing sheet. Again, the cream/crimson NER colours are in evidence. The green plastic of the kit, as seen on the end, will be covered by the valancing which is actually quite nice.
Notwithstanding the set-back, I still hope to have the detailing well advanced by the end of the year. I am not bothering with people at this stage, I can do that at my leisure - I just want the scenery detail (bushes flocked, static grass clumps, weeds etc) added.
Bashing on (with one arm!!)…………
Shed dweller, Softie Southerner and Meglomaniac
Posted
Site staff
I used to suffer a lot with paper cuts on the end of my fingers whenever I did card buildings, probably not as painful as your arm, but used to sting like mad and made simple things like doing up buttons very difficult.
The flowers look good and I quite like the canopy, see what you med about the NER coulours.
Ed
Posted
Full Member
The good old NHS are going to have a scan done - in 4-6 weeks!!!! I'm not sure I might lose it before then and go private. The stupid thing is, when I had the other shoulder done privately a few years ago, it was the same doctor in the same hospital with the same surgical support team. Tell me why the NHS is screwed again………………………….
Meanwhile, I am now in the final throes of doing basic scenery - up to tree/bush/flowers/foliage stage across the whole layout (or at least the bits I can reach (
 ).
).The branch line is done and I have started on Yarslow. Groundwork at Trinity Square is done but I need to weather that in to finish it off. There is little greenery here but I will add some weeds and the obiquitous Budleja plants for good measure.
That work gets me to the end of October I reckon, whereupon I launch into building a waiting shelter on pl.2/3 at Yarslow and canopies for the Trinity Square platforms. I had a few ideas but since joining the North Eastern Railway Association, I feel compelled to get these things right so will need to source pictures and drawings, or at least enough pictures to be able to make an educated guess at dimensions etc..
The plan is have all that done by the end of the year, leaving only (!) people, vehicles, animals and detailing to be done - the sort of task that can go on forever and forever!!!
Bashing on (with one arm)…………………………………
[Butterbump station - Col the porter still waiting to load those pesky cases]

Shed dweller, Softie Southerner and Meglomaniac
Full Member
Meanwhile, I have been limited to what I can reach (which is not a lot), so decided to change course yet again and start adding details to the branch. Comparing the photo in the last post to this one on the left will give you an idea of what I have been doing. The posters, telegraph poles and a bit of weathering have been done. Research tells me that telegraph poles are 60-80 yards apart. Allowing for the compression that we use on our layouts, I set tham at a scale 50 yards.
I think I still need more trees and can do those sitting at my desk. The churns, incidentally, are not milk - they are the station water supply. Incidentally, the 1st picture is taken on the Sony RX100 using Auto settings for the "daylight" tubes and the other 3 are taken on my iPhone 7. I have to say, going forward, I might just stick to the phone!!


Still a bit more to do at Blowick Lane as well but I'm please with progress here. I toned the roadway down a bit from that bright pink hue that it had. Although enamel signs had largely disappeared from the network by the early 1960's, there are still 2 on the fence at Blowick Lane. Nothing changes at these little out-of-the-way places. More in hope that in expectation, the porter from Butterbump, who oversees Blowick Lane, has also put up a timetable and a poster advertising day trips!!!


Whilst I am on light duties, I am going to practice doing some clouds. The sky looks awfully blue and I have been taking photos of clouds recently (we get a lot in the NW) and watching the likes of Bob Ross on YouTube for tips. I have no artistic skills so, as usual, it will be lots of scrap bits of wood painted blue and a plenty of failures before I get anywhere near something I can accept. If all else fails, there's an Art College in town - I'll go and ask the students to come and do it!!
Struggling on……………
EDIT - having issues trying to get photos to size properly. The 1st picture was re-sized to 600x400 (locked relative size) and looks OK until I post the reply when the size goes all squiffy. What am I doing wrong anyone??
Last edit: by Barry Miltenburg
Shed dweller, Softie Southerner and Meglomaniac
Posted
Site staff
I found this old thread where EZ line was used.
00 Gauge - 53D Bridlington - Your Model Railway
Ed
Posted
Site staff
Barry Miltenburg said
EDIT - having issues trying to get photos to size properly. The 1st picture was re-sized to 600x400 (locked relative size) and looks OK until I post the reply when the size goes all squiffy. What am I doing wrong anyone??
From “Post #288,575”, 29th August 2023, 8:57 am
Barry, where is 'locked relative size' in posting images, I can't find it.
Ed
Posted
Full Member
When I post a picture, I insert the photo size under "Image Properties". There is a little padlock symbol which locks the relative length and width so if you change one, the other changes automatically to keep the image the same shape. When the post is created in the "Reply" window, you can make the picture all line up and look all nice but as soon as you POST the reply, the saved picture sizes vanish and you end up with pictures of all different sizes.
I've tried various things without success
Barry
Shed dweller, Softie Southerner and Meglomaniac
Posted
Full Member
Barry
Shed dweller, Softie Southerner and Meglomaniac
Posted
Site staff
Barry Miltenburg said
Hi Ed
When I post a picture, I insert the photo size under "Image Properties". There is a little padlock symbol which locks the relative length and width so if you change one, the other changes automatically to keep the image the same shape. When the post is created in the "Reply" window, you can make the picture all line up and look all nice but as soon as you POST the reply, the saved picture sizes vanish and you end up with pictures of all different sizes.
I've tried various things without success
Barry
From “Post #288,580”, 29th August 2023, 4:26 pm
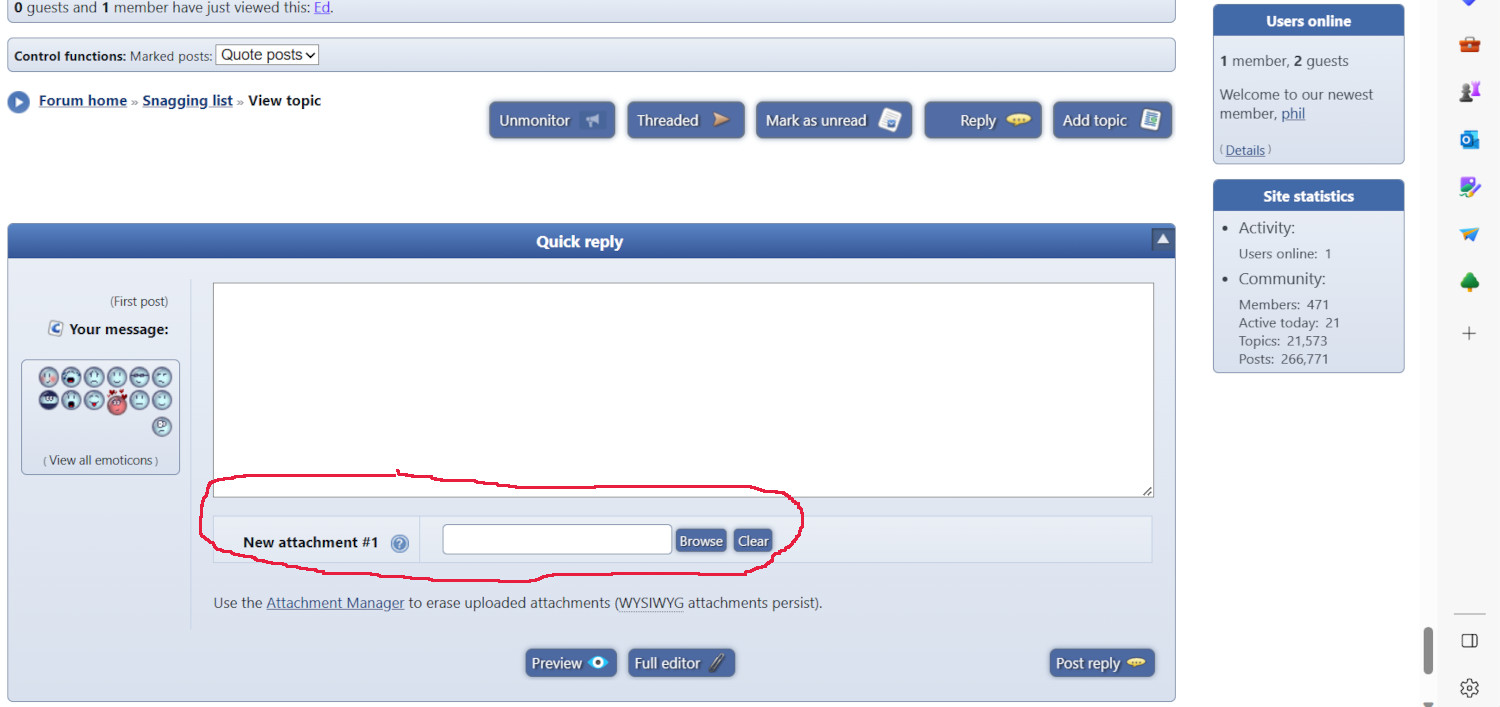
Are you using the Image icon in reply?
You add images now using the New attachment box, select browse to find your file, then you can change the size and add it.
Ed
1 guest and 0 members have just viewed this.