Rob P's Wagon Kit Bashing Workbench
Posted

Full Member
Wagons built from Kits
I wasn't sure where to post this on here or my scratch building thread but here goes, a short time ago I was approached by a gent called Gareth Price who asked if he could use some of my photos of my NBR wagons to accompany an article that he was writing for MRE mag. Having been asked I was more than happy for Gareth to use what he could.For anyone who might be interested The article is in this months edition.
Model Railway Express Issue Five August 2017
 Last edit: by Rob Pulham
Regards Rob

Posted

Full Member
John
John
Posted
Full Member
I must admit I was quite pleased to be asked.
Regards Rob
Posted
Full Member
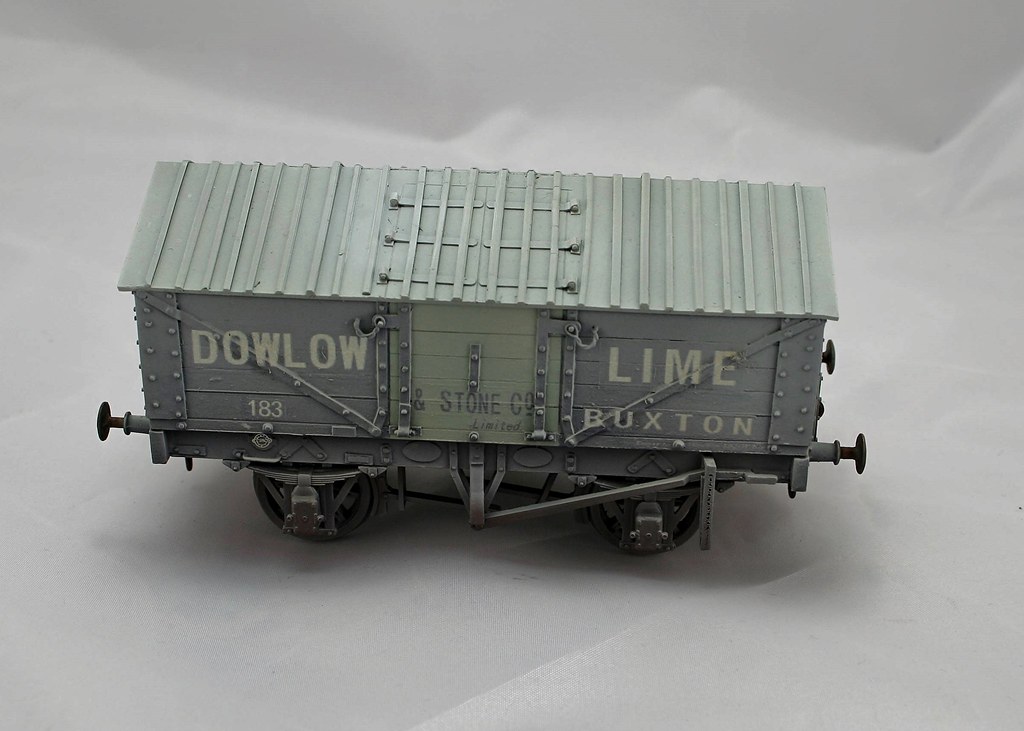
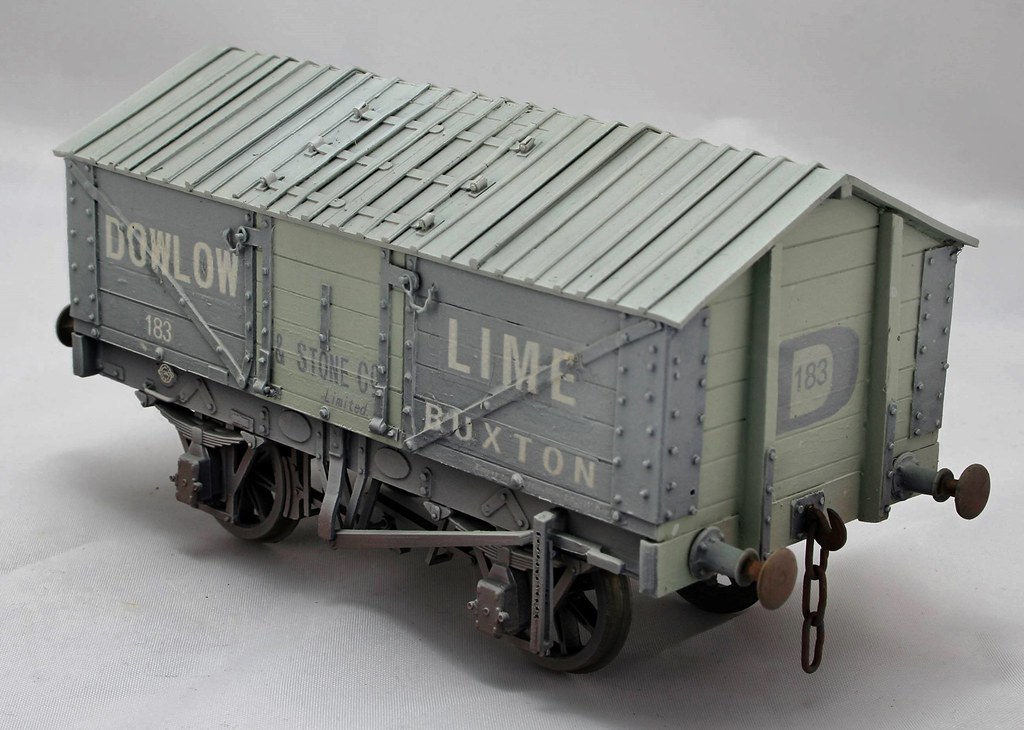
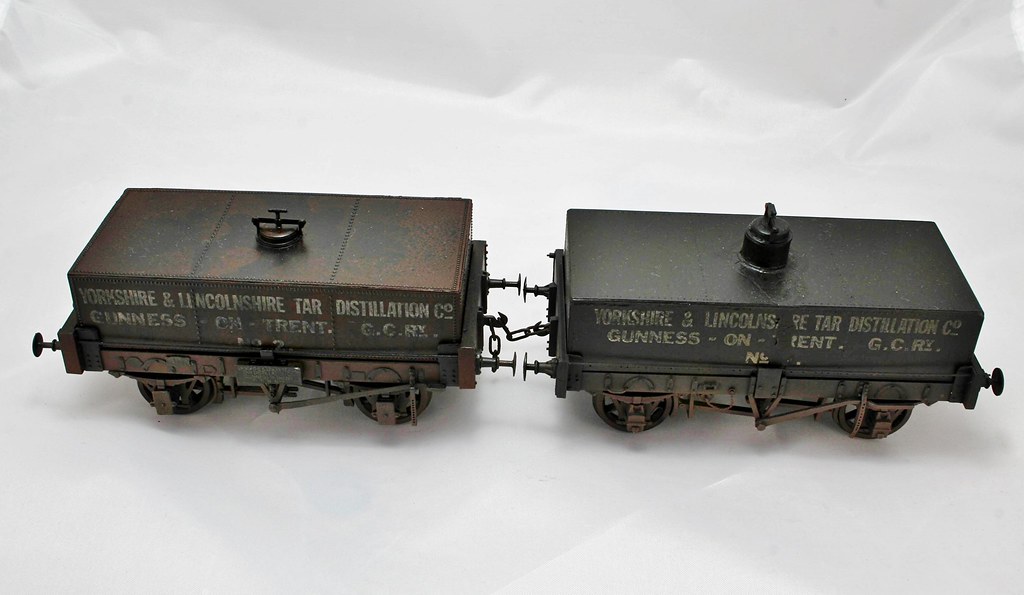
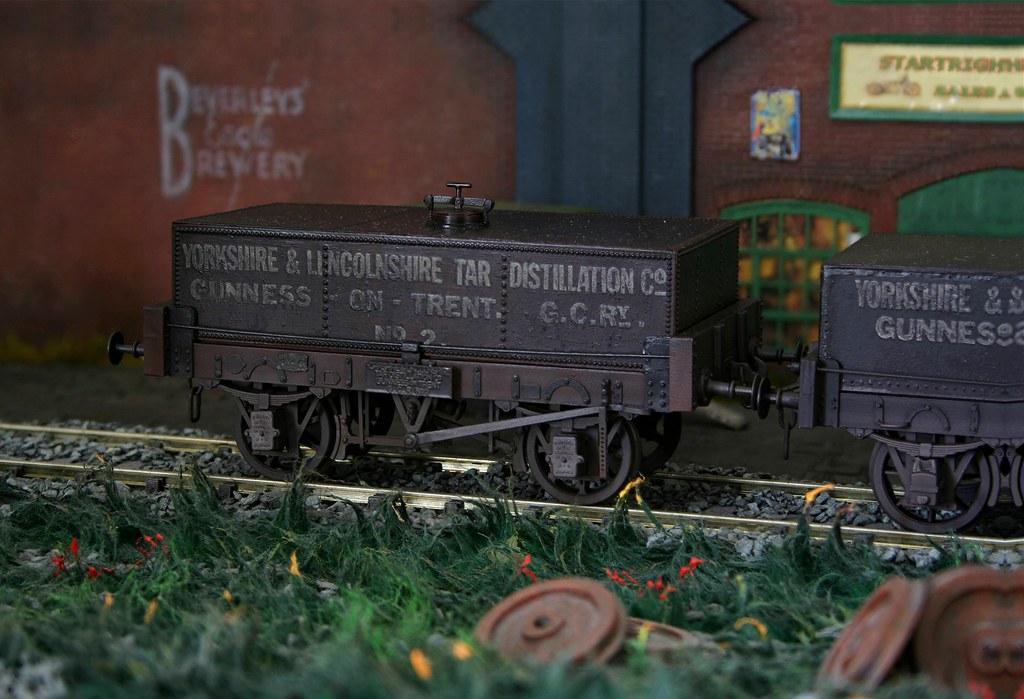
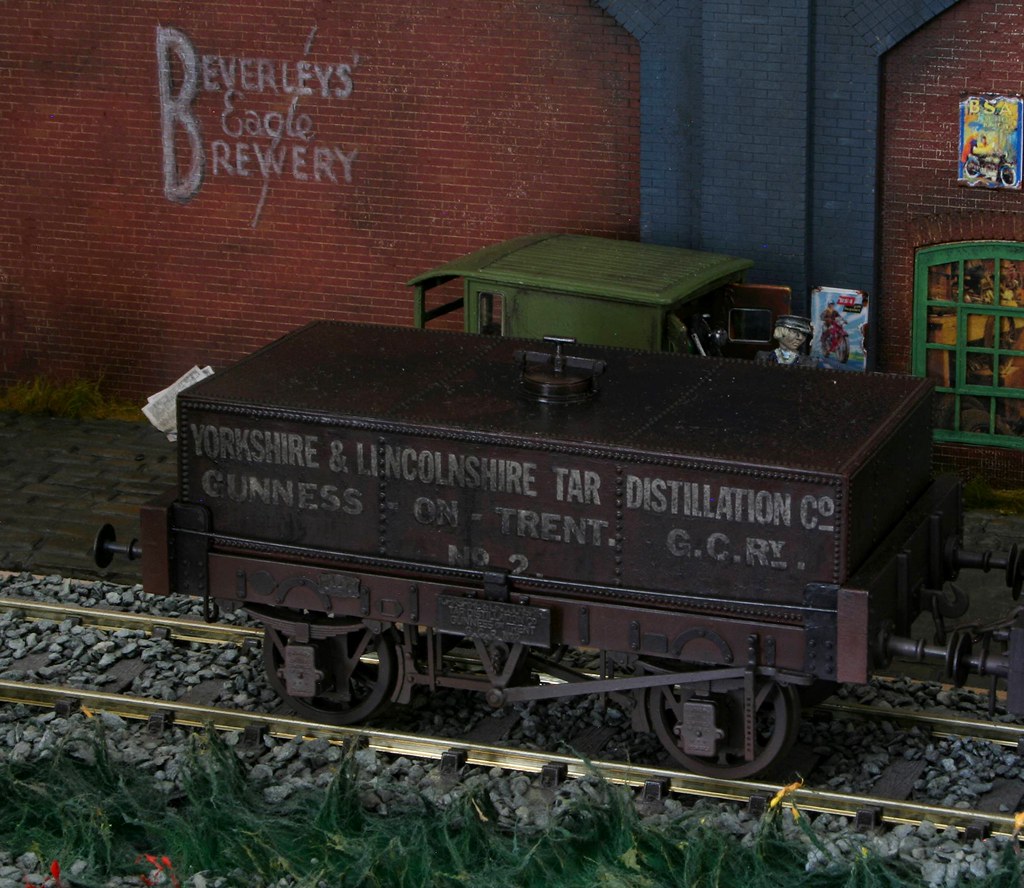
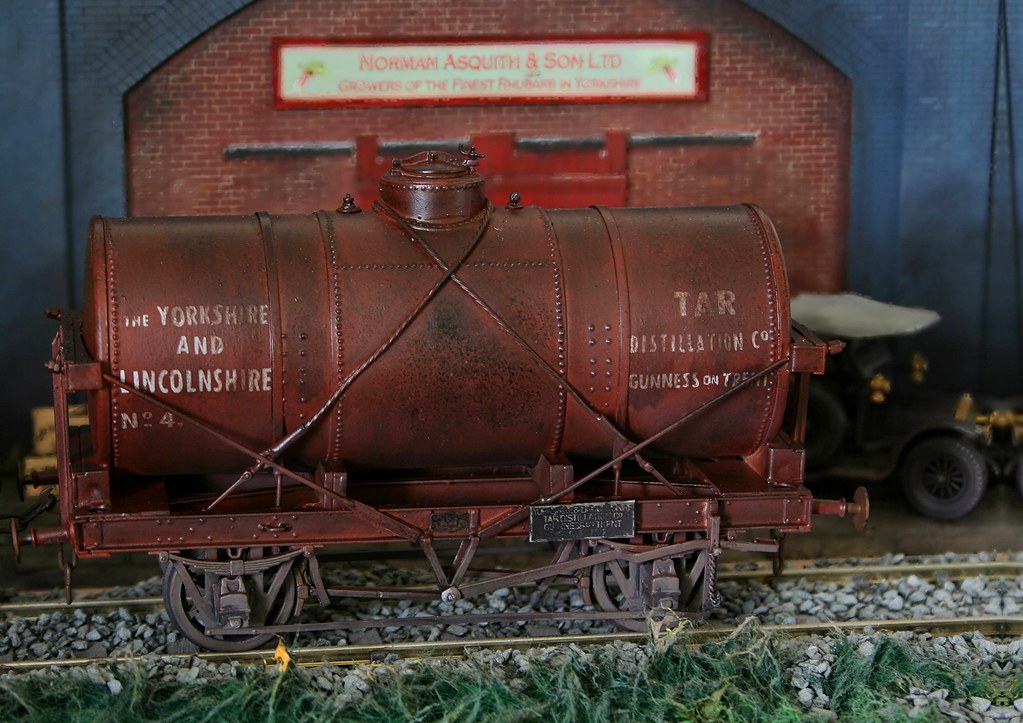
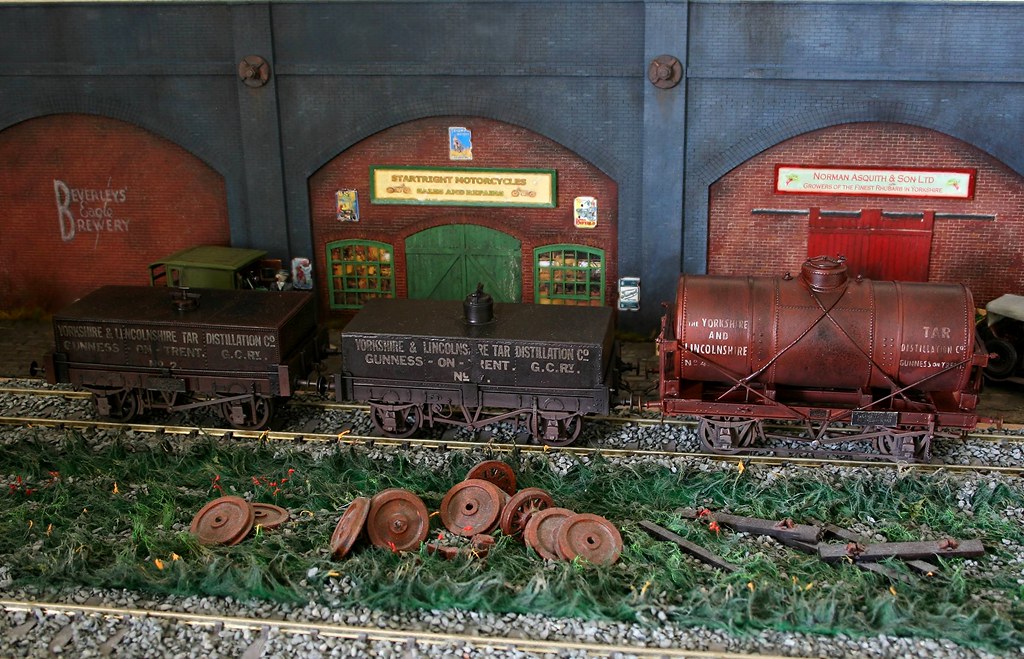
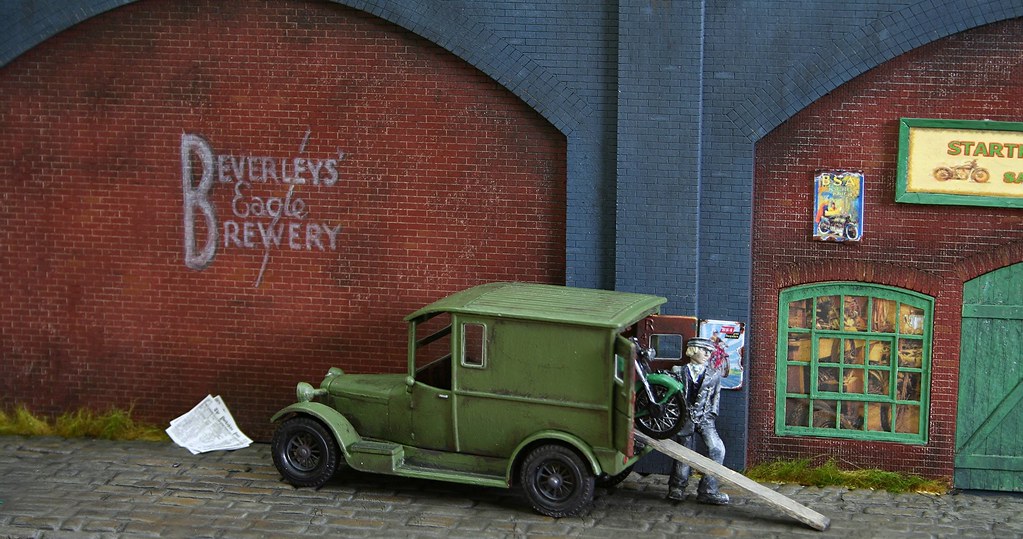
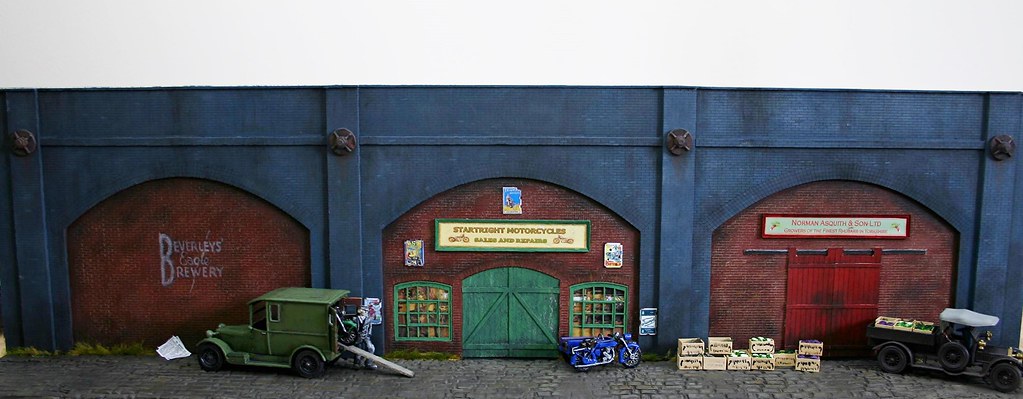
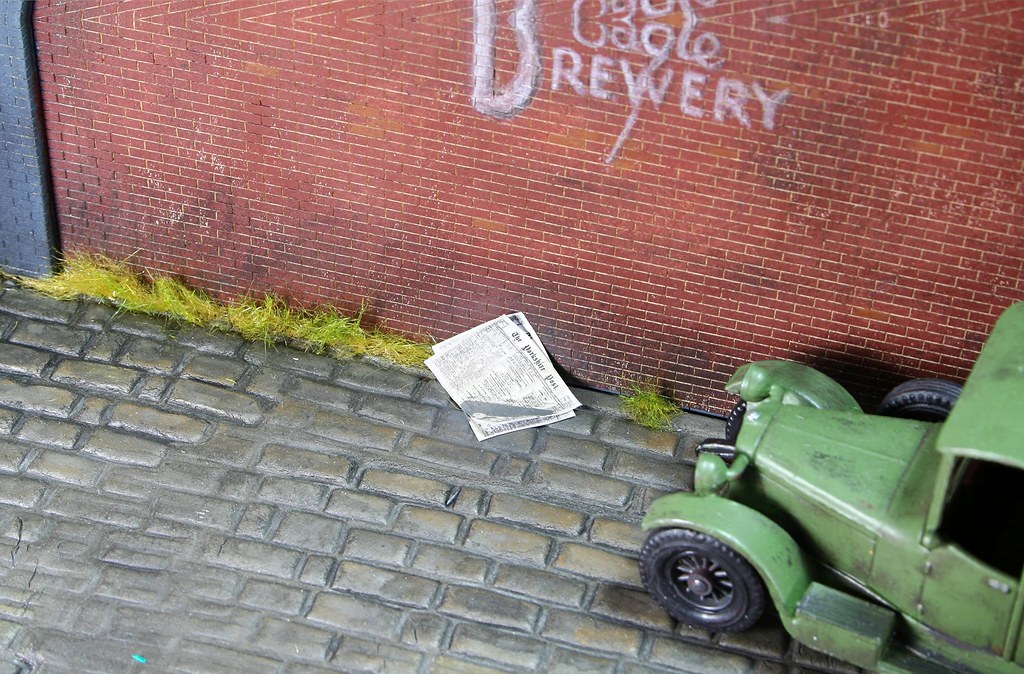
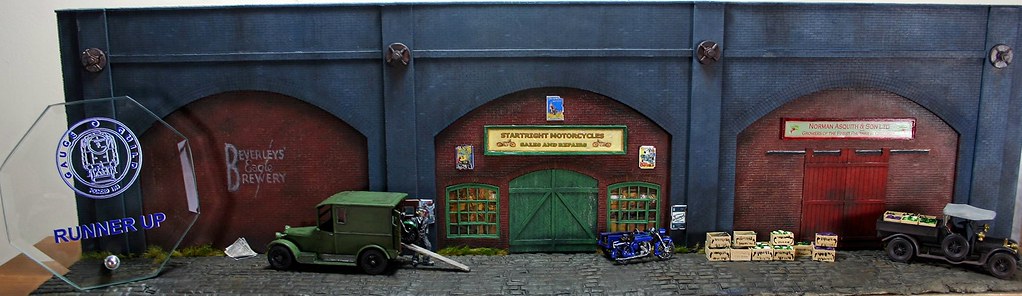
Starting off with the items that didn't get placed.
Scratch built Dowlow Lime Wagon - this was built before I got the Silhouette cutter but I weathered it a couple of weeks ago.
 ]
] ]
] ]
] ]
] ]
] ]
] ]
]
Regards Rob
Posted
Full Member
John
John
Posted
Full Member
Regards Rob
Posted
Full Member
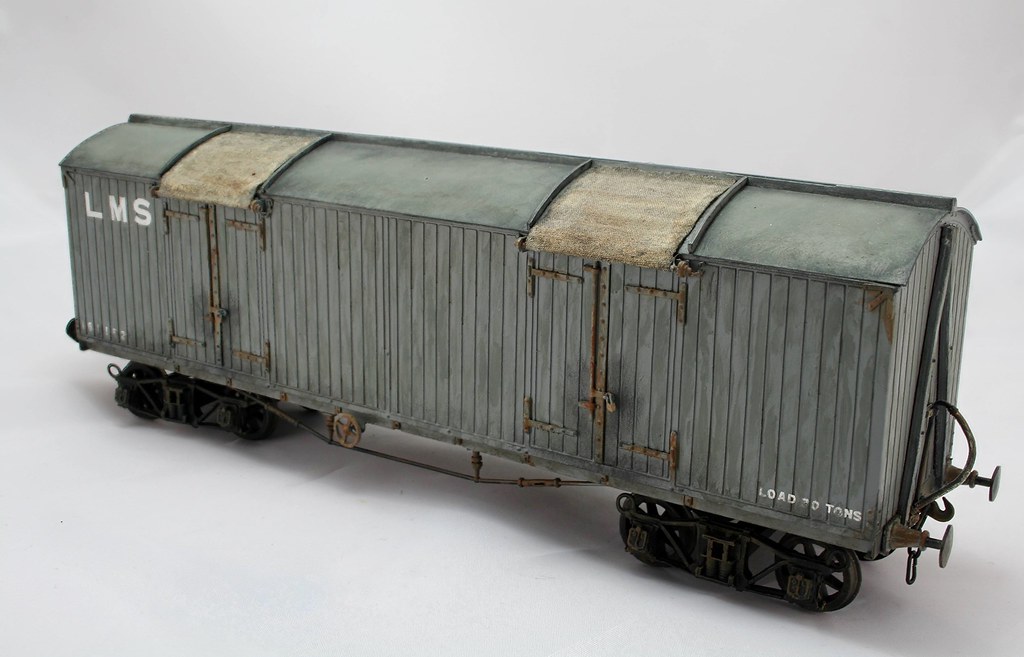
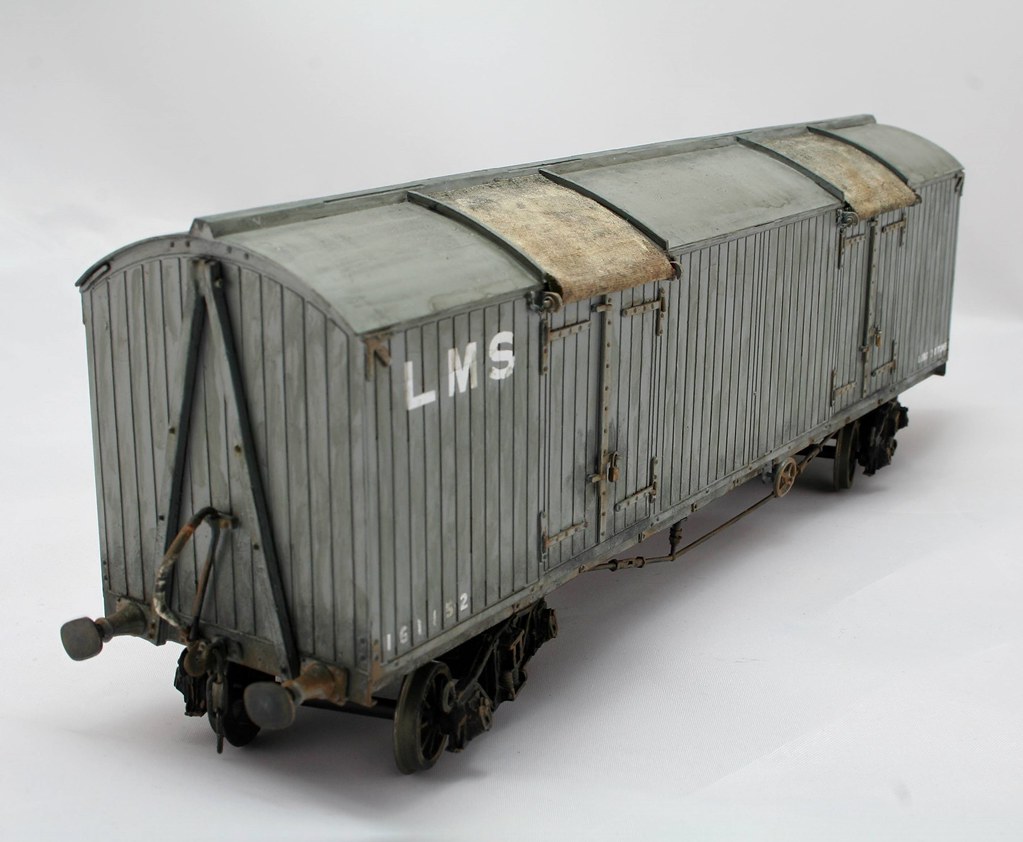
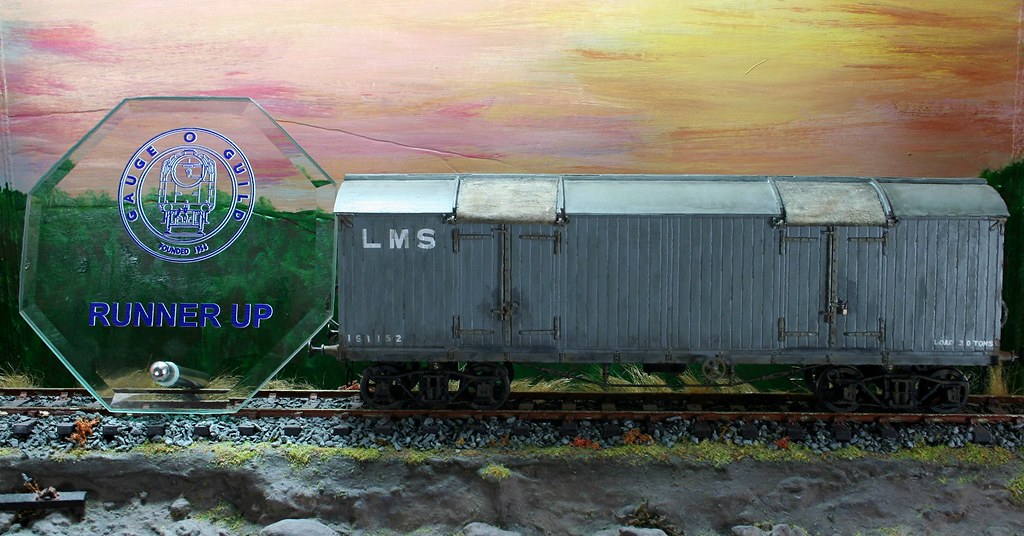
First is the Dragon Models Lancashire and Yorkshire 30 ton Bogie van
 ]
] ]
] ]
] ]
] ]
] ]
] ]
] ]
] ]
] ]
] ]
] ]
]
Regards Rob
Posted
Full Member
John
John
Posted
Full Member
The irony is that I almost didn't take the bogie van, it was a late decisions compared to the other entries.
Regards Rob
Posted
Full Member
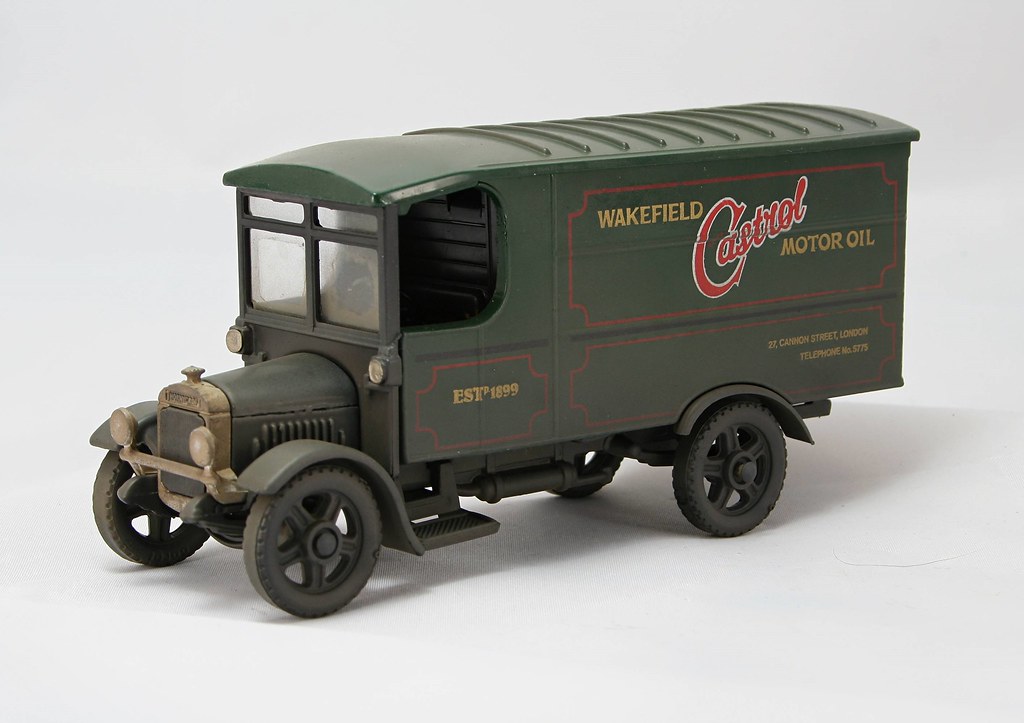
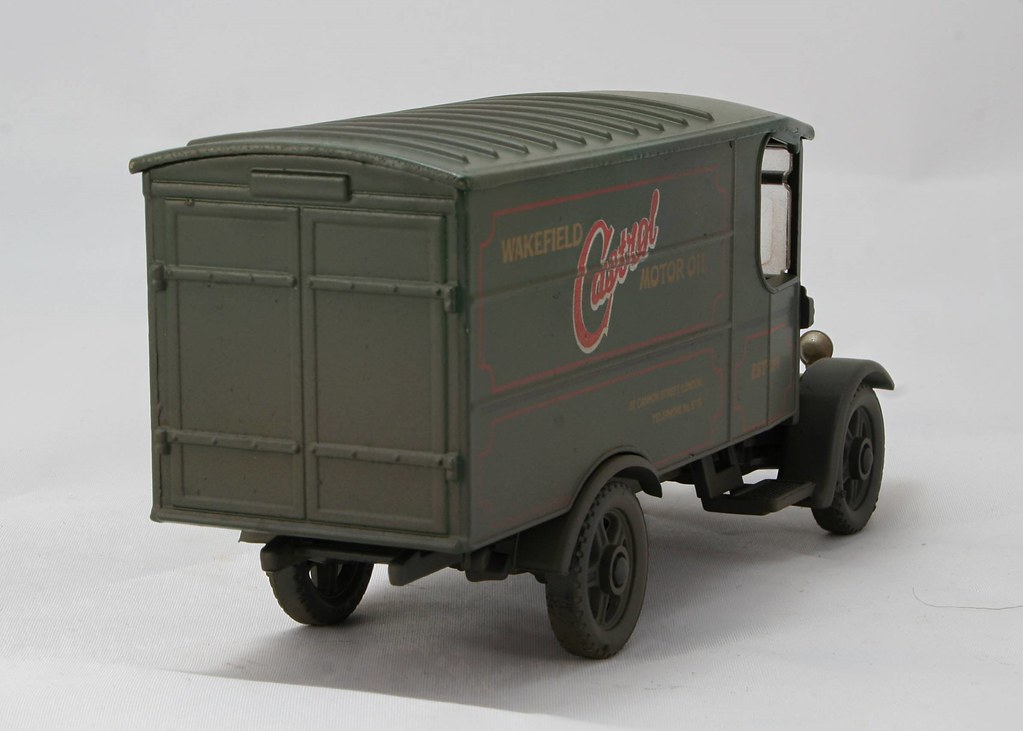
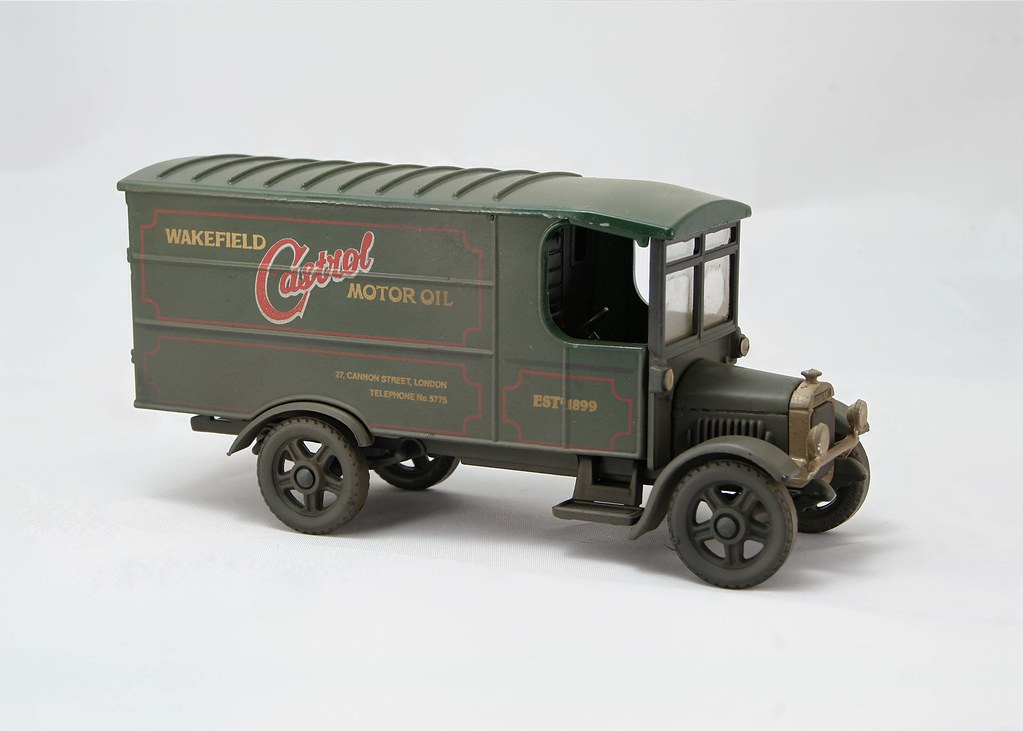
This example is a Corgi, Thornycroft truck in Wakefield Castrol livery (sadly it cost considerably more than my more recent vehicular purchases). When I bought it, it was the usual toy like, very shiny livery so I have given it several squirts of road dirt to quieten it down a bit.
 ]
] ]
]
Regards Rob
Posted
Full Member
John
John
Posted
Full Member
Although in theory companies would have kept their vehicles clean they would have got dirty when out and about between washing especially when travelling in rural areas.
Regards Rob
Posted
Full Member
It's ultimately destined for the small ads but it has made a change which has resparked my interest.
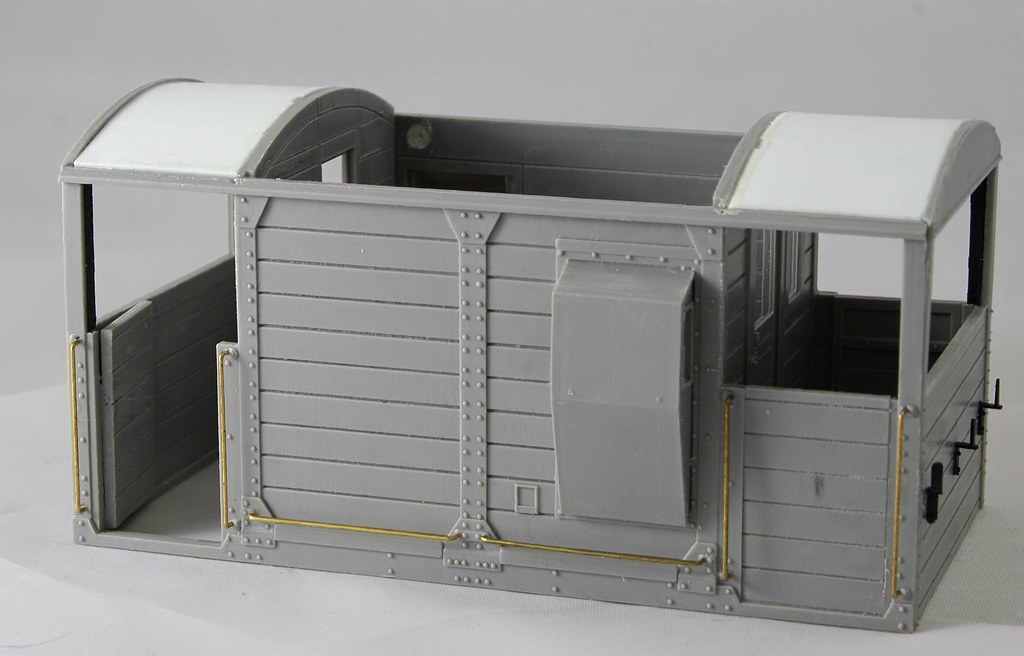
This is as far as I got in a couple of sessions over the weekend.
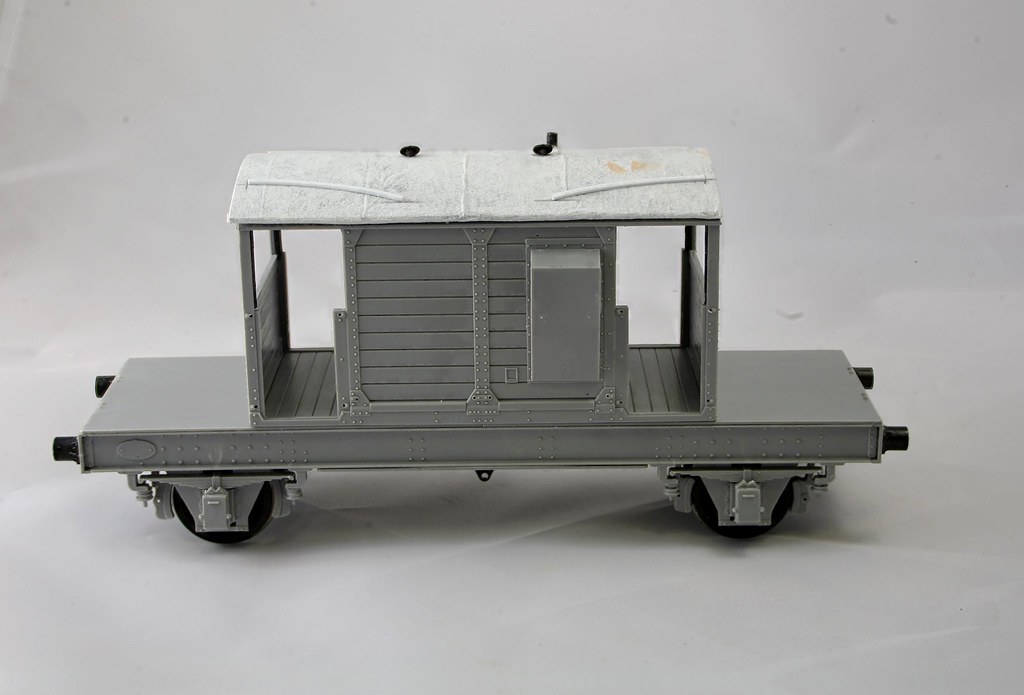
It's just posed for the photo at the minute
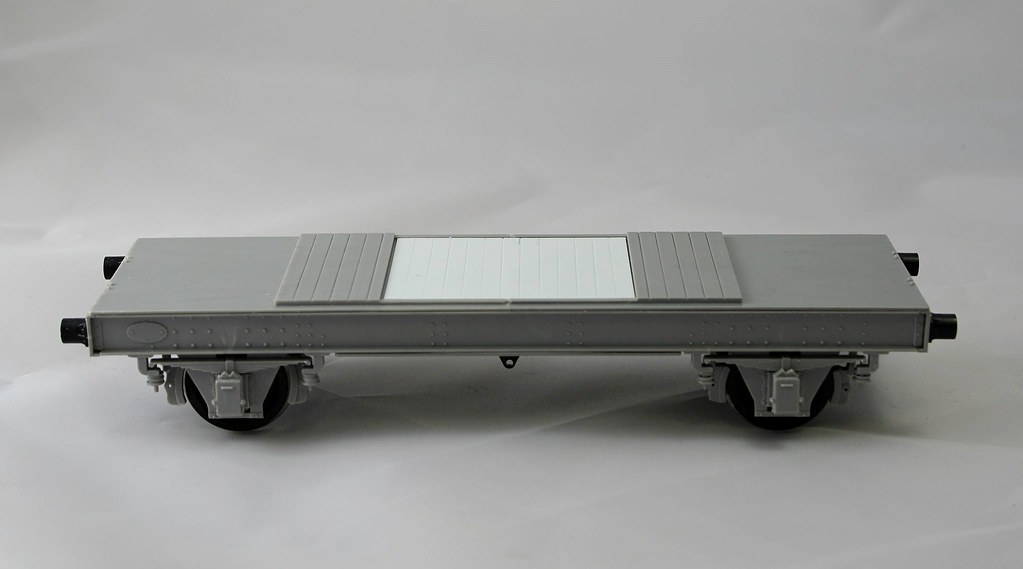
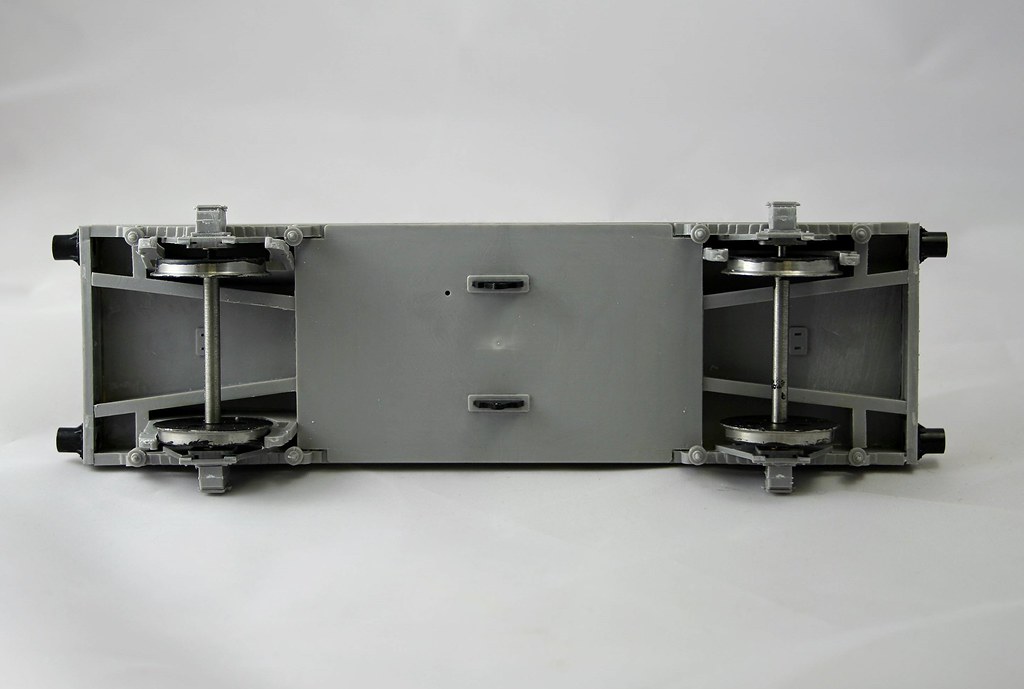
As you can see the brakes are not fixed yet.
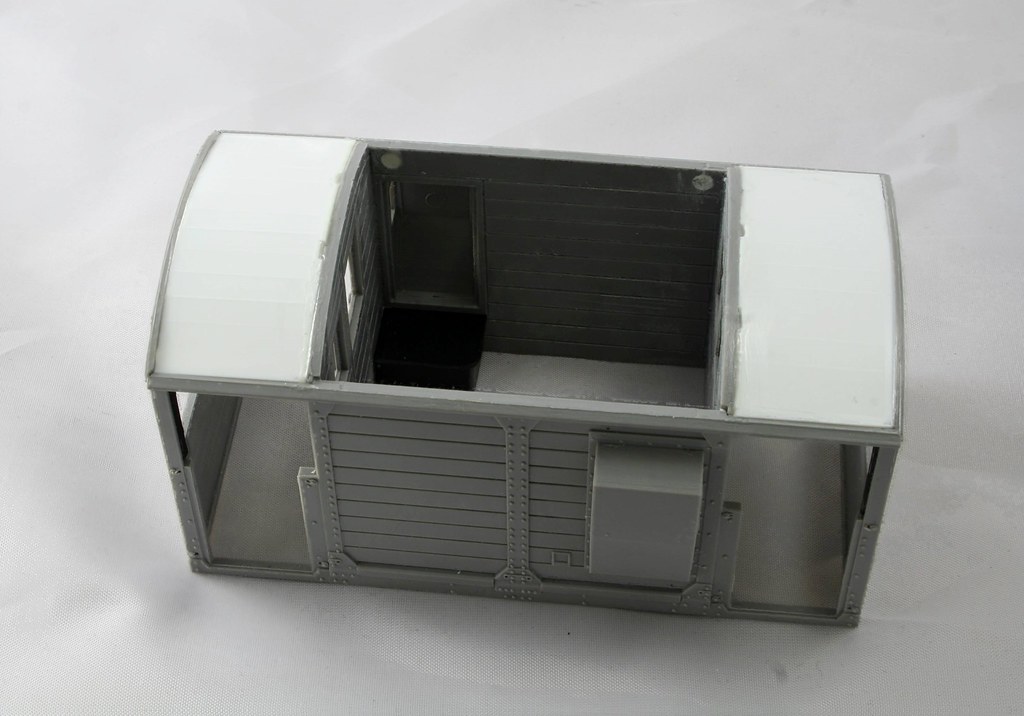
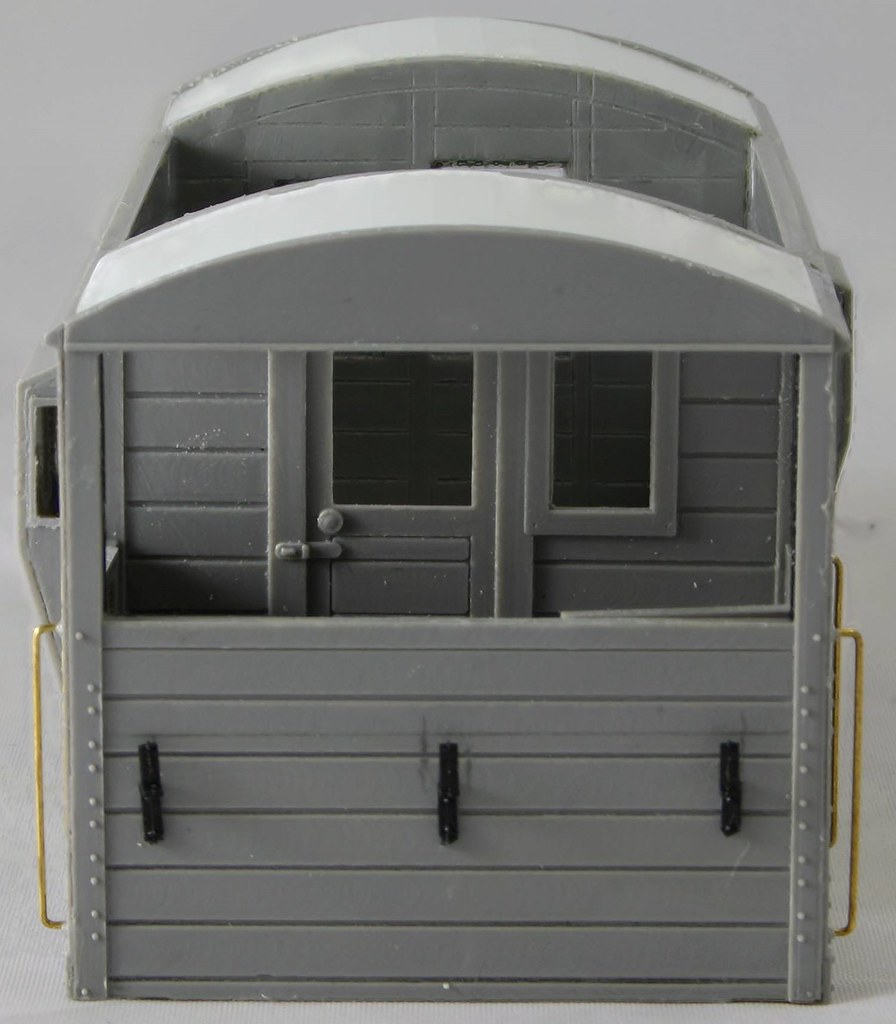
I found an interior shot which showed a couple of small seats below the lookouts. There was also a separate box/locker with a lid which I may or may not model. I say that because when the lid is one there isn't much visible inside…. Although once the interior is painted a bit more may be seen.
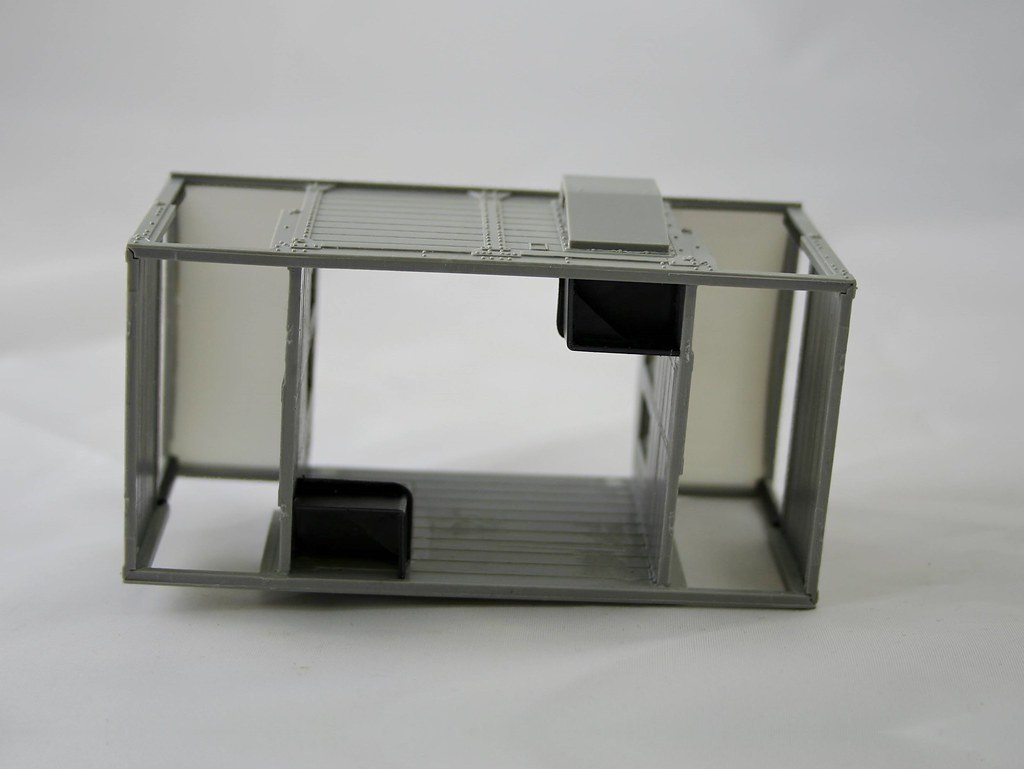
I have planked over the tops of the verandas which I appreciate isn't visible when looking at it from above but it does enhance it as a model.
Some were made to slightly different diagram in that they had additional windows added adjacent to the doors in each end. many others had them fitted later in their lives. I found a couple of photos where they survived intact without so I decided to leave them as is.
It will be finished to represent a BR liveried example so I won't be fitting the sand boxes although having said that I am very tempted to model this one
https://flic.kr/p/96HAx8
Or this one as being something quite different. I am not sure what the time frame for it being fitted with the cylinders on the end platform though - I want to appeal to as wide an audience as possible.
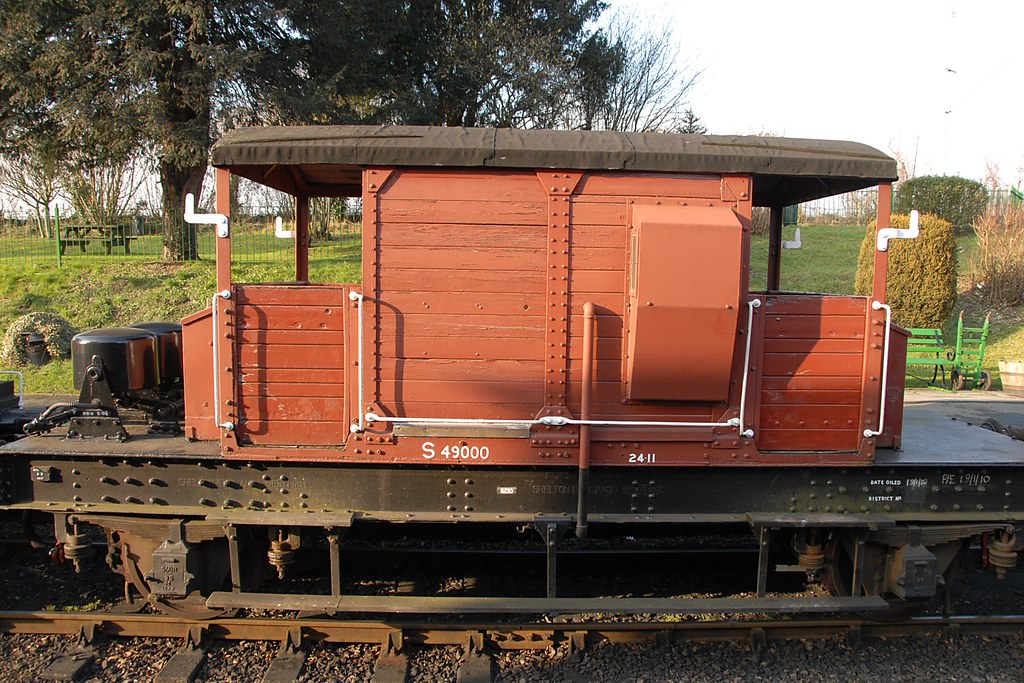 S49000 SR BRAKE VAN Copyright by Linda Chen, on Flickr
Last edit: by Rob Pulham
Regards Rob
Posted
Full Member
http://yourmodelrailway.net/view_topic.php?id=14578&forum_id=150&page=6
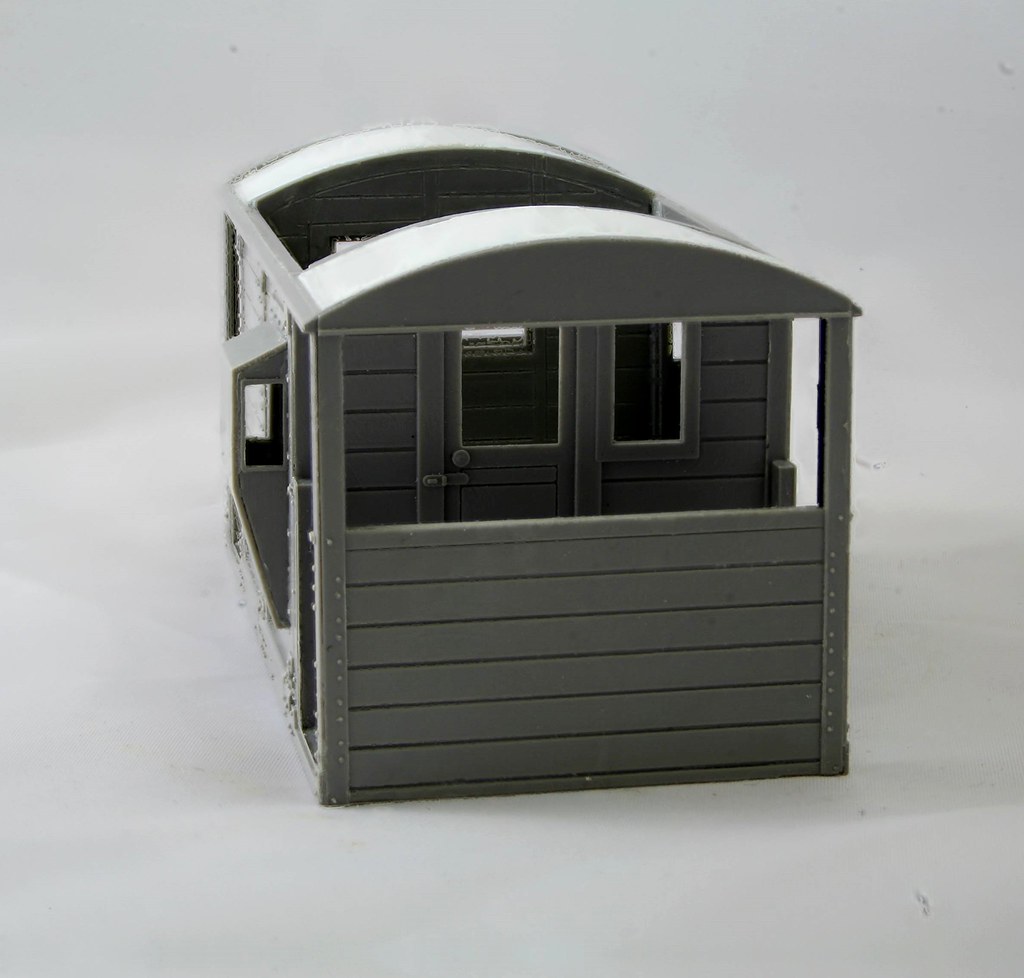
Mine is BR era and unfitted. Sandboxes were mostly removed after nationalization. I also did an interior. BR also added an additional window at each end.
As usual I felt the ABS plastic step hangers wouldn't work so I substituted brass wire. I'm interested in knowing how you tackle the steps.
Don't forget safety loops around the clasp brakes.
John
John
Posted
Full Member
I had a look through your build before starting this one. I was going to add the stove and brake standard (and I still might) but having tried the roof on not much is visible and I doubt that anyone will want to pay any more if I add them so I will effectively have to stand the cost of them if I do.
I do fancy building one of those that were vac fitted as in the two photos that I linked to just because they are so different but I haven't decided yet. I will see what this week turns up because I won't get back to it until next Saturday ( I have just painted the roof because I was using the airbrush on the J79 backhead.).
PS thanks for the drawing
Regards Rob
Posted

Inactive Member
Max
Port Elderley
Port Elderley
Posted
Full Member
Regards Rob
Posted
Full Member
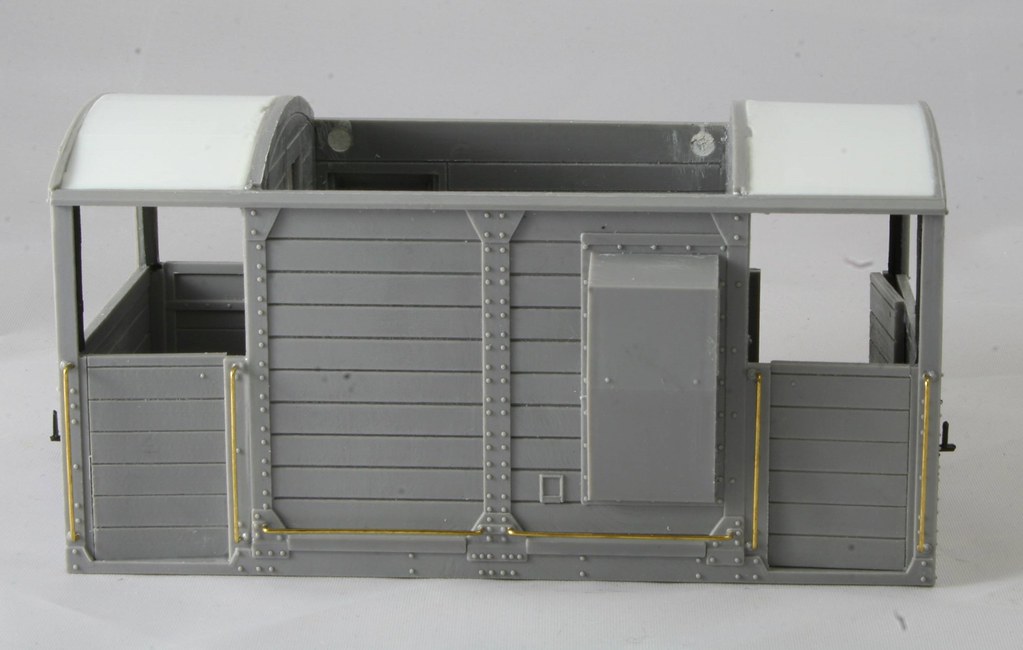
I used flat brass bar for the safety loops. I think Hornby got them right on their recent 00 model.
I also found that the ABS lamp brackets are quite hopeless and wound up fashioning some from brass strip.
I agree that adding interior details is a bit of a waste of time, but at least I know they're there.
John
John
Posted
Full Member
Thanks John,I agree that adding interior details is a bit of a waste of time, but at least I know they're there.
John
if I planned to keep it I would do the same - it's why I went to the trouble of adding the planked roof of the verandas I know it's there and it will be visible if someone picks it up but I doubt the interior details will.
Regards Rob
Posted
Full Member
(Click to enlarge)
Regards Rob
1 guest and 0 members have just viewed this.