DJH Streamlined Coronation in 7mm
Posted
#235713
(In Topic #12997)

Full Member
On Easter Sunday afternoon I had a phone call from a gent that puts a lot of work my way asking if I could fit in building a DJH Streamlined Coronation as soon as possible. The Gent that I am building the J6 for is in no rush so I decided to have a bash.
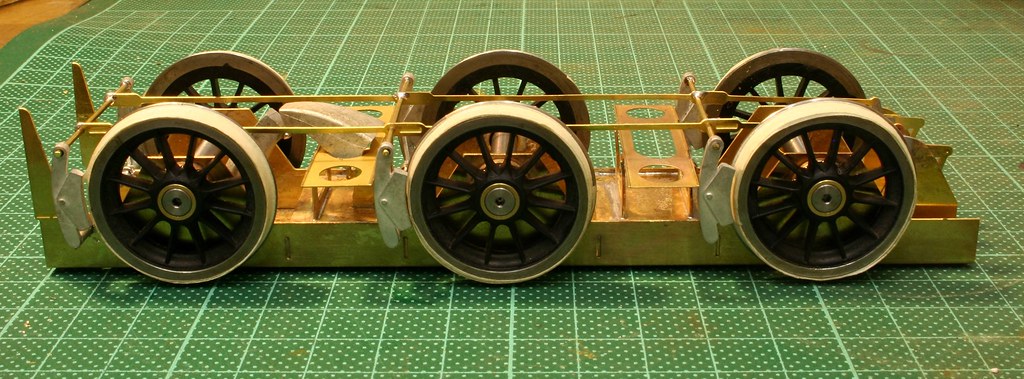
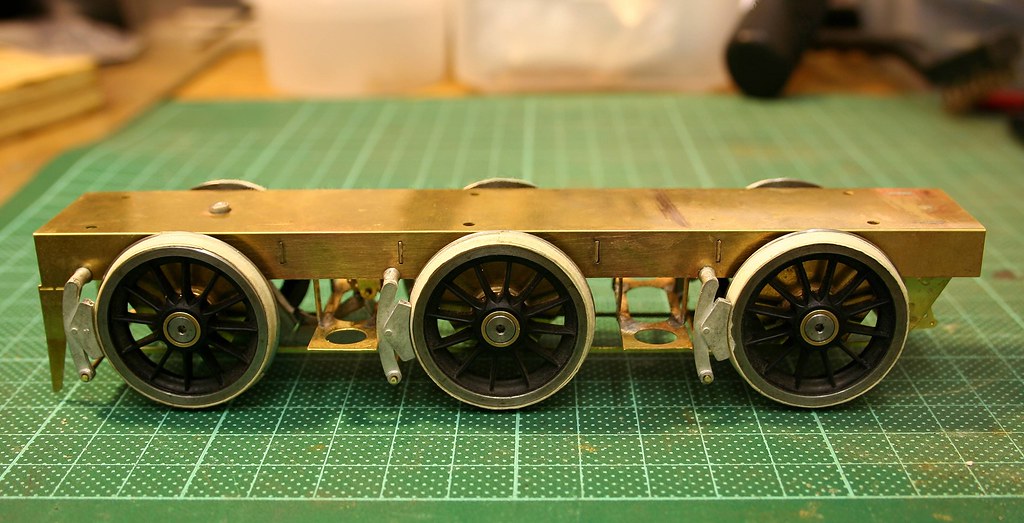
The kit was dult delivered on Sunday evening and by bedtime I had the basic tender chassis together.
Another couple of hours on Monday morning had the tender chassis complete, so far so good.
To a degree I feel that any criticism that I make of this kit is a bit like sour grapes given that I chose the David Andrews kit over the Tower/DJH version when I bought mine.
That said, hiding what I find doesn't help anyone else who may decide to build one of these.
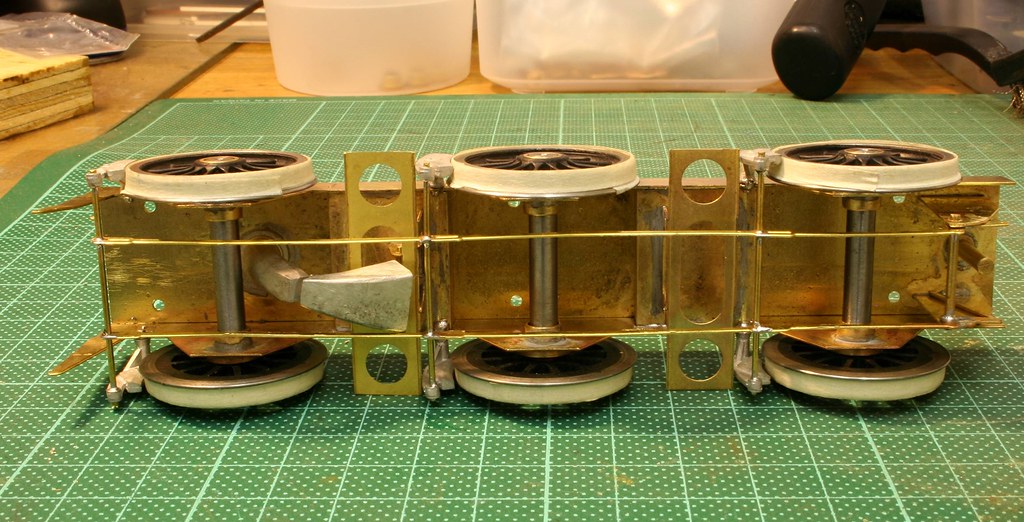
The key issue with the tender chassis is that the cross members that fit between the wheels are a single half etched layer in the middle section, which makes them very vulnerable to bending. This and other areas where key parts are a single half etched layer (more on that later) are particularly noticeable to me when this build comes right on the heels of building the MOK LMS tender which is prototypically similar in many respects.
Although I don't know the name of the loco that the model is to ultimately represent I have been asked to build it as one of the double chimney red ones - Apparently there were some differences on the red ones over the first few blue ones (I had originally planned to build mine as Duchess of Hamilton in Blue when Coronation was masquerading as DOH while DOH went to America masquerading as Coronation, confused yet…..). Luckily the kit also came with a loan of the Wild Swan/NRM Loco Priles book for the Coronation Pacifics.
Regards Rob

Posted
Full Member
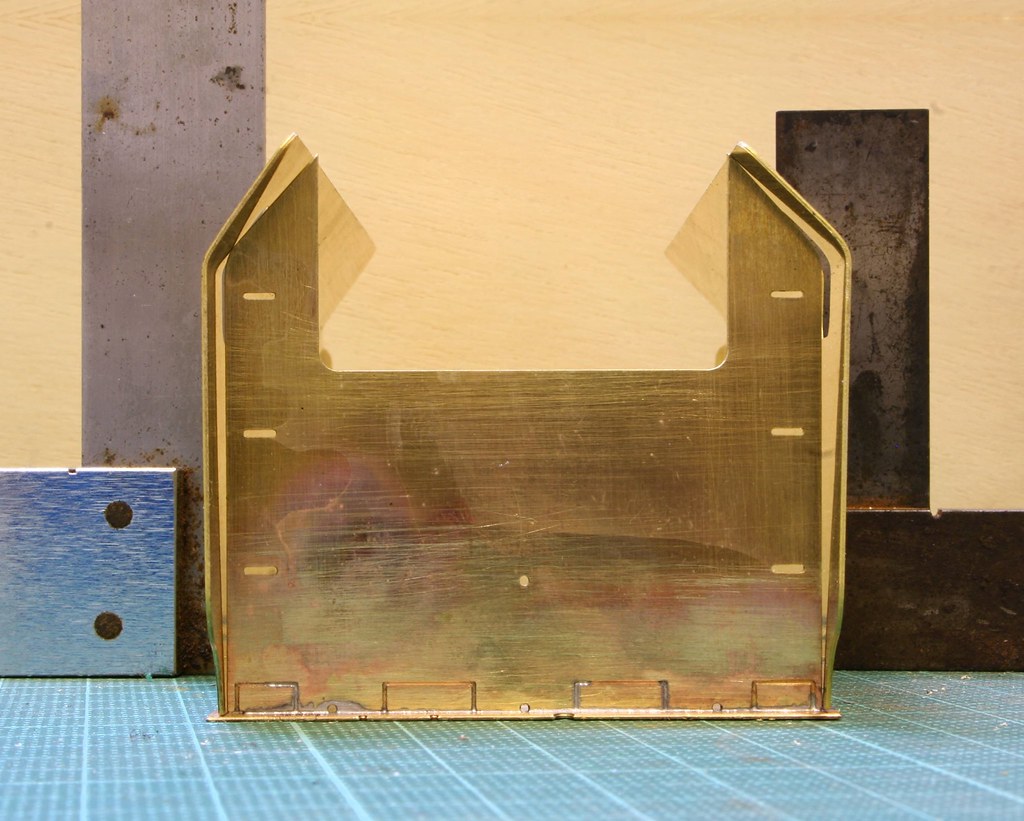
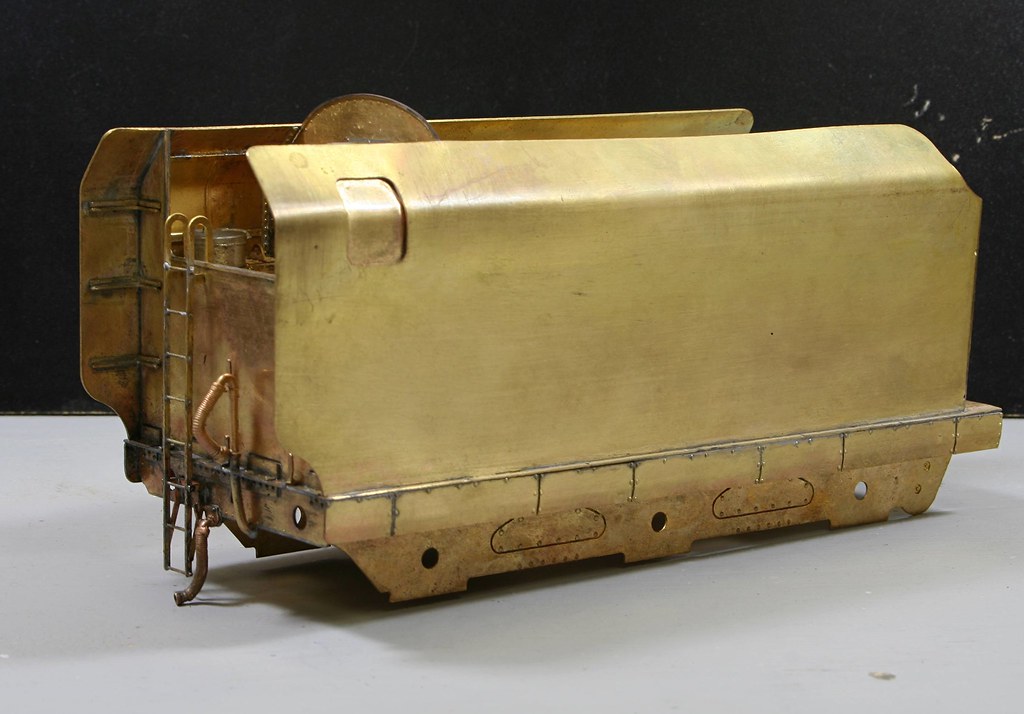
Making a start on the upperworks, the tender sides are battleship plate thickness. They come pre bent to shape to follow the bulkheads - what a shame the bends were too low
I used my my cheap cooks torch bought from Lidl just before christmas. I have found it's too hot and uncontrollable for soldering but it's great for annealing.
However, before you get to the tender sides in the instructions, the next section has you making up the coal chute and coal pusher which went together perfectly.
 Last edit: by Rob Pulham
Regards Rob
Posted
Full Member
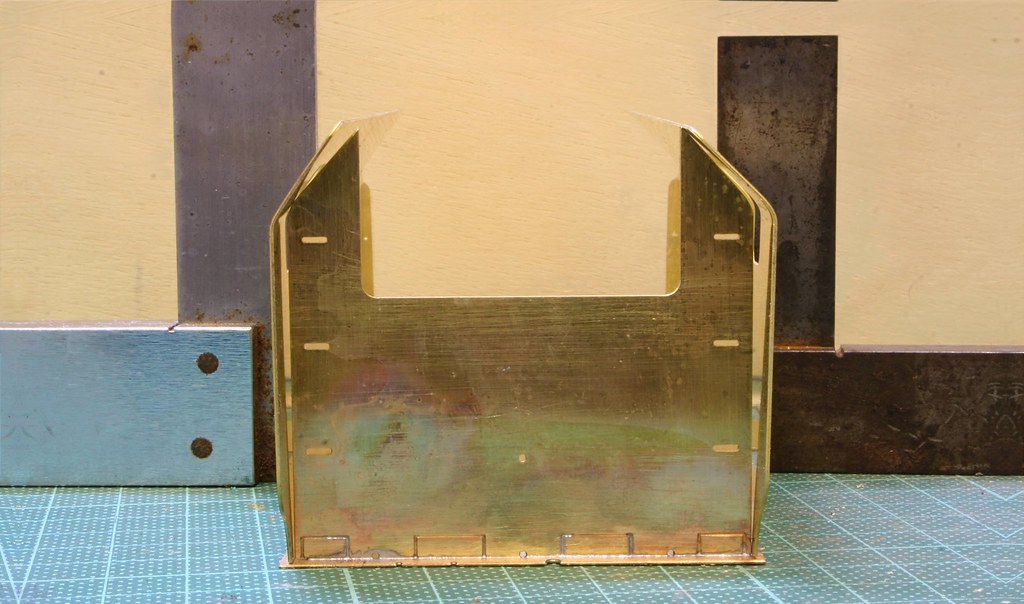
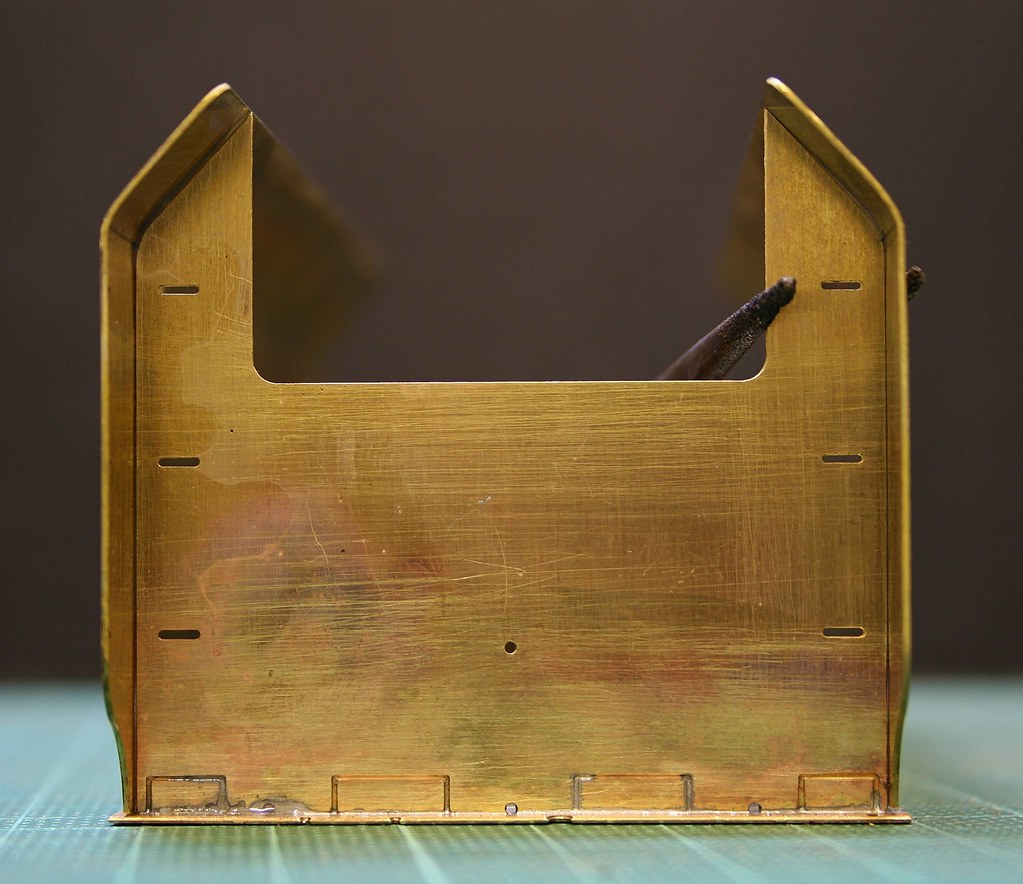
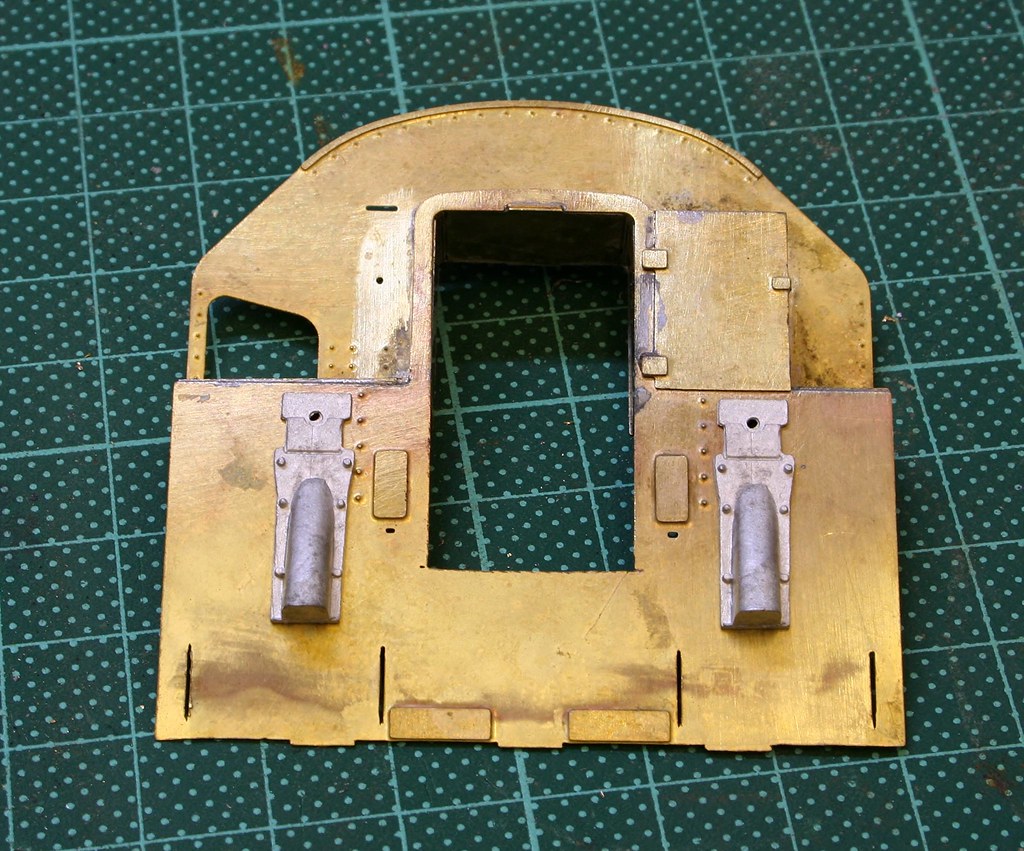
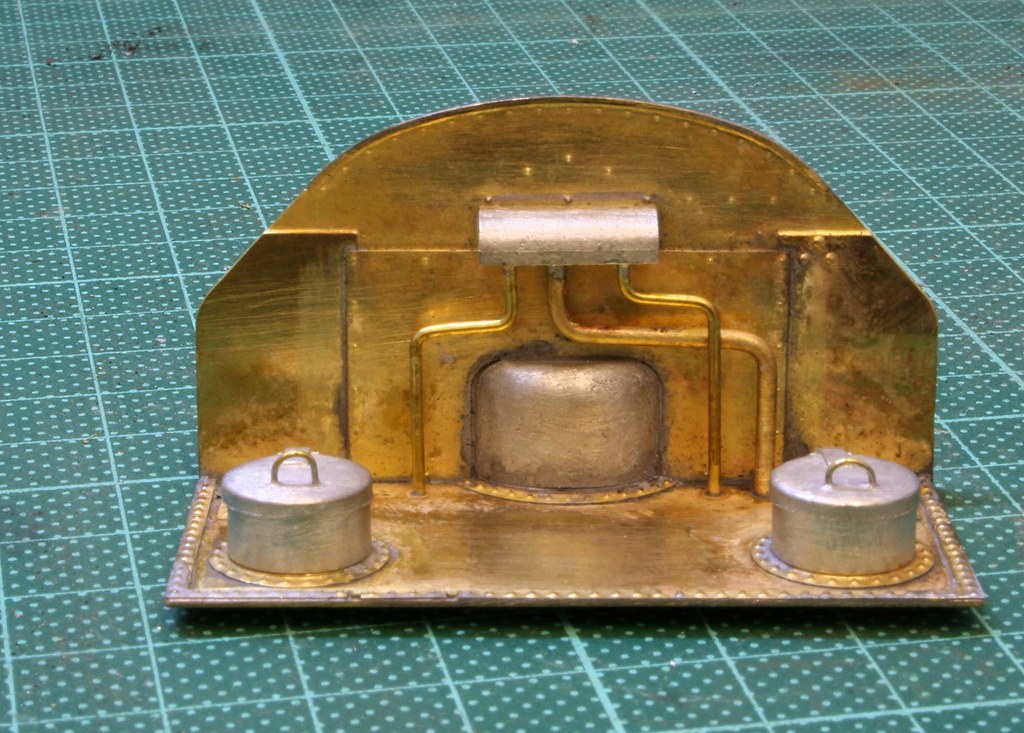
Once I had the sides to the right shape and soldered to the bunker rear I set about detailing the front and rear bulkheads. As I mentioned in York Paul's thread I fitted all the whitemetal castings to the rear bulkhead prior to fitting it. Those on the front bulkhead await fitting.
in true perverse DJH fashion, although the front bulk head and many of it's constituent parts are half etched the rear bulkhead is full thickness.
Front Bulkhead
Rear Bulkhead
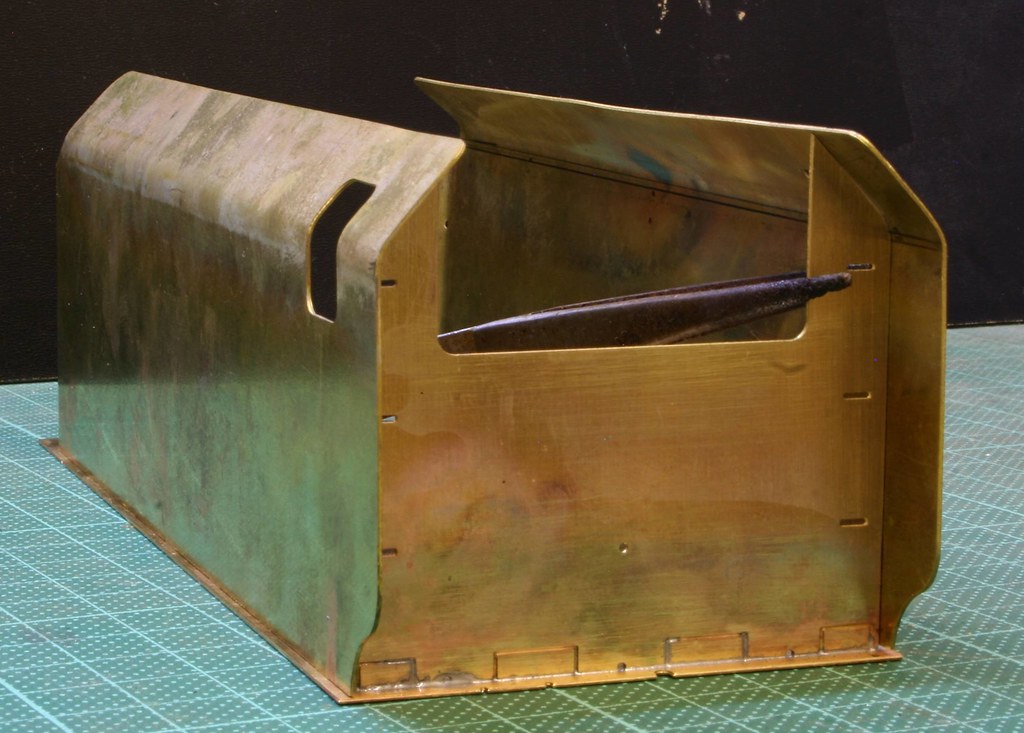
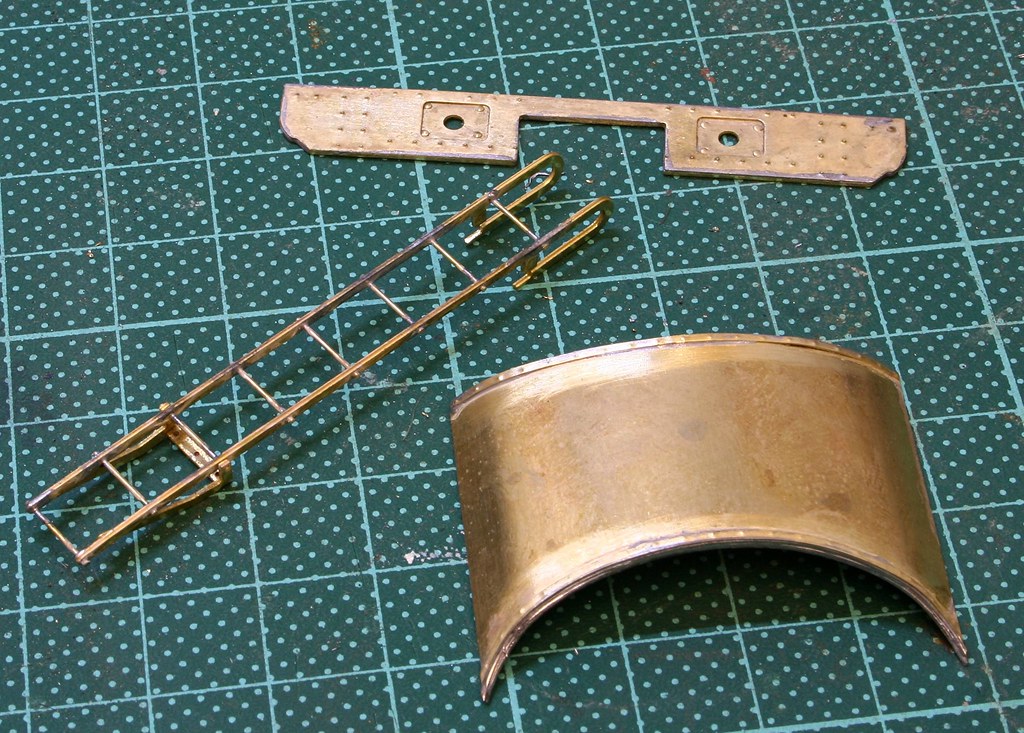
Streamlined Cover and Ladder for the rear of the Tender.
Dealing with the thickness of the metal has been a real learning curve on this one because my 80 Watt Ersa solder station won't touch it with 145 degree solder at my usual 340 degree setting.
I have had to whack it up to 400 to get the solder to run. This has meant that much of the soldering has been done with the microflame including (and this may want some of you to lay in a darkened room…
 ) the whitemetal bits.
Regards Rob
Posted

Full Member
White metal soldering - 400 degrees - cool. You must have a cold fusion torch.
That must be a substantial lump of brass.
Nigel
©Nigel C. Phillips
Posted
Full Member
Regards Rob
Posted
Full Member
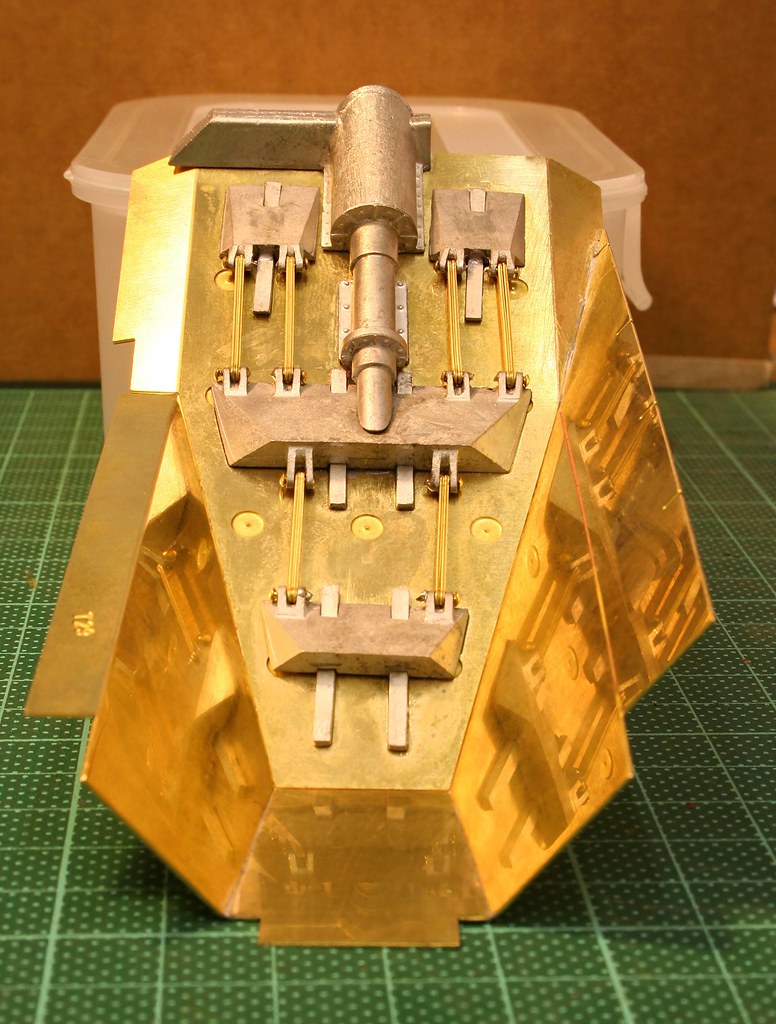
Once the rear bulkhead was soldered in, next up I concentrated on getting the many details on the rear of the tender added.
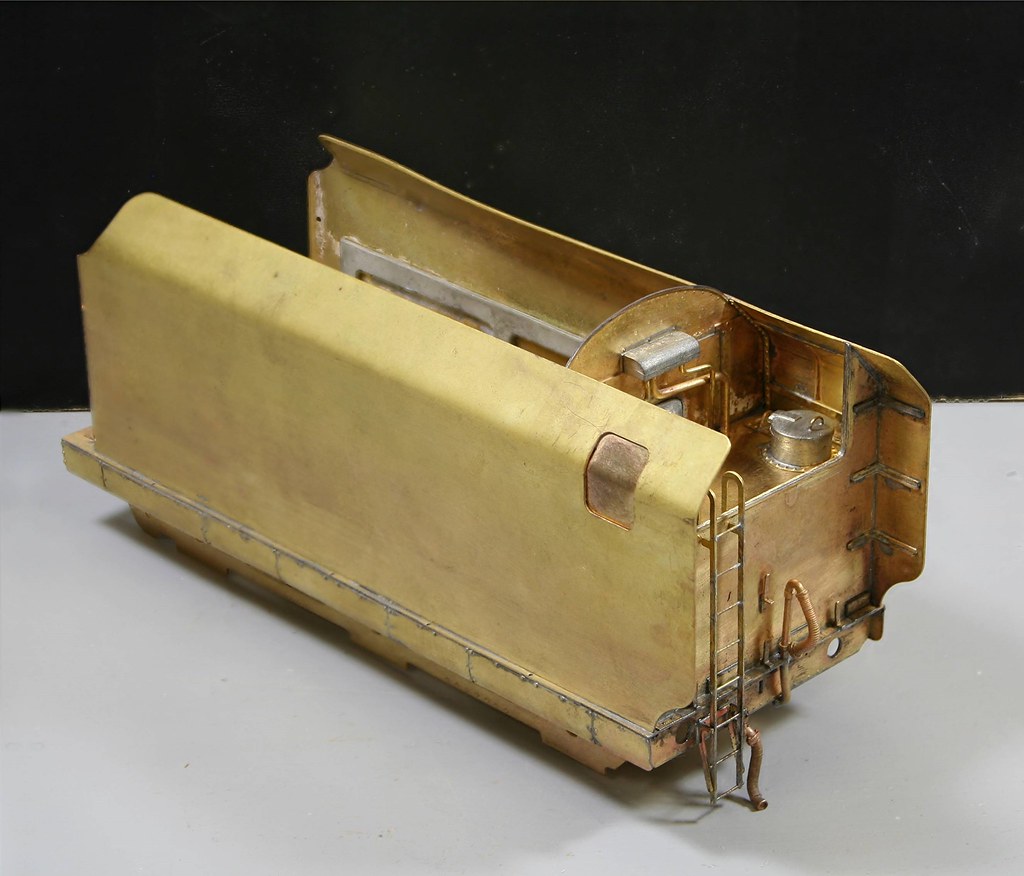
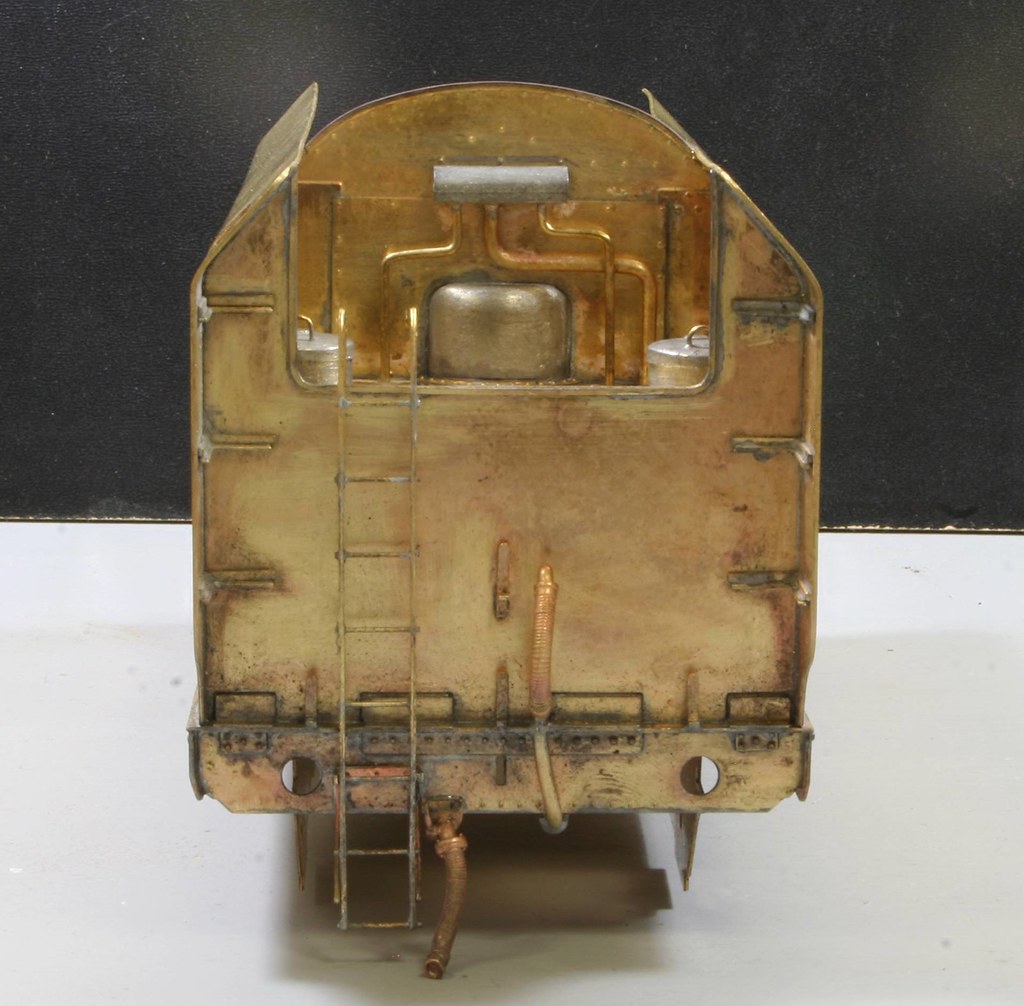
It's quite busy back there…
Regards Rob
1 guest and 0 members have just viewed this.