Lakes and Ponds
Posted
#154791
(In Topic #8678)
Full Member
First decide if it is going to be sunk in the base or resting on the surface. It only makes a difference on how to fix it in position with the sunken version the banks will hold it in place. With the surface you need to fix it by glueing or as I do use double sided tape.The ground cover will cover the edges.
Now to the water. Nothing could be simpler. Find a picture of an area of water, there are hundreds on the net, And download, or scan it. Print to standard printer paper and cut to shape. Next cover it with clear sheet, there is a good supply on the packaging of Metcalfe kits, I always save it before ditching the package.
Cut the sheet to the same size as your water cutout. Place in the sunken area or on the surface where you want it to be.A couple of spots of glue on the edge will hold it in place until the banks are formed. Or for the surface version glue or tape in position and bring the ground cover up to and slightly over the edges. Some long grass or reeds and bushes will hide the edges.
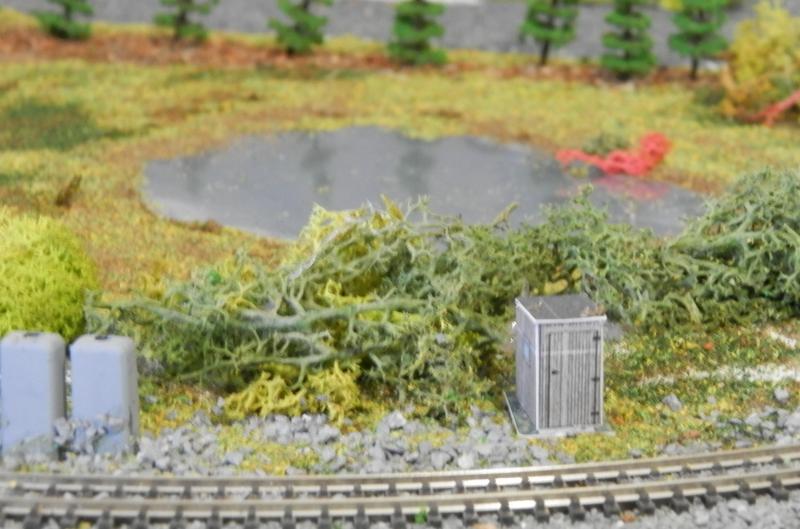
Not the best picture but it gives the general idea.
 Last edit: by klinger

Posted

Legacy Member
Bozzy(never known to pass a pub)
Posted

Full Member
Bob
Posted

Full Member
Barney
Always try to look on the bright side of life!
Barney
Barney
Posted
Legacy Member
PVA glue.
For this to work, paint the area black in the middle, fading out to a dark green towards the edges.
Brush on a generous neat layer of PVA with a normal painters 1" brush, then heavily stipple the glue with the end of a stubbier 1" brush if you have one, if not, cut one down.
Leave until the glue starts to skin over then stipple again and then leave to dry out transparant - usualy over night.
When it has dried, coat with two coats of gloss varnish.
I can provide a photo showing the finished effect if you wish.
Allan.
Posted
Full Member
Funnily enought I saw a model once with real water, it didnt look right for some reason.
Posted
Legacy Member


PVA GLUE 'WATER'
Posted
Legacy Member
This, and not unlike smoke, is because it cannot be scaled down.Yes there are many ways it can be done and mine is not as good as some but better than nothing.
Funnily enought I saw a model once with real water, it didnt look right for some reason.
Remember those early Naval Battles scenes at the cinema? all shot in a fish tank where one splash of real water would sink a 15" long model of a destroyer!!
And that's not to mention those pathetic smoke units fitted at vast extra cost to model lococomotives - flat out and not hardly a whisp - struggling up a bank with 60 wagons, even less of a whisp still ! Some things you can scale down, some things you can't. - like my stomach for example !
Allan.
Posted
Legacy Member
Many years ago, a gentleman sent me a diagram of how to make water 'move'
I consisted of a perforated moving belt the length of the river with light bulbs fixed every two or three inches below the belt.
Above this was the river proper, a sheet of opaque glass, and as the perforated belt moved over the bulbs the light danced beneath the glass giving the illusion of movement.
Anothe daft idea I tried once, well not so daft maybe, was to glue a layer on pebbles of different sizes down onto a length of board then stretched and pinned a sheet of membrame plastic over the pebles then played a hot air dryer over the plastic where it 'melted' into the pebbles giving the effect of a fast moving shallow stream.
And that folks is why I use PVA today!
Posted

Full Member
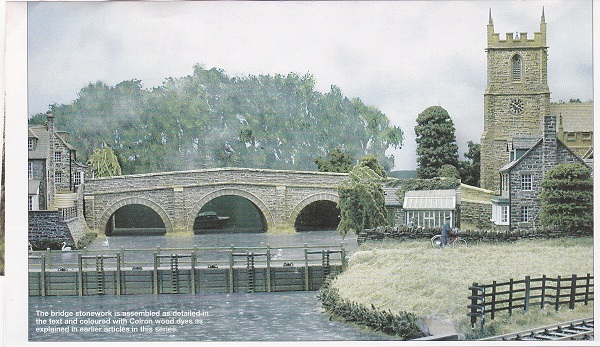
It might even be worth standing on a bridge over a river/stream and taking note of the colours.
Posted
Full Member
1 guest and 0 members have just viewed this.