Painting Dapol Figures Part 3 - Simple Conversions
Posted
#8239
(In Topic #871)

Full Member
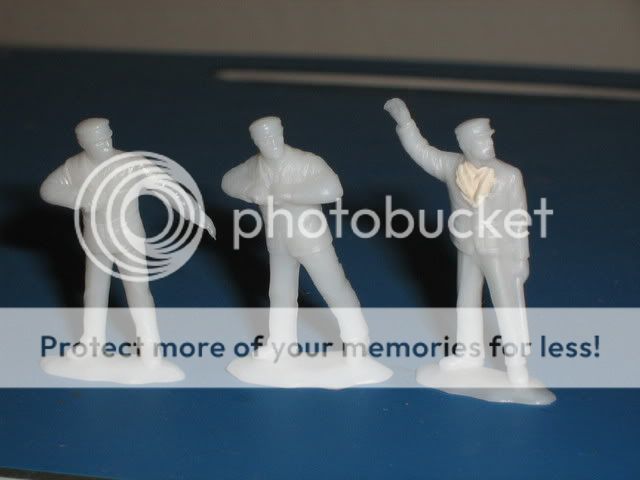
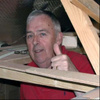
Of the 3 I think the two on the left show most promise, so in this thread I will convert these two figures to represent driver/firemen leaning out of a steam loco cab as is so common in contemporary photographs. Unfortunaely I do not have a loco here in Liberia, so the first task will be to construct a mock up cab to show how the figures will fit and look once completed.
More to follow…
Bob(K)

Posted
Guest user
Posted

Full Member
Phill
Posted

Full Member
Chop, Chop :roll: :roll: :roll:
Wayne
Posted
Full Member
phill said
I have all be it tiny figures a fireman and a driver that came from the hornby DCC set. Maybe a tad too small but hey a magnifier and i be ok :? . Phill
Phill
These Dapol figures are almost exactly the same size as the Hornby figures that come with the locos. Although a bit hard on the eyes it is surprising what can be achieved in converting 00 scale figures.
Bob(K)
Posted
Inactive Member
Les
Devon Junction
Kernow Junction
Kernow Junction
Posted
Full Member
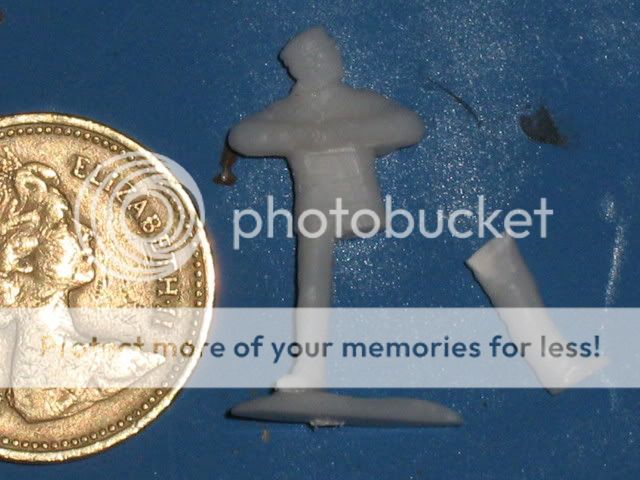
Fig 2 also needed some surgery. Because he is destined for the other side of the cab, I cut off his head, turned it 180 degrees and reattached it. I also decided his left arm stuck out too much, so that came off, I cut off a small angled piece and reattached the arm closer to his body. Finally I decided that his feet would either have to be shortened or turned out wards. So I cut off his base and turned the feet to a wider angle. This is to allow the figure to get closer to the cab wall:
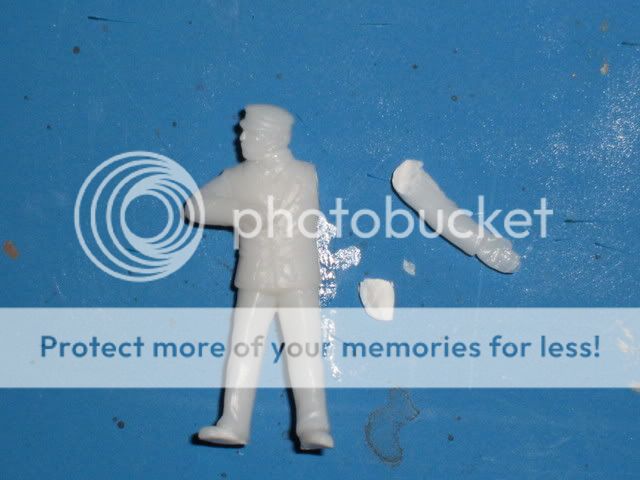
Once dry I cut the base off fig 1 and shaved some more off the front. The best way to do this is to cut a line across the body under the folded arms and then thinly shave upwards towards the cut. Take care here as a slip could ruin the figure and your hand!!!! You can see some of the shaved material on the left. (the picture of Fig 2 was taken before arm surgery see below)

Finally fig 2, now has his new arm attached and has his feet turned. In fact they looked all wrong so I cut some feet off another figure and attached them at a new angle:

The next task will be to test the figures in position, clean them up and then start to paint them………
Bob(K)
Posted
Inactive Member

Les
Devon Junction
Kernow Junction
Kernow Junction
Posted

Legacy Member
Posted

Full Member
I'll follow this one with great interest.
Petermac
'Petermac
Posted
Full Member
Looking good so far!
Wayne
Posted
Inactive Member
Apologies if you have already given this info elsewhere
Happy Modelling,
Mike
Mike
Posted
Full Member
No fancy stuff. I do all my cutting with a standard, heavy duty, retractable craft knife (Stanley Knife). The glue is ordinary Revell model plastic cement, the liquid variety. If you are unfamiliar with these items I will show a picture in the next installment.
Bob(K)
Posted
Guest user
If their feet [as engine crew] were a problem they could probably get by without them. I have to admire their stoicism 8)
Thanks for another fascinating thread, Bob.
Mike
Posted
Guest user
Posted
Full Member
Mike - is the Dapol plastic the hard brittle stuff or the softer ex Airfix type ? Would a razor saw be an easier/safer option for the surgery ?
Petermac
'Petermac
Posted
Guest user
It's fairly brittle. One of mine has lost a hand and it WAS an accident. Honest. My old Airfix soldiers I had as a lad were much more flexible. I guess the thickness, such as it is, of a razor saw would cause them to lose even more tissue.
Mike
Posted
Guest user
Bob(k)-great what you are doing,look forward to seeing the results :wink: :D :D
Posted
Full Member
vinny said
Yeh but its not going to look very authentic if someone was to look inside the loco only to find the driver/fireman has no feet :!: :!:
That's why they're called "FOOTPLATE" crew !!!
Petermac
'Petermac
Posted
Guest user
But it should be FOOTLESSPLATE crew :!:
1 guest and 0 members have just viewed this.