Building with Aluminium and MDF
Posted
#37455
(In Topic #2342)

Inactive Member
Modular Construction
I did this post for the NKPHTS when I started my layout in September, 2007, but it might be appropriate for this Forum. If it's not, feel free to delete, O Mod.The room I have is approx 9.0 by 4.6 metres, but it doesn't have a wall without significant interruptions by windows and doors; so it had to be an island. I also needed it to be modular. That distilled down to a table top area of 6.6 metres by 1.8 metres maximum to allow room for benches around as well.
That meant that the modules would be 2.2 metres by 1.8 metres. They had to be light enough for two mature idiots to carry and should not be more than 500 mm tall, so the three of them would stand on edge in less than 2.0 metres of space. They were to fit into a specially designed frame for transporting to exhibitions on a trailer.
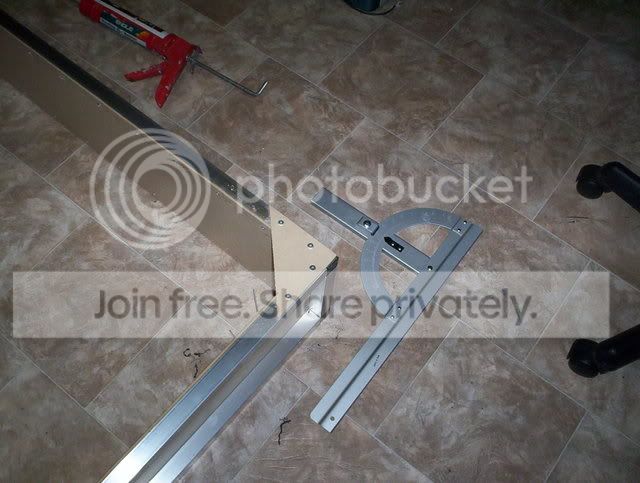
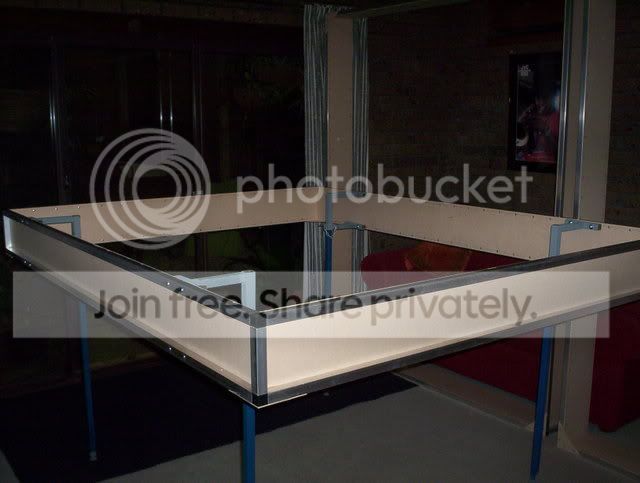
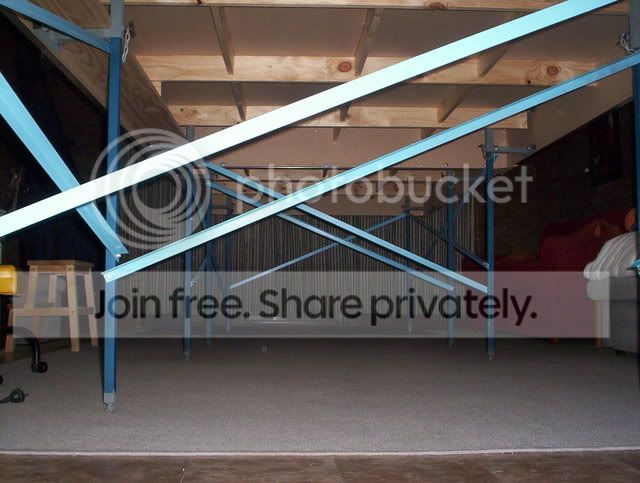
The strategy was to construct four trusses to make the shape. The trusses must be light but must not bend. Aluminium rectangular hollow section (RHS) is light and immensely strong for compression. i.e., if you press on it's ends, it will support hundreds of times its own weight.
MDF (medium density fibre) board is light in 3 mm thickness and although can be broken by hand if bent across its width, is immensely strong edge to edge.
Most aluminium extrusion suppliers have a product like Queblok, where the ARHS is joined with high impact nylon blocks.
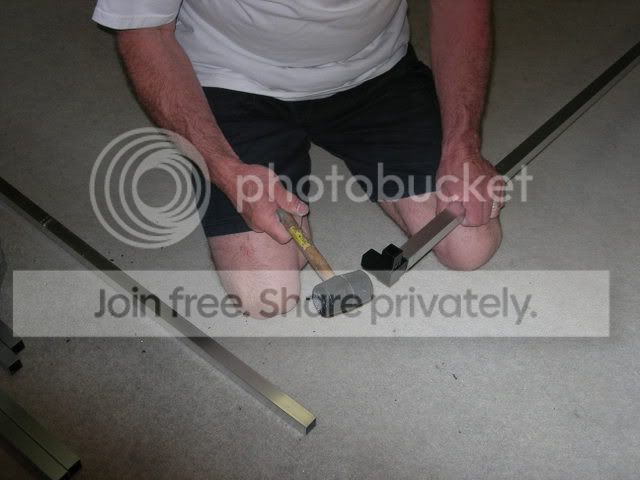
Simply tap the joiners into the ends of the tubing.
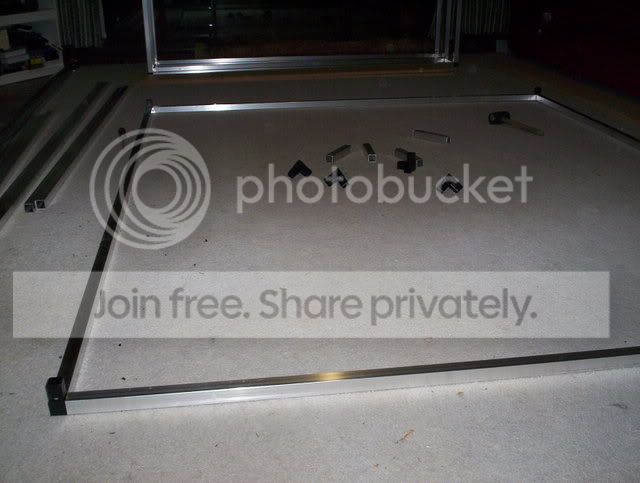
Soon you have the frame appearing.
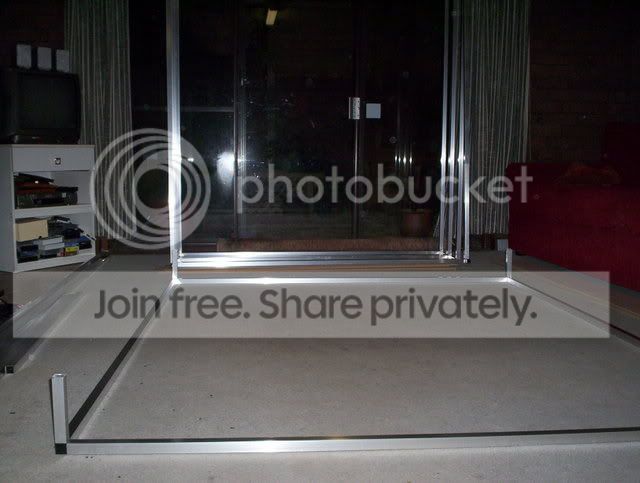
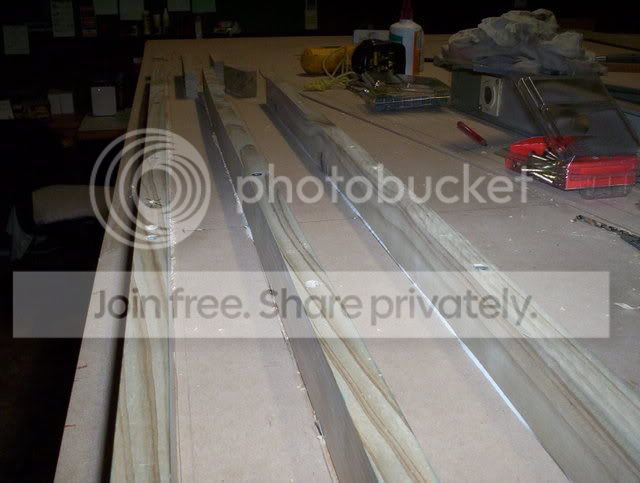
Then attach sheets of MDF to the inner side of the tubing.
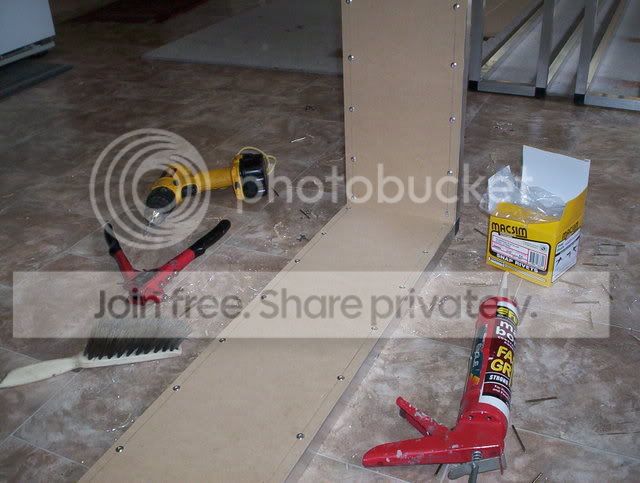
Construction adhesive forms a permanent bond between the aluminium and the MDF. Blind rivets force the components together while the adhesive sets up.
MDF gussets are fixed to the lower sides of the corners to stablilise the frame during handling.
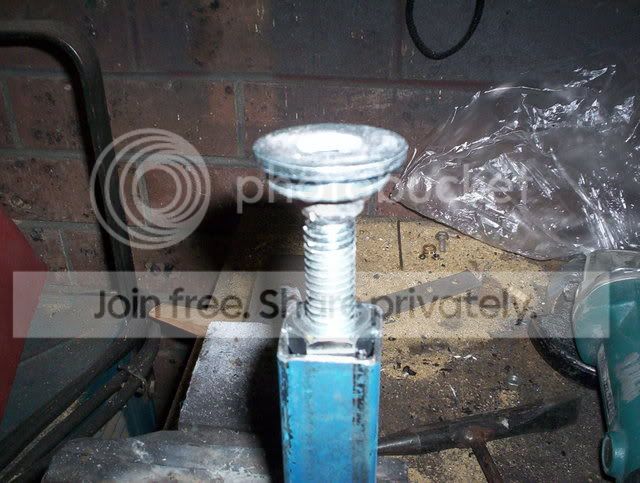
Legs are cut from steel RHS. Cup head 1/2' bolts are screwed into nuts which are driven into the ends of the legs. 1/2" washers are welded to the top pf the bolt heads.
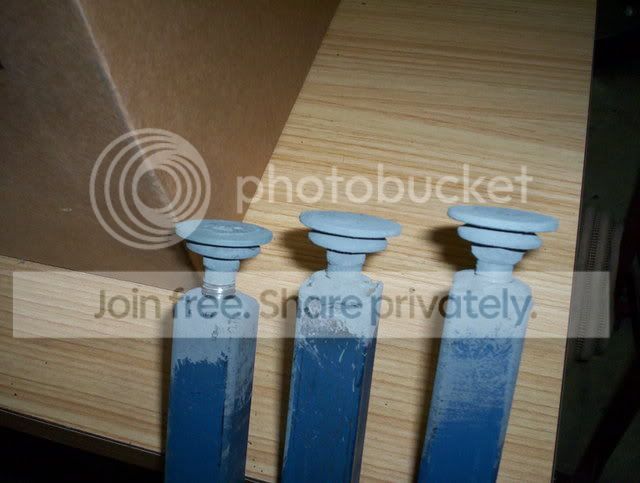
The nuts are welded in and the whole assembly gets a coat of cold galv. paint. This makes adjustable feet.
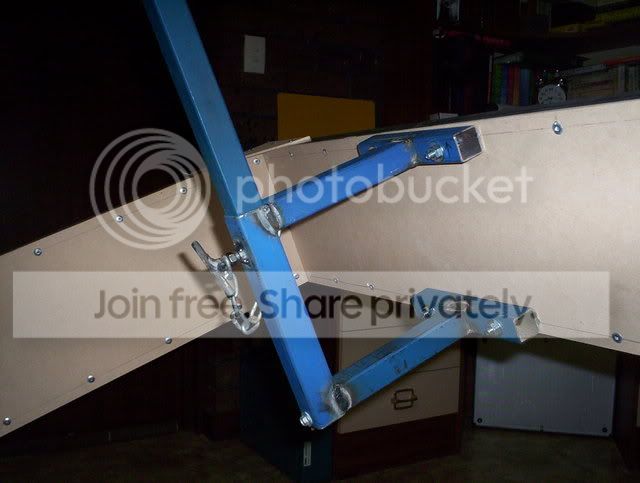
Simple brackets are made from 25mm RHS with 30 mm verticals to take the legs.
Four of these brackets are bolted to the trusses and the module can now stand up by itself.
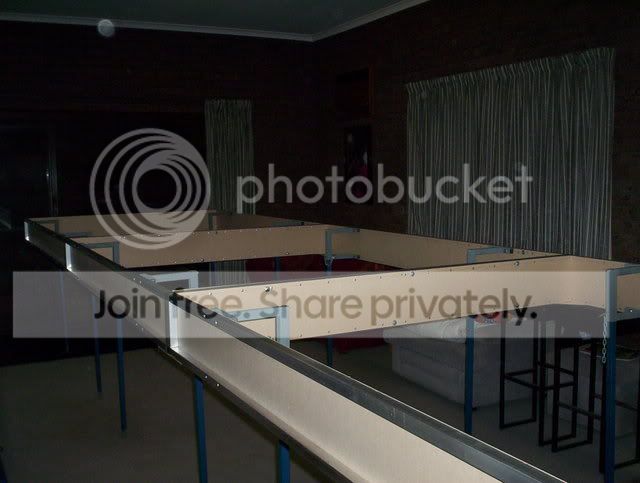
Six 1/4" bolts hold each inner joint together
Bearers are bolted between the brackets and glued in at stations in the transverse centres.
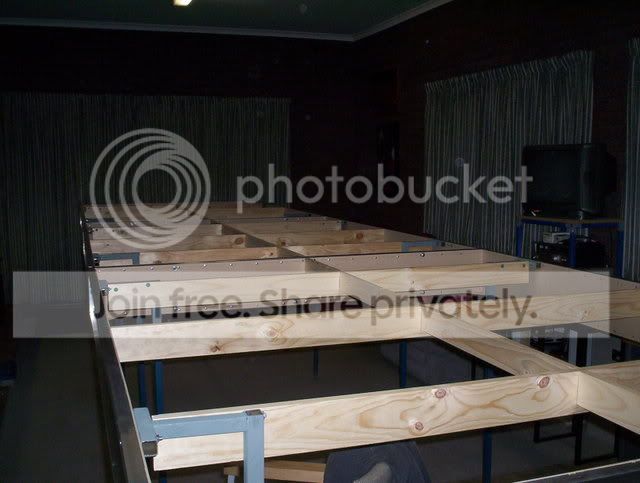
Noggins are added to complete the framing. I tested the assembles at this stage by standing on the framework. Later I would have to get up on to the layout, so it had to be able to hold my 90kg weight.

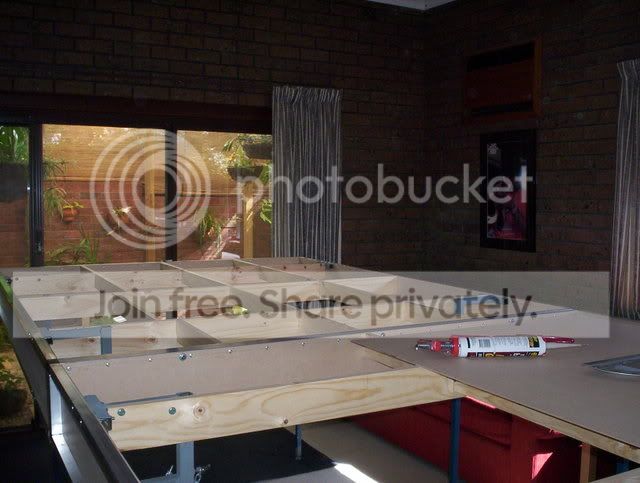
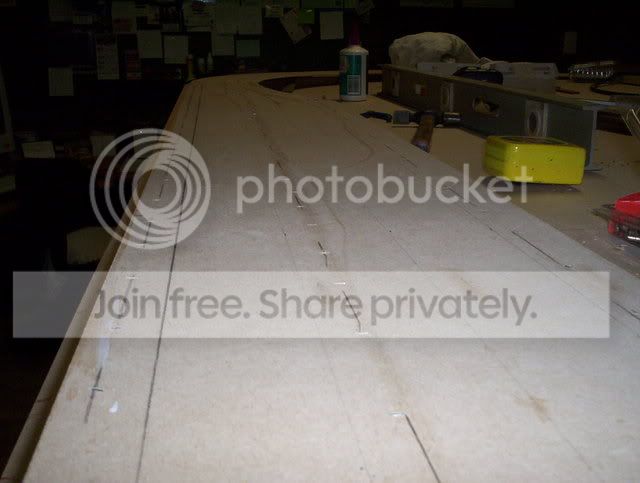
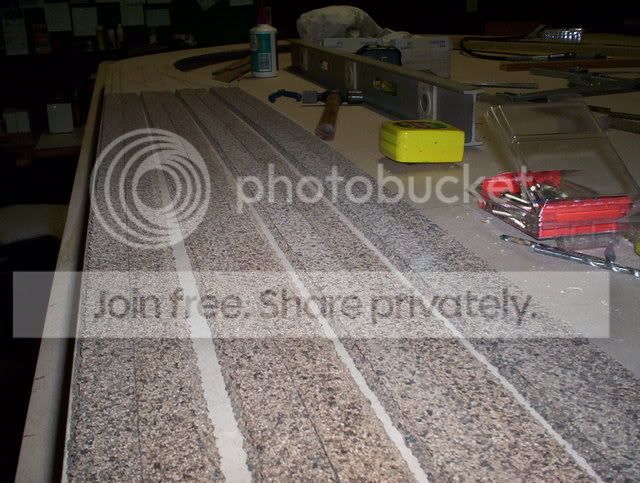
The top skin was initially 3 mm MDF. It sagged nicely between the support timbers, and when doubled and tripled to create ground contours, became very stiff and I could, and did walk between the bearers. The sagging bits were propped up level and PVA glue was used to glue the next layers. I also cheated a bit and used an electric staple gun to secure the layers while the glue set up.
25 mm angle iron struts were used to stiffen the legs.
Once the framework was done, I covered the top and began to build the riser along one side for the passing loops at what would become Salt Creek.
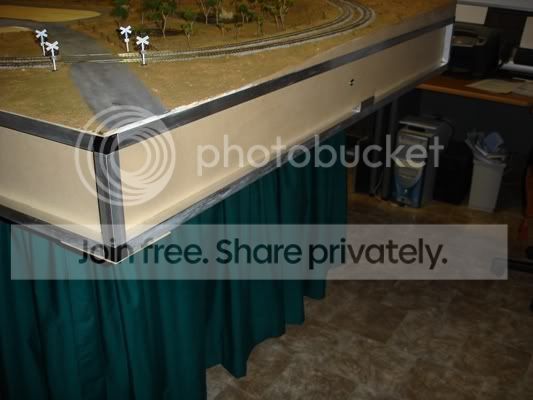
Here is the final product, complete with curtains. The recess along each side and each end makes a handy place for all your switches and LEDs.
Max
Port Elderley
Port Elderley

Posted

Full Member
A very good and comprehensive "How To"
Well done mate :doublethumb
'Kev
Posted
Inactive Member
Max
Port Elderley
Port Elderley
Posted

Legacy Member
Posted

Full Member
Phill
Posted
Guest user
Ps … thanks for the clear "how to", easy to understand and comprehensive.
Posted
Inactive Member
Max
Port Elderley
Port Elderley
Posted

Full Member
Is aluminium expensive down under ? Here, it's a hell of a price so that baseboard would cost a pretty penny. However, it's weight, versatility and transportability may just swing in it's favour !!
'Petermac
Posted
Inactive Member
Also, if you look at my thread on computers, you'll see that I have used the offcuts to make a trolley for my extra monitor. I'm on an email reply at the minute, so I can't look around the Forum, but I'll find the link and put it in when I'm awake properly.

Can't remember where I put it, but here it is from Photobucket
Cheers Max
 Last edit: by MaxSouthOz
Max
Port Elderley
Port Elderley
Posted
Guest user
hutch.
Posted

Full Member
'You may share the labours of the great, but you will not share the spoil…' Aesop's Fables
"Beer is proof that God loves us and wants us to be happy" - Benjamin Franklin
In the land of the slap-dash and implausible, mediocrity is king
"Beer is proof that God loves us and wants us to be happy" - Benjamin Franklin
In the land of the slap-dash and implausible, mediocrity is king
Posted
Inactive Member
Max
Port Elderley
Port Elderley
Posted
Legacy Member
:doublethumb:doublethumb
reg
1 guest and 0 members have just viewed this.