Coupling Grief!
Posted
#181882
(In Topic #10276)
Full Member
Updating old couplings (Hornby) to NEM compatibilty
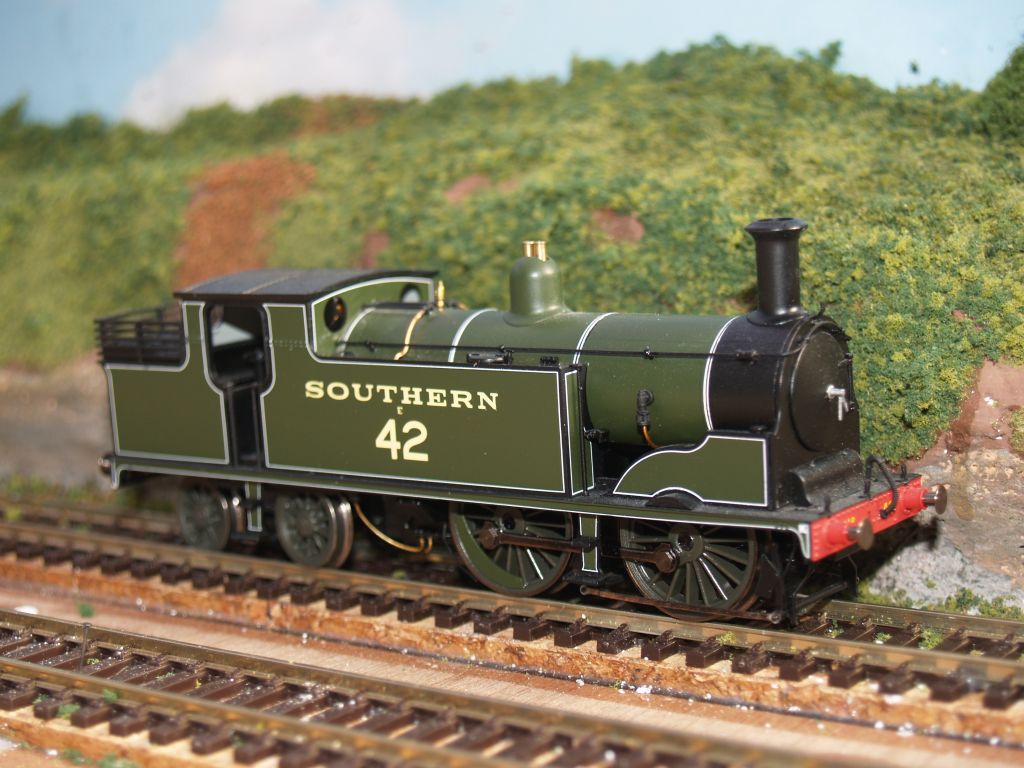
I've slowly venturing back into the world of railway modelling - how its changed! DCC, NEM etc, etc.I've acquired various coaches of the period that I want to model but have run into a little coupling issue. Most of the carriages (Hornby) do have NEM coupling pockets - generally in the form of a small tension lock. A couple of the straight sided pullmans (Silver roof Railroad series?) have large tension locks formed/rivetted into the bogie so I think a bogie update will be needed here unless someone has got a brilliant idea! The main issue lies with the two other "super detailed" pullmans - "Cygnus" and "Third Class Car No 35" Cygnus is straight sided whilst Car 35 is "matchboard sided". They look the same (diffenent buffers) and have the same chassis and bogies (numbers match on bogies) BUT one has an (Cygnus) has an NEM pocket with small tension lock whilst the other (Car 35) has a small tension lock held in place with a screw and washer. It seems like my only alternative is to (carefully) shorten the pillar on Car 35 and glue suitable pocket in place to accept an alternative coupling. Anybody any suggestions before I get the baby dremmel out? Picture attached and also a picture of my first section of layout under very early stages of constaruction.


(Click to enlarge)

Posted

Banned
Have you considered changing all the couplings to Kadee ? This isn't hard to do, as Kadee provide NEM pocket compatible couplings (either No.17, 18 or 19) and Kadees with draft boxes (to replace screwed and riveted tension lock), Nos 27, 37 (medium length shank) or No.41 (long shank). The 27, 37 & 41 could be fitted directly to the chassis of the coach with adequate packing.
Kadee ; http://www.kadee.com/htmbord/HO-Scale%20Couplers.htm
Cheers, Gary.
 Last edit: by Gary
Posted

Full Member
http://bmrcm.org/fitting-kadee-couplings-to-non-nem-fitted-hornby-pullmans
With T/L couplings the rake had a tendency to derail. I suspect that T/L couplings are inherently unstable.
It is quite a lot of work and the wiring for the lights can be tricky. In order to work on the bogies I cut the wires and re-soldered them later.
I'm no longer a member of the club, but I have heard that the rake behaves itself nowadays.
After I'd done the job, I read that Hornby can supply the parts to retrofit.
John
John
Posted
Full Member
Posted
Full Member
I've been using a method I got from Tony Wright that uses 0.45mm NS wire and copperclad strip.
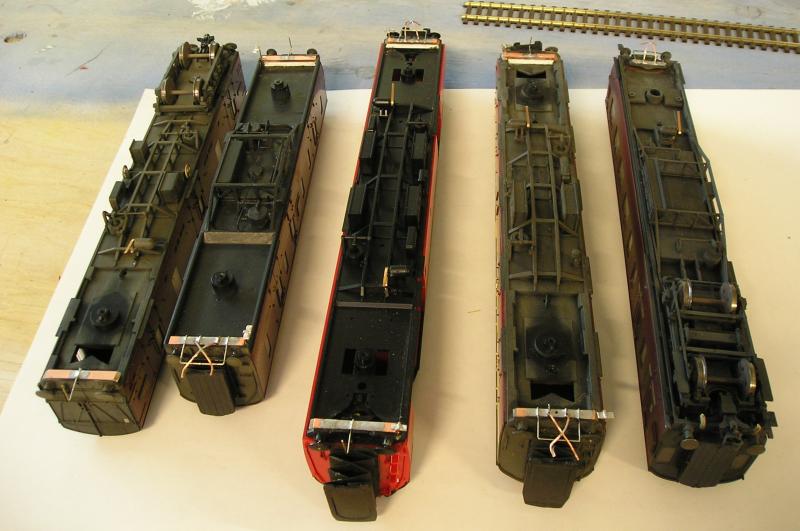
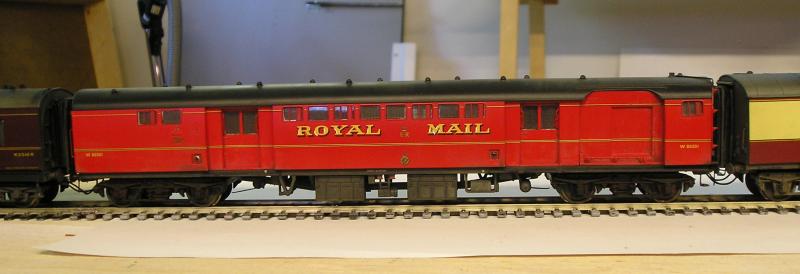
This is my BR parcels train with mail coach in the middle. Kadees are only on the ends.
For the record, from left: Mk1 GUV, Ex LMS BG, TPO, Mk1 BG and Ex LMS Brake Second.
John
Last edit: by Brossard
John
Posted
Full Member
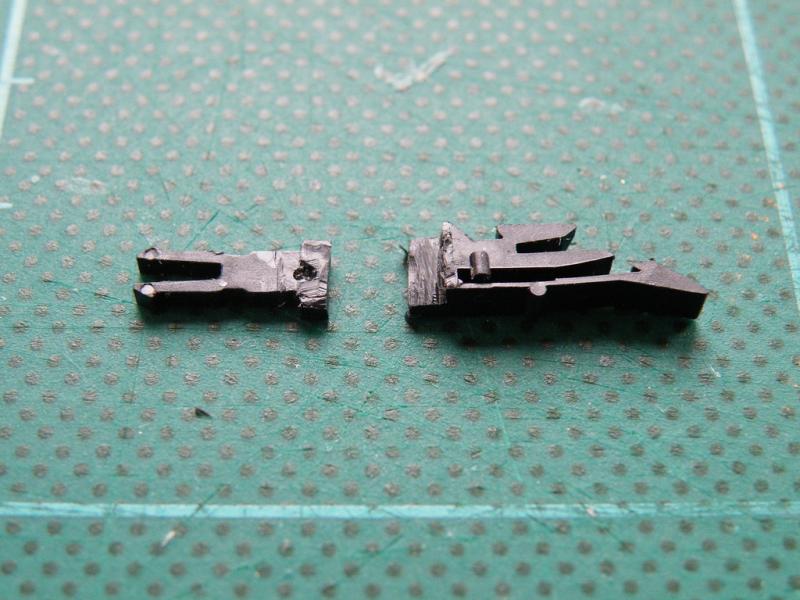
This one has been cut (not by me) but its the only picture I could find readily!
Posted
Full Member
Posted
Full Member
Posted
Full Member
1 guest and 0 members have just viewed this.