Dentith Bridges
Posted

Full Member
OO Fictitious Layout depicting my boy hood memories of Warrington/Sankey circa1950 - 69
[user=2199]Andrewdonald[/user] wrote:Updates to my post are done.Thanks Colin, I am not ofay with digital photography at all and yes, iPhone is the culprit. I will look at the edit process and see if I can fix the issue that way or revert to my little digital camera that is in the back of the wardrobe somewhere
Thanks for the tip and cheers, Andrew
:cheers

Regarding cameras, your iPhone is likely to give you better results (it pains me to say) than an older digital camera. Somehow the iPhone technology has mastered handling a wide ranges of contrast and depth of field much better than you average camera so I'd persevere and sort out your orientation settings. I've a Canon T2i Digital SLR and a mini Canon but rarely use either for my posts, images or video.

Posted

Full Member
Posted
Full Member
Cheers :cheers
Posted
Full Member
… and the phone camera can get right down to track level…. which is a lot more difficult with my digital bridge SLR.
and if admitting to the iThingy being better than a proper camera isn't itself enough, then having a "selfie stick" which doubles as a mini cordless tripod is surely "A Bridge too Far"?
When I was given one I was 1) almost ashamed to admit ownership of the item 2) could think of no use, that was until I found how handy it is for recording videos in hard to get spots on the layout :mrgreen:.
The Cordless Blackberry wifi rechargeable remote is the little module plugged into the handle at front, very useful for remote activation of the record or photo button on your device

 Last edit: by Colin W
Posted
Full Member
Posted

Site staff
and what is wrong in not using these cameras - they were used for years & years…
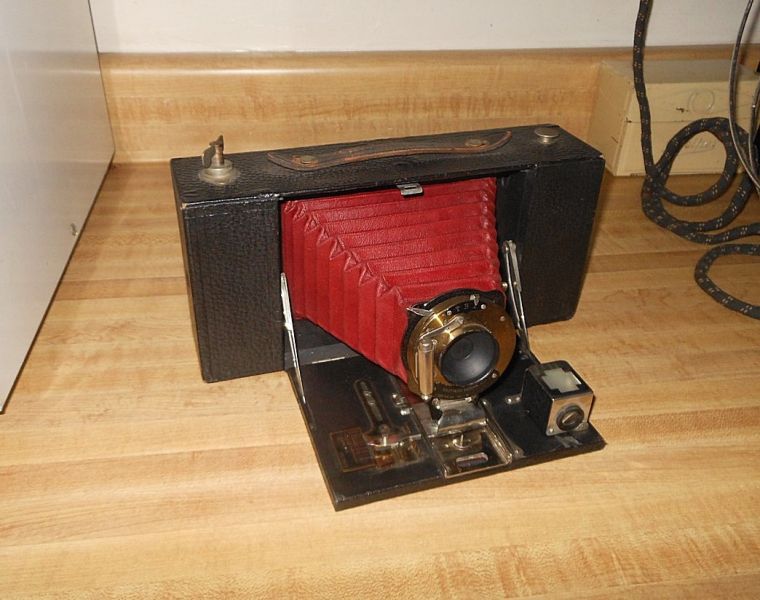
:pedal
Ron
NCE DCC ; 00 scale UK outline.
NCE DCC ; 00 scale UK outline.
Posted

Site staff
https://osxdaily.com/2020/01/03/how-check-iphone-camera-orientation-photos-videos/
Also to edit photo orientation open the photo, click on edit, click on crop, ( like a small picture frame) and one of the options should be rotate, rotate as required and then save
HTH
Cheers
Matt
Wasnie me, a big boy did it and ran away
"Why did you volunteer ? I didn't Sir, the other three stepped backwards"
"Why did you volunteer ? I didn't Sir, the other three stepped backwards"
Posted
Full Member
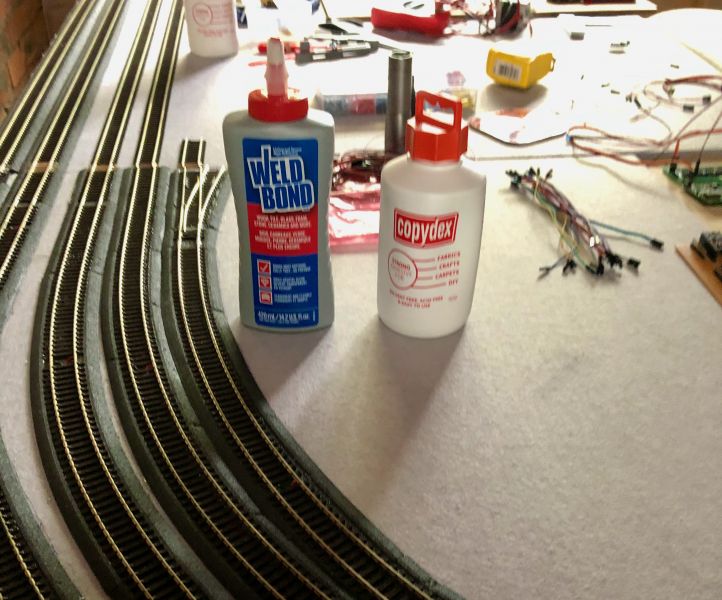
Getting back to the matter of glues, I have to say that having gone to the expense of "importing" the Copydex into Aus, the sound of the wagon on the rails glued down with the Copydex is exactly the same as on track glued down with the PVA :hmm It is interesting that running the wagon along a section of track that is simply placed on the foam track bed, not glued, produces a more muffled/softer sound, not as harsh. What I think is happening is that the glue forms a hard surface between the sleepers and track bed, resulting in a "harsher" sound being reflected. Just for interest I will try a section of track that is secured using only track pins and see if we get a significant difference.
I may be chasing ghosts though, as I have no idea what the "normal" sound is for a layout.
Cheers, Andrew
:cheers
Posted
Full Member
I hope all of you had a safe and reasonable 2nd half of 2021, that Father Christmas was generous and the New Year is settling in, despite the ongoing virus issues. In early June 21, I traveled to Wagga Wagga NSW, to attend a model boat regatta and to sell two of my 1/72 scale boats. All went well, but due to a snap lockdown I was not able to cross the state border back into Queensland. I have not been back in Queensland since
 .
.In the intervening 7 months my house in Mudgeeraba was sold, everything put in storage, and after 5 months my wife was able to join me here Maitland on the banks of the Hunter river in Hunter Valley wine region NSW. We have bought a new house in Muswellbrook, 100km further up the Hunter Valley, still wine wine region though :doublethumb, and we will move into our new house in March.
All a bit dramatic and stressful, but the worst is over - we are closer to 6 out of 8 Grand Kids (eventually a 2.5 hour drive, pretty short by Aus standards), the house is just brilliant and I have been allocated a massive room for my layout - very pleased. :Happy
I imagine it will take a little while to settle in to the house, first agenda point will be construction of a workshop in the back yard, so I am hoping to be rolling out the boards done so far in about June I think. As soon as I have access to my PC I will reowrk the Anyrail plan to take better advantage of the additional space. The fiddle yard work i think will remain and I should be able lengthen the roads and maybe add a couple of more.
So, apologies for the amount white space, but we should be back in action soon.
C :cheersheers, Andrew
Full Member
After over 8 months waiting time to get council approvals and then supplies, my "Shed" is complete. 8m x 8m slab, a 6 x 6 train room and a 2 x 8 workshop, all under the single roof, and a 6 x 2 "porch with wooden (merbau) deck, the deck was laid by yours truly.
So here are some pics of the train room, a complete shambles at the moment, but it will get better soon, now that I have more time to devote to the main hobby.
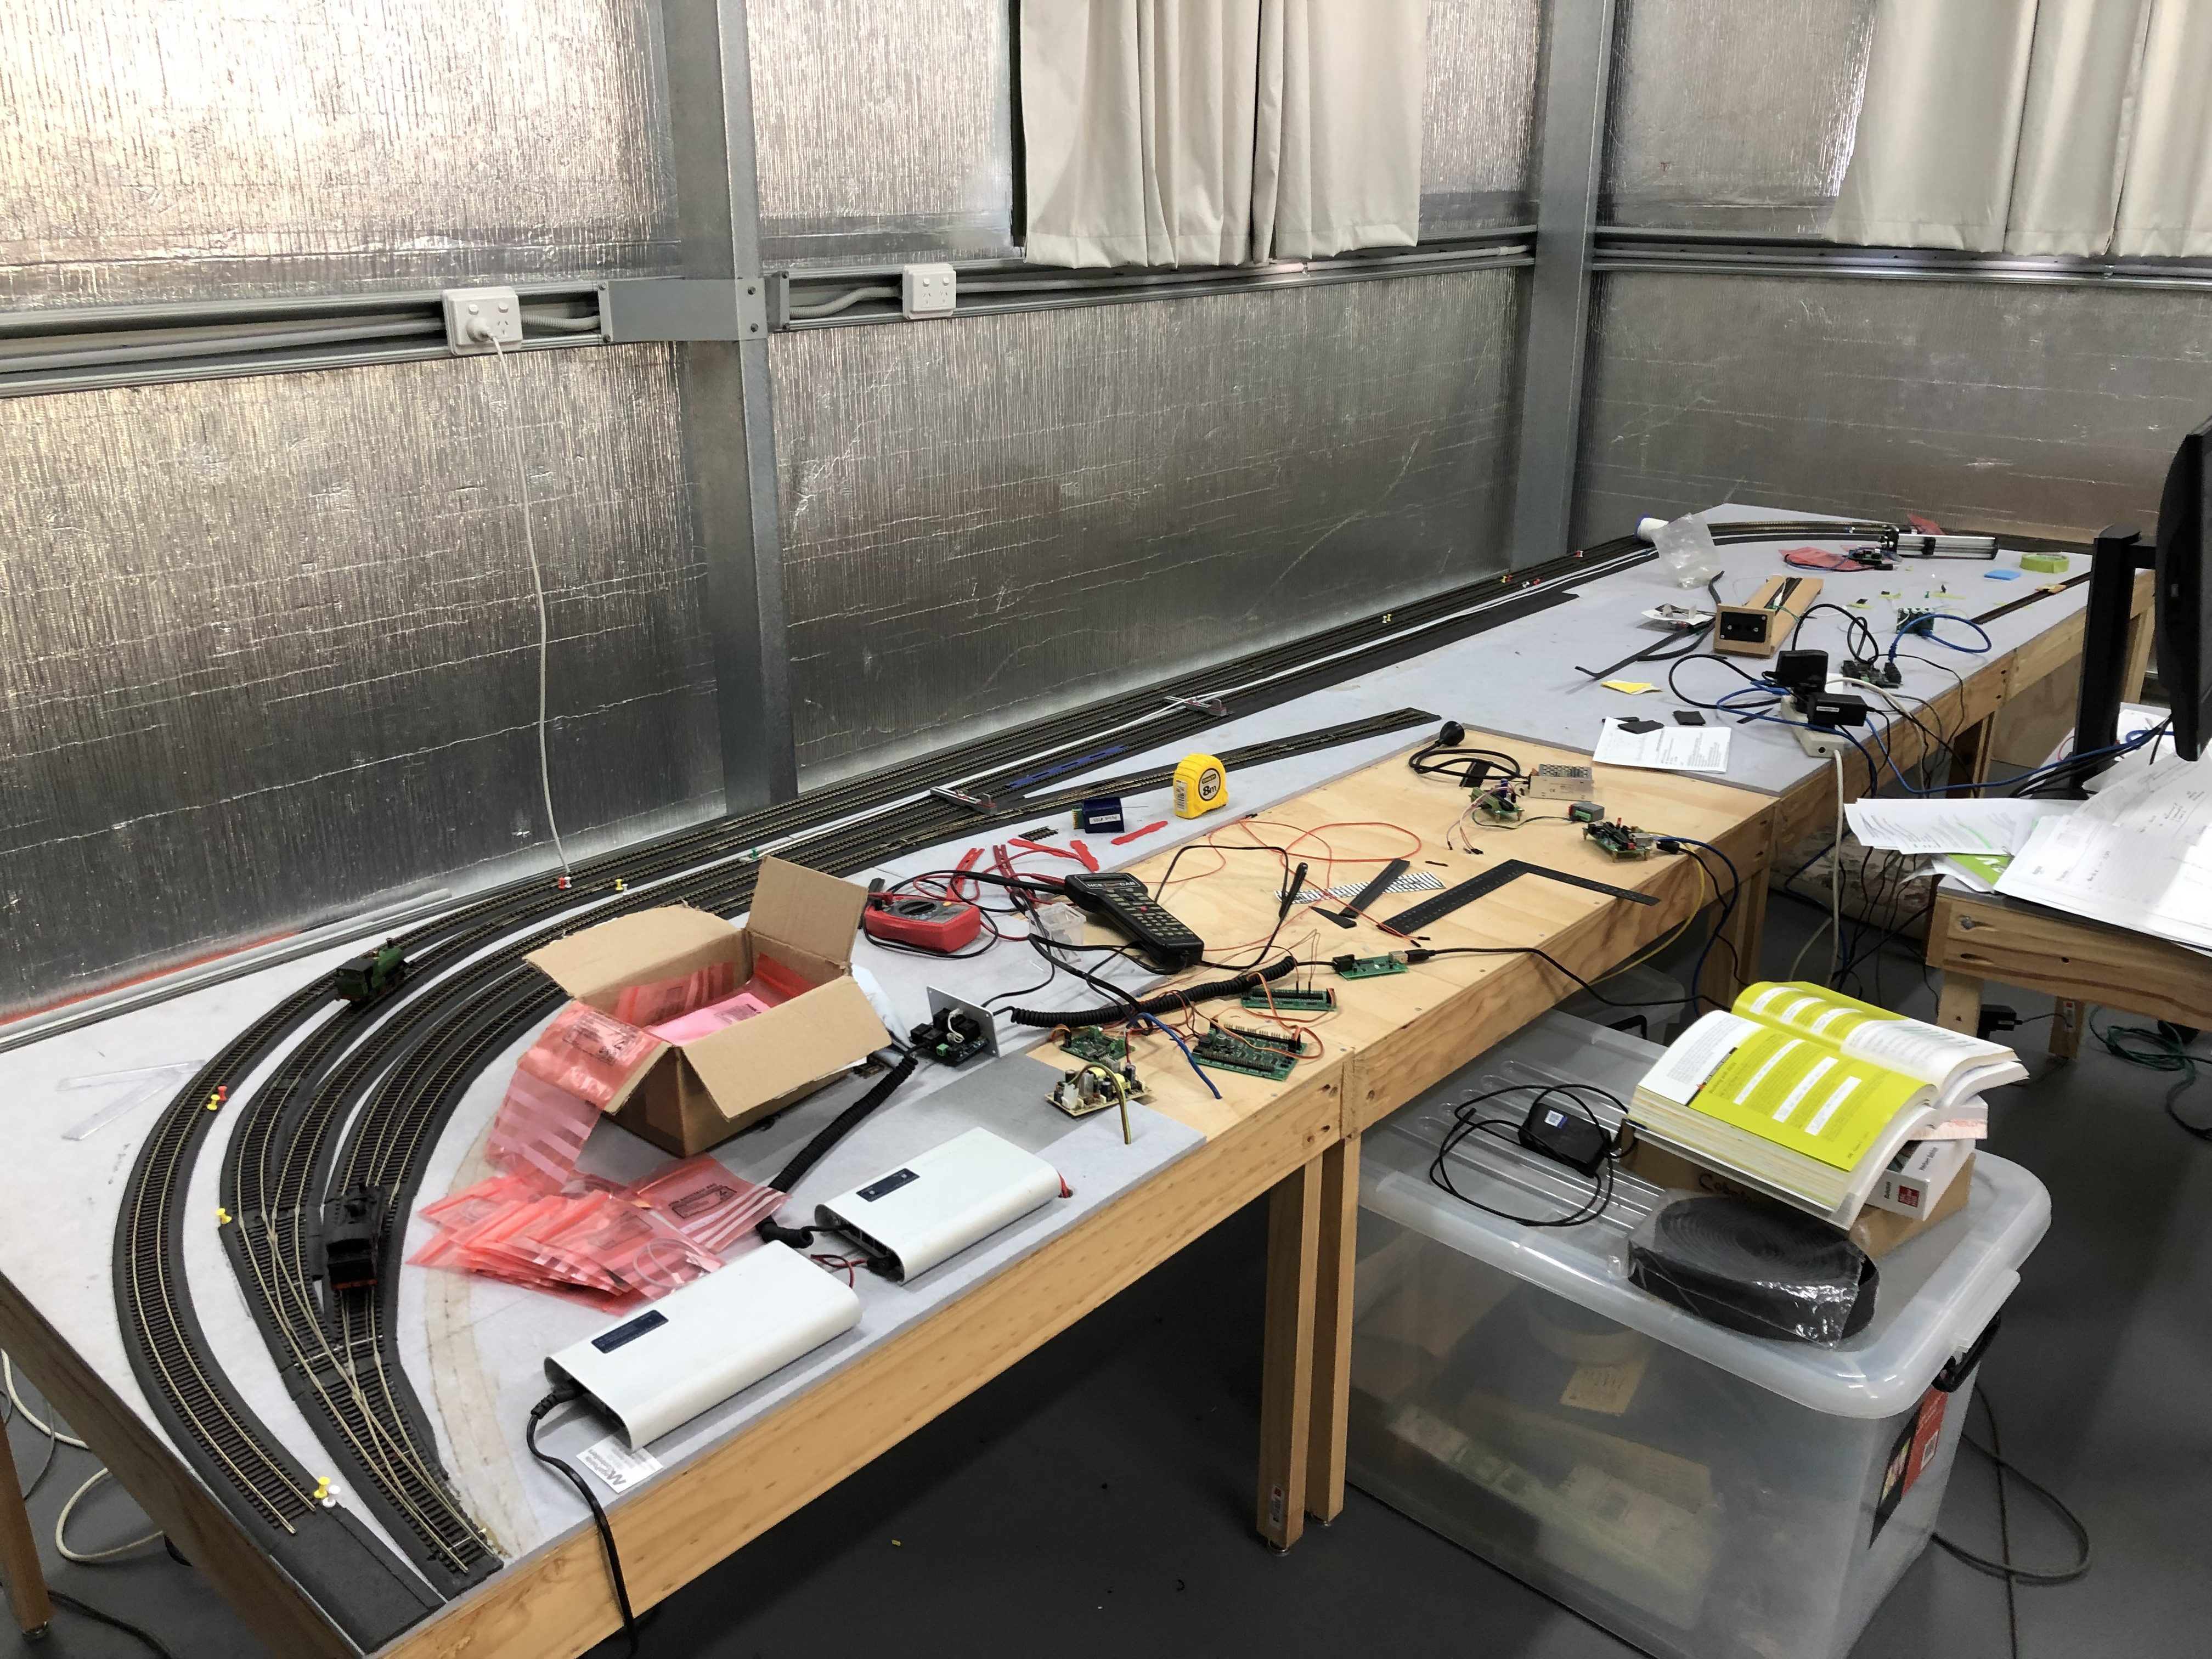
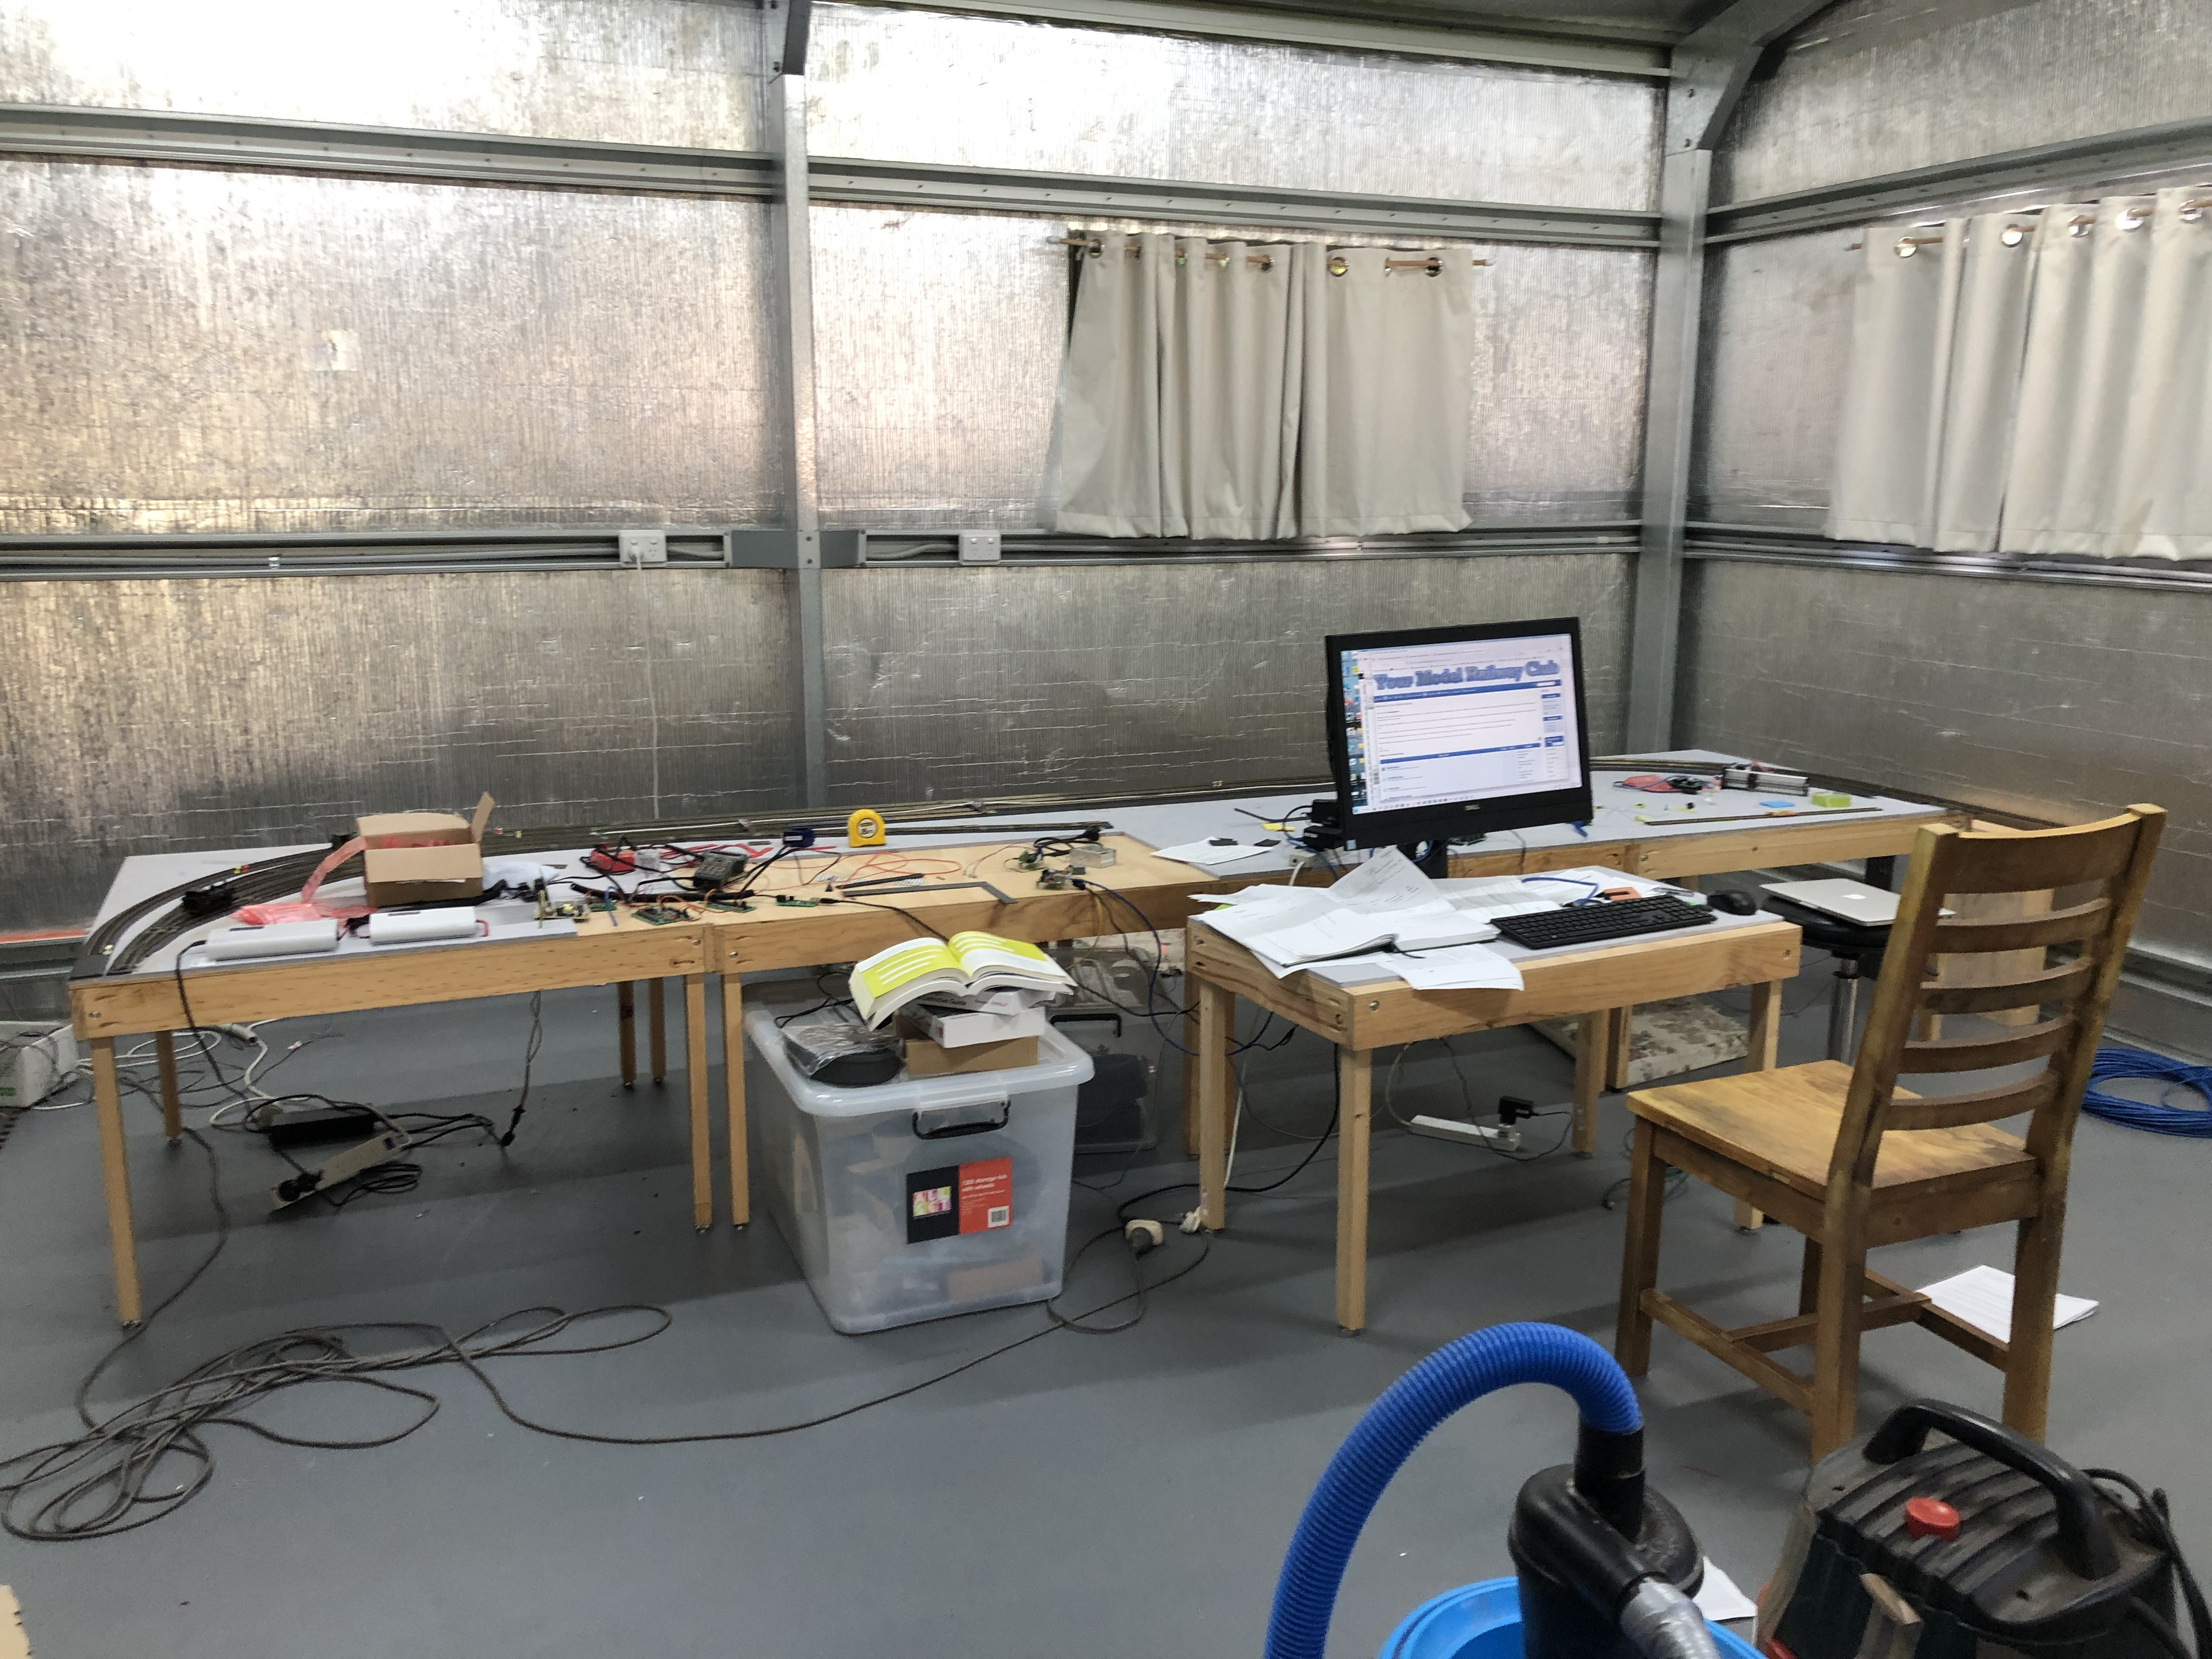
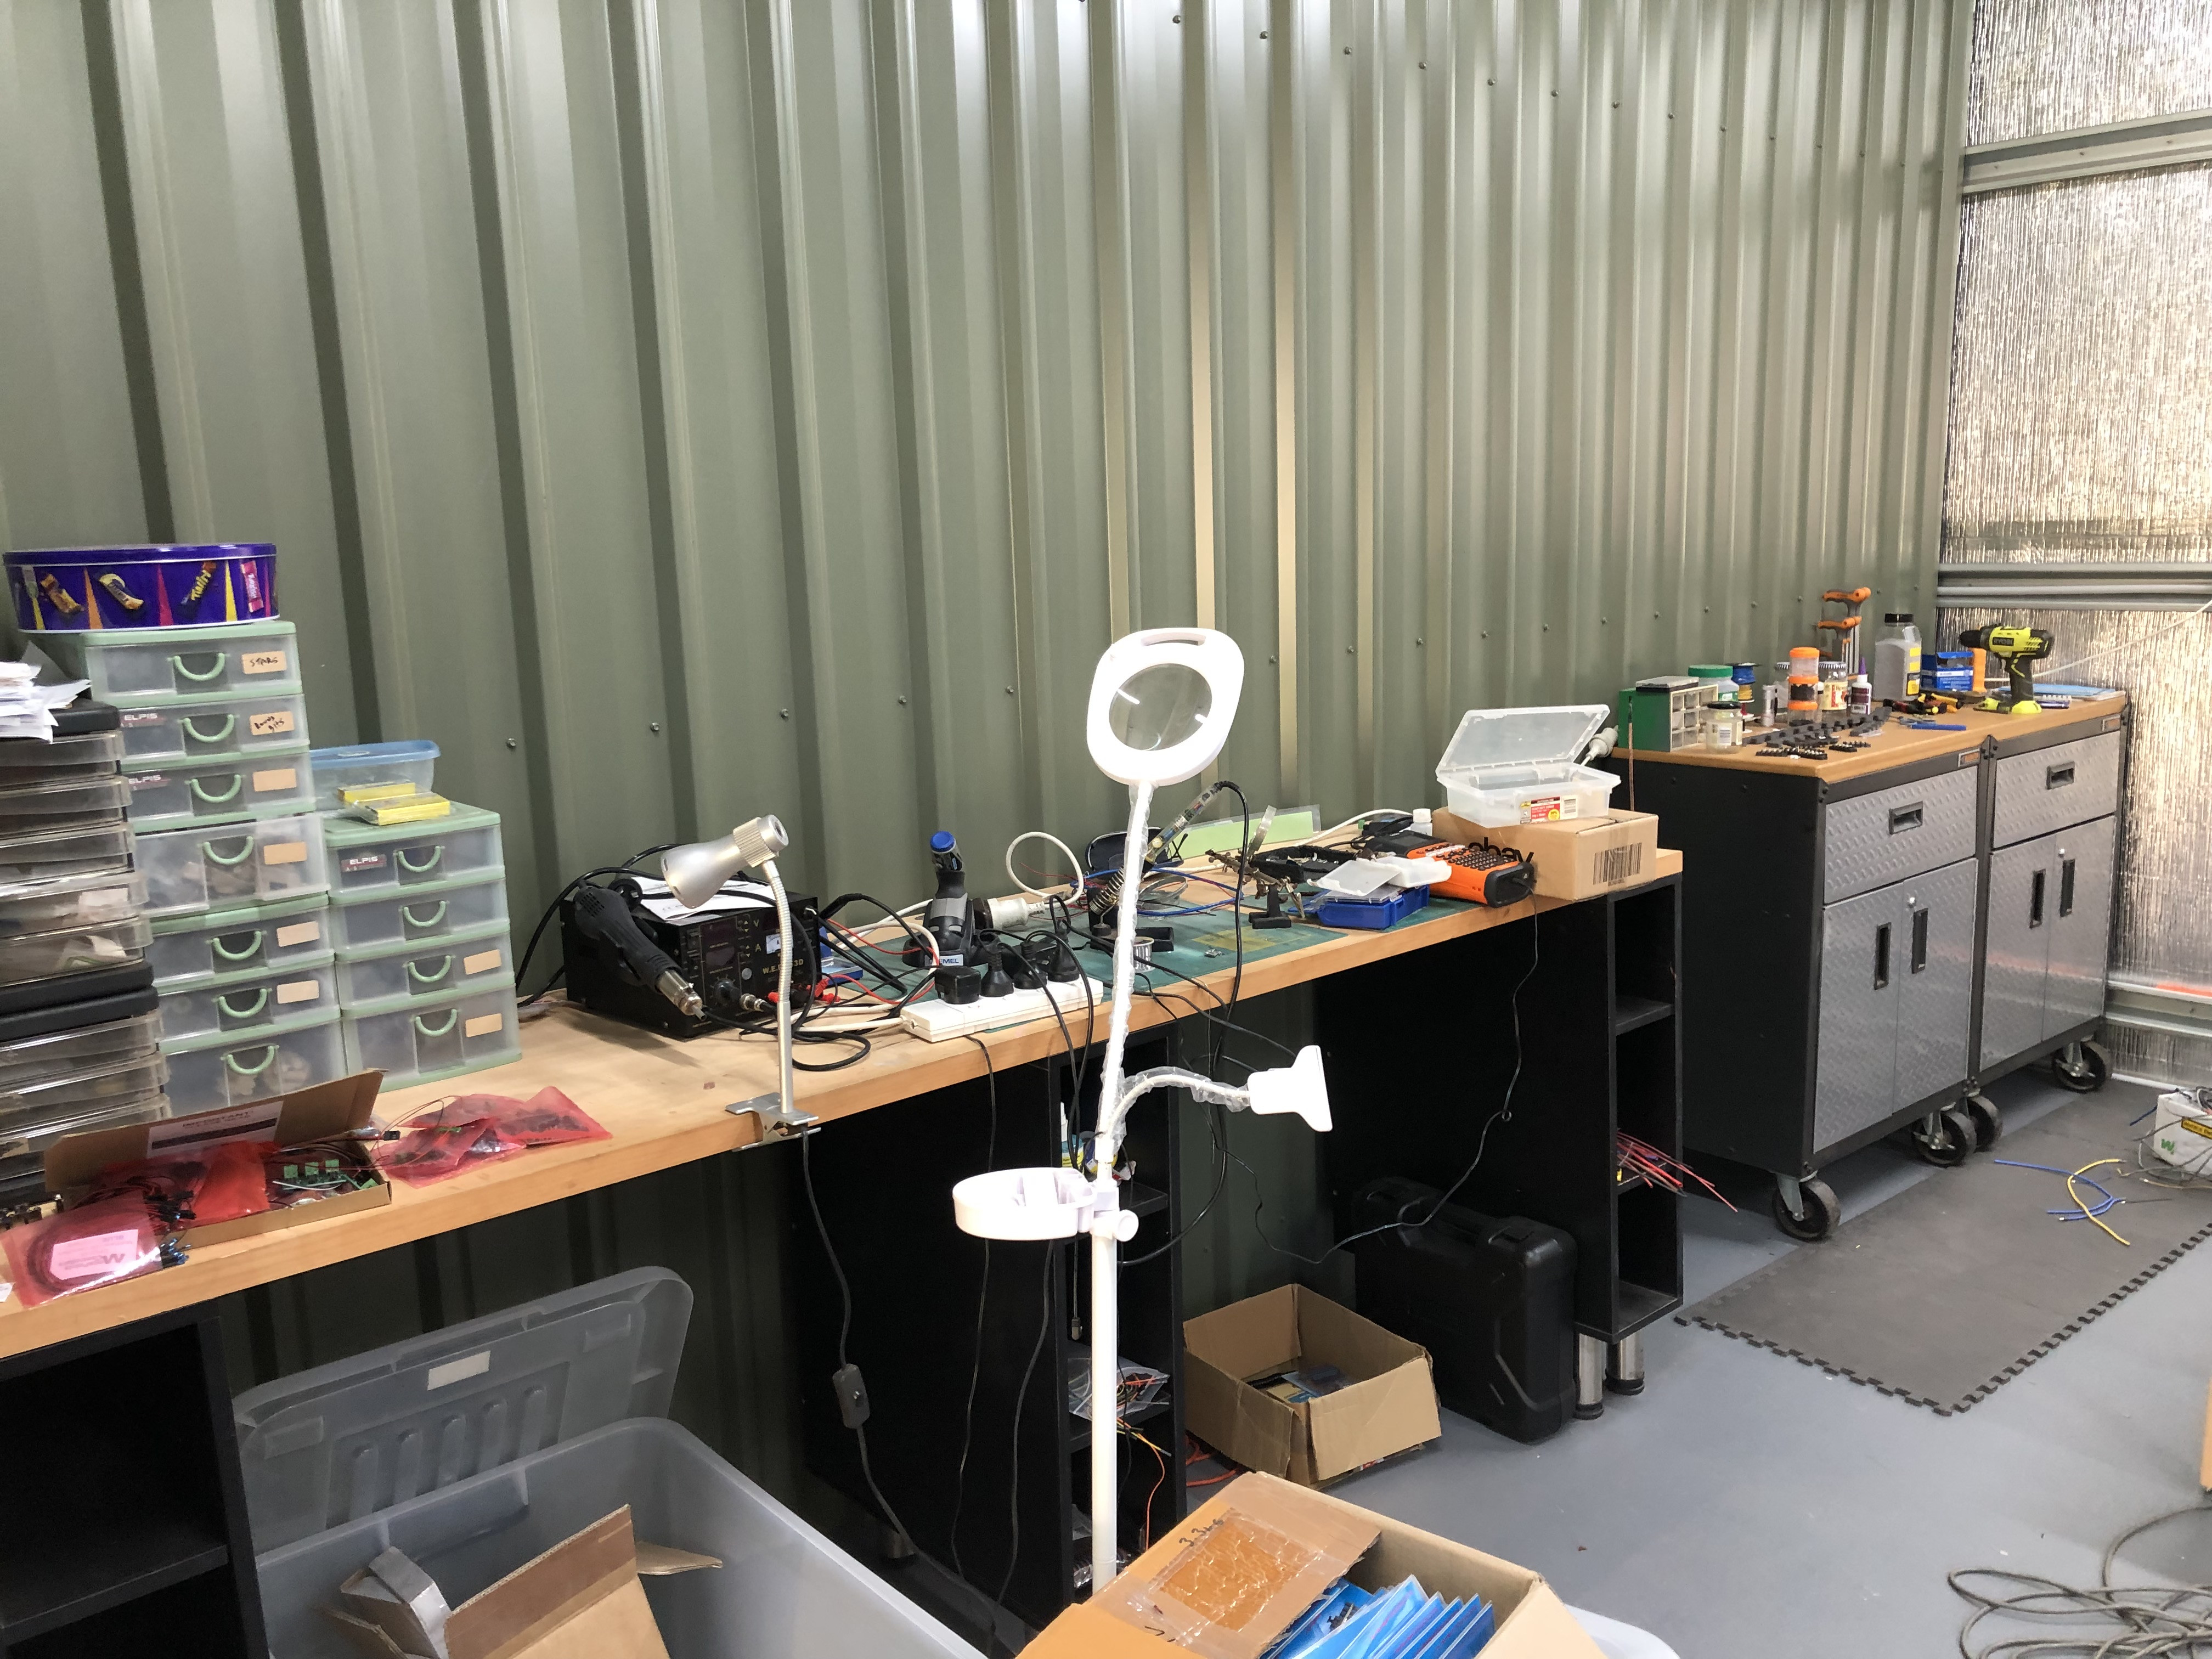
I will eventually line the walls of the shed up to the first horizontal rail. Backboard will be attached to the tables prior to them being positioned close to the side and back walls with "just enough" space to get around the perimiter.
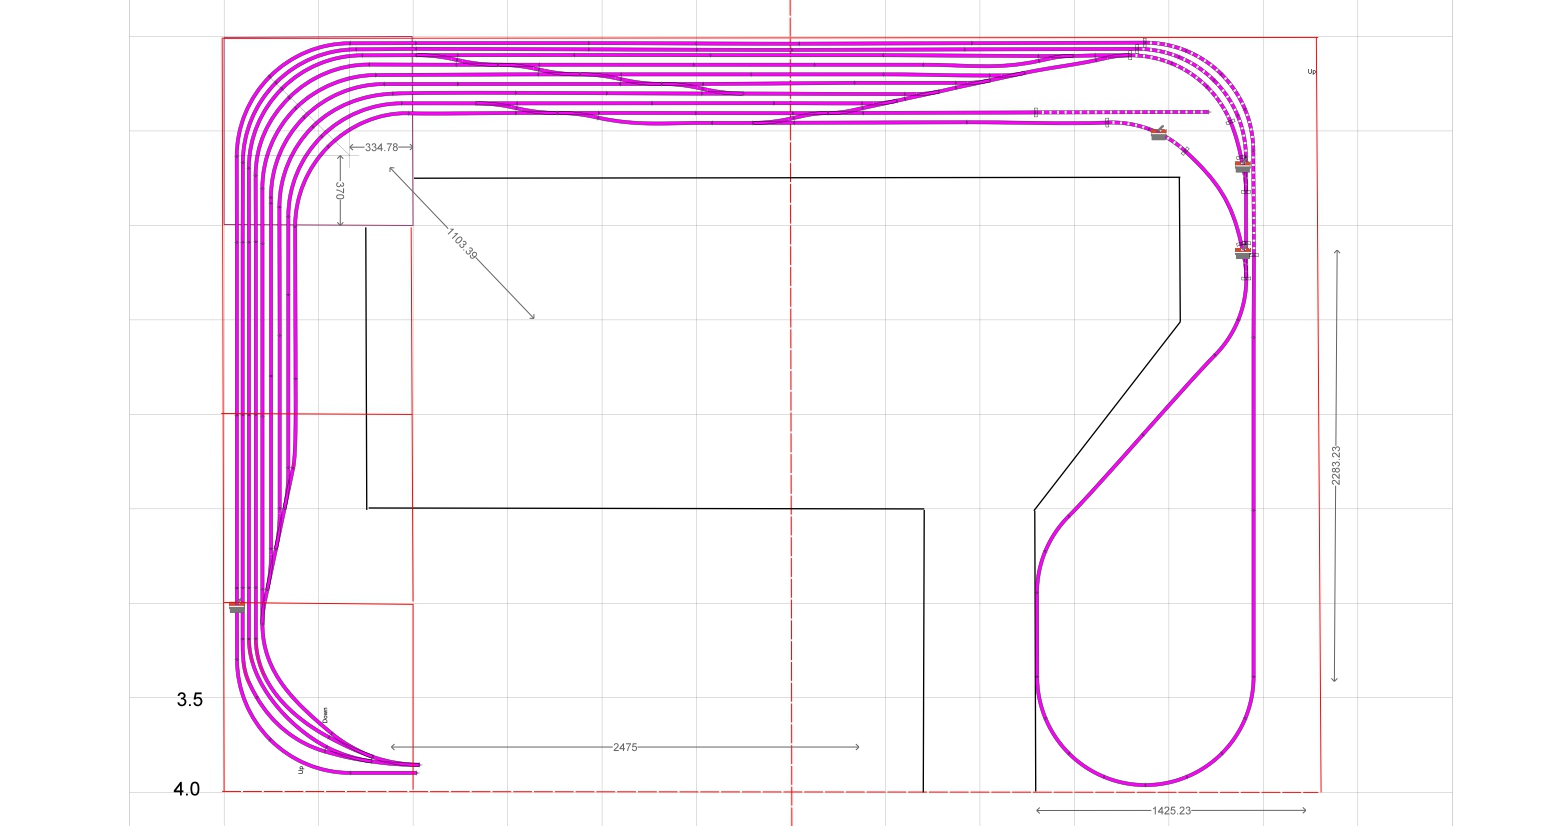
The above Anyrail picture shows the layout of the lower level and the plan of the boards. As you can see it is a modified u shap layout. There will three layers above this level. Instead of helices, which take up a lot of room and don't show too much running, I am instead going to have two track, 1 up and 1 down, following the U shape of the layout, climbing up to the top level. This will provide plenty of visual running and the opportunity for a mid level branch line station before reaching the top level. I will share more of the rest of the plan as the railway progresses.
I will share more about the revised technical infrastructure in technical post.
Hope everyone is well, again apologies for the long delay and warmest regards,
Andrew
Posted
Full Member
Apologies for the long wait since my llast post. There I was thinking that retirement would be all beer and model trains, but alas that is not the case. Anyway, in the last coiple of months I have been able to crack on. Base boards for the lower level complete, the main line down and up loop complete and work is progressing on the fiddle yard and sidings. Hopefully you will see a number of pics below that show the progress todate. I have been able to run a loco from the the start to the end of the up-down loop - very happy with that. Finally, I would like to wish you all a very merry Christmas and a safe, prosperous and healthy New Year.
Andrew

Posted
Full Member

Posted
Full Member

Posted
Full Member

Posted
Full Member

Posted
Full Member

Posted
Full Member

Posted

Site staff

Merry Christmas & Happy New Year.
Ed
1 guest and 0 members have just viewed this.