Deeley 0-6-4T "Flatiron"
Posted
#218385
(In Topic #11907)

Full Member
A restoration
Another second hand kit built loco purchased a few years back and overdue for an inspection.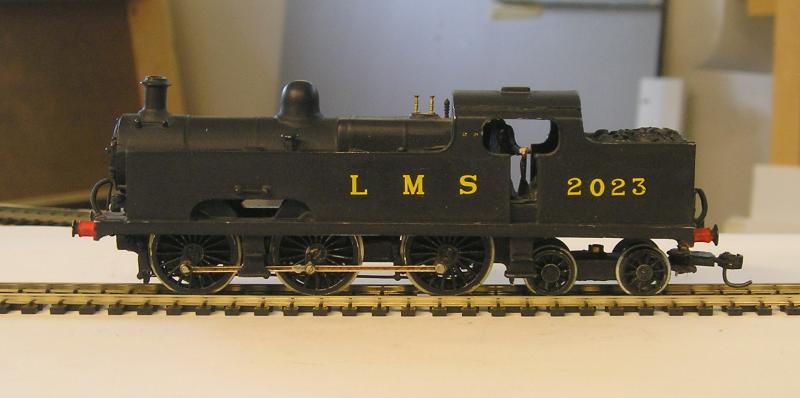
The body is whitemetal and is a Wills kit.
Not too bad at first glance and it even ran…sort of when I first got it.
My inspection today revealed:
- chassis is not square.
- rear bogie is poor and fixed with a swing link which I hate. I think it's the wrong length too.
- my review of a drawing I have revealed that the wheelbase is incorrect, only by a mm or so, but still. The chassis supplied is for a standard 0-6-0 and I suppose the compromise is acceptable to most folk. I'm not most folk.
- the chassis frames were in dire shape having much of the material cut away for no discernible reason - salvaged from a previous model perhaps?
- happily, the motor/gearbox is Portescap - something I can use at least.
- I didn't check the wheels yet - fingers crossed.
So, tooth sucking for a few minutes. No suitable chassis was forthcoming. The dreaded words were invoked - scratch build.
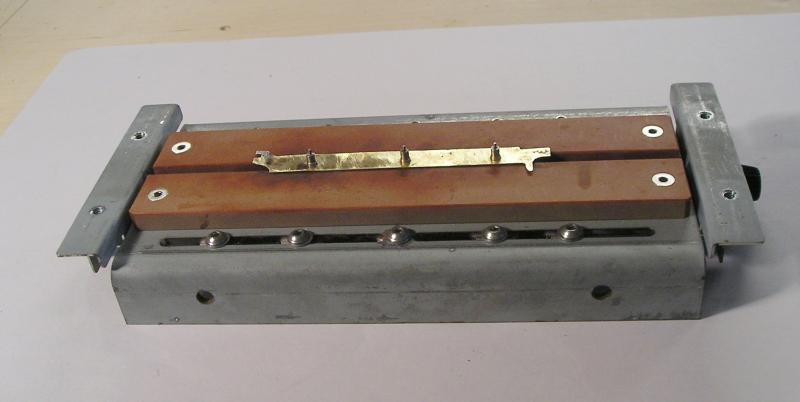
I have some brass sheet, and using the old frame as a template, I marked and cut out new frames. A lot of work this, but worth it I think.
I tack soldered the frames together and filed until they were identical (or as near as makes no difference)
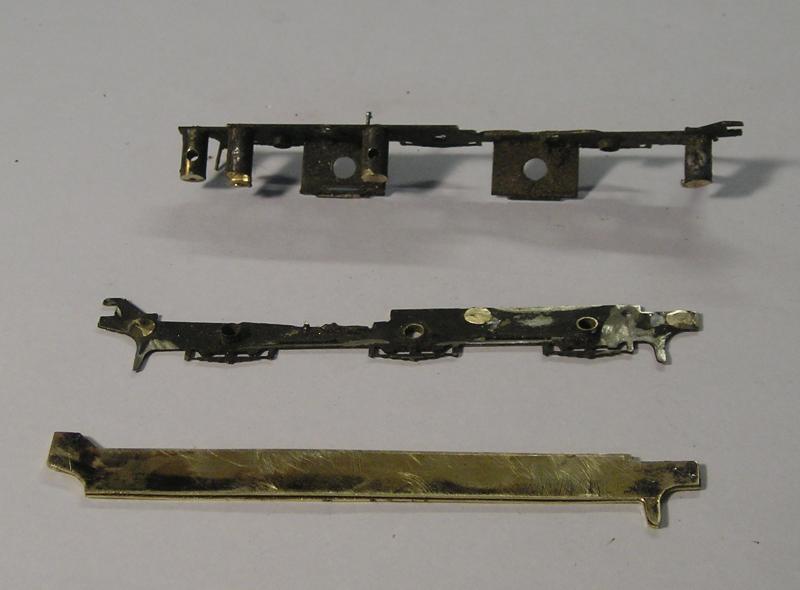
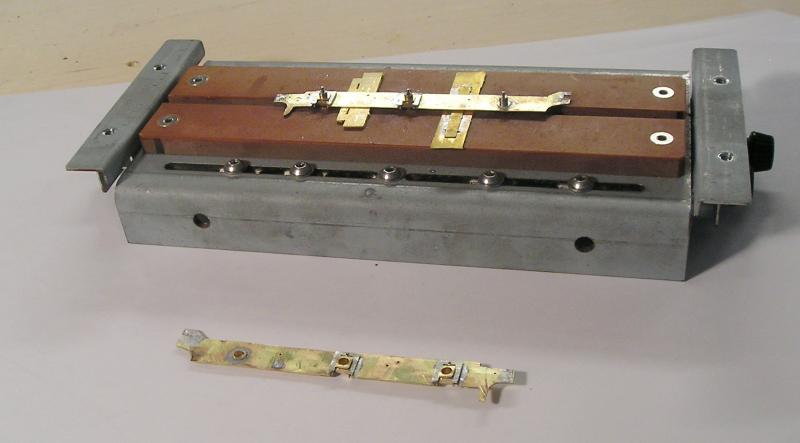
You can see the remains of the old chassis. I'll cut out the springs for use on the new chassis.
Next job is to mark the new frames for bearings, compensation and brake hangers.
John
John

Posted

Inactive Member

That little loco doesn't know how lucky it is.
Max
Port Elderley
Port Elderley
Posted
Full Member
John
John
Posted

Inactive Member
Posted
Full Member
I'm considering knocking the body down for two reasons:
1) I want to get into the cab to detail the backhead and
2) I want to install a nut in the bunker floor to secure the bogie.
There doesn't seem to be much to the body.
John
John
Posted

Full Member
Carry on.
Posted
Full Member
John
John
Posted
Inactive Member
 Last edit: by 60019Bittern
Posted

Full Member
Posted
Full Member
Bittern, I'll take you up on your offer of the instructions please. Shall I PM you with my email?
John
John
Posted

Full Member
'Petermac
Posted
Full Member
How does one dismantle a body glued with epoxy John ?
Carefully Peter, very,very carefully….or dynamite.
Posted
Full Member
It took a lot of time to clean everything up, I want a pristine join surface for re assembly. A curved Exacto blade is very useful for that.
I have a hard time believing this was built professionally - it's such a mess. Crooked chimney too.
John
John
Posted
Inactive Member
John. Yes please. Will scan the plans tomorrow in readiness.
Last edit: by 60019Bittern
Posted
Full Member
First the body as I mentioned was stripped. I discovered a tin of paint remover and used that. I was amazed to see the paint slough off within a couple of minutes:
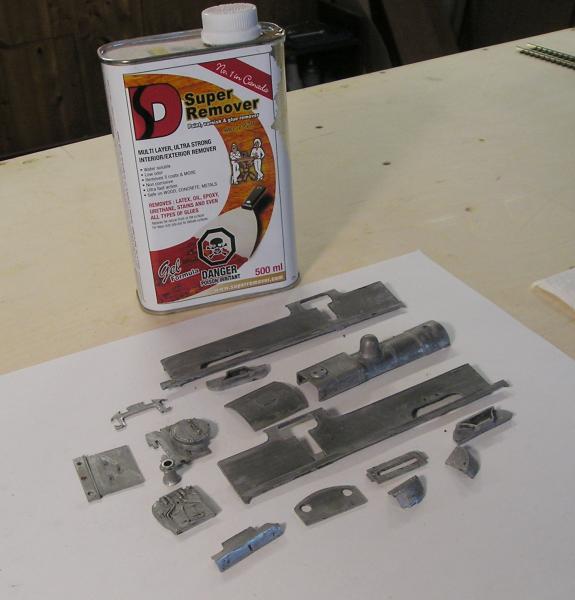
All the major parts in pristine condition and awaiting re assembly. The goop also dissolves glue.
I decided to do some more on the chassis:
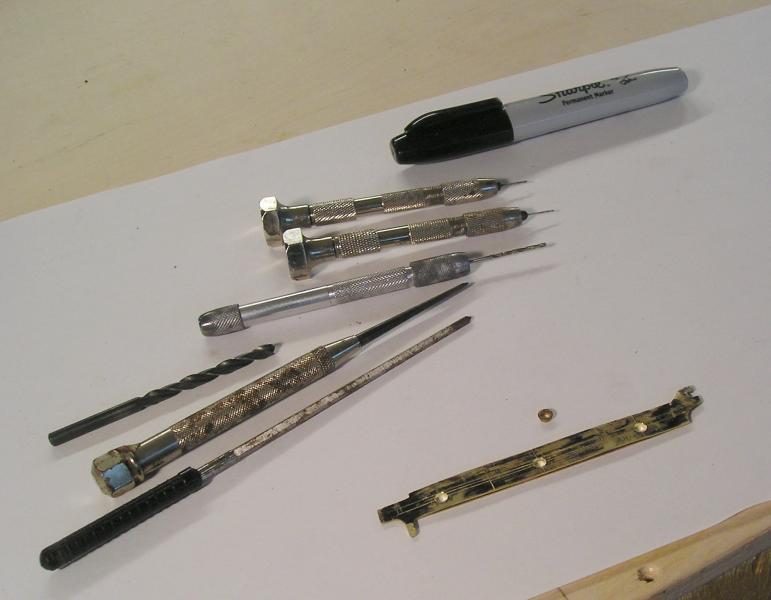
I used the Sharpie to blacken the frames and then marked centers for my holes with the scriber. When these were done I started to drill holes. It's a good idea to drill holes gradually, increasing the dia. a step at a time. I started with a 0.020" drill and increased to 0.032" for the brake hanger holes and compensation pivot hole.
Another tip if you are drilling metal with a fine drill is to lubricate it. I usually use oil but my buddy at the Hobby Shop suggested I try soap - I did tonight and got all those holes done without breaking my bit - amazing!
I then used a 1/8" drill in my drill press to get the bearing holes opened up. These were finished using the large taper broach until the top hat bearing (ID = 1/8") just fits in the hole. Hard work this, the brass is fairly thick and there are two layers. I am now the proud owner of a blister. The drill bit is used between finger and thumb to debur the holes.
Tacking the frames together is a good idea if you want the holes to be in exactly the same place on both sides. You can't do this accurately later.
John
Last edit: by Brossard
John
Posted
Full Member
Thanks for the info on epoxy removal chaps. I may need to do it myself one day …………….:thumbs
'Petermac
Posted
Full Member
This is such an interesting loco, it's worth doing.
John
John
Posted
Full Member
Having suffered the pain of making holes for the bearings these were installed. The rear bearing (near the notch) was soldered fully while the others were tacked.
I then set up my chassis jig (call me a cheat if you want) to the correct bearing centers. The small pin will be used for the coupling rods.
Next I cut out the notches for the hornguides:

Now you know why I only tacked some of the bearings.
The horn guides and blocks are from High Level and very well engineered. They are really intended for use with Continuous Spring Beam or CSB. I've tried that and it is a real faff. I'm not convinced it adds much more value than compensation, which I am doing here.
Getting the hornblocks to slide freely in the guides takes a fair bit of fettling and time. They need to slide such that they fall out by gravity but shouldn't have any side to side slop.
Finally I installed the hornguides:
I'll make the rods tomorrow and I might even get the chassis assembled. Marty get another malt poured.
John
John
Posted
Inactive Member
Max
Port Elderley
Port Elderley
Posted
Full Member
Like a lot of things I get involved with, I tend to develop my own tin pot ways.
I like the car restoration shows, like Wheeler Dealers. Building a loco is quite similar.
John
John
1 guest and 0 members have just viewed this.