Rob P's Rolling Stock Workbench
Posted

Full Member
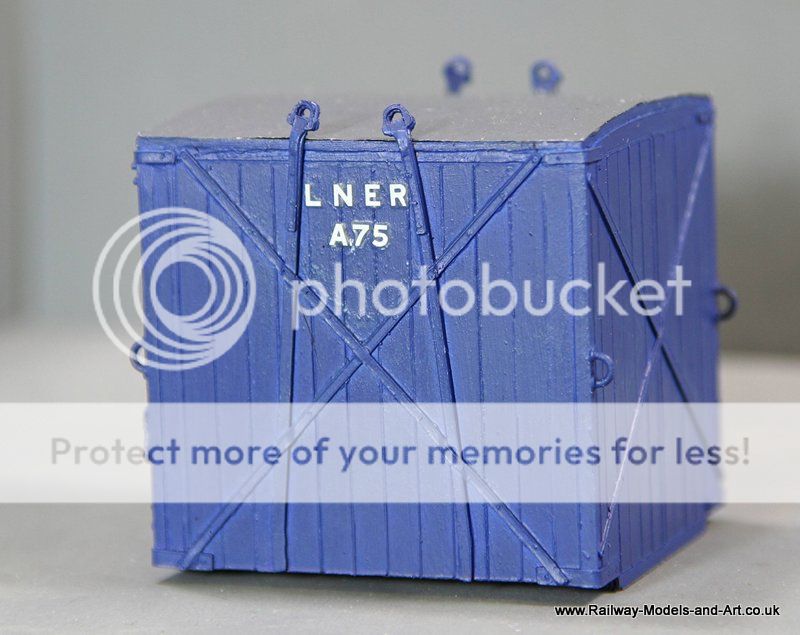
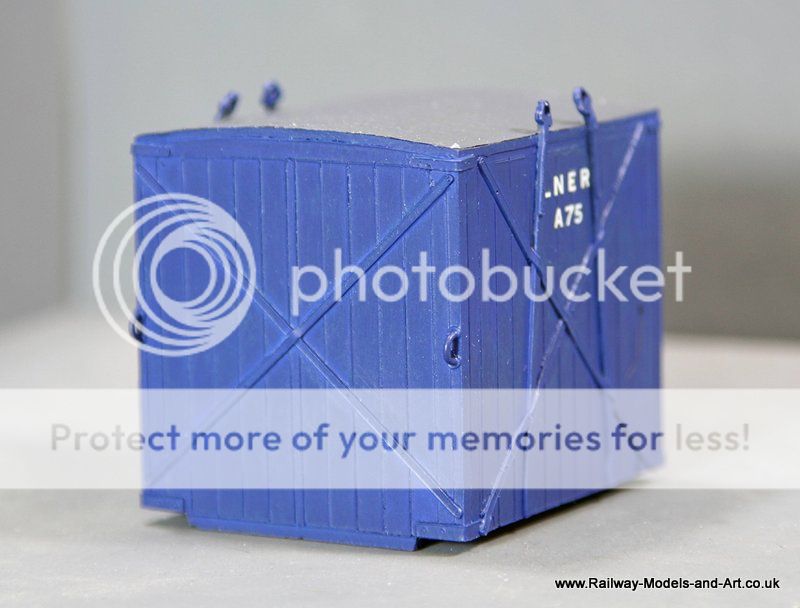
In hindsight it's missing some detail on the headstocks but because I hand mixed the paint I am loath to add them now I know better because I doubt I could mix that colour of paint again to cover/touch them in.
Regards Rob

Posted

Full Member

Posted
Full Member
I hope you don't think I'm trying to be smug,
or trying to teach you to suck eggs, but
I always mix more than I need and store it in
an old, cleaned out tinlet, just in case!
On the other hand, repairs to wagons & vans
weren't always to 'main works' standards, incl.
paint match and finish, so I wouldn't be too
bothered if it didn't match perfectly, so long as
it looks like a proper 'original' repair.
Jeff
Posted
Full Member
Hi Jeff,Rob,
I hope you don't think I'm trying to be smug,
or trying to teach you to suck eggs, but
I always mix more than I need and store it in
an old, cleaned out tinlet, just in case!
On the other hand, repairs to wagons & vans
weren't always to 'main works' standards, incl.
paint match and finish, so I wouldn't be too
bothered if it didn't match perfectly, so long as
it looks like a proper 'original' repair.
That's probably a habit that I ought to get into especially when mixing non standard colours. Thinking about it as mentioned elsewhere my good lady is an artist so she could probably replicate the colour for me .
Regards Rob
Posted
Full Member
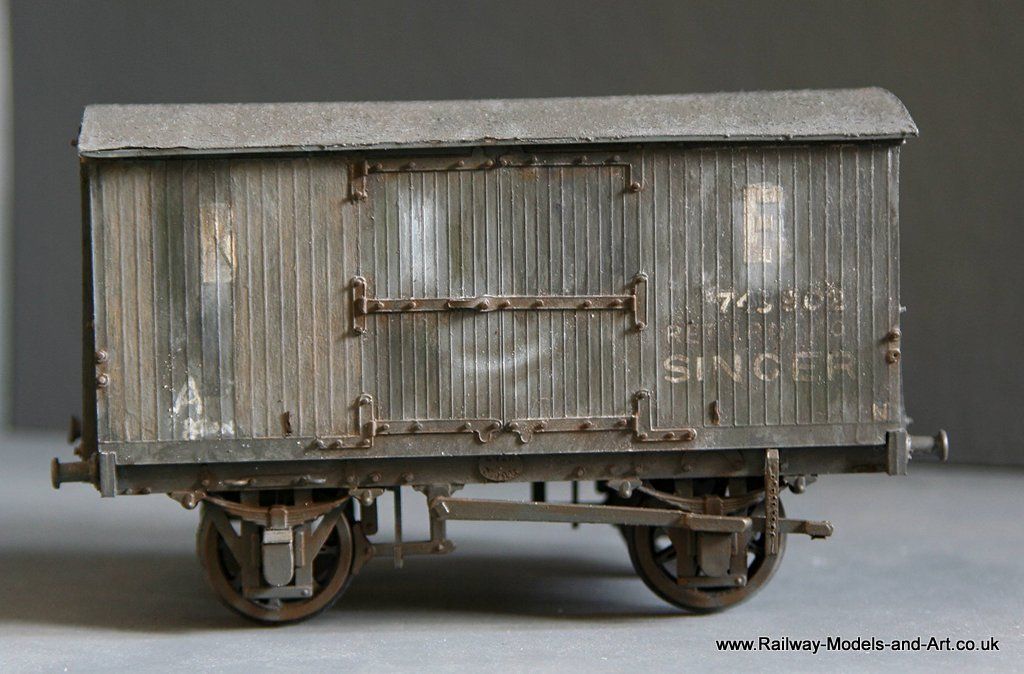
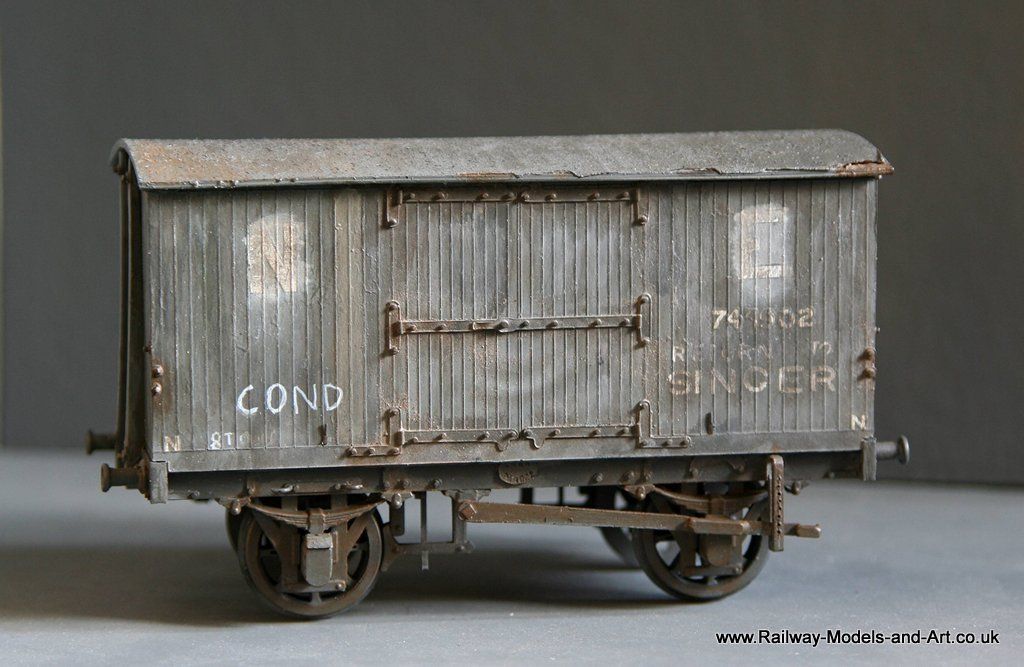
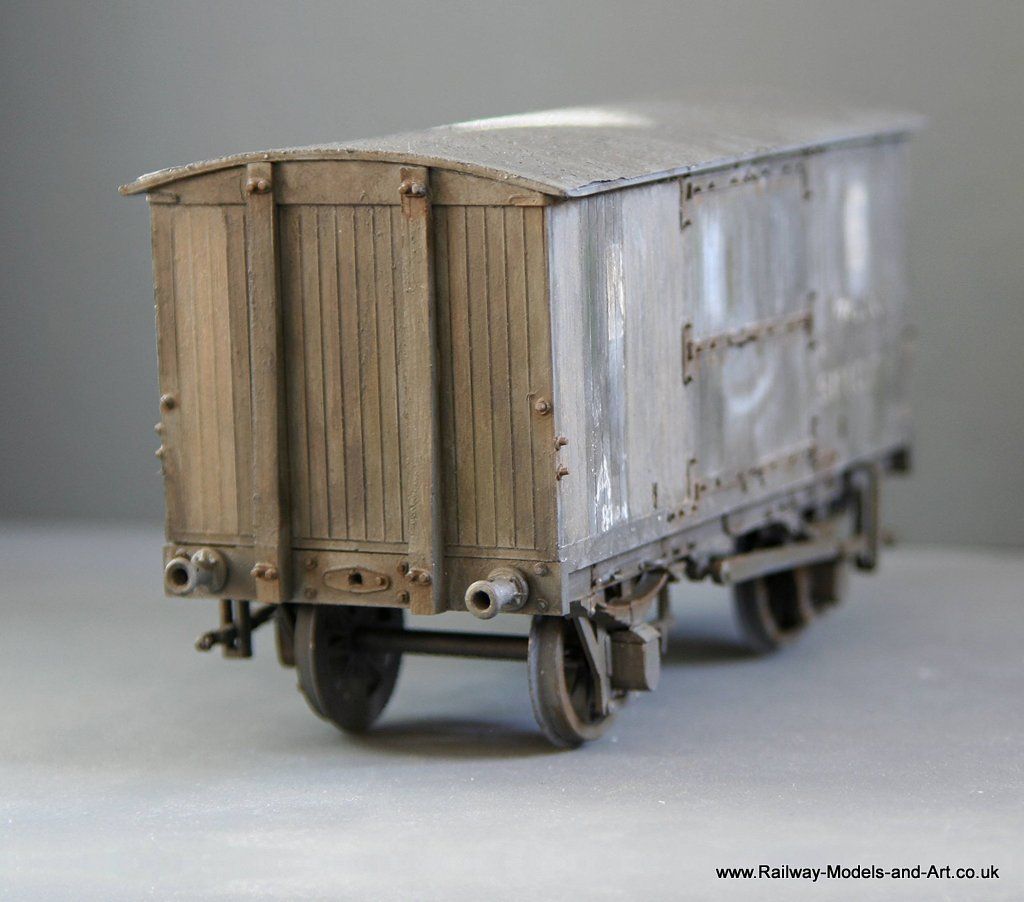
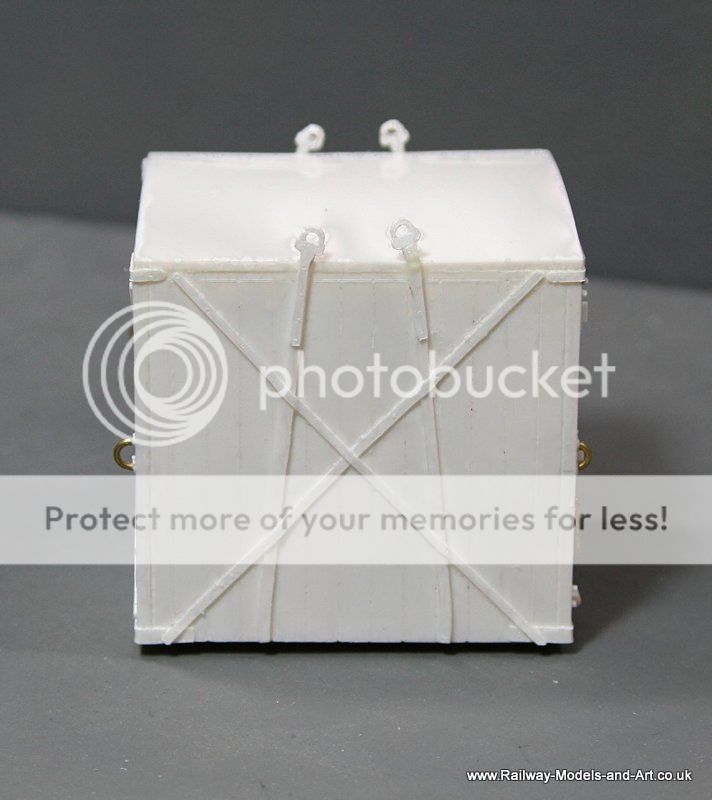
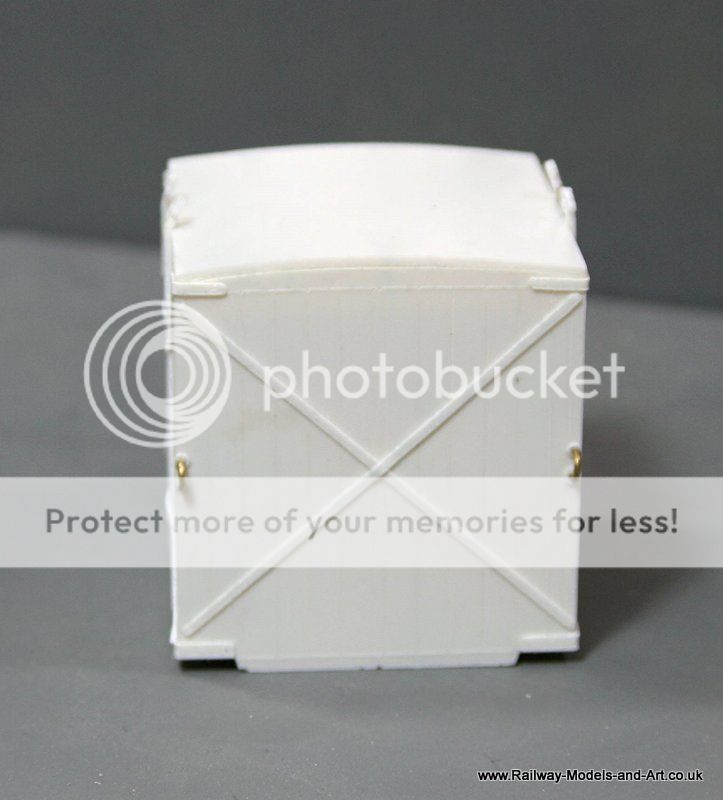
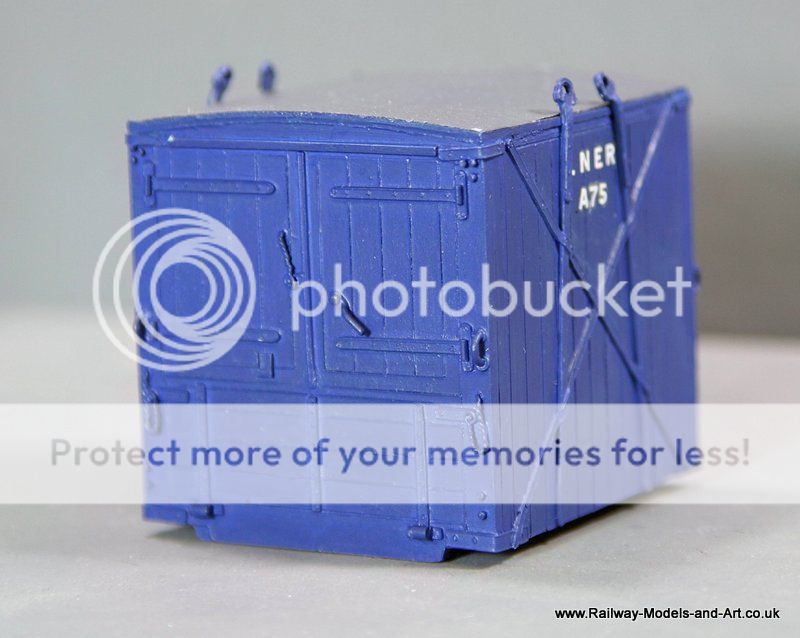
Starting off with the wagon that one third prize and a bit of background. I have built a couple of the Parkside kit's for the Outside framed Jubilee van but it turns out that these were the least numerous of the Jubilee vans. The NBR built wide planked versions and matchboard versions in much greater numbers.
I found a drawing and drew up sides and ends in Inkscape and when assembled and beading added from half round styrene strip I ended up with these:


From there it was an easy task to adapt the drawings to represent one of the later matchboard sided vans.


The underframe parts are spares obtained from Parkside from the Jubilee van kit.
As you can see I built two of each type.
Regards Rob
Posted
Full Member

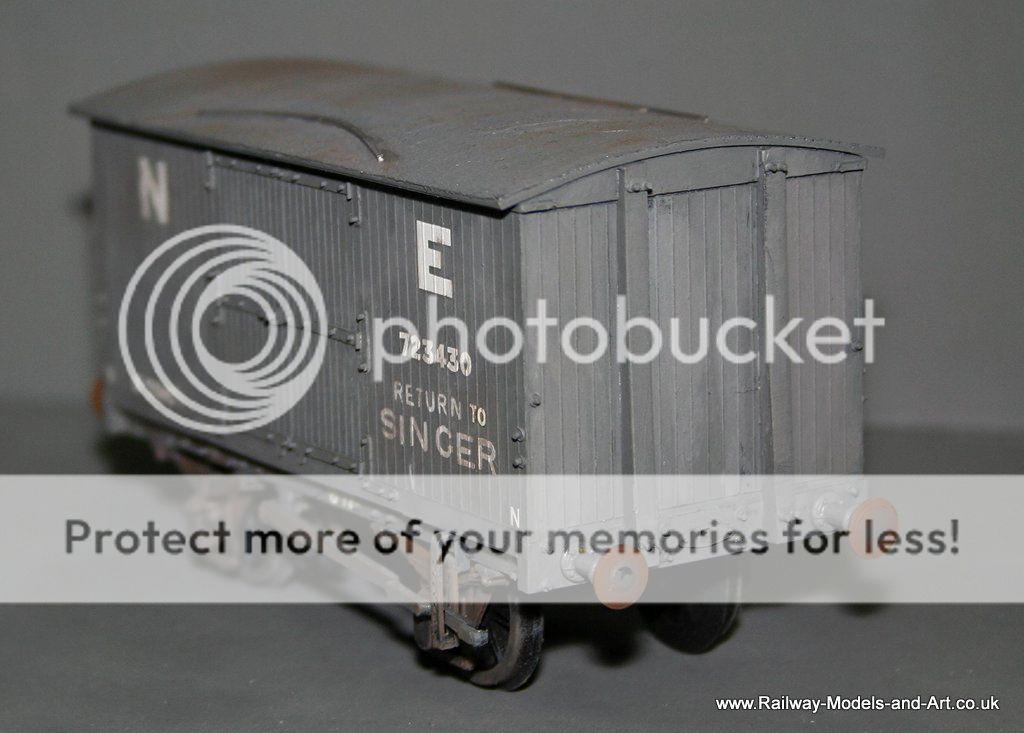

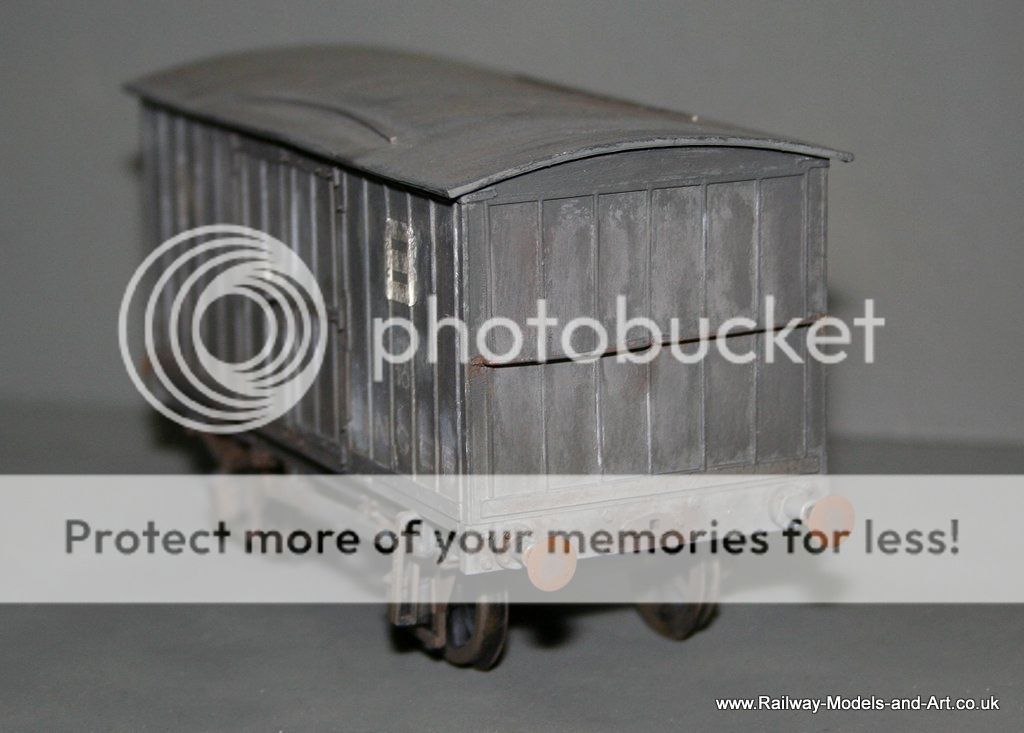
Then we get to the competition entry, on page 43 of Tatlow's LNER Wagons volume 3 there is a superb photo of one of the matchboard vans post WWII put out to grass awaiting being broken up and I just had to try to replicate it.
A final shot of the finished wagon alongside the trophy.
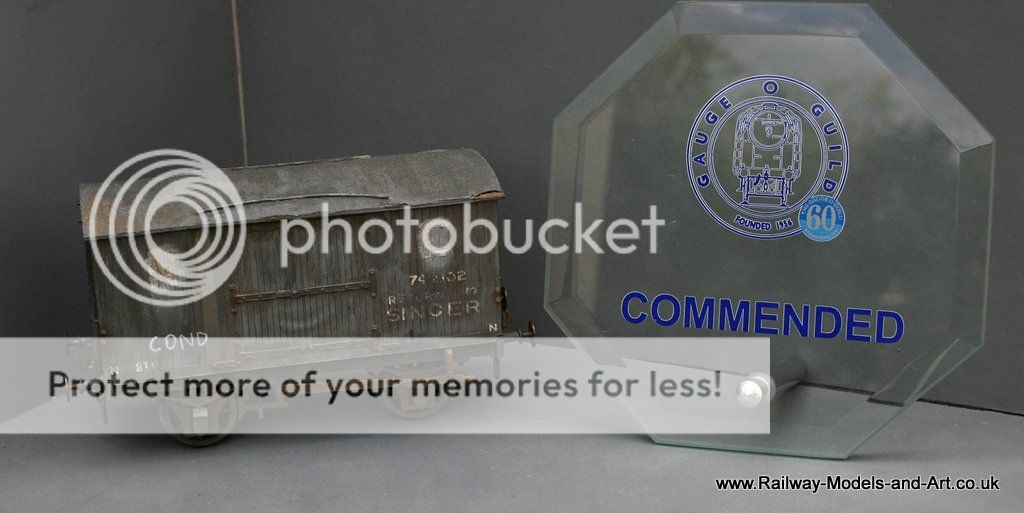
 Last edit: by Rob Pulham
Regards Rob
Posted

Full Member
Hi Rob,Thanks John,
In hindsight it's missing some detail on the headstocks but because I hand mixed the paint I am loath to add them now I know better because I doubt I could mix that colour of paint again to cover/touch them in.
Repeat mixing is quite easy, just don't try and do it by volumes, especially drop-wise with pipettes. I always weigh each part using some ex-kitchen scales (accurate to 0.1 gm). Then you can note it down on the container with the final mix, or in the workshop notebook (we all have one, right?). Alternatively, always prepare a paint swatch on the base color you used, and store out of the light for future reference. And make a note of what colors were used. You can usually get pretty close on repeat mixing.
Nigel
©Nigel C. Phillips
Posted
Full Member
An enquiry on the LNER forum revealed that the GCR has a couple and the NER had built one. No photos or drawings have emerged for the GCR examples but by fortunate coincidence (unbeknown to me at the time) I had a copy of the drawing for the NER example which is included in the Railway Snowploughs in the North East book by David and Claire Williamson.
I had to use a bit of modellers license in this one because although the NER built it in 1902, in 1907 it was rebuilt into a double ended snowplough (hence it's inclusion in the book).
This is a true multimedia build:
The floor and step boards are coffee stirrers
The rest of the timber work is styrene strip
The handrail stanchions are brass split pins with piano wire rails
Brass handrail knobs and nickel wire make up the lower handrails.
The hand brake column is a Slaters casting
The W Irons and V hangers are Slaters from the spares box as are the axle boxes but I did modify them with styrene.
The springs and hangers are scratch built from styrene strip and angle
Buffers are Haywood Railway and the couplings are Parkside.


Regards Rob
Posted

Full Member
John
John
Posted
Full Member
Ever since I bought the shortline my horizons have expanded materials wise.
As a small diversion these are some wagon loads that I did.
This was done using some snips before I bought the shortline. - As you can see the ends had a tendency to get crushed slightly.


This was done after I got the shortline.


Regards Rob
Posted
Full Member


Regards Rob
Posted

Inactive Member
Max
Port Elderley
Port Elderley
Posted
Full Member
This is what it looks like with a bit of paint and weathering.
I tried it with a few different homemade loads before settling on one.


This last one was what won my entry the runner up prize at Guildex

Although it was part of a wider entry, feedback from the competition organiser (Nick Dunhill) said that it was this wagon that carried the day.
This is the rest of them

Regards Rob
Posted
Inactive Member
Max
Port Elderley
Port Elderley
Posted
Full Member
Would those glass jars be filled with sulphuric acid - eek! :shock:
John
John
Posted
Full Member
Quite possibly John, elf and safety didn't feature in those days.Would those glass jars be filled with sulphuric acid - eek! :shock:
John
Regards Rob
Posted
Full Member
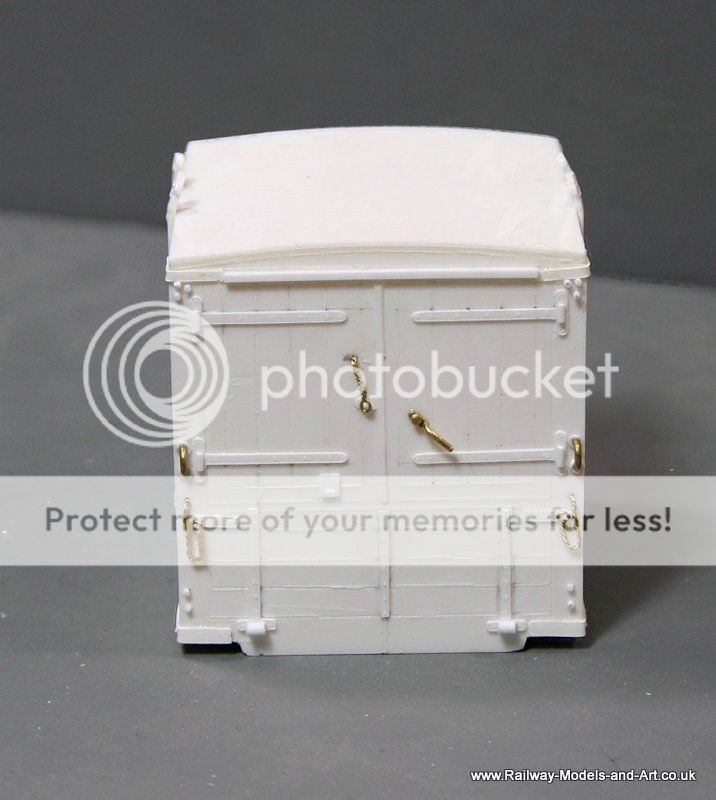
To avoid putting the cart before the horse I have included some photos of it before painting too.
Regards Rob
Posted
Full Member
My mum had a story from the Great War where her mum worked in a chemical factory. Some poor sod fell into a vat of acid - all they found was his wellies.[user=565]Brossard[/user] wrote:Quite possibly John, elf and safety didn't feature in those days.Would those glass jars be filled with sulphuric acid - eek! :shock:
John
John
John
Posted

Site staff
I remember my 1970's Telecom days when we installed new batteries in the country telephone exchanges & had to fill them up with acid - clothing & rubber gloves & masks….[user=2002]Rob Pulham[/user] wrote:My mum had a story from the Great War where her mum worked in a chemical factory. Some poor sod fell into a vat of acid - all they found was his wellies.[user=565]Brossard[/user] wrote:Quite possibly John, elf and safety didn't feature in those days.Would those glass jars be filled with sulphuric acid - eek! :shock:
John
John
Now outside of that, your models Rob are excellent :thumbs
Ron
NCE DCC ; 00 scale UK outline.
NCE DCC ; 00 scale UK outline.
Posted
Full Member
Many thanks for the kind words RonNow outside of that, your models Rob are excellent :thumbs
Regards Rob
1 guest and 0 members have just viewed this.