Andrew Barclay 0-4-0 Shunter.
Posted
#193481
(In Topic #10768)
Full Member
first go at scratch building in brass.
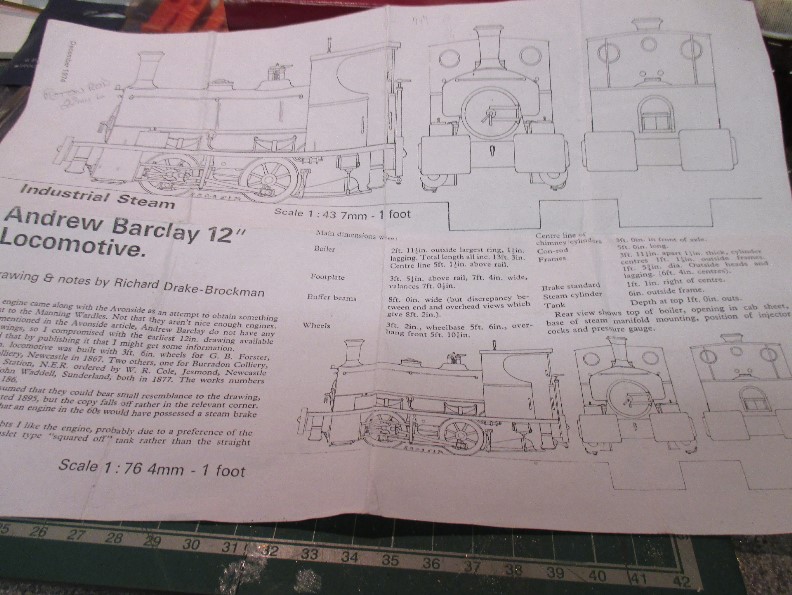
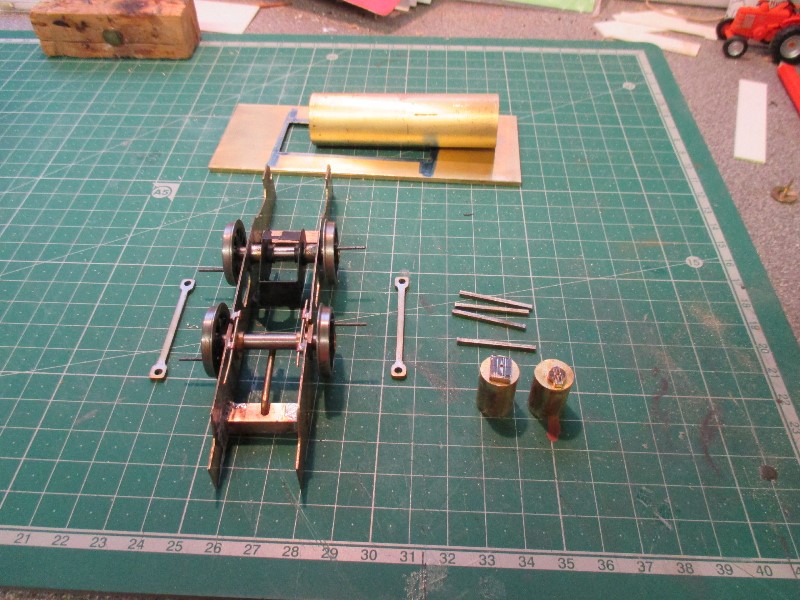
Hi guys, just thought I would share with you my first go at building an 0-4-0 Andrew Barclay shunter in 7mm in brass, I must be honest, I started ages ago, well before joining YMRC and never really got beyond cutting out the frames, however I got an invite to exhibit at the Great Central model rail show in June and as I only have one loco finished I decided it was time to extract my digit from where the sun don,t shine and get on with it so here go,s.the first pic is the drawing I am working from, its as originally built but as most people will know things change over the years, so i,m also using photos etc to proceed the build. its very early days yet so please bear with me.
the next pic is of the frames and the cut tube for the cylinders, I must point out that I do not have access to any machine tools so its allhand tool work so the finish on cut parts may not be great but up to now I,m happy with the results.

as you can see I,ve put compensation on the front axle, with an 0-4-0 its important that the 4 wheels stay in contact with the rails at all times for consistant contact and pick up.
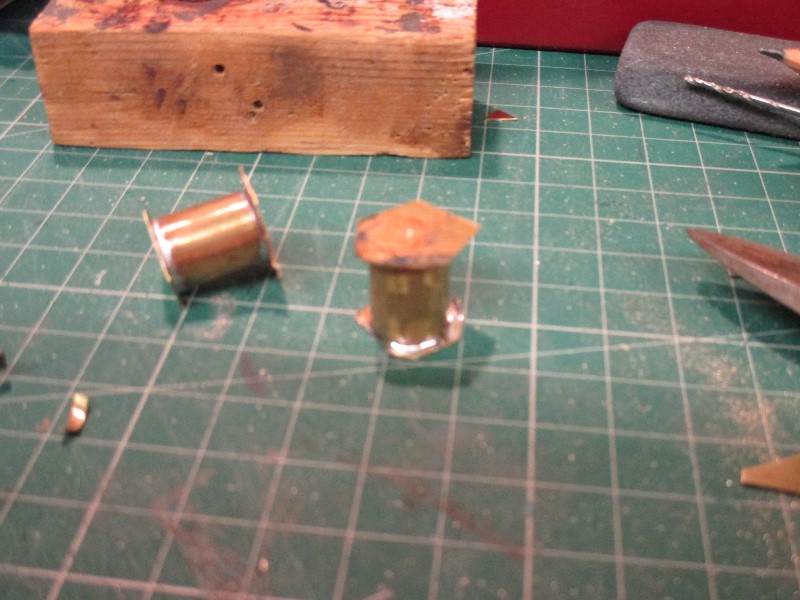
sorry for the poor photo my camera dosn,t do macro. I have now capped the ends of the cylinders and when I next post I will show you them filed down I will also put some shots of other bit and pieces I have done.
Cheers Pete.
it was already on fire when I got here, honest!

Posted
Full Member
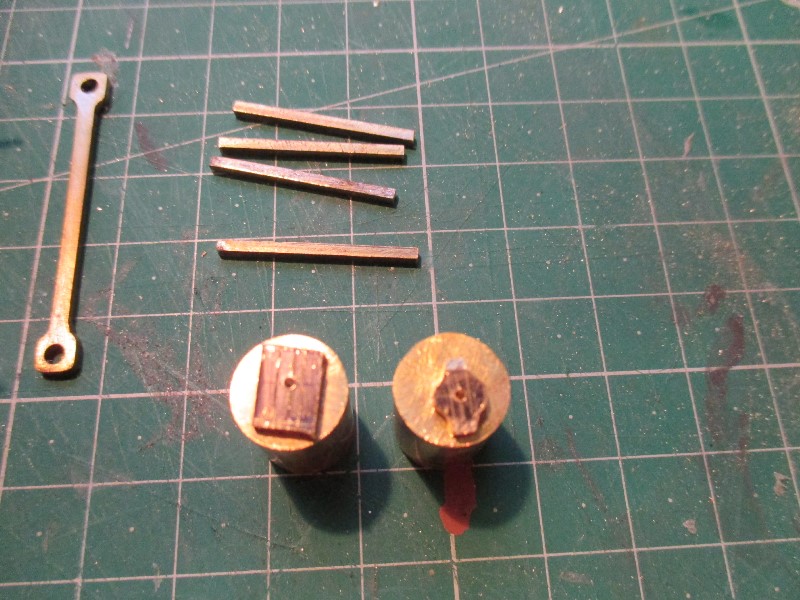
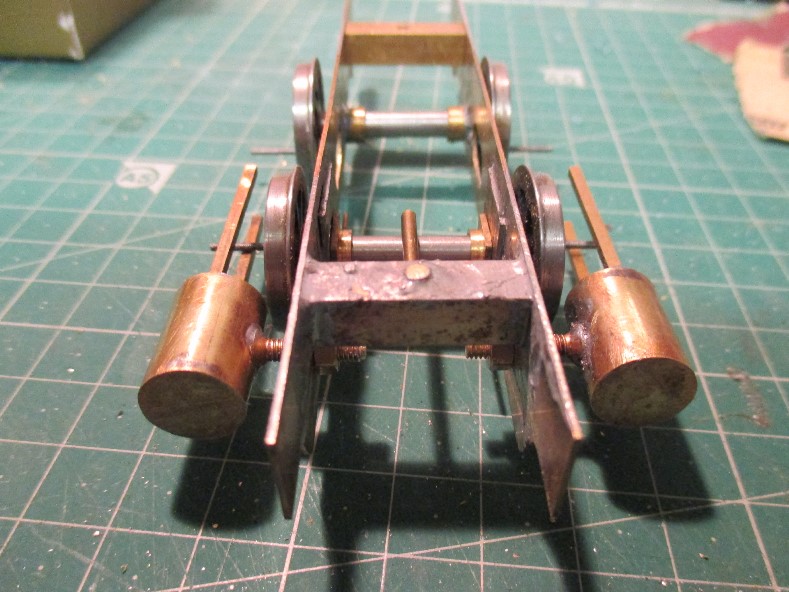
here we have top the slide bars to the left one of two coupling rods and below on top of the cylinders the piston gland boxes the one on the right is almost finished the left to do.
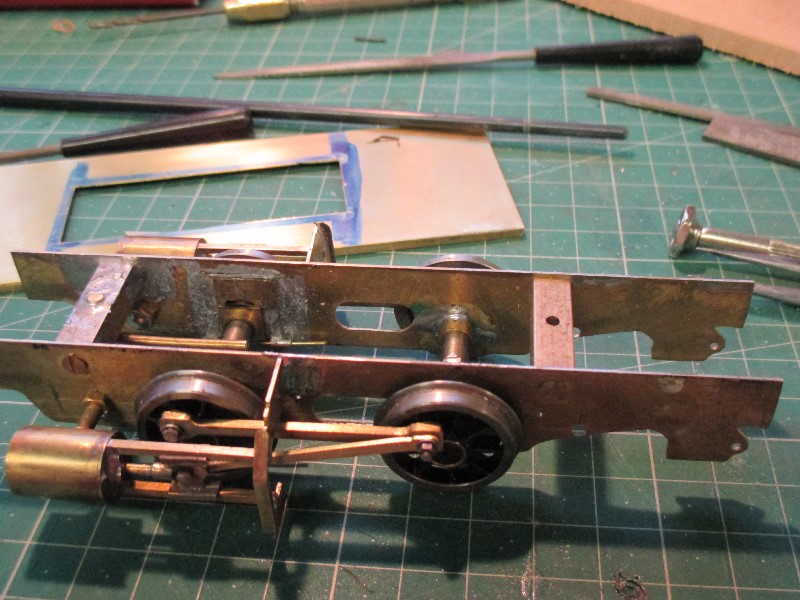
the chassis upside down and the method of rocking compensation shown, above are the running plate and boiler, still loads of chopping about to do on the boiler to get the dcc chip in, as well as the motor.

these are the castings in white metal I,ve managed to source and the motor and gears the motor is an 18/24 as it should be powerful enough and a little shorter than the usual 18/33 most kit manufacturers recommend. The numbers are the sizes in mms.
By for now. Pete.
it was already on fire when I got here, honest!
Posted

Full Member
Posted
Full Member

thats it for now, its taking longer than I anticipated but I am also working on buildings for my layout, but thats a different thread. I will post up when I get a little bit more done.
Later dudes, Pete.
it was already on fire when I got here, honest!
Posted
Guest user
Keep it coming please. Interesting stuff. I like seeing these kits come together a little at a time. I have a similar kit tucked away for when I feel confident but in 4mm.
Cheers
Toto
Posted
Full Member
Cheers Pete.
it was already on fire when I got here, honest!
Posted
Full Member
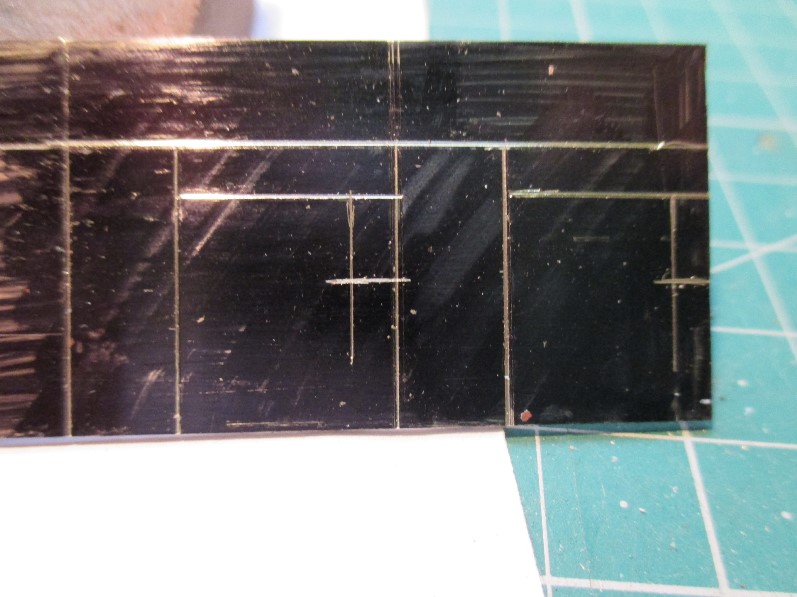
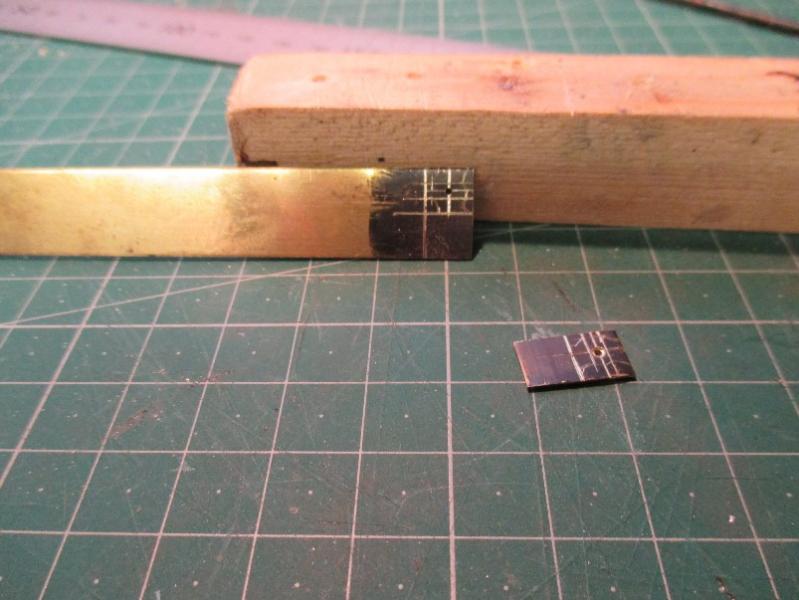
this is the blank marked out ready for cutting I used a black felt tip marker pen to show up the lines I made with my scriber, not sure why my words are all underlined :???:.
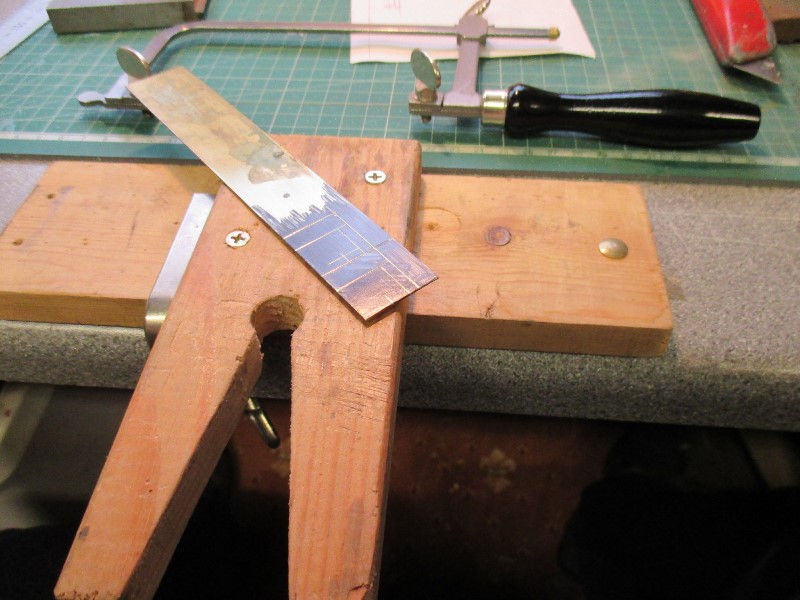
this is my home made cutting out rest and my piercing saw, the blades for the saw are very thin with tiny teeth you would not think they would cut as well as they do, however they do snap easily.

heres one cut out ready to do the next.
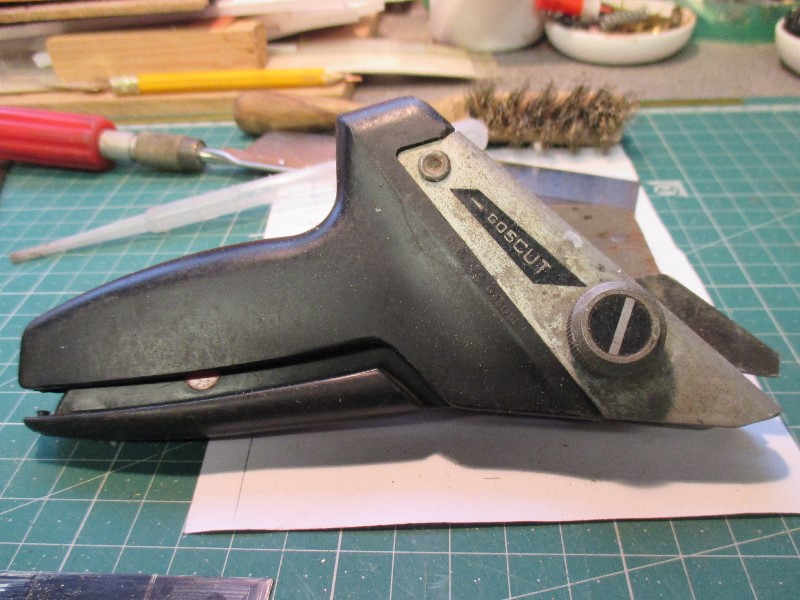
for longer cuts I use this my goscut tool I have had it for donkeys years it cuts dead straight lines, Iwould not be without it despite being offered silly money to sell it I don,t think you can get them now.
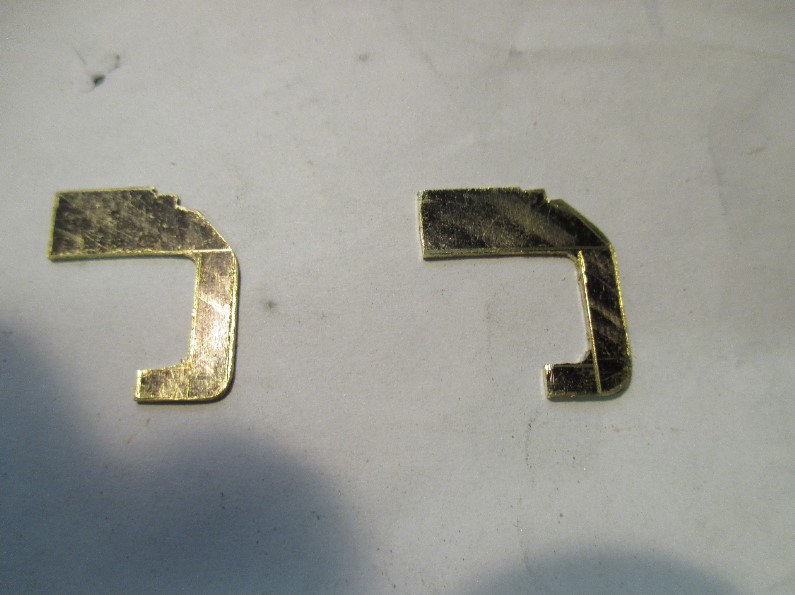
blanks cut out and filed.
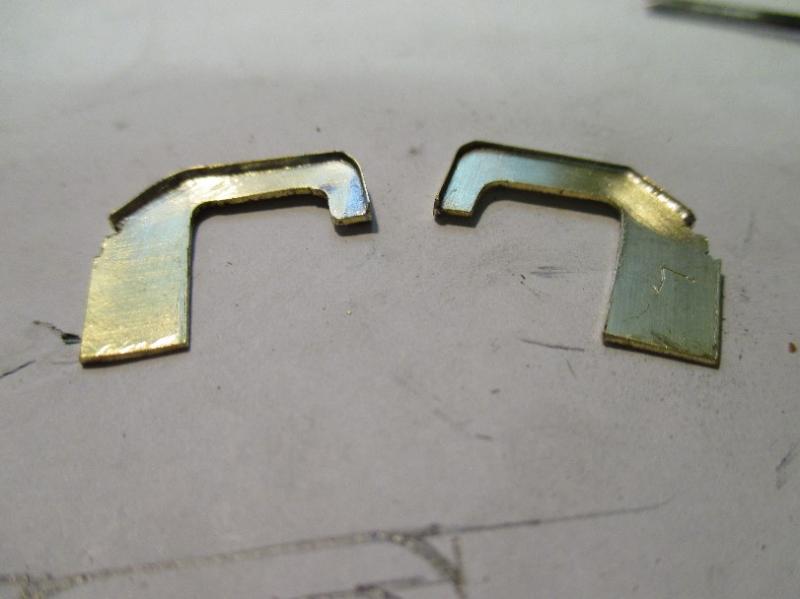
and cleaned up and strip soldered around edge to imitate a casting.
Thanks for looking
Cheers Pete.
it was already on fire when I got here, honest!
Posted
Full Member
Terry
Posted
Full Member
 .
.Pete.
it was already on fire when I got here, honest!
Posted

Inactive Member
Beyer Garratt? :hmm
Can't wait to see it.
Max
Port Elderley
Port Elderley
Posted
Full Member

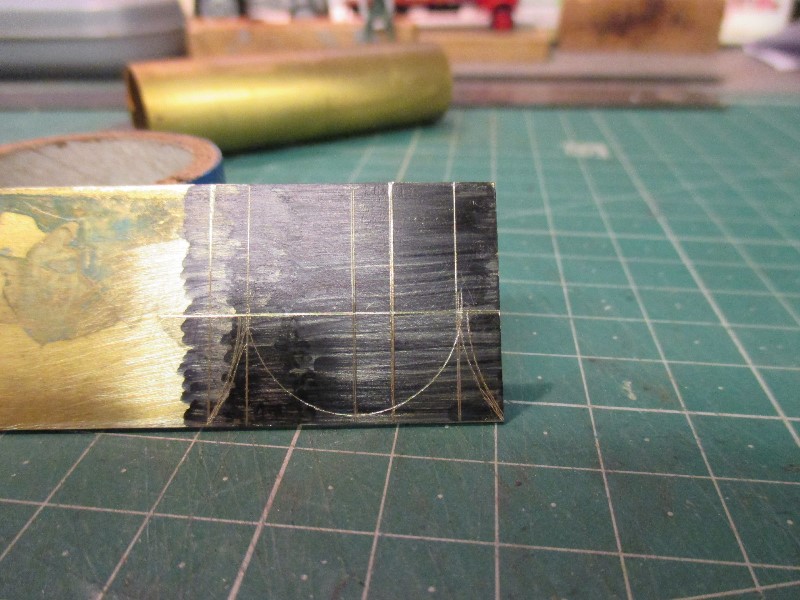
brass blank with black marker pen.
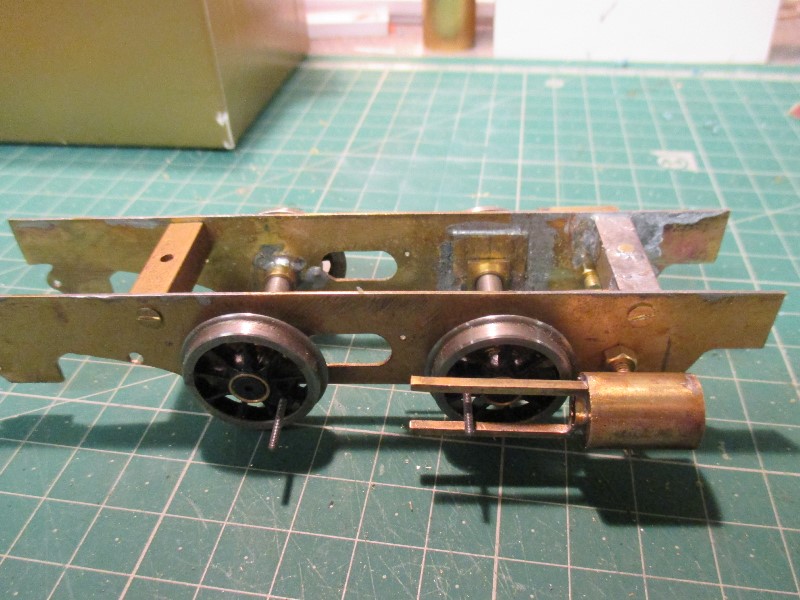
marked out and pivot holes drilled cut and filed as per the slide bar supports.
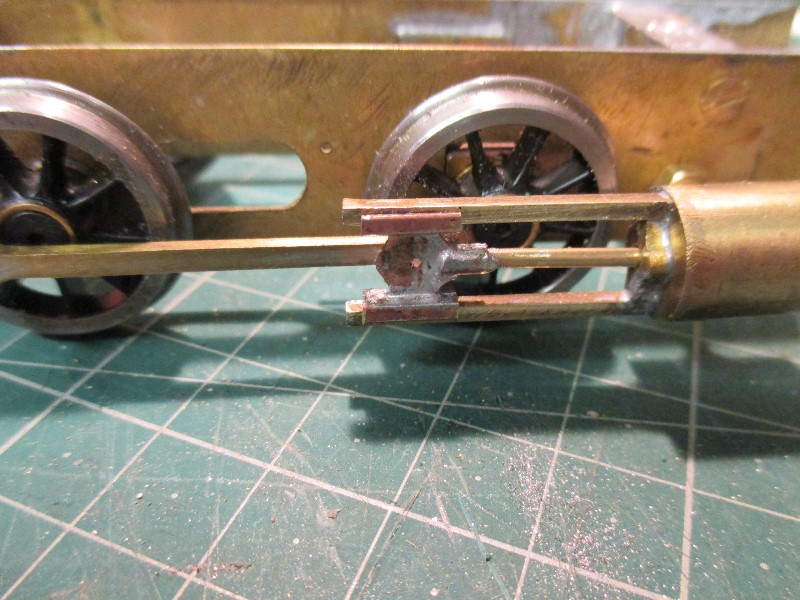
and the finished result lots of cleaning up to do still but at least I am getting through the fiddly stuff ok just need to make some connecting rods and I can solder up the brackets and cylinder mounts, clearences are tight between the front wheels coupling rod and the rear of the cross head but I think I willbe ok.
cheers for now Pete.
it was already on fire when I got here, honest!
Posted
Guest user
Cheers
Toto
Posted
Full Member
I have had to do some serious thinning down of nuts and bolts to get some clearance for the motion plus filing clearance on the motion brackets to clear the connecting rods but it does now run easily under finger power, I have since fitted the gearbox and motor (wired directly to my test controller) and run it up and down my little test track, I will post a photo later when I go back in the shed.
Thats it for now, see you later. Pete.
it was already on fire when I got here, honest!
Posted
Full Member
Terry
Posted

Inactive Member

 Last edit: by 60019Bittern
Posted
Full Member
Pete.
it was already on fire when I got here, honest!
Posted
Inactive Member
Posted
Full Member
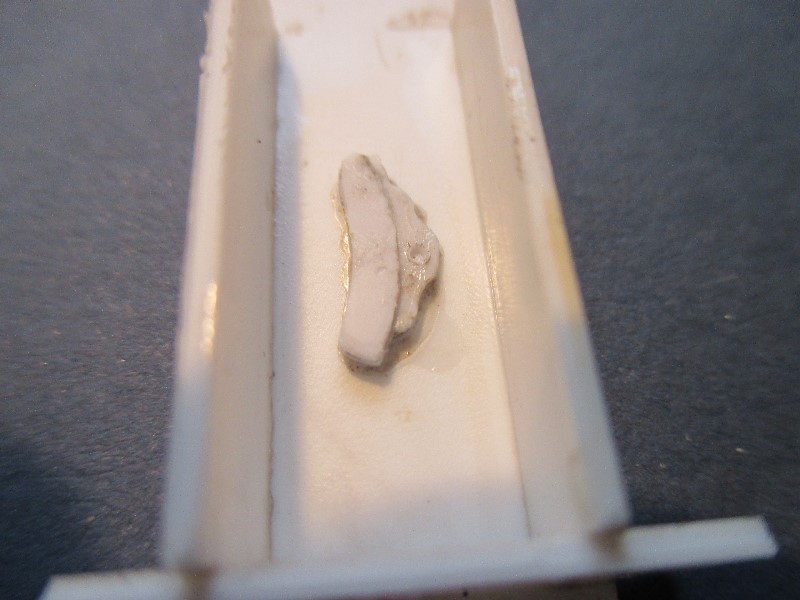
I then squeezed some ordinary mastic into the box making sure it got into all the nooks and crannys, using a little vegetable oil as a release agent,
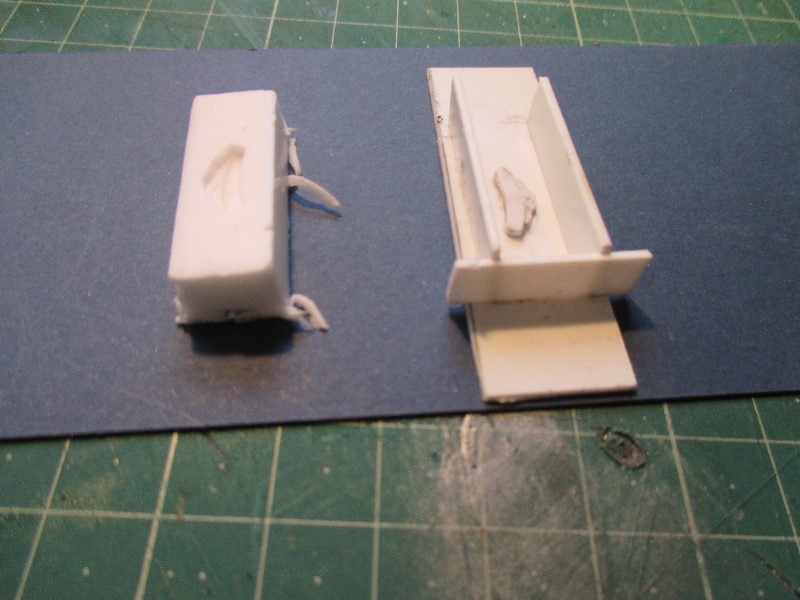
next I mixed some 5 minute epoxy and put it into the mould- unfortunately I didn,t take any pics of this part but here is the finished item,
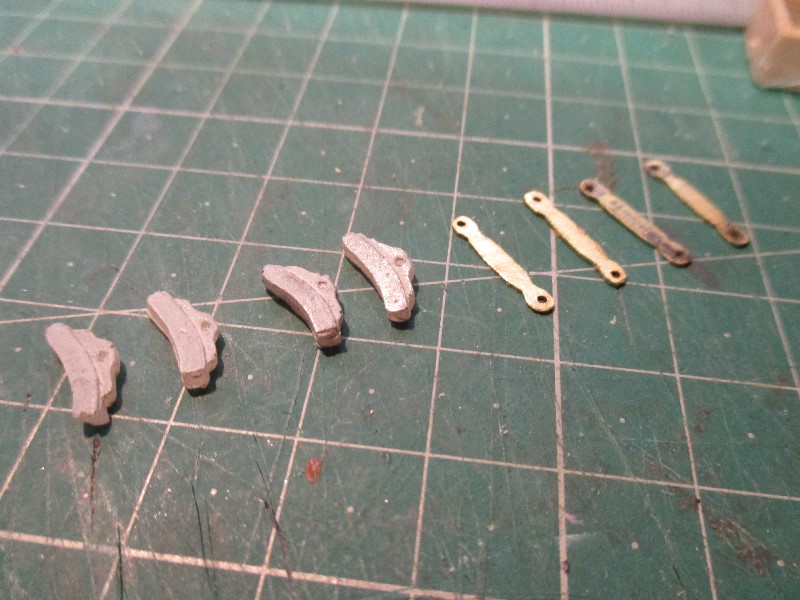
the brake shoes as they came out of the mould had a fair bit of flash on them that took a while to file up not helped that they where clear and I couldn,t see what I was filing properly still I don,t think they look to bad? the photo is a bit cruel they look better in the flesh so to speak. Next I have cut out the smoke box saddles they need some cleaning up but I can do most of that once they have been soldered up.

thats about it for now, time for tea.
Cheers Pete.
it was already on fire when I got here, honest!
Posted
Inactive Member
Max
Port Elderley
Port Elderley
Posted
Guest user
1 guest and 0 members have just viewed this.